|
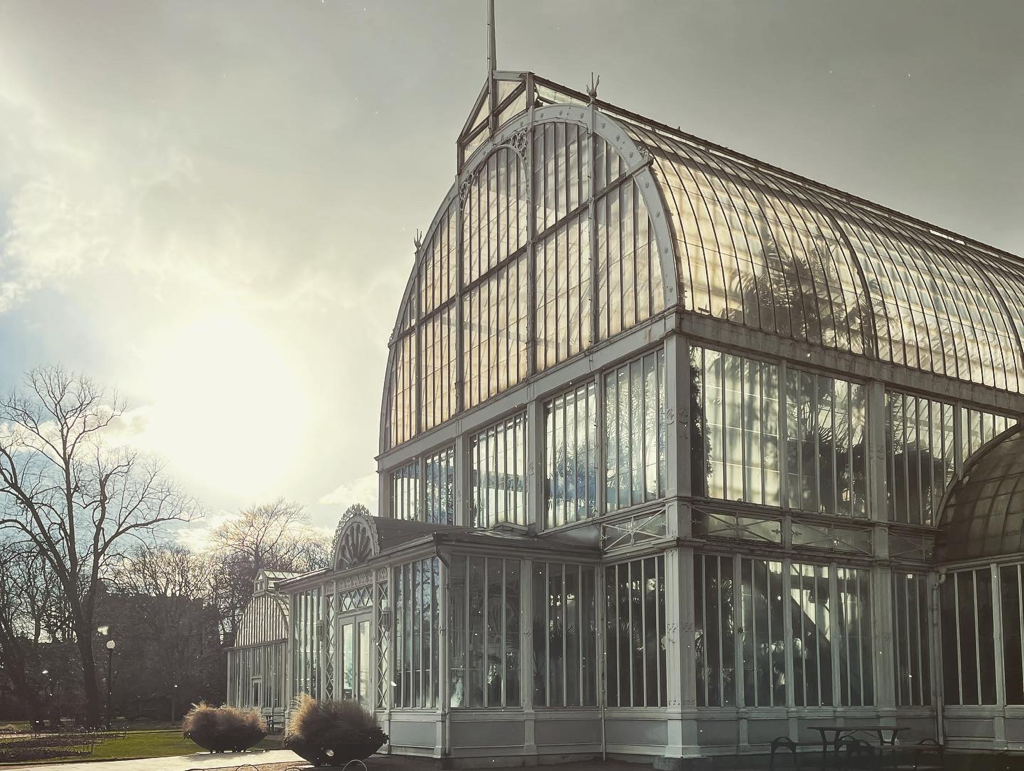
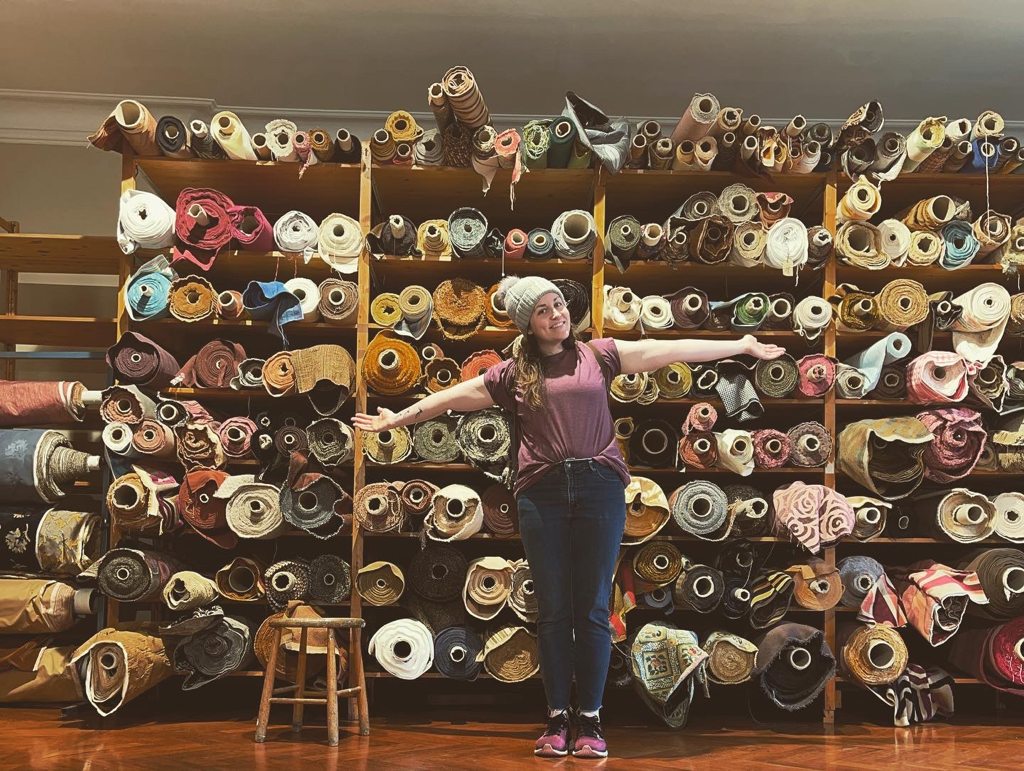
A few weeks ago, my husband Eddie and I went to Gothenburg Sweden. Now, this trip wasn’t specifically for fabric shopping… but leave me to my own devices in a new city and fabric shopping is ultimately what you’re going to get.
So, in case you happen to find yourself in a similar situation (ie your spouse has a work conference in Gothenburg and you have several hours or days to fabric shop unhindered by someone else’s boredom in said shops…) then here are a few places that I recommend visiting.
1 Comment
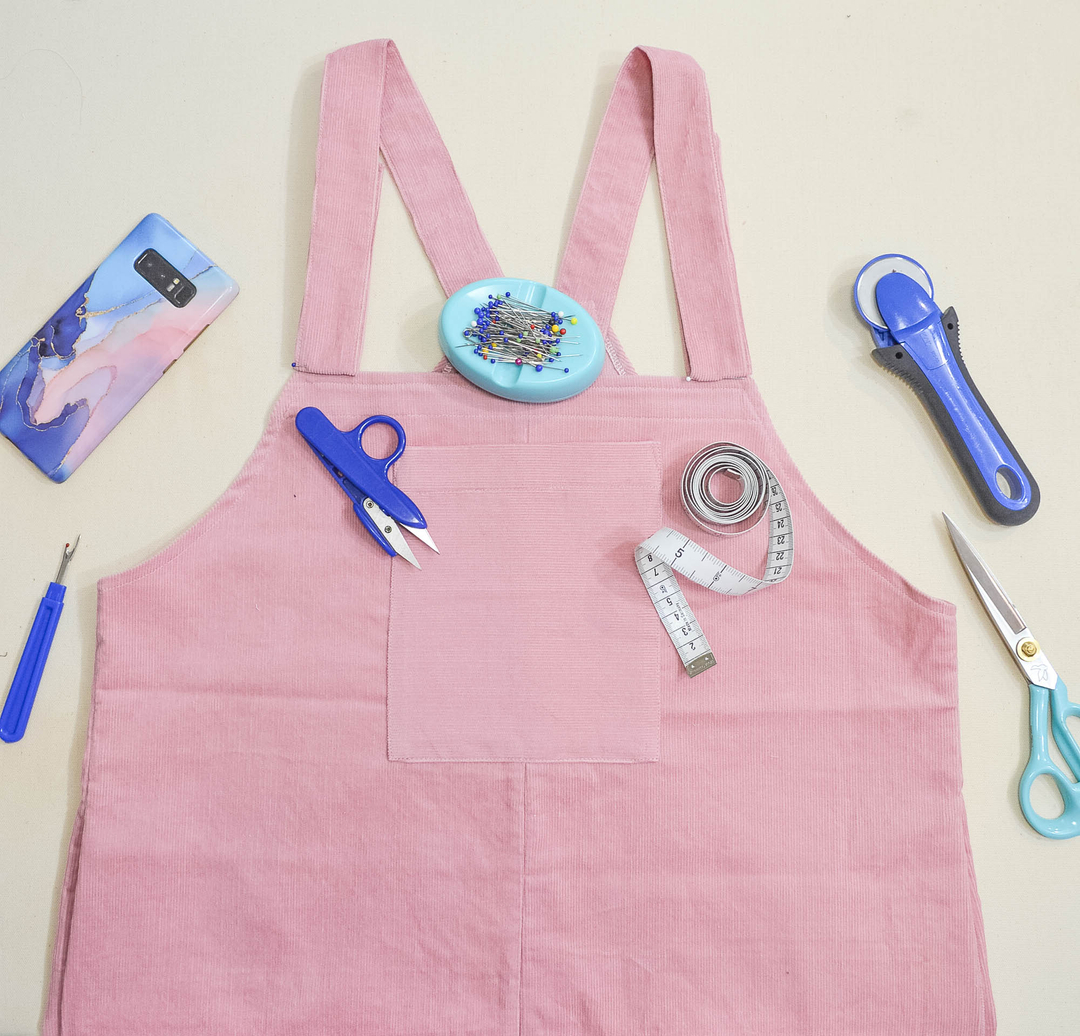
Sometimes I feel like I don't have enough colorful clothing in my life. This is my solution to that problem. The instant I saw the cover photo for the MakeItYours The Label Dungarees, I knew I wanted it in my closet. And just by happenstance, a customer donated about a yard and a half of pink corduroy that she didn't want to throw out. Score!
As you may have seen in my previous post Fabric Wholesale Direct Collab, I've been gifted several lengths of fabric in exchange for blogging about them. In this particular post, I'll be talking specifically about the dri-weave knits.
*** Fabric was gifted by Fabric Wholesale Direct in exchange for a blog post feature*** If you read my previous blog post Fabric Wholesale Direct Collab, then you know that I've been gifted several lengths of fabric from Fabric Wholesale Direct (FWD) in exchange for featuring these fabrics on my blog. And if you read that blog post carefully, you know that my first project was going to be recovering some outdoor cushions with the silver Ottertex Waterproof Canvas. And it's done!!
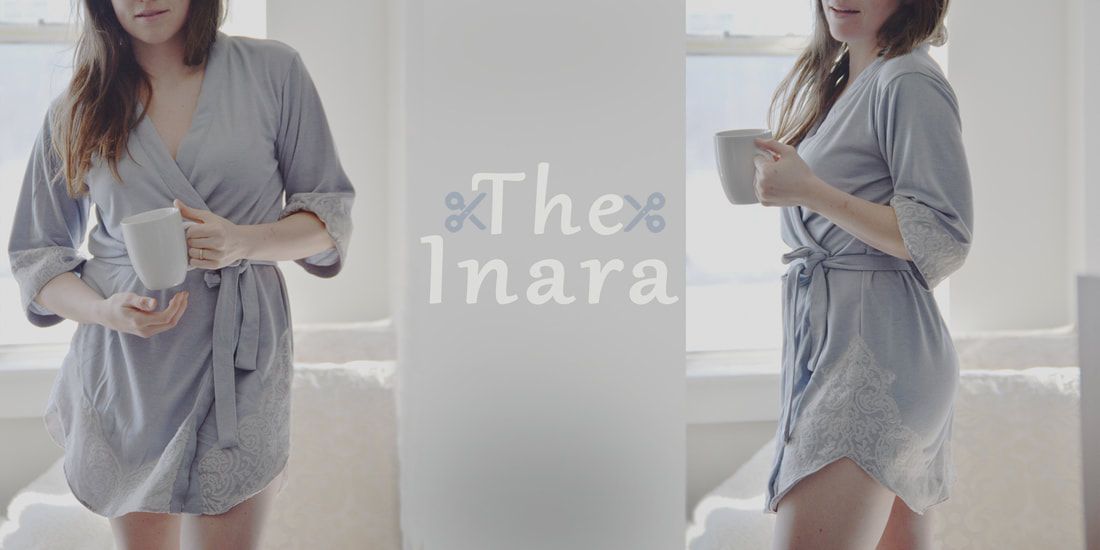
Would you love to sew your own Inara, but worried about the length? I've got you covered! If you take a look at the measurements chart for this robe, you will find the back neck to hem measurement. This will help you to determine if you'd like to lengthen or shorten your robe at all. Once you figure that out, come back here for these easy tutorials on how to hack the pattern to fit you better!
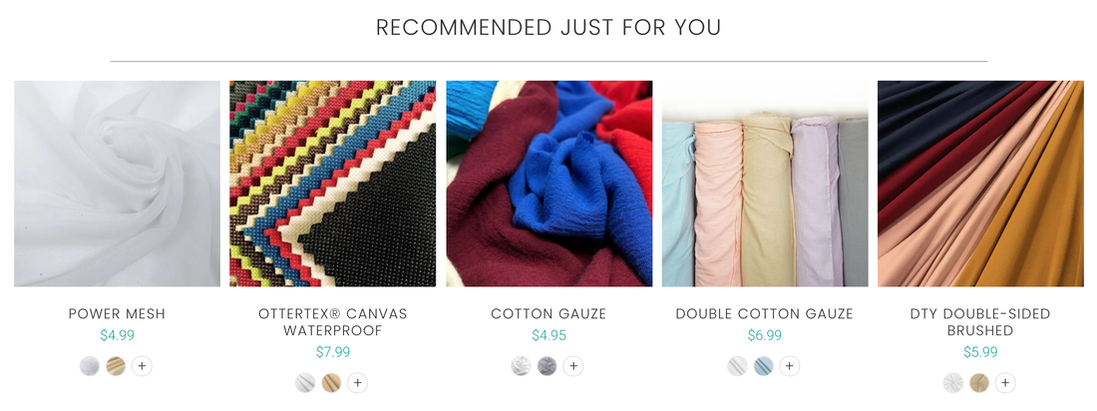
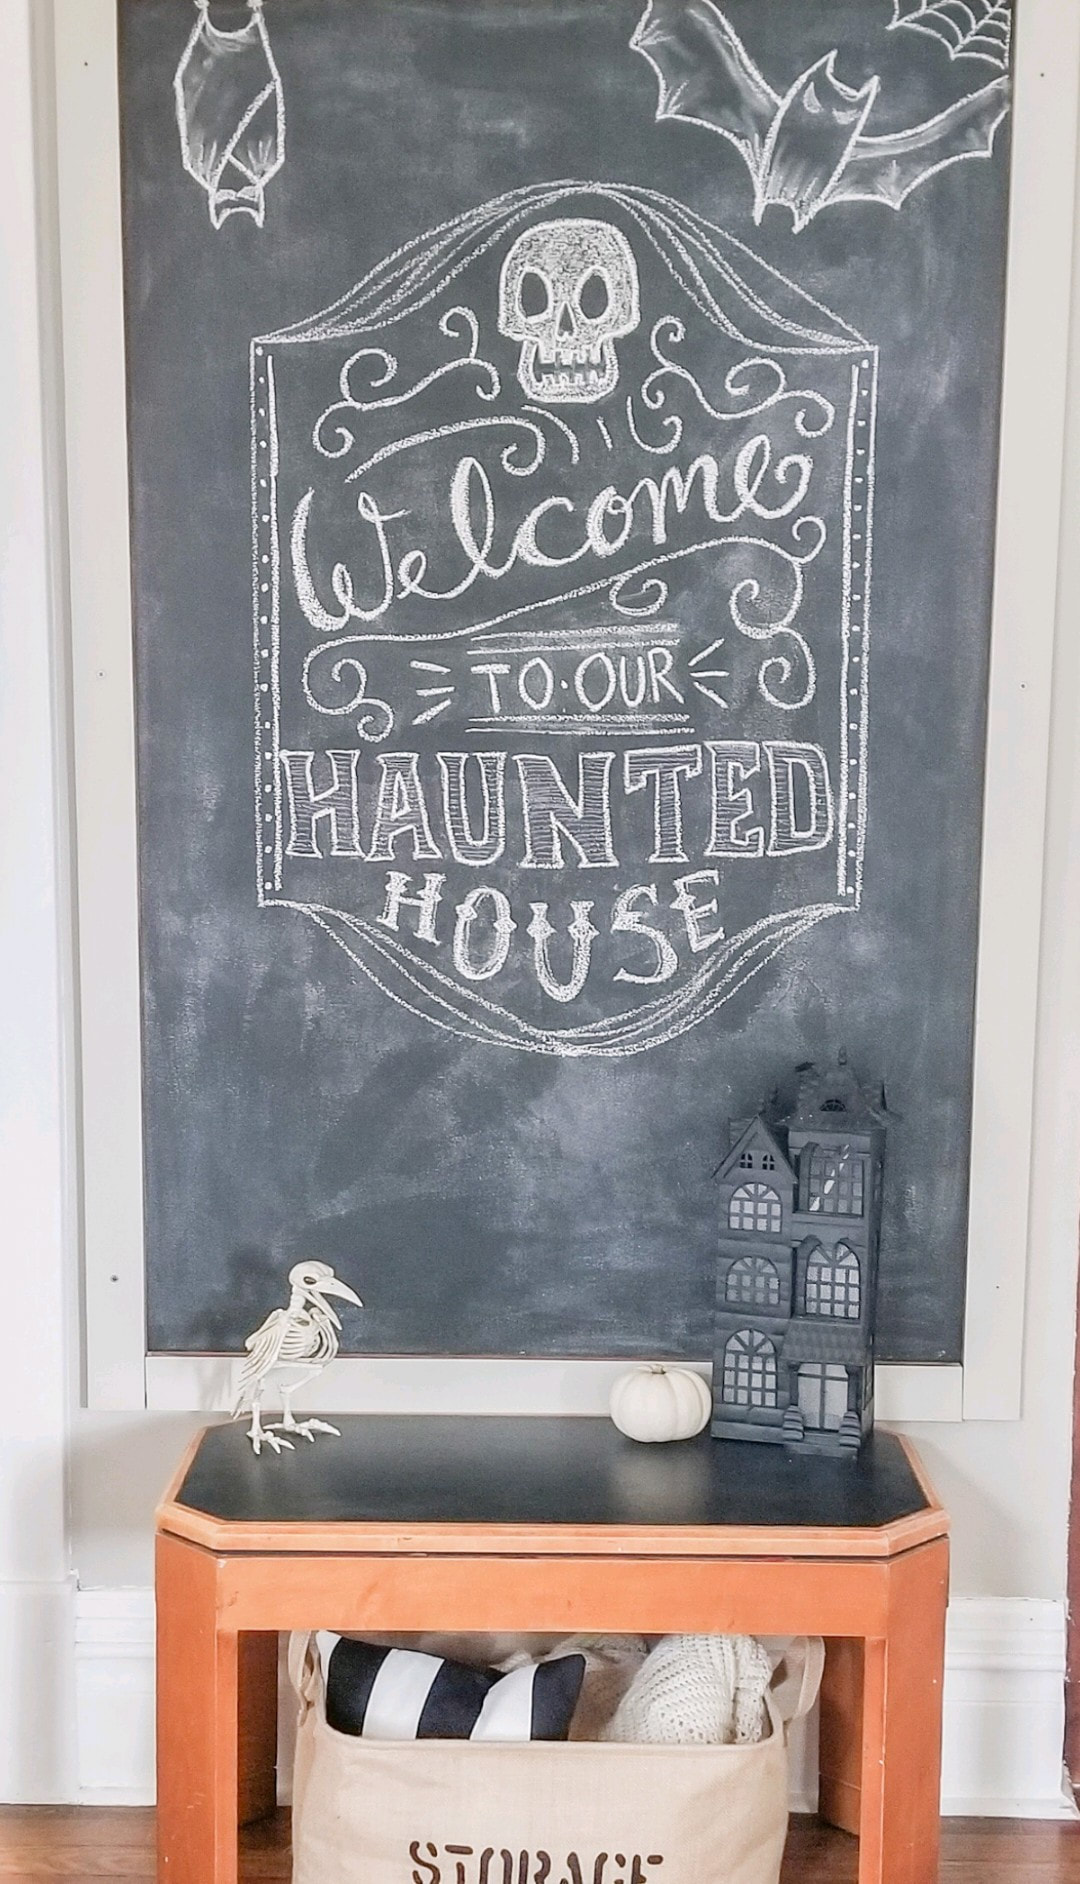
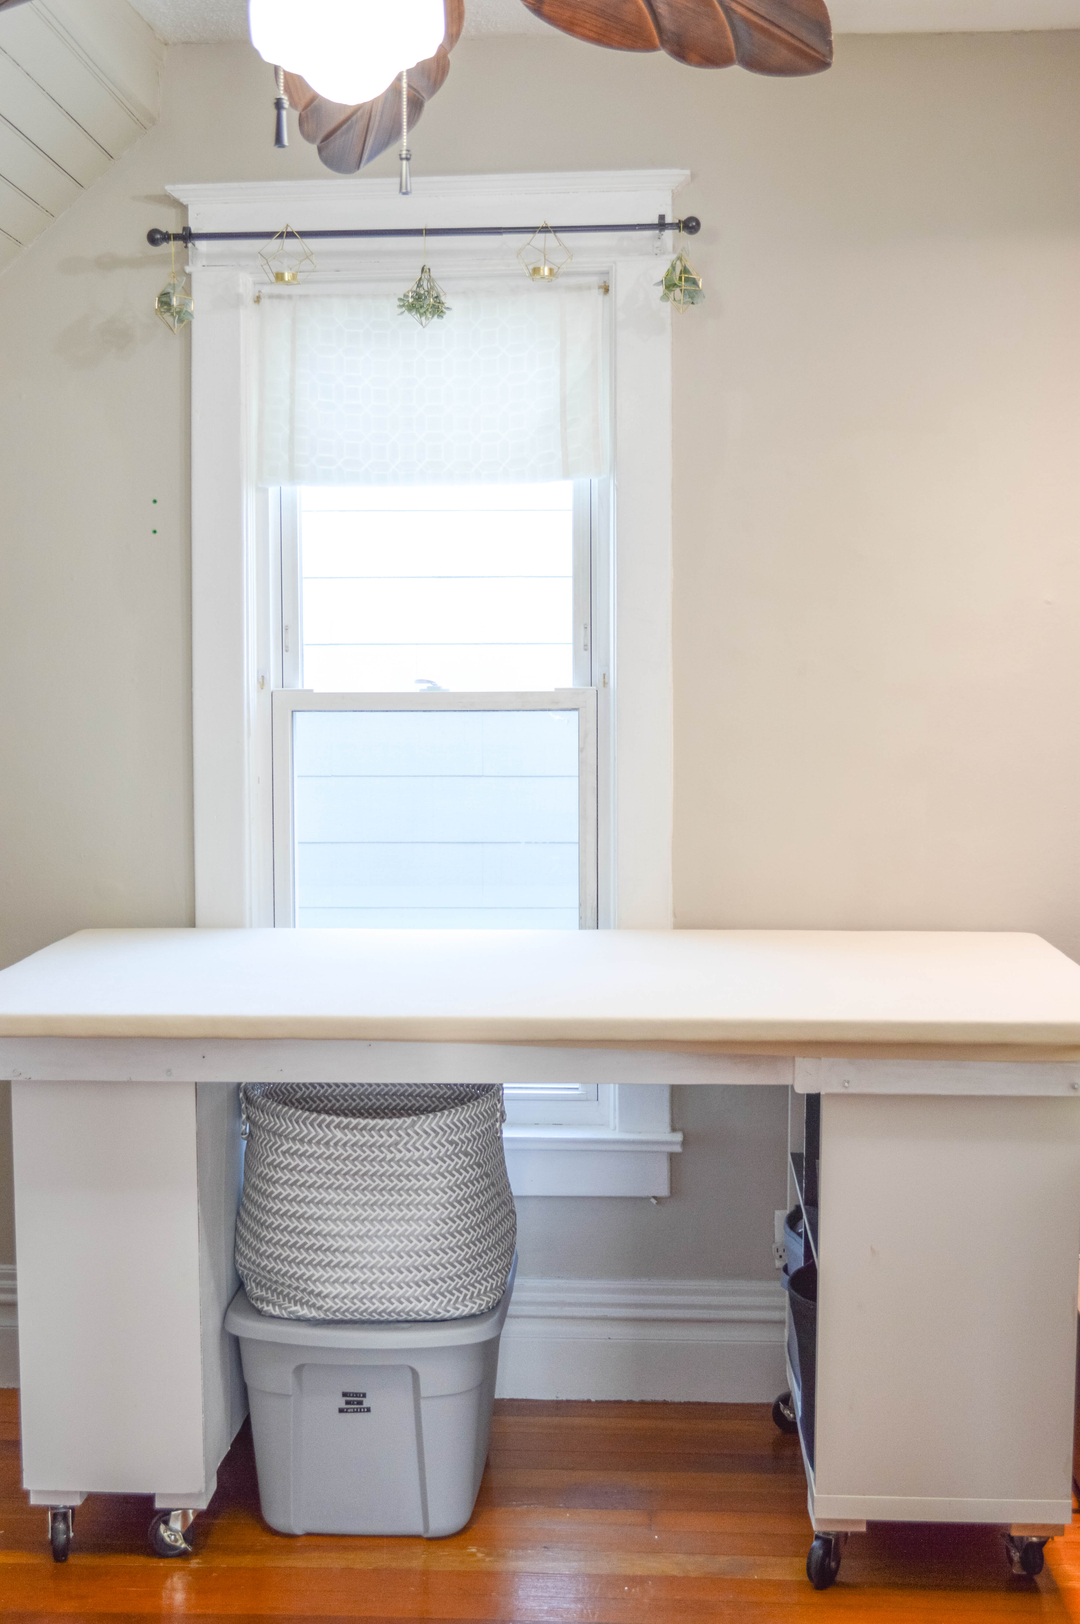
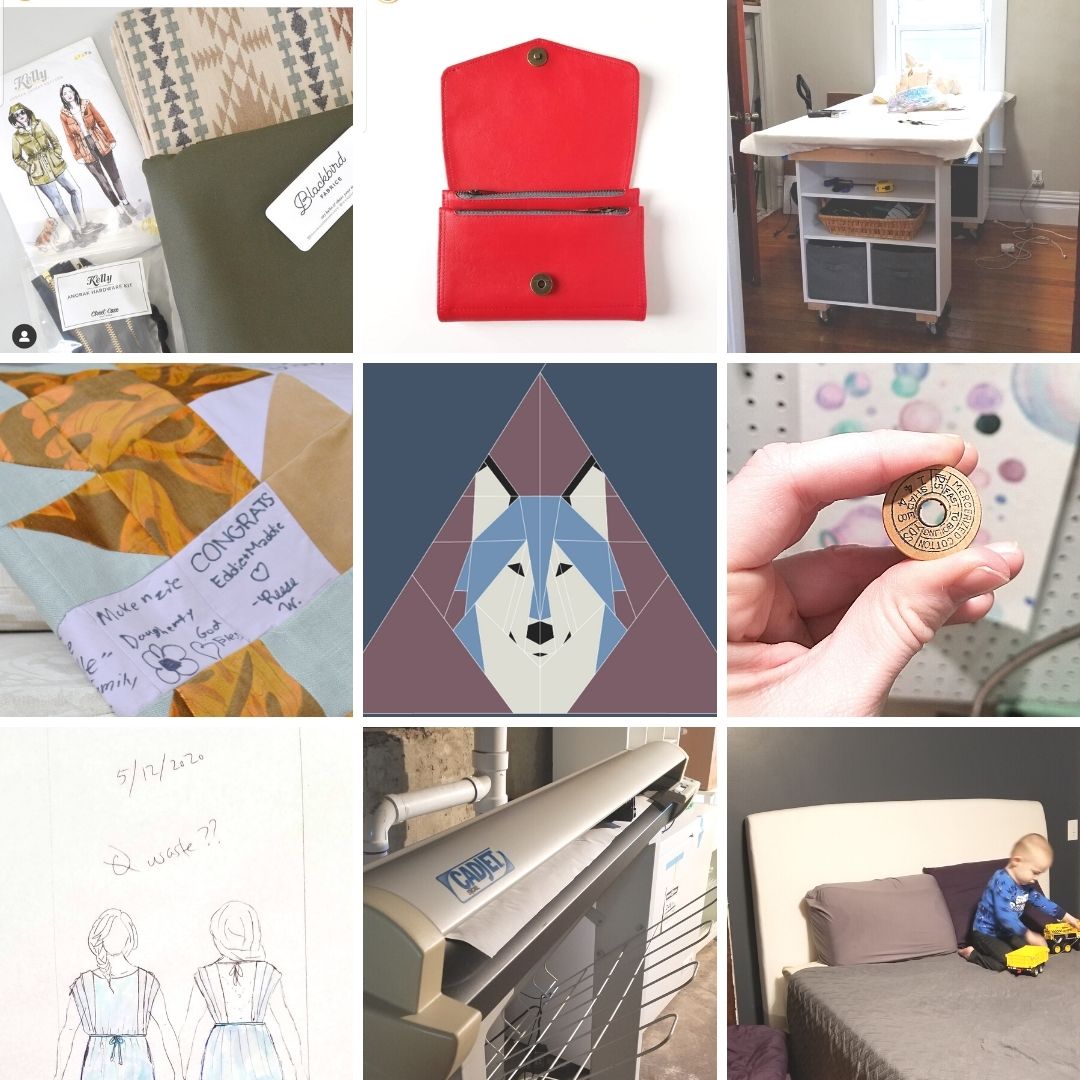
A few weeks ago, I got an email from Joe at Fabric Wholesale Direct (FWD) asking if I'd like to partner with them. I could pick out $100 worth of fabric from the site, and get it for free. And in exchange, I would write up a blog post tutorial about the project I choose to make from it and link back to their website. I eagerly agreed, and spent the next few hours pouring over all the fabrics they offer. And here's what I found: $100 of fabric at FWD is WAY more fabric than I realized. I started out with just one project in mind, to recover several outdoor cushions I picked up for free. And I was pleasantly surprised to find some waterproof fabric options for my project, with a wide selection of colors. I decided on Ottertex waterproof canvas in silver, and added my yardage to my cart. But even with 7 yards, it was nowhere near the $100 limit, so I took another look around the site to see what else I might like. I decided to add several more fabrics to my cart, and make this a blog series instead of just one post. This first post is just a rundown of all the fabrics I picked out, and future posts will be about what I make from each fabric. I can't wait! This post has very little to do with sewing, but I've gotten a few questions about my chalkboard wall, so I figured I'd put this post out there in case anyone is interested! The house we've been renting since August came to us with a chalkboard painted on one of the dining room walls. I was super excited about it, and I've been having a lot of fun creating chalk murals that coordinate with the seasons. I've now made 3 different drawings, one for Halloween, one for Christmas, and one for the new year. I love scrolling through pinterest to get ideas and I will often combine elements from several different pins to come up with what I want to draw. I should post photos of my inspiration pics to give them their credit, but honestly it's been so long ago now that I don't remember if I even saved them on pinterest. I'll try to remember for next time. Halloween:Disclosure: Some of the links below are affiliate links, meaning, at no additional cost to you, I will earn a commission if you click through and make a purchase. Affiliate links are marked with an * Back around 2015, I got a job at Silk Mountain creations. It's a drapery workroom, and I had so much fun seeing all the sewing techniques and tools that were totally new to me, but completely normal for the home decor/soft furnishings industry. Hands down, my favorite new tools were the tables we used. They were big, on wheels, countertop height, rulers along the sides, pinnable, ironable, and had a ton of storage underneath. The best part? They were DIY. One of the owners of the business had actually built them, and I got to help recover one of them while I was an employee. It was such a great way to work, that I would sometimes come in after hours to use the set up for my own sewing. A lot of the branding photos I use are actually flat lays I set up using these tables, like this one below. After working at Silk Mt for a length of time, I decided that once I had the space, I was going to build myself one of these tables. And now that I DO have a room for my sewing, it is time!
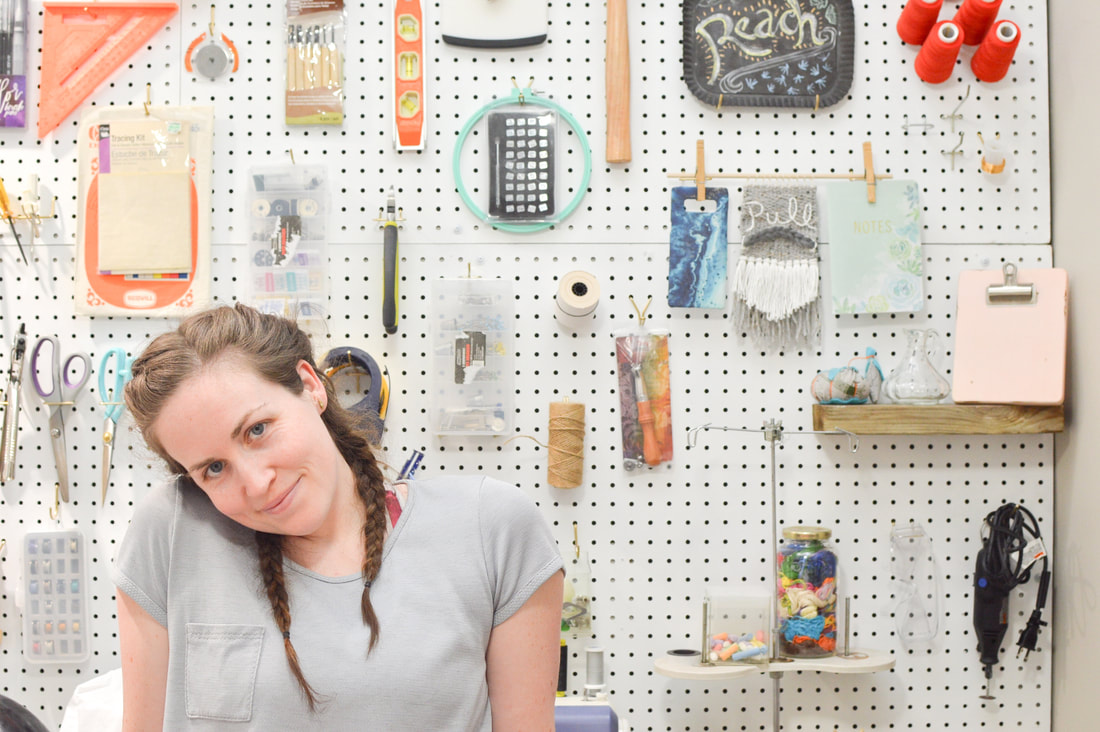
Disclosure: Some of the links below are affiliate links, meaning, at no additional cost to you, I will earn a commission if you click through and make a purchase. A super fun project that has been in the works over the last few months is my sewing studio! My little sewing room is coming together, especially with the addition of my pegboard wall.
I knew that in such a small room, storage was going to be one of the big challenges. I decided to tackle this challenge with a two pronged attack. First, I don't keep fabric in my sewing room (it's all sorted into storage bins in the basement), and second, I use as much vertical space as possible. After drooling over several other sewist's pegboard walls, I couldn't resist going all out and making an entire wall of my studio into pegboard storage. After some white paint and several calls to my dad for mounting advice (Thank you dad!) I now have a gorgeous way to display (and organize) all my tools. For my 2021 MakeNine challenge, I've decided to focus on WIPs (Work in Progress). I'm notorious for starting a million and one projects, but never completely finishing any of them. My last few MakeNine challenges have been trending in this direction, with projects lingering on from year to year. So I'm just gonna embrace it! Here are 9 projects that are in various stages of unfinish that I hope to finish this year.
|
madeline stage
creative business owner. designer. hoosier. crafter. runner. sewer. swing dancer. outdoor enthusiast. entrepreneur. wife. mom. material hoarder. Categories
All
Archives
June 2023
|
Contact Me
|
Weekly Mantra:Motivation doesn't last. That's why, just like bathing, we recommend it daily.
Click here for the Privacy Policy |
|

 RSS Feed