
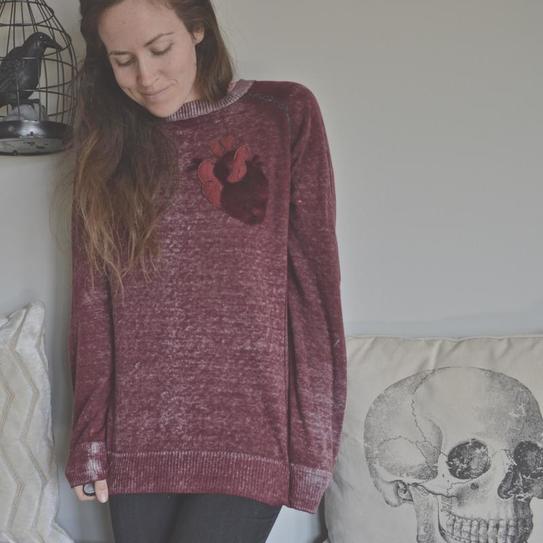
 I have a new PDF pattern for you guys!! It is a super quick and easy anatomical heart appliqué! As I'm sure you know by now, I'm obsessed with all things Halloween. I love the big elaborate costumes, but I also love little touches of macabre. Things that I can wear all October long, simply as a part of my outfit, without drawing a ridiculous number of stares. And this simple little heart is absolutely perfect! You can add it to a tshirt, a dress, a coat, or a costume. Make it really stand out with contrasting fabric, or make it a subtle addition as I did here. I appliquéd this thrift store sweater last friday, and then immediately wore it out to Kings Island for their Halloween Haunt night and it was perfection! Now I just need to make about ten more!  If you haven't picked up the pattern yet, you can head on over to the shop to grab it. I have the basic written instructions on the one page pdf as well, but if you want a more detailed tutorial, you are in the right place! Read on!
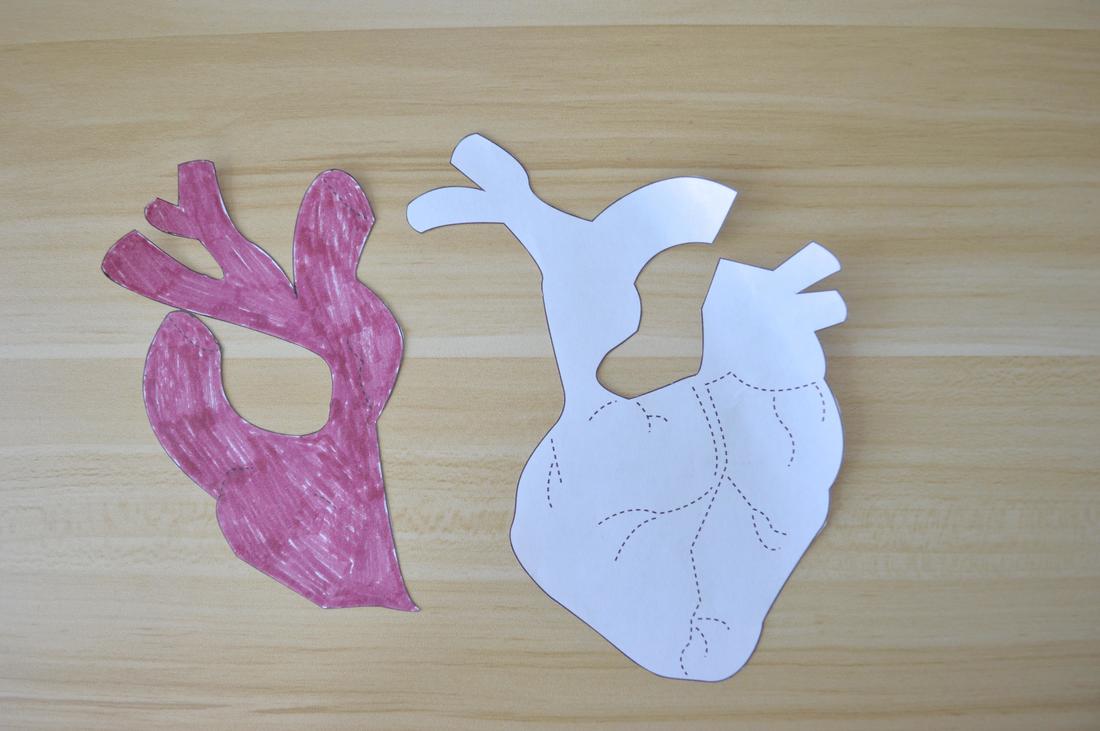
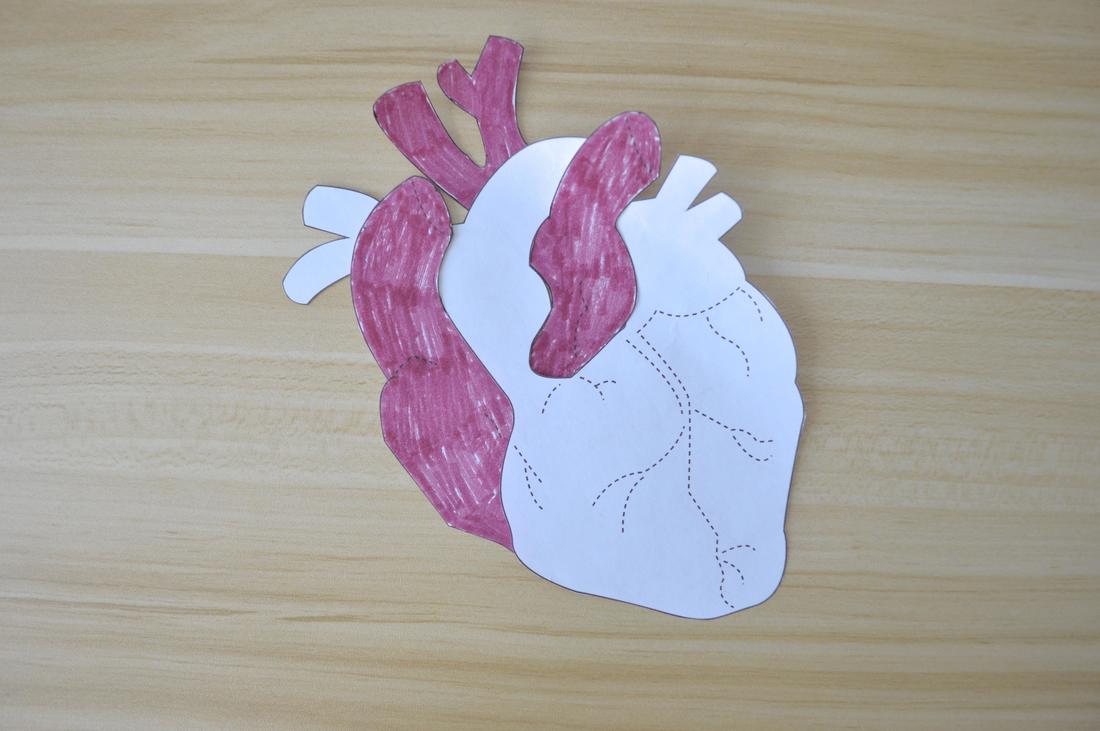
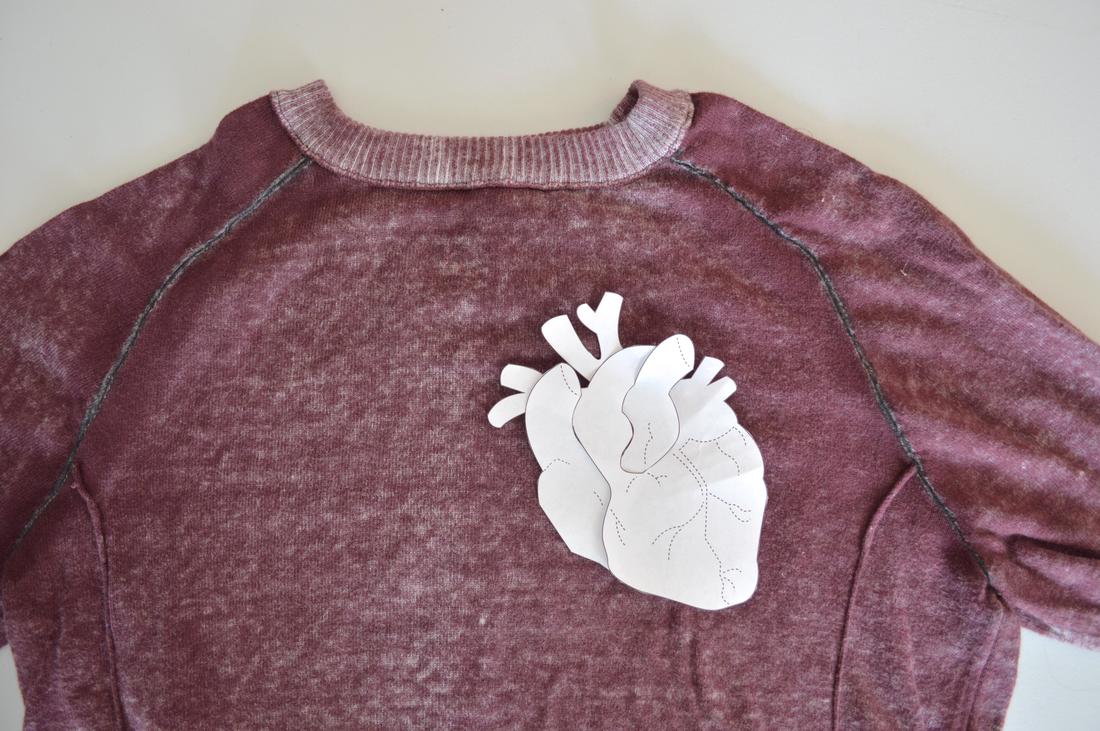 Cut out the 2 (only two!) pattern pieces, and use them to cut your fabric. I really like the look of having two different tones for the two different pieces of the heart. A super easy way to do this is to use the same fabric, just flipped to the back side, which is what I did here! One is right side up, and the other is right side down. 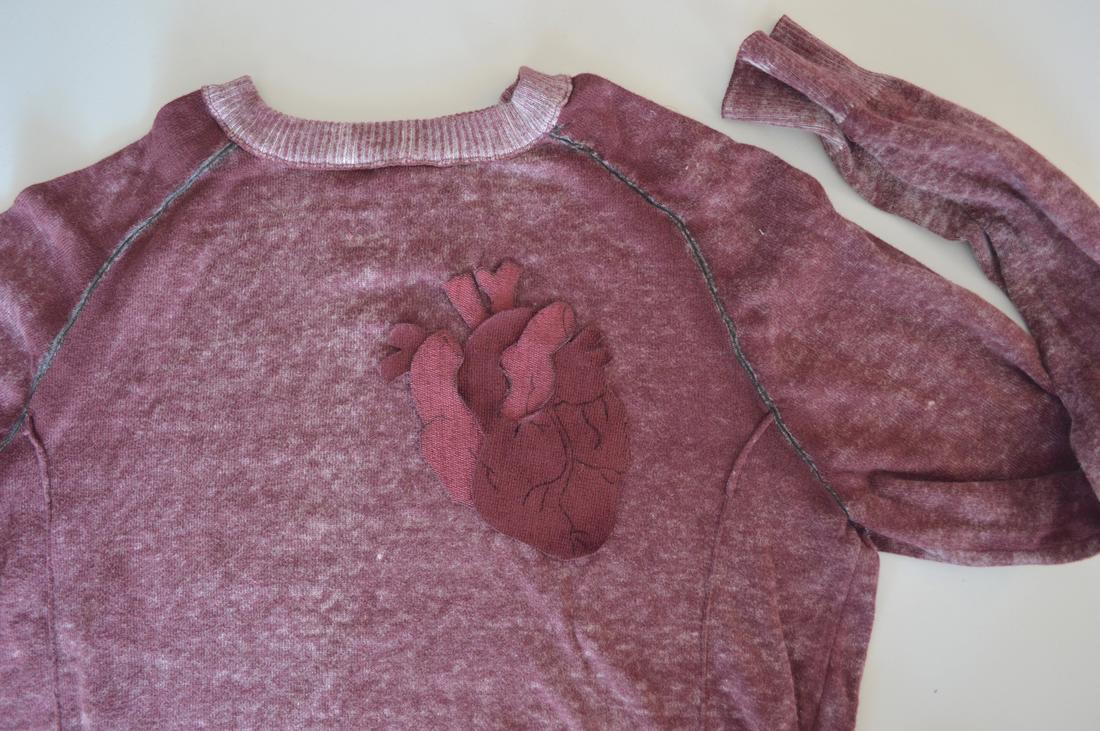 Transfer the dotted line markings from your pattern to your fabric. I honestly just used a black marker since I planned to sew over them in black thread anyway.  If you are using a fabric that may unravel along the edges, you can use fray check or some sort of stabilizer to help keep your fabric intact. 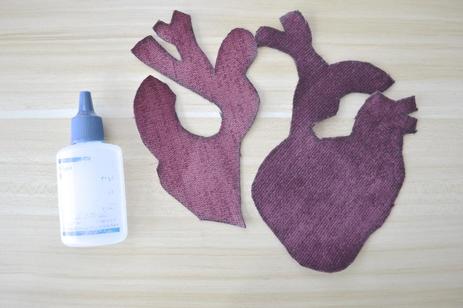 Once the fray check has dried, intertwine your two heart pieces together so that they look like so: 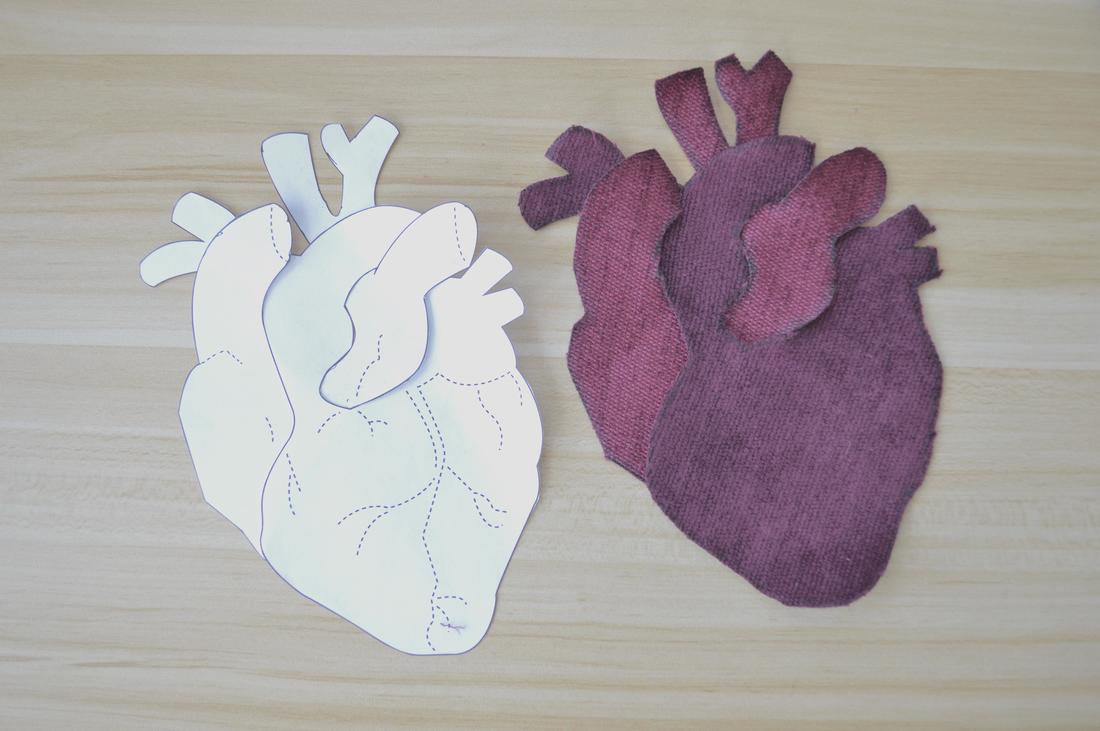
Pin them into place on your main fabric (whatever you are adding this appliqué to) and topstitch them in place! I just followed along the edges of my heart pieces, and then sewed down a few of the dotted lines as well. 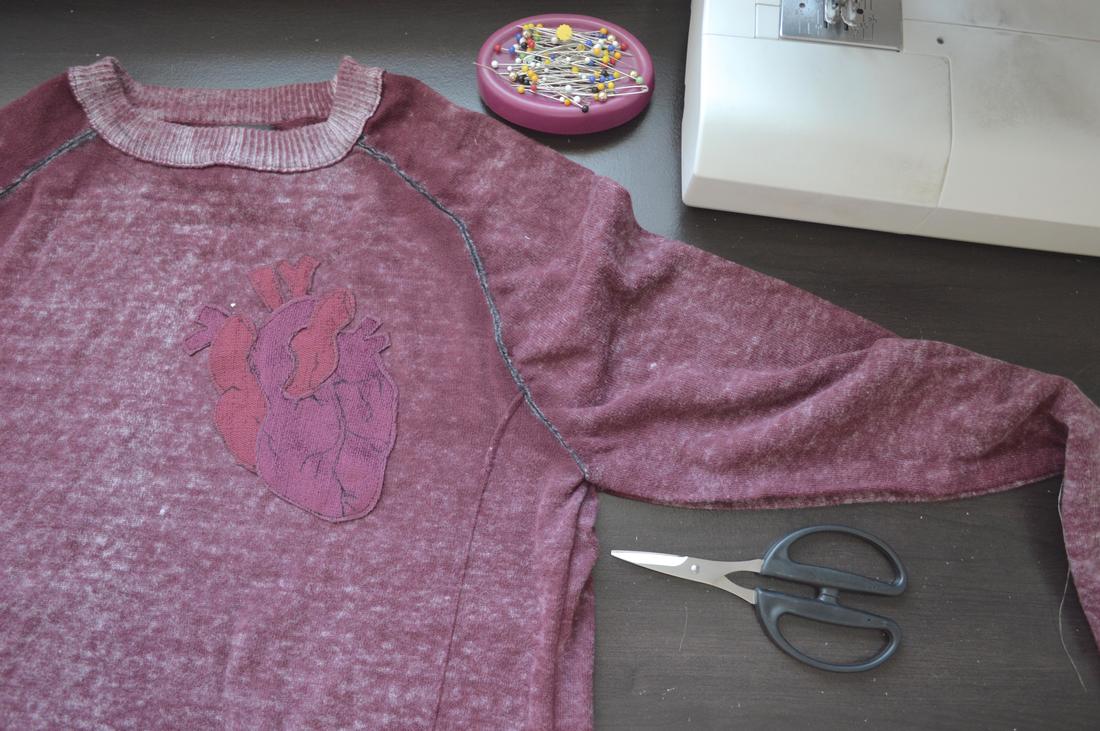 Then, if you like, you can use embroidery thread to really make your heart lines pop! 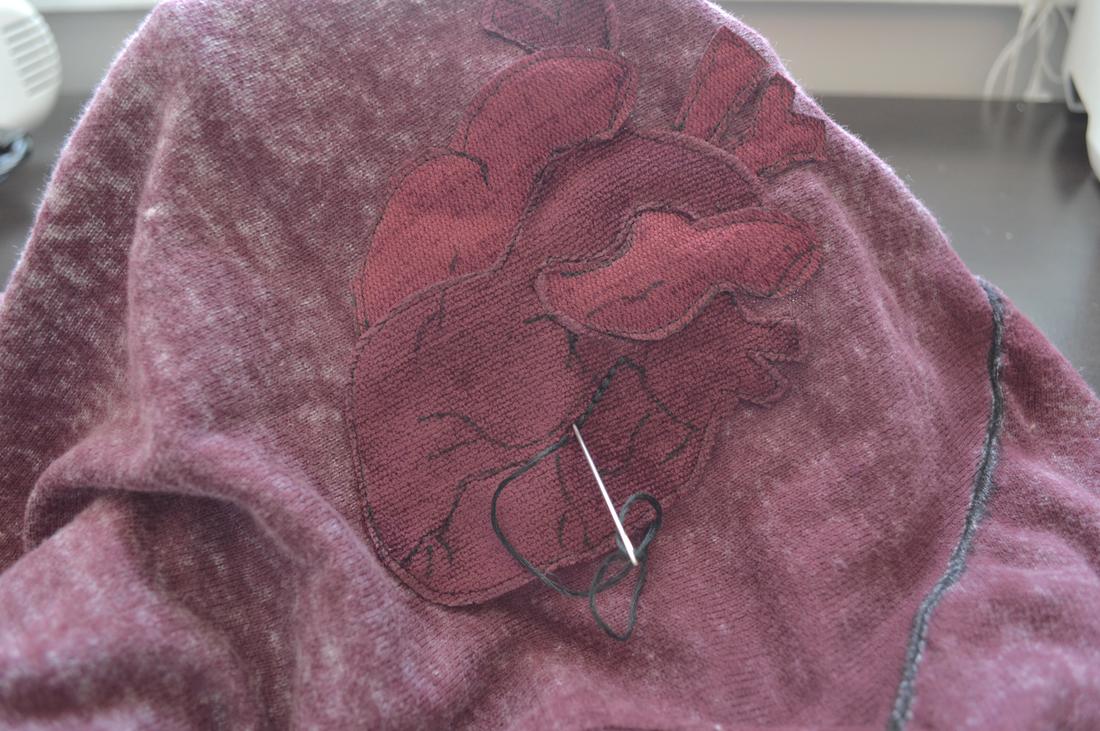 Boom! Done! Enjoy your new anatomical heart! And don't forget to use #anatomicalheartapplique so I can see your creations!! 
0 Comments
If you haven't seen Sylvia's Epic Halloween Quilt on FlyingParrotQuilts.com, you need to drop everything and go look! I am absolutely in love with her quilt blocks, and her color choices! One day, I will make this quilt for myself! Mark my words! I'm extra excited to see her Round-up for it this year because she gives my Tombstone Pillow a mention! I would love to see someone make both the quilt and the Tombstone pillows for an epic Halloween bed set. Because you know that's what is going to happen over here at the Stage household one day. 
Guest Post by Annabelle, Chief Crafter and Writer at Wunderlabel
Have you ever noticed that a basketball player does much better when they are wearing the
right shoes, have a perfectly aired up ball, and are at their home gym? Whether you are crafting or playing a sport – or even doing another hobby – the perfect space is the key to your success. The perfect space is what enables you to hone your skills and create that perfect, finished piece. It is like having all the correct components when you are baking a cake: If you are missing the flour or sugar, or even just the food coloring, something in your finished product will be off. So, when you are crafting, it is essential that you find the perfect sewing space to master your skills, ensuring you have all the key components for success. The perfect sewing space consists of proper lighting to match your colors or contrast and goes all the way down to proper storage for your patterns. Not only will the perfect sewing space help improve your skills as a crafter, but it will also make you more comfortable and ensure proper care of your tools. It is hard to do your best if you aren’t feeling your best. But, a perfect sewing space will have a comfortable working space with enough room for you and your tools. And, it is hard to do your best if your tools are not in top notch condition. But, the perfect sewing space will take care of that as well, offering you storage for tools, threads, patterns, and your labels. Keep reading to see the 14 Steps to Creating Your Perfect Sewing Space, an infographic designed by Wunderlabel.com 
 Hello, and welcome back to the Tombstone Sewalong! It's time for Part 5, during which we will be finishing our tombstones! If you are just stumbling upon this series, you can head over to Part 1, and start there! SEWING YOUR PILLOW TOGETHER Now that you have put the cording on your pillow (this was done in Part 4), it is time to close your pillow up! Match up the “Start” notch on the boxing, and the “Start” dot on the front of the pillow with right sides together, and pin it in place. Now do the same for the rest of the corner markings around the edge of your pillow, all the way until it gets back to the start. These will help keep you on track, because the hard part of sewing boxing is making sure that the front and back of the pillow are directly matched up through the boxing, otherwise your pillow will skew and be lopsided. After pinning the important marks, you can pin the rest of the gusset in place. Now you can sew! Sew from the “Start”, across the bottom, and all the way around until you get back to the “Start” dot in the bottom right corner (see picture below). 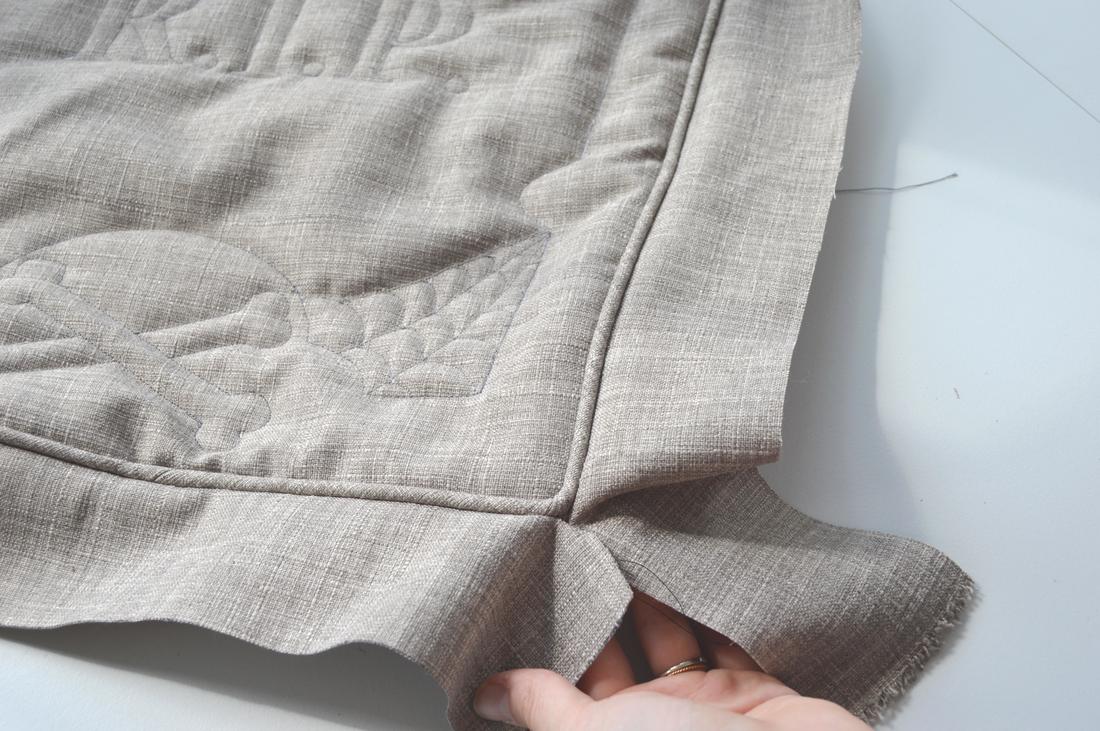 Tips: You should arrive at each of your pinned markings with an equal amount of fabric on the gusset and the front pieces, but this isn’t always the case. Different people and machines mean that it isn’t always perfect. To help, keep checking as you go to make sure that you are on track, and if you find that you are getting off track, you can gently stretch the fabric that is too short to help make it fit. Or add more clips into the shorter fabric to help release more tension. Now we repeat for the back of your pillow. Once again, pin all the markings together, and then the rest of the gusset before you sew. But this time, you will sew from the “Start”, up the side, across the top, then down around and across the bottom to the end (the opposite order of the front) Stop sewing about 4-5 inches before you return to your “Start” mark to leave an opening for stuffing your pillow. 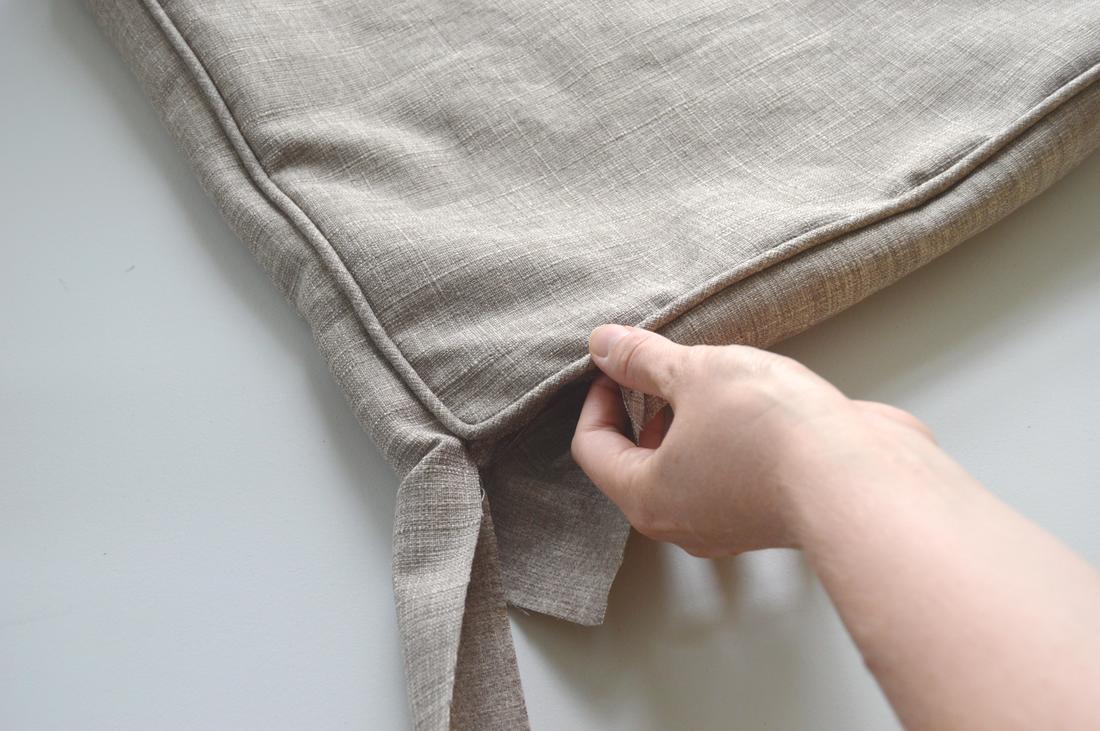 TroubleShooting Got a tricky fabric, and you just can’t get MY gusset markings to line up with the front of YOUR pillow? Don’t sweat it! Here is Option #2: Sew the gusset onto the front, without worrying about lining things up. BUT, when you get done, make new markings on the gusset where it lines up with the markings on the front, and transfer these markings to the opposite side of the gusset (exactly across), to be lined up with the back of your pillow. Now just make sure the back of the pillow lines up with your new markings on the gusset so that the pillow isn’t lopsided! 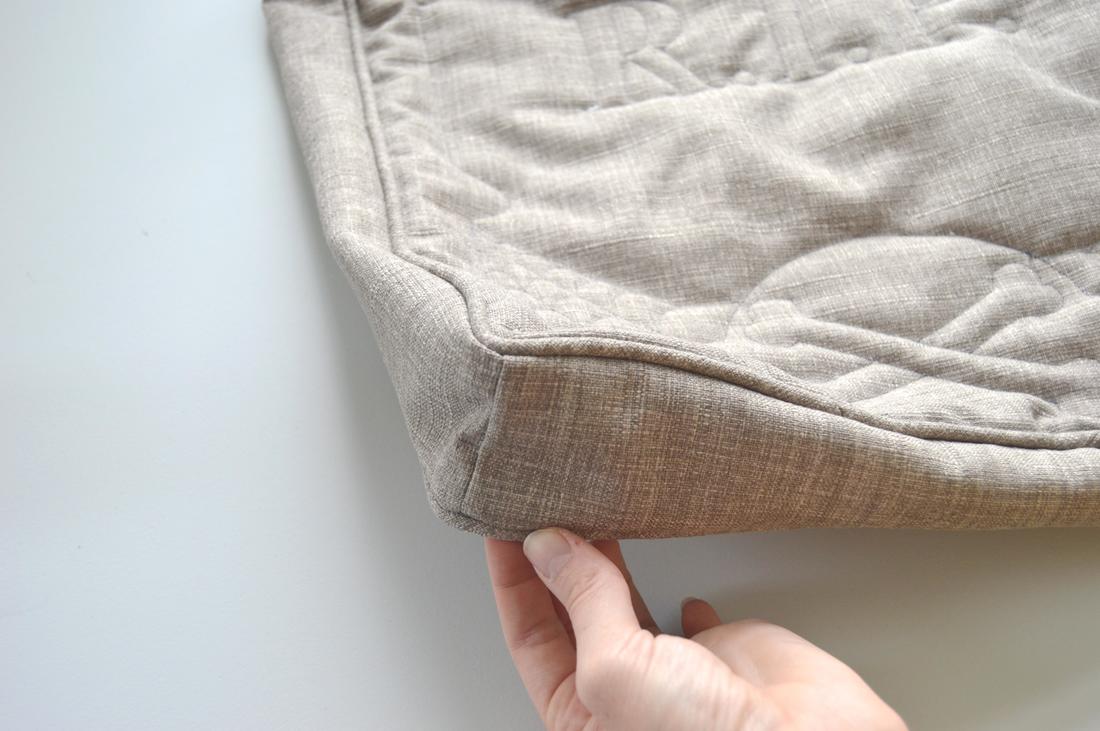 CLOSING YOUR PILLOW Once you are done sewing, turn the pillow inside right, poke out all the corners, and fill it with your polyfil! Tip: A screwdriver is a great too to help you poke out all the corners. 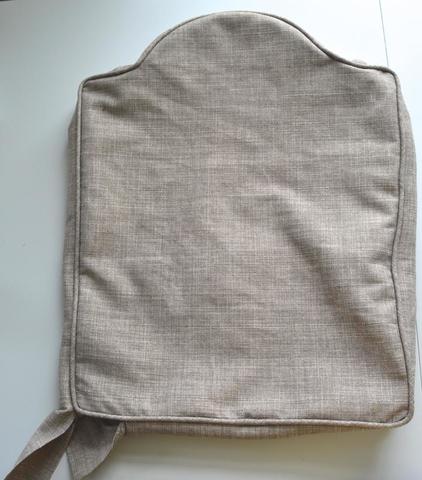 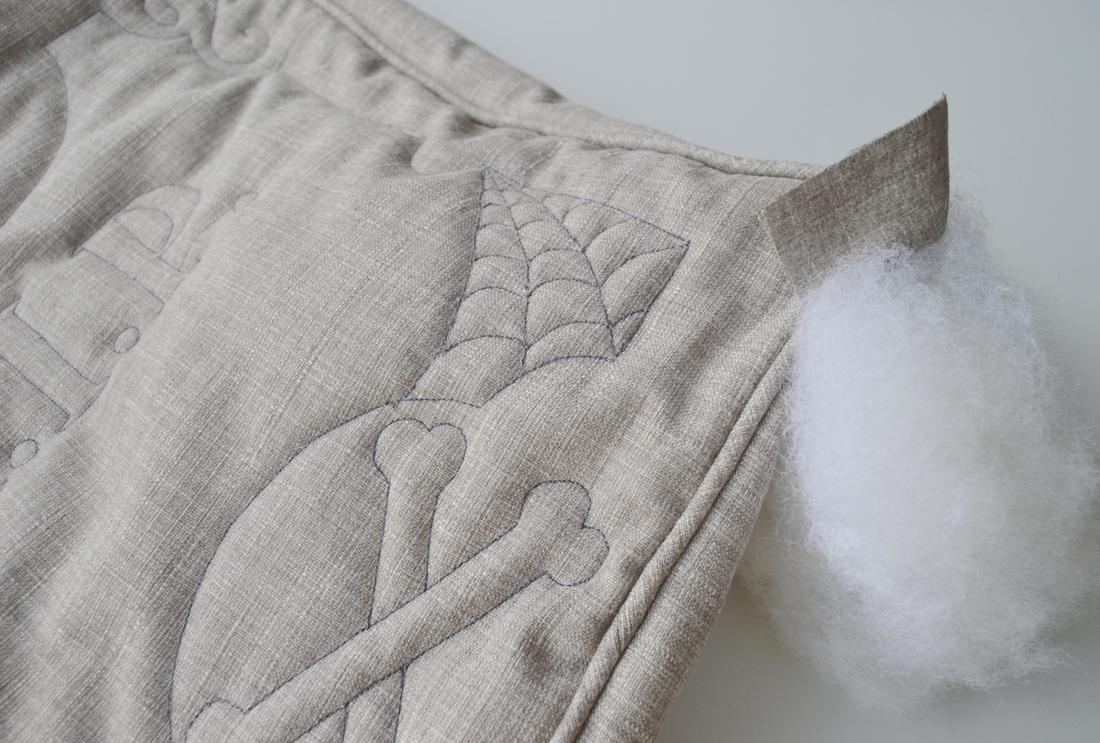 Now turn the edges of the opening in, and pin the pillow shut like in the example below. Then, using a color of thread that blends in, sew the opening shut using a ladder stitch. If you need a refresher for how to do this stitch, check out a tutorial on my blog HERE 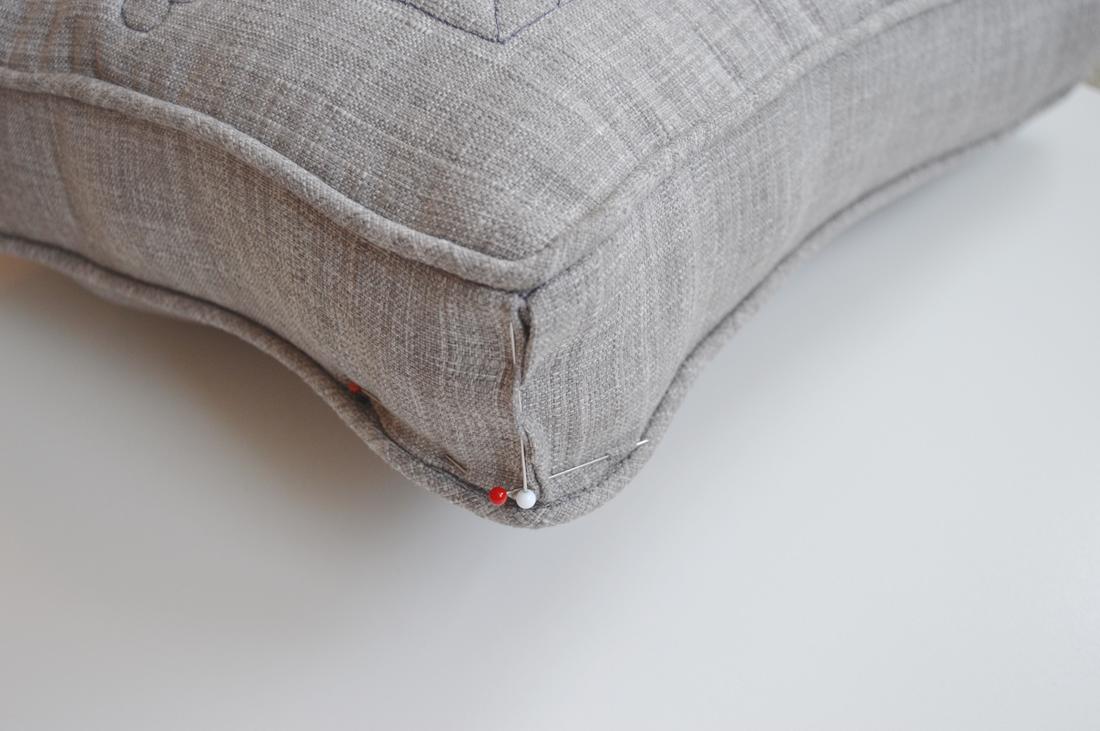 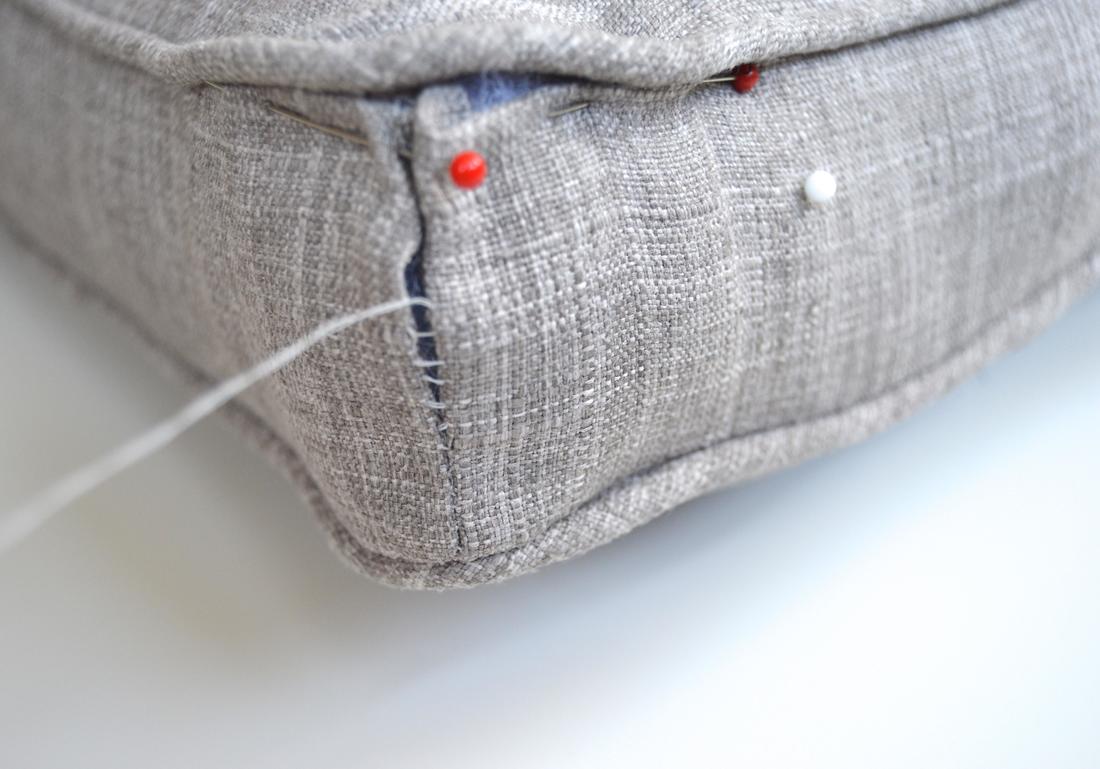 And now you have a finished tombstone!! Yay!! I would love to see photos of your finished cemetery. Just shoot me an email ( [email protected] ) or use #tombstonesewalong on instagram.
Let me know if you have any questions! |
madeline stage
creative business owner. designer. hoosier. crafter. runner. sewer. swing dancer. outdoor enthusiast. entrepreneur. wife. mom. material hoarder. Categories
All
Archives
June 2023
My Instagram Feed:
@GoheenDesigns |
 RSS Feed