
 Hello, and welcome back to the Tombstone Sewalong! It's time for Part 5, during which we will be finishing our tombstones! If you are just stumbling upon this series, you can head over to Part 1, and start there! SEWING YOUR PILLOW TOGETHER Now that you have put the cording on your pillow (this was done in Part 4), it is time to close your pillow up! Match up the “Start” notch on the boxing, and the “Start” dot on the front of the pillow with right sides together, and pin it in place. Now do the same for the rest of the corner markings around the edge of your pillow, all the way until it gets back to the start. These will help keep you on track, because the hard part of sewing boxing is making sure that the front and back of the pillow are directly matched up through the boxing, otherwise your pillow will skew and be lopsided. After pinning the important marks, you can pin the rest of the gusset in place. Now you can sew! Sew from the “Start”, across the bottom, and all the way around until you get back to the “Start” dot in the bottom right corner (see picture below). 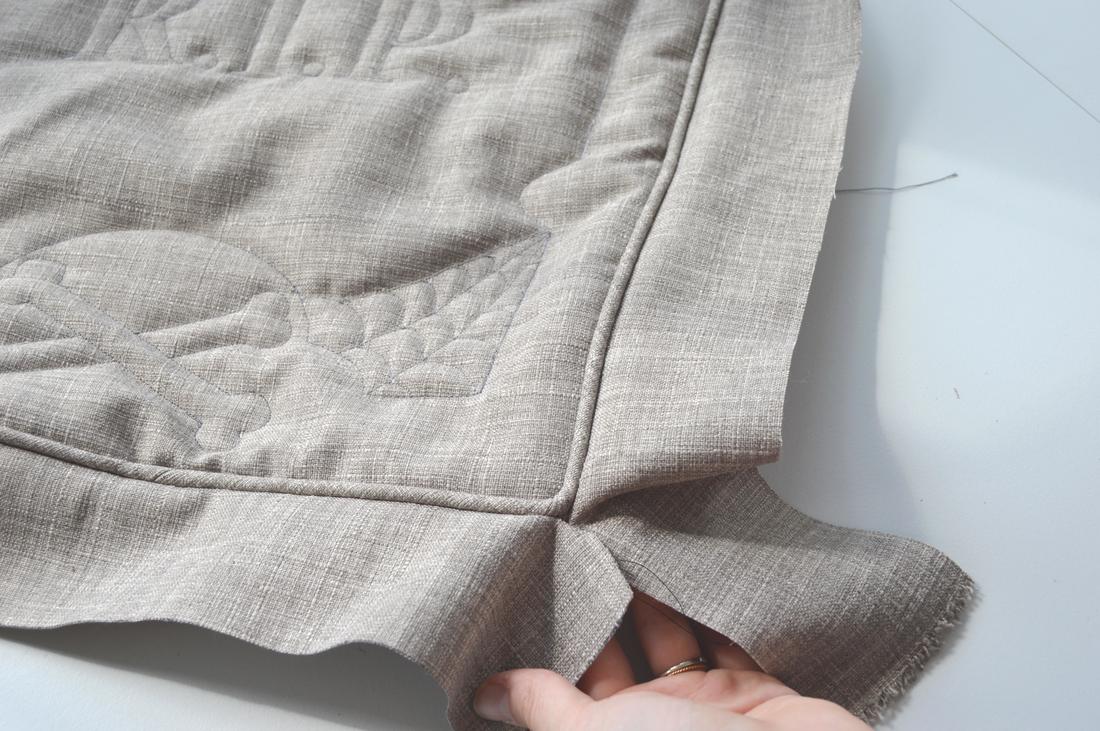 Tips: You should arrive at each of your pinned markings with an equal amount of fabric on the gusset and the front pieces, but this isn’t always the case. Different people and machines mean that it isn’t always perfect. To help, keep checking as you go to make sure that you are on track, and if you find that you are getting off track, you can gently stretch the fabric that is too short to help make it fit. Or add more clips into the shorter fabric to help release more tension. Now we repeat for the back of your pillow. Once again, pin all the markings together, and then the rest of the gusset before you sew. But this time, you will sew from the “Start”, up the side, across the top, then down around and across the bottom to the end (the opposite order of the front) Stop sewing about 4-5 inches before you return to your “Start” mark to leave an opening for stuffing your pillow. 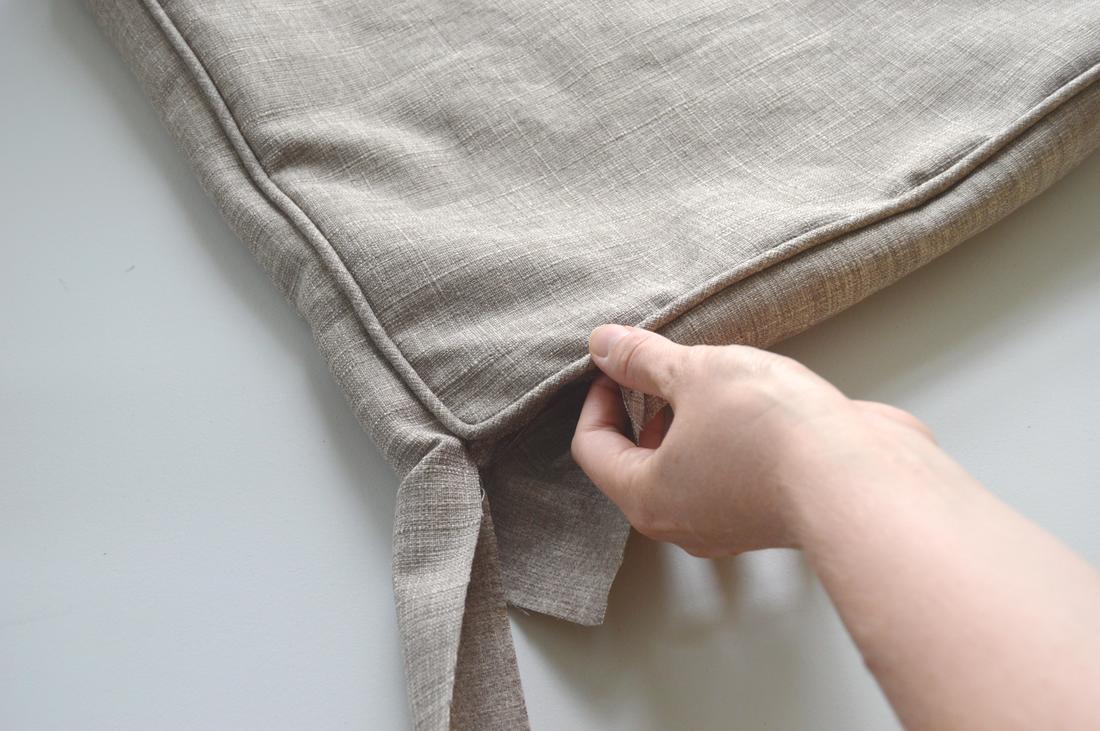 TroubleShooting Got a tricky fabric, and you just can’t get MY gusset markings to line up with the front of YOUR pillow? Don’t sweat it! Here is Option #2: Sew the gusset onto the front, without worrying about lining things up. BUT, when you get done, make new markings on the gusset where it lines up with the markings on the front, and transfer these markings to the opposite side of the gusset (exactly across), to be lined up with the back of your pillow. Now just make sure the back of the pillow lines up with your new markings on the gusset so that the pillow isn’t lopsided! 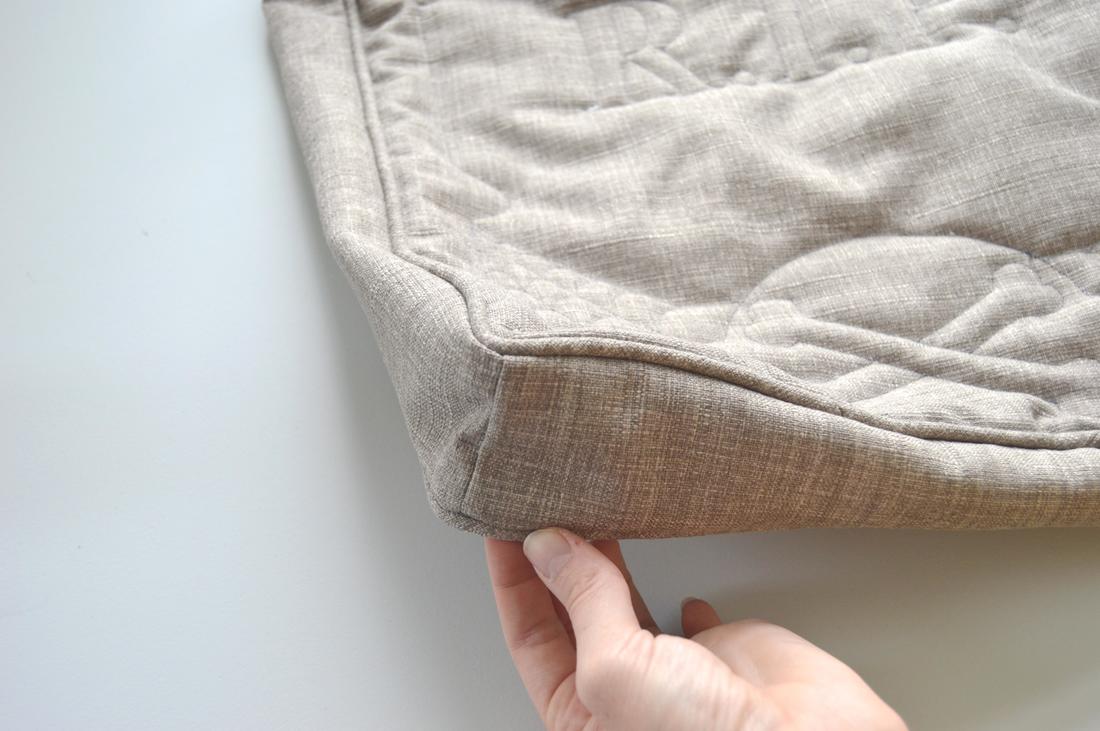 CLOSING YOUR PILLOW Once you are done sewing, turn the pillow inside right, poke out all the corners, and fill it with your polyfil! Tip: A screwdriver is a great too to help you poke out all the corners. 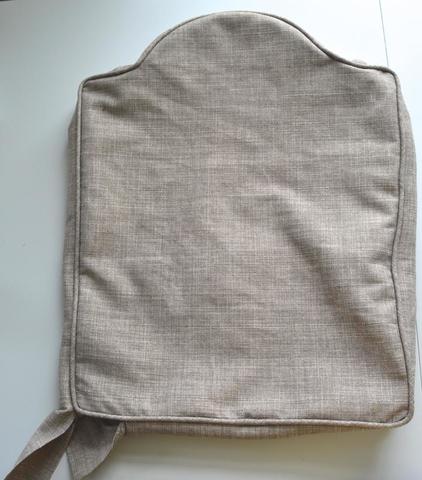 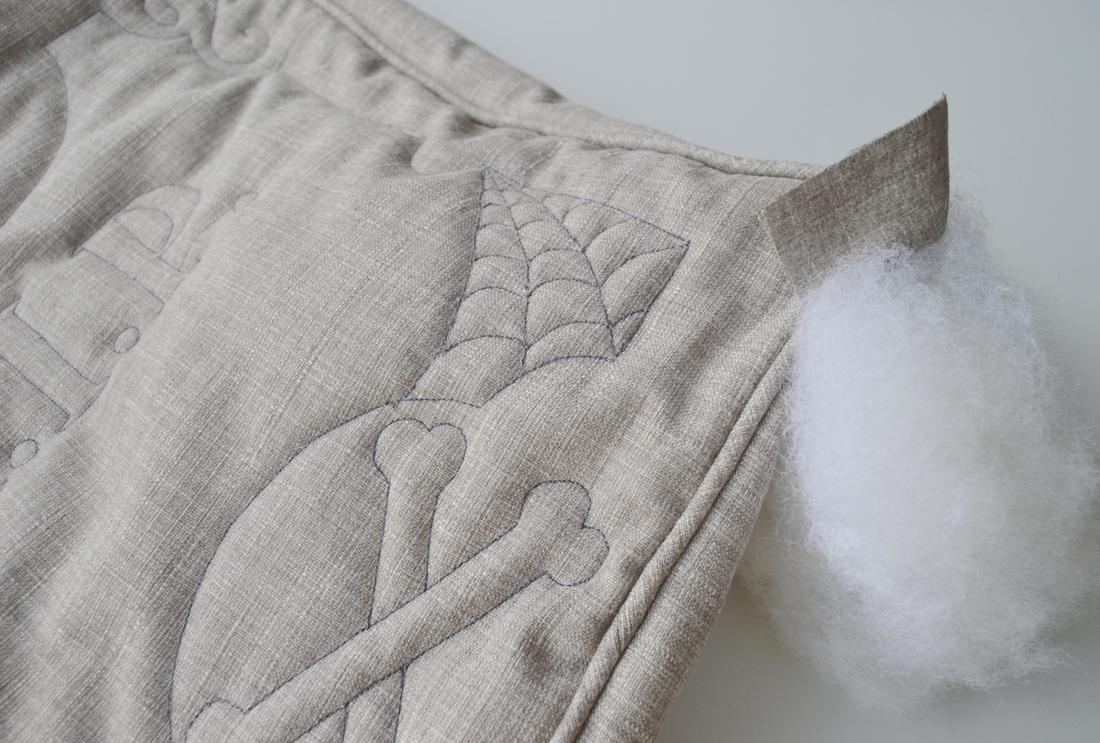 Now turn the edges of the opening in, and pin the pillow shut like in the example below. Then, using a color of thread that blends in, sew the opening shut using a ladder stitch. If you need a refresher for how to do this stitch, check out a tutorial on my blog HERE 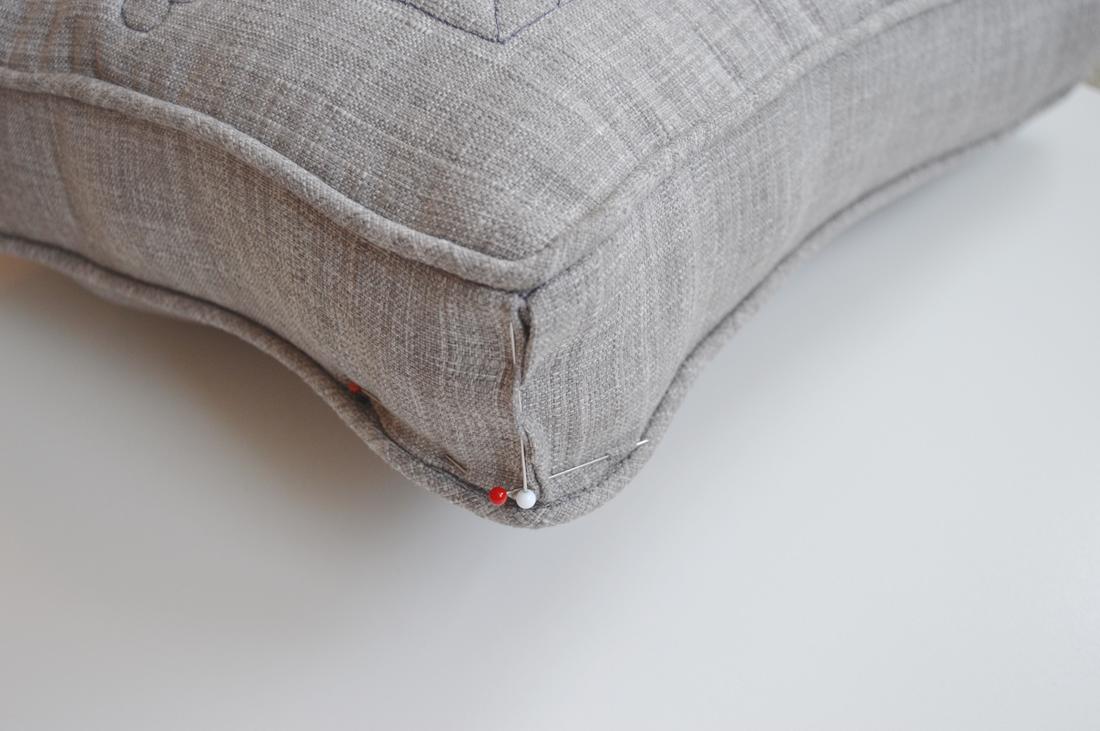 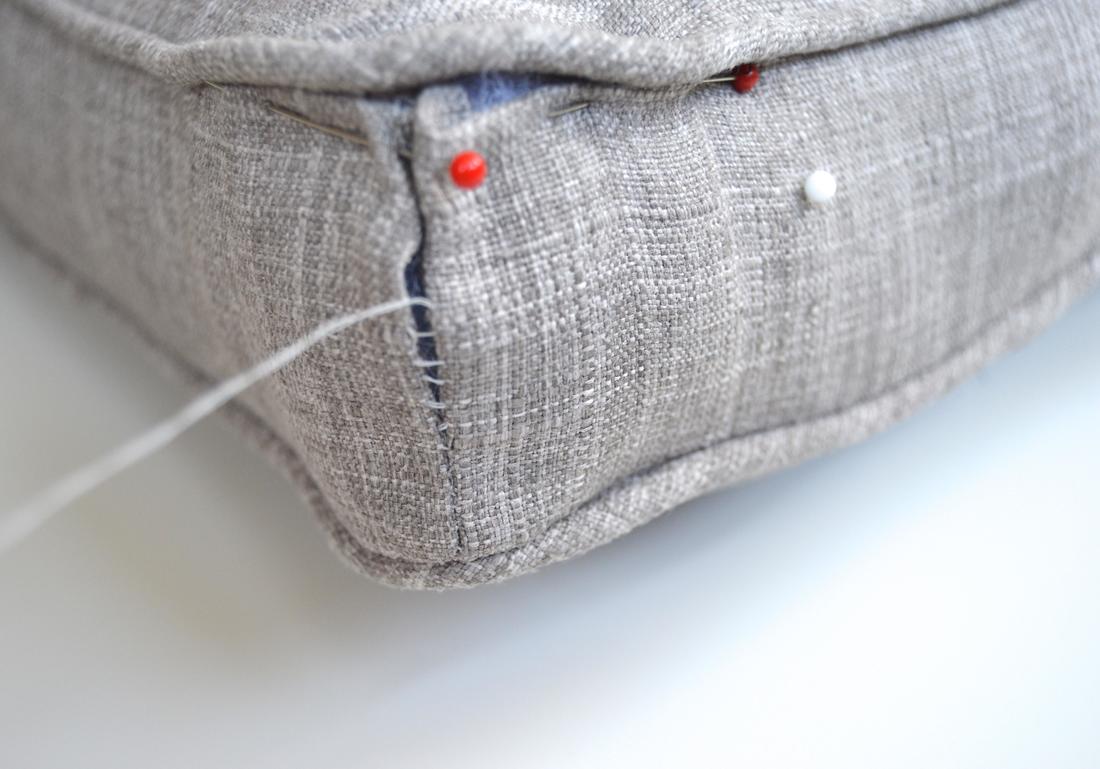 And now you have a finished tombstone!! Yay!! I would love to see photos of your finished cemetery. Just shoot me an email ( [email protected] ) or use #tombstonesewalong on instagram.
Let me know if you have any questions!
2 Comments
8/26/2022 12:39:16 pm
These will help keep you on track, because the hard part of sewing boxing is making sure that the front and back of the pillow are directly matched up through the boxing, Thank you for making this such an awesome post! Leave a Reply. |
madeline stage
creative business owner. designer. hoosier. crafter. runner. sewer. swing dancer. outdoor enthusiast. entrepreneur. wife. mom. material hoarder. Categories
All
Archives
June 2023
My Instagram Feed:
@GoheenDesigns |
 RSS Feed