|
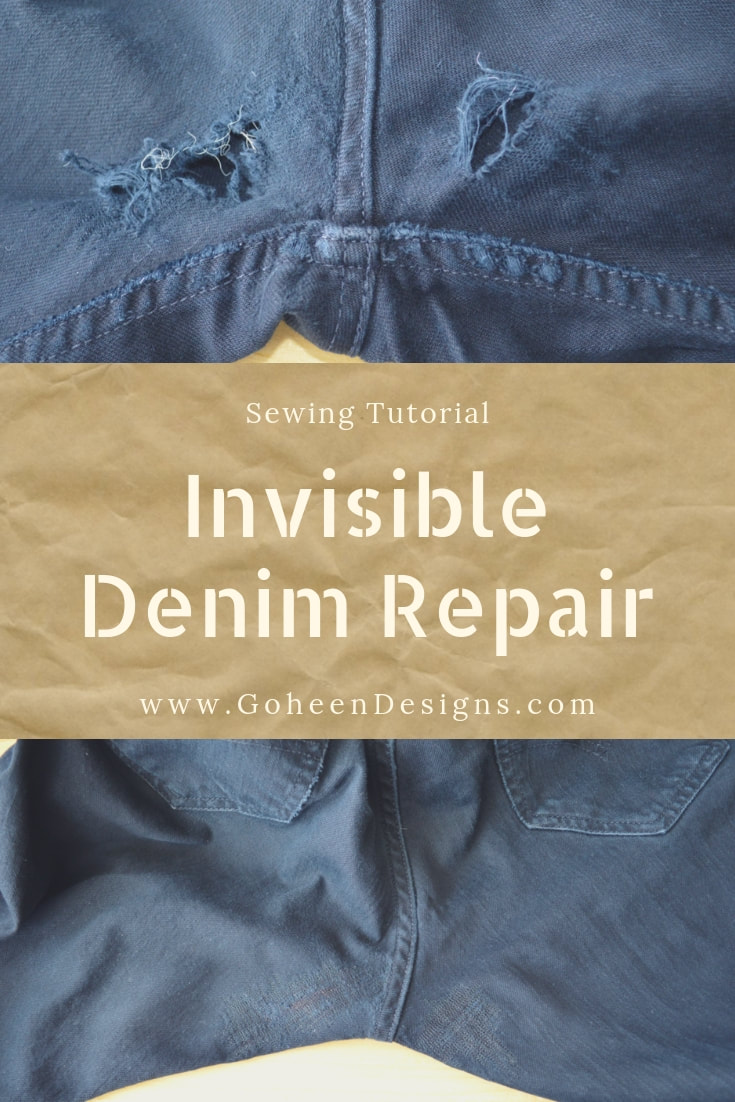
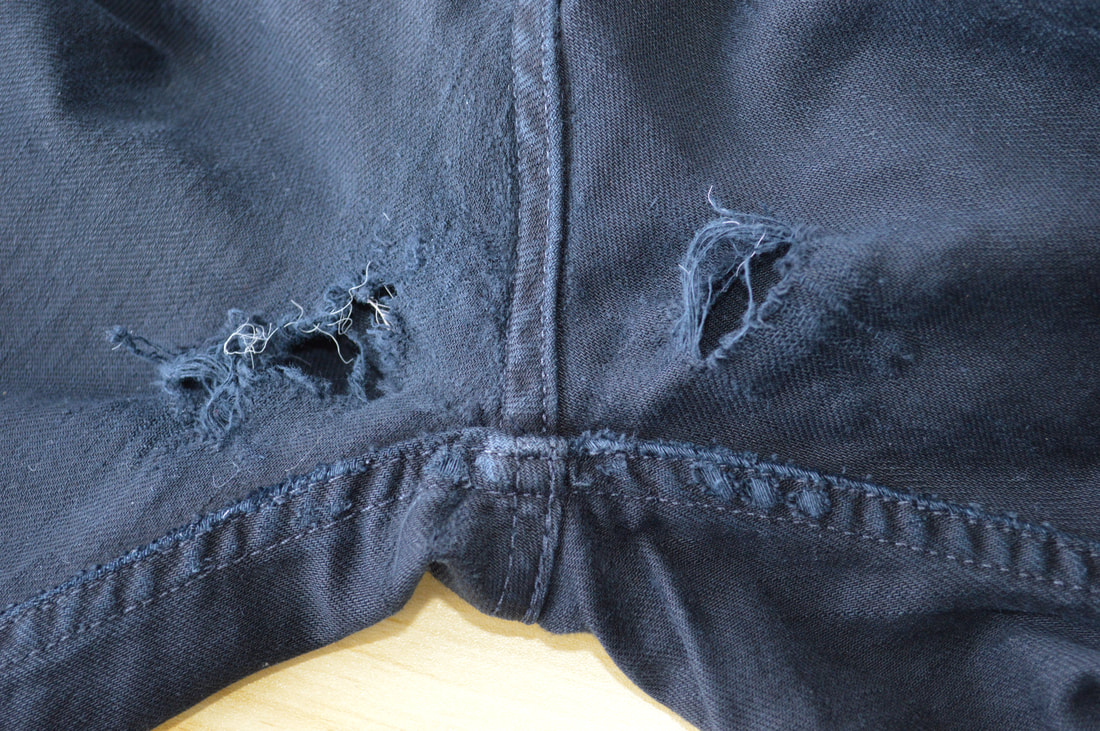
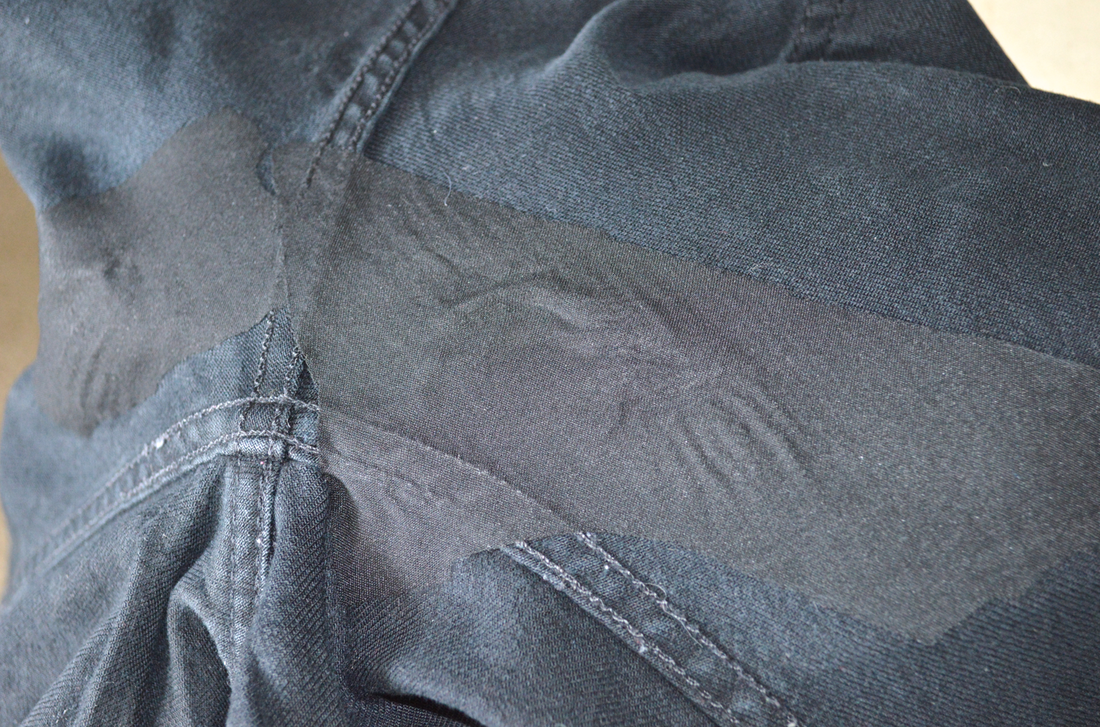
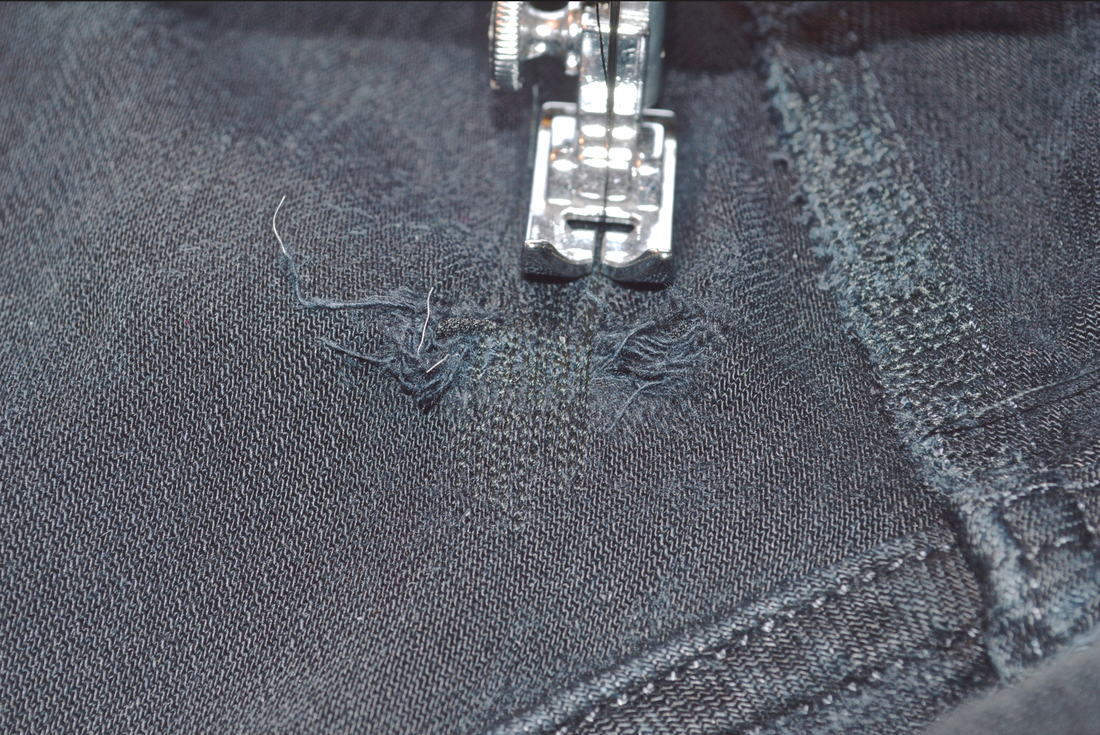
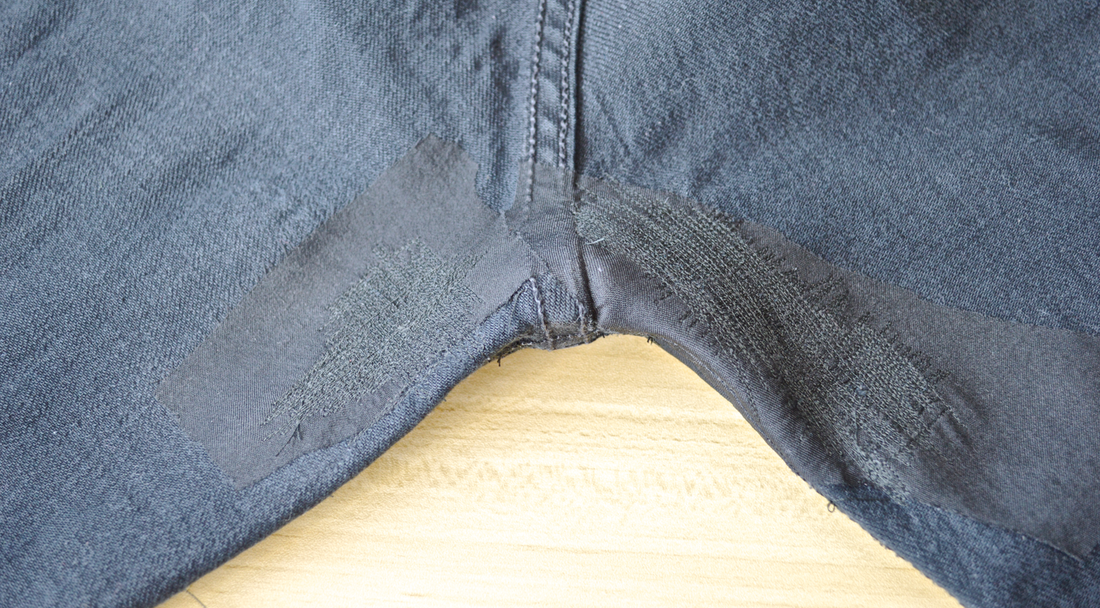
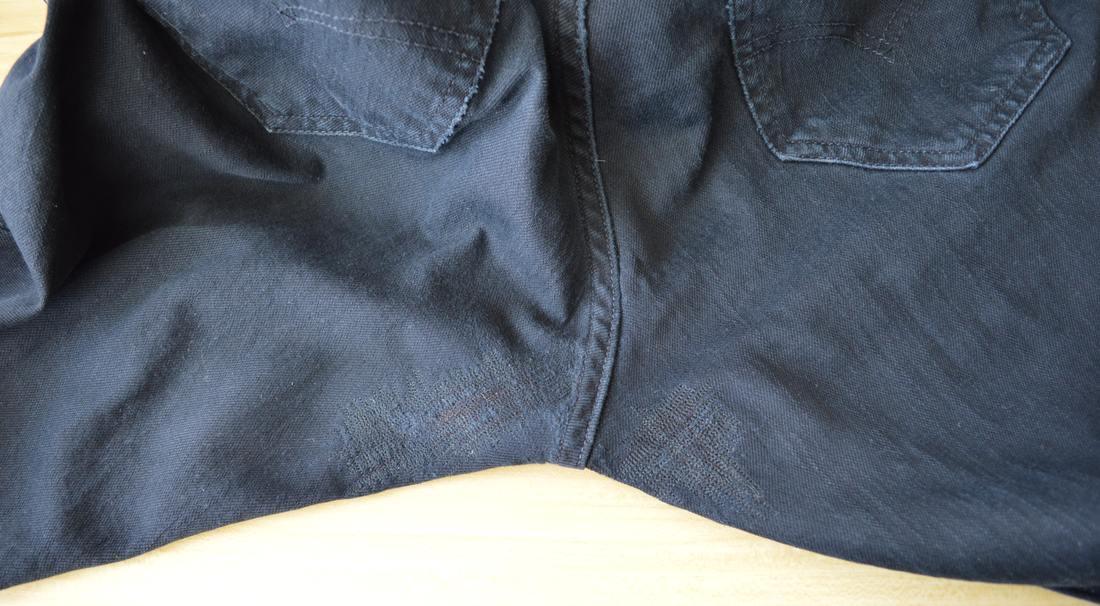
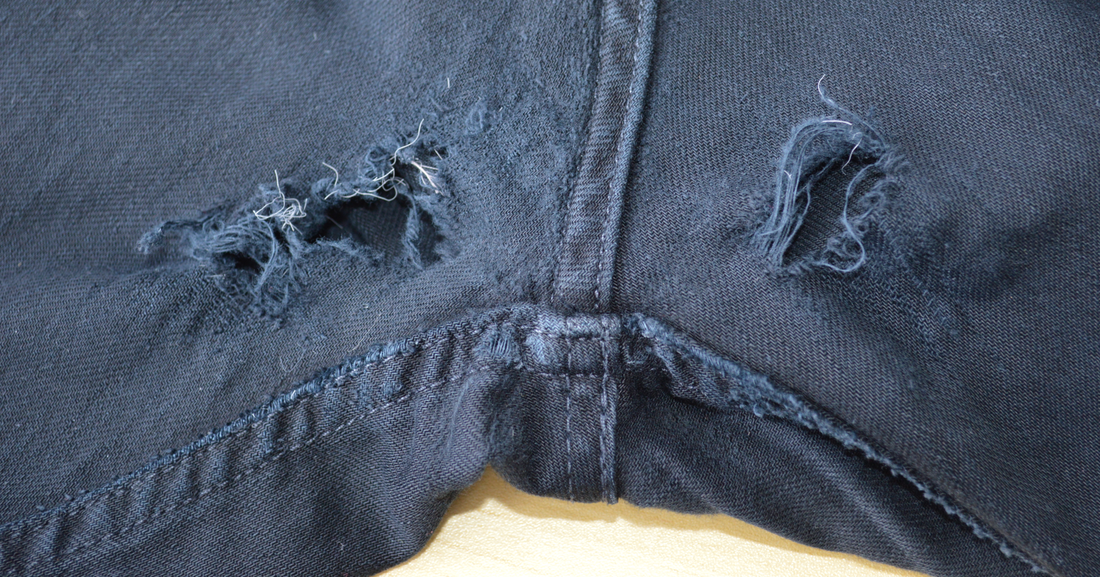
A few weeks ago, I saw in instagram post by Closet Case Patterns that completely blew my mind! She was sharing an interview she did with Rain from Indigo Proof. She is a specialist in denim repair, and you absolutely have to take a look at Rain's before and after photos. It is complete magic! Along with the interview, Heather (of Closet Case Patterns) also put up a blog post about how to try this invisible mending technique for ourselves. I can't tell you how excited I was when I discovered a giant hole in my husbands jeans over the weekend... I don't think he's ever seen me so excited to mend his clothing. The process was actually really simple! I used some scraps of fusible interfacing (lucky for me they were black to match the pants!) to interface the holes, and the area around the holes. Then, using a matching thread color (also lucky for me, because I of course have black thread) I sewed over the holes along the grain of the denim weave, imitating the fabric itself. Heather recommends that you use a darning foot, and that you mix up the top thread color to imitate the many hues of your worn jeans. Well, I don't actually own a darning foot for my machine, so instead I just used a regular foot, put the stitching length at about 1.5, and it seemed to work just fine! I also only had one color of black, so I didn't vary the hues at all. My repair work definitely isn't as invisible as Rain's is from Indigo Proof, or even Heather's attempt, but they look pretty damn good to me! It's a lot less noticeable than your underwear!
47 Comments
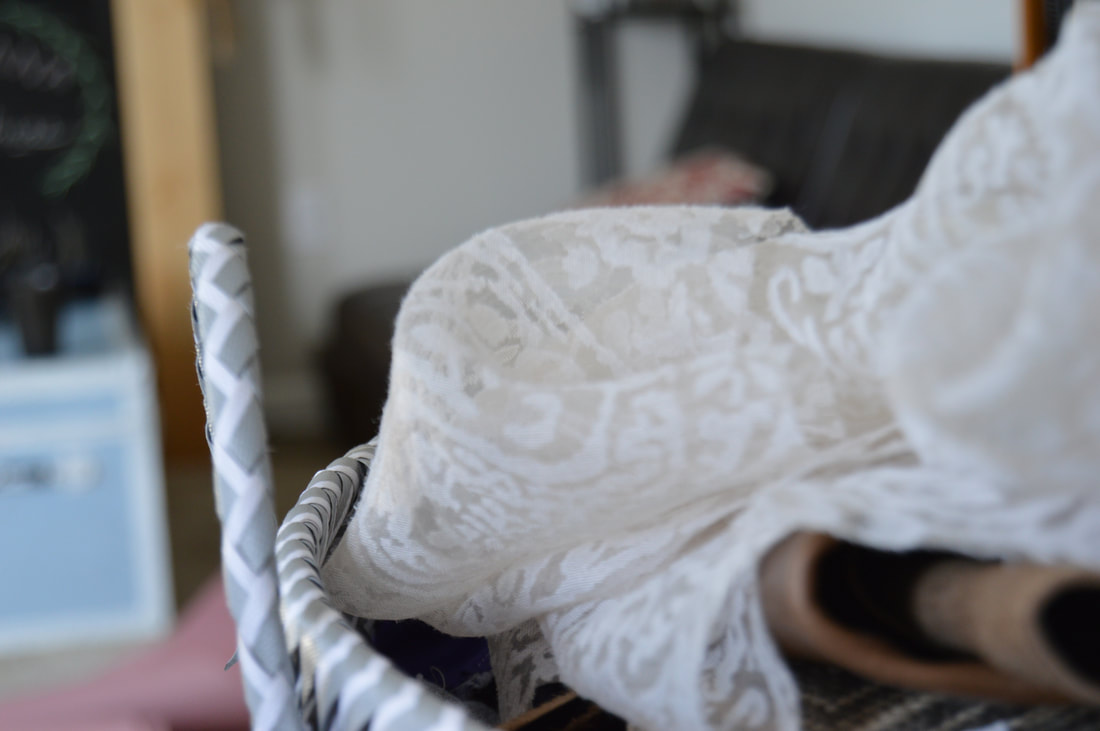
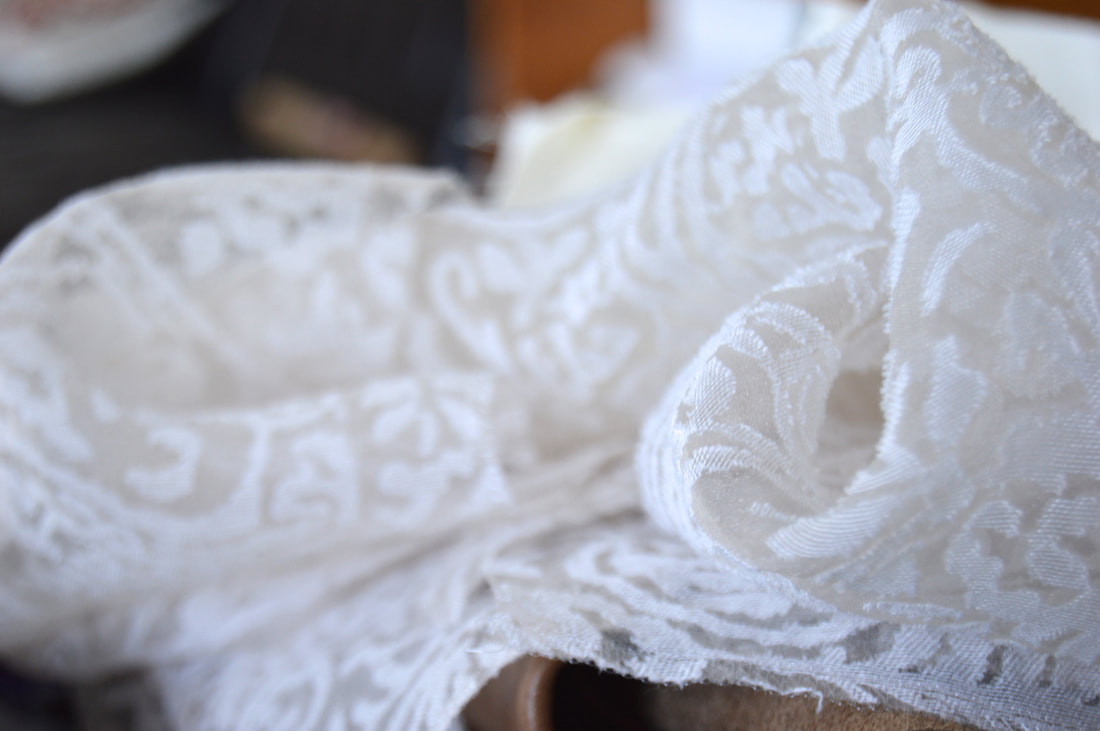
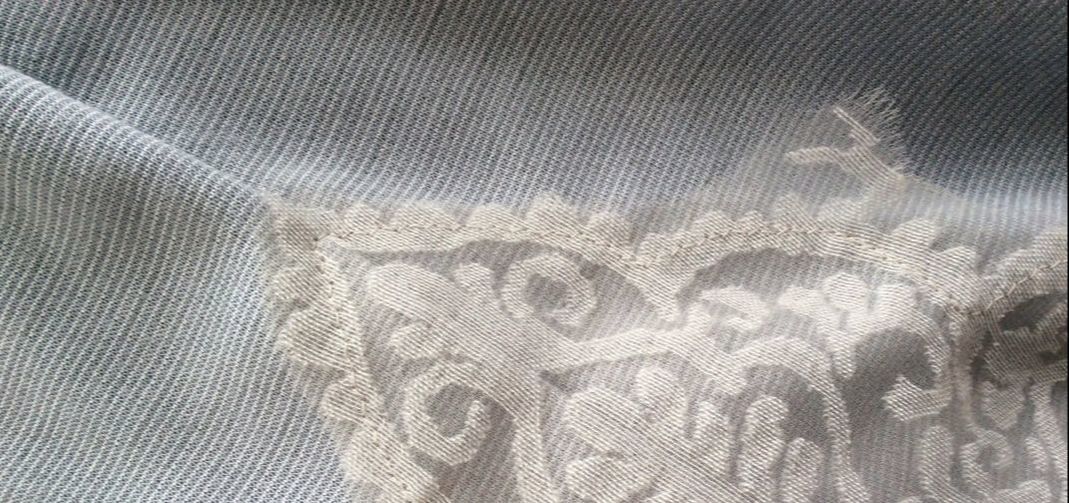
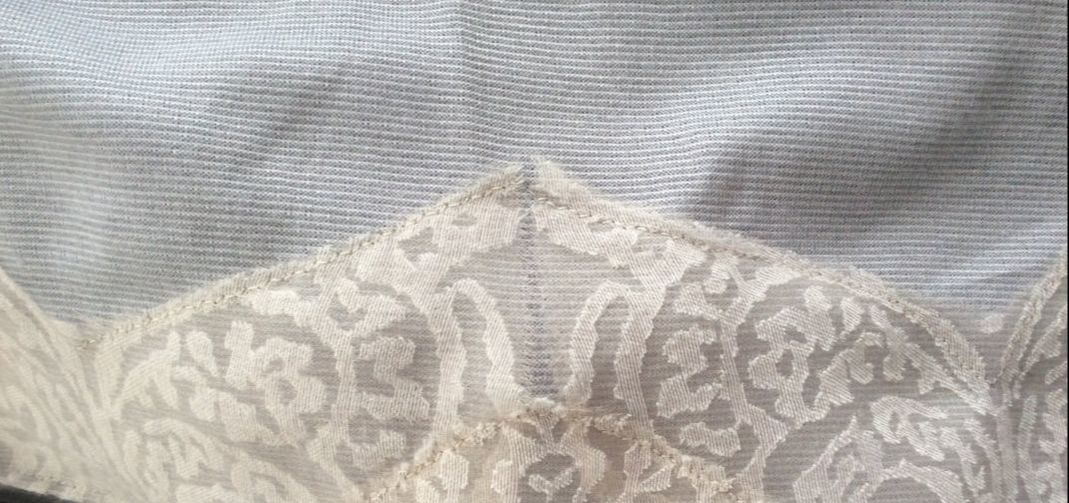
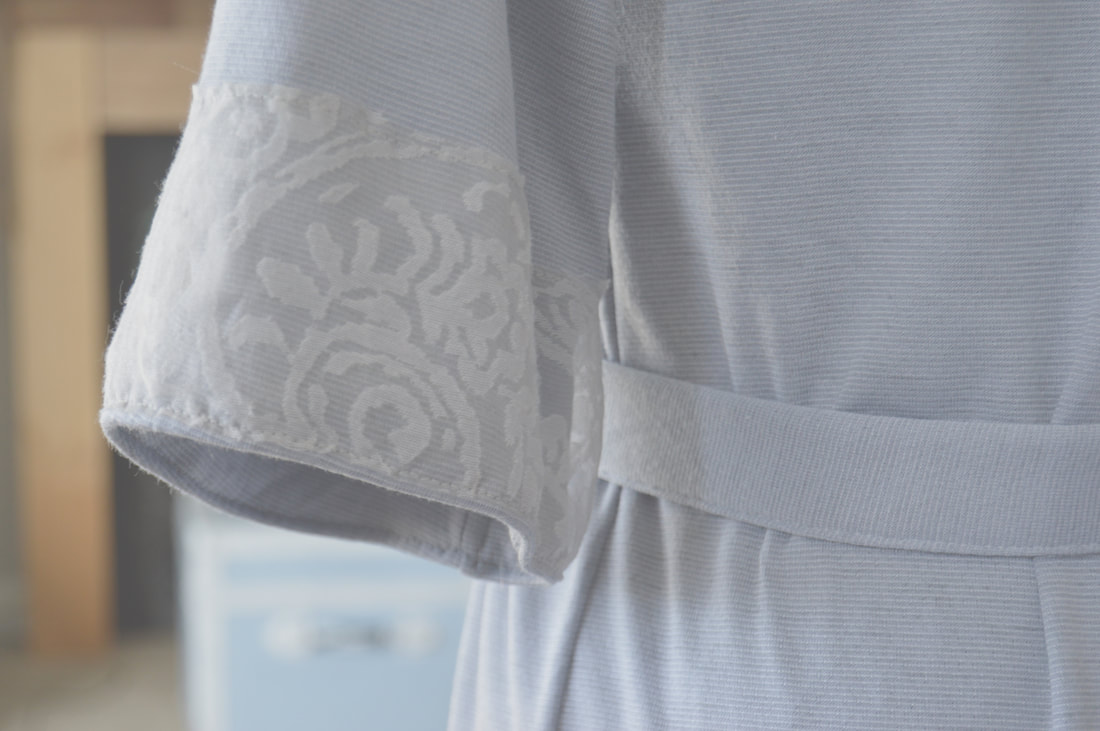
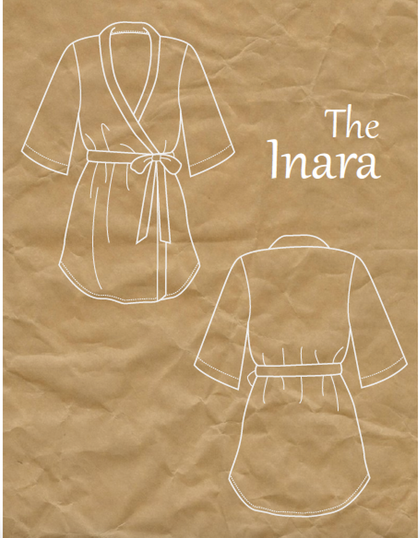
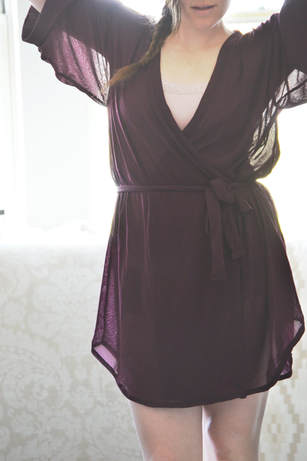
A couple of my pattern testers made a particular request after reading through my Inara instructions. After seeing one of the photos of my grey robe at the end of the instructions, they each let me know that they would love to read a blog post about how I added the lace to it. The good news?? It was super duper simple to do! The great thing about lace (most lace anyway) is that your can cut it, and it doesn't fray. So really, this beautiful lace overlay was really as simple as cutting out pieces of lace that I loved, pinning them in place where I thought they looked good, and then I chose a matching thread color and topstitched the pieces down. Easy as pie. I'm not sure why people say this, pie seems like a rather intimidating dessert to make. Easy as.....no bake cookies. There you go. If that sounds wayyy too simple, here are a few details and tips of what I did, in case you are planning on replicating it: - I placed the lace onto the robe after sewing the side seams but before the bottom hem step, and before adding the binding. In retrospect, the stiffness of the lace did weird things to my hem, so next time I'd hem and THEN add the lace overlay, and then put on the binding. I added the sleeve lace after hemming the sleeves, and as you can see it lays much nicer! - The lace sleeve bands are 3" tall. The lace around the hem is about 4", except at the sides where it goes up to 8" above the hem. I LOVE the way the higher lace on the side seams accentuates the curve of the hem. - As you can see in a photo below, I didn't have one nice big piece of lace to work with. There are actually several parts that are pieced together. But the beauty of matching your thread color is that you can only tell that it's pieced if your eyes are about a foot from my butt. And I don't usually let people get quite that close to my rear end. - I added a final touch of lace to the center back neck of the robe. I love that it brings the triangular motif of the hem to the back of the robe as well. - Unfortunately I cannot point you in the direction of this beautiful lace I used. It was a small sample piece in my stash from when a local fabric store was downsizing. #makeyourstash I would LOVE to see how you guys hack The Inara pattern to make it your own style, this way or any other way! And if you have any questions about what I did, just comment below! In the meantime, I'm now going to go make myself some no bake cookies.... I'm so excited to be releasing my third garment pattern! This is the my first pattern that uses my animal sizing, which I absolutely love. And it's already a staple in my closet! I've made three for myself, and I already have plans to make a fourth one! Robes are one of those garments that I never knew I wanted until I had one. My mother in law surprised me with a super fuzzy and warm robe for Christmas a few years ago, and now I barely take it off during the winter because I'm always freezing. But I decided I loved wearing it so much that I wanted a cute summery version too. And voila! The Inara was born. The name is a nod to the show Firefly, because Inara is one of my favourite characters and a flirty robe seems right up her alley! The robe is short and sassy with a hem that curves up on the sides, and it works great with all the lightweight drapey fabrics in your stash. It can be a beach coverup, a bridesmaid gift, lacy lingerie, a maternity delivery robe, a house coat, or a light outer layer for summery days. So much possibility! And it's a great pattern for Capable (advanced beginner) sewers! The curved hem, the thread belt loops, and the homemade binding might be new skills to add to your repertoire, and they each come with step by step instructions, tips, and even a few videos to help you along your way. And of course, I'm always here as a resource! I can't wait to see all the fun you have with this pattern!
|
madeline stage
creative business owner. designer. hoosier. crafter. runner. sewer. swing dancer. outdoor enthusiast. entrepreneur. wife. mom. material hoarder. Categories
All
Archives
June 2023
|
Contact Me
|
Weekly Mantra:Motivation doesn't last. That's why, just like bathing, we recommend it daily.
Click here for the Privacy Policy |
|







 RSS Feed