|
*** Fabric was gifted by Fabric Wholesale Direct in exchange for a blog post feature*** If you read my previous blog post Fabric Wholesale Direct Collab, then you know that I've been gifted several lengths of fabric from Fabric Wholesale Direct (FWD) in exchange for featuring these fabrics on my blog. And if you read that blog post carefully, you know that my first project was going to be recovering some outdoor cushions with the silver Ottertex Waterproof Canvas. And it's done!!
2 Comments
Would you love to sew your own Inara, but worried about the length? I've got you covered! If you take a look at the measurements chart for this robe, you will find the back neck to hem measurement. This will help you to determine if you'd like to lengthen or shorten your robe at all. Once you figure that out, come back here for these easy tutorials on how to hack the pattern to fit you better!
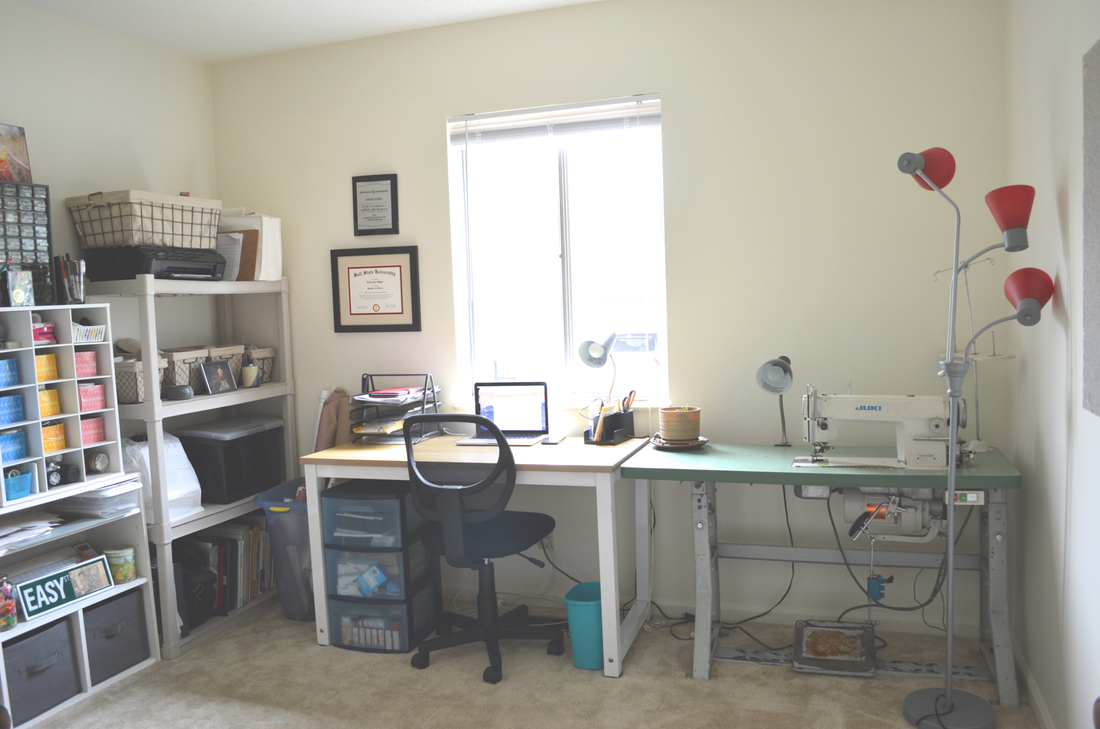
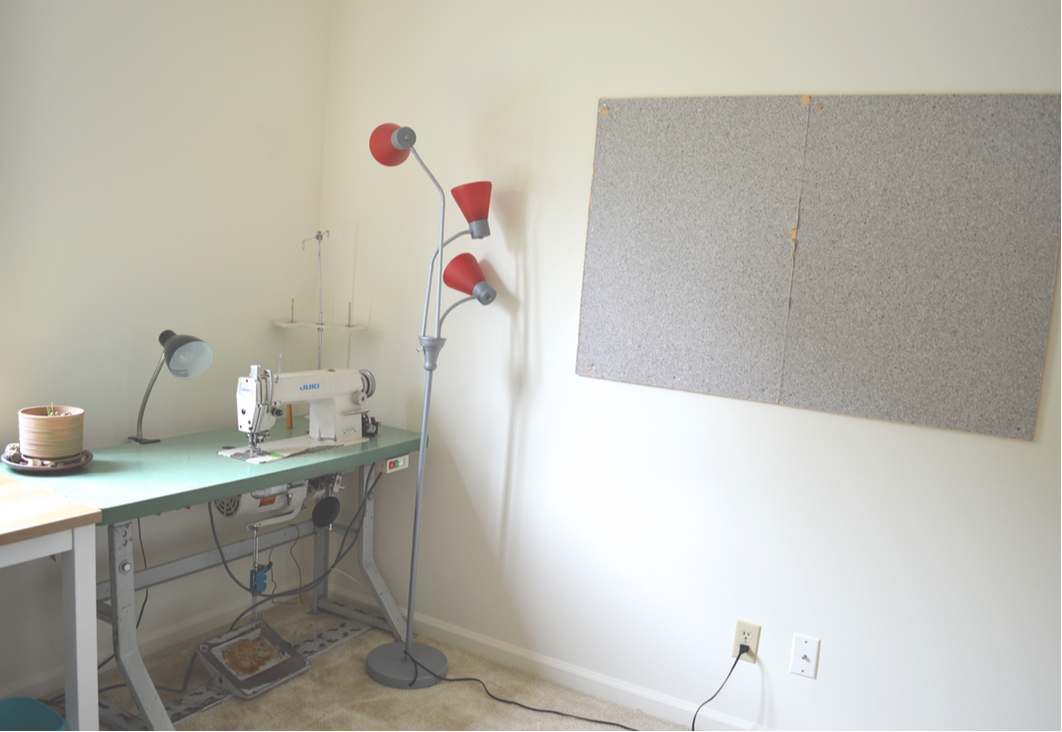
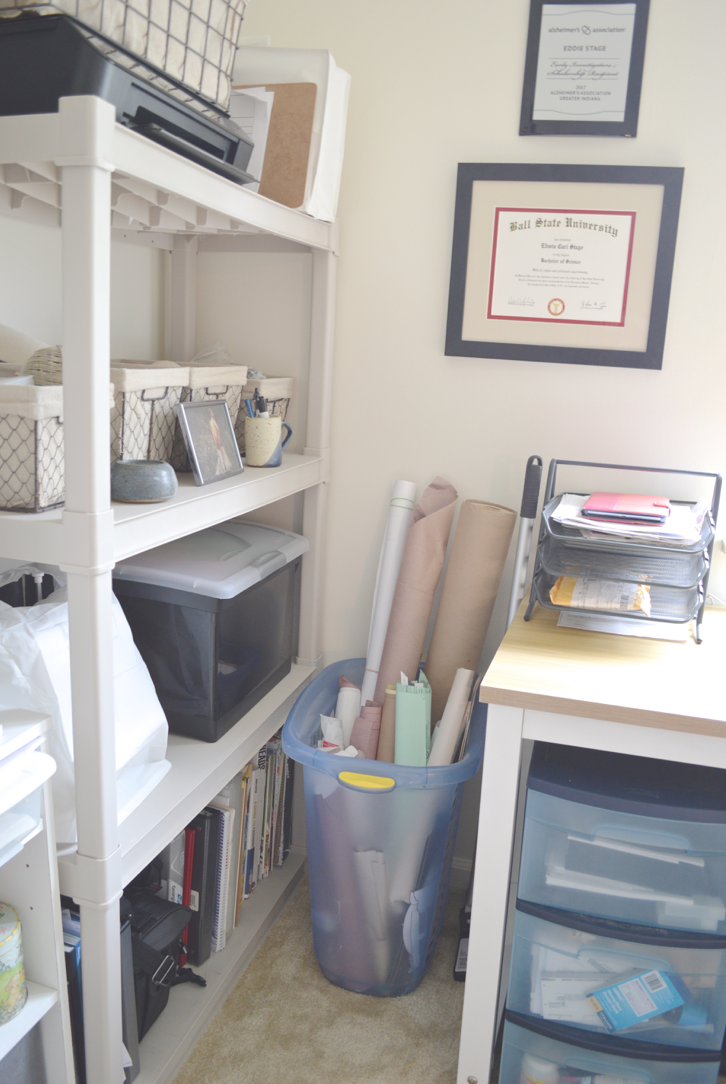
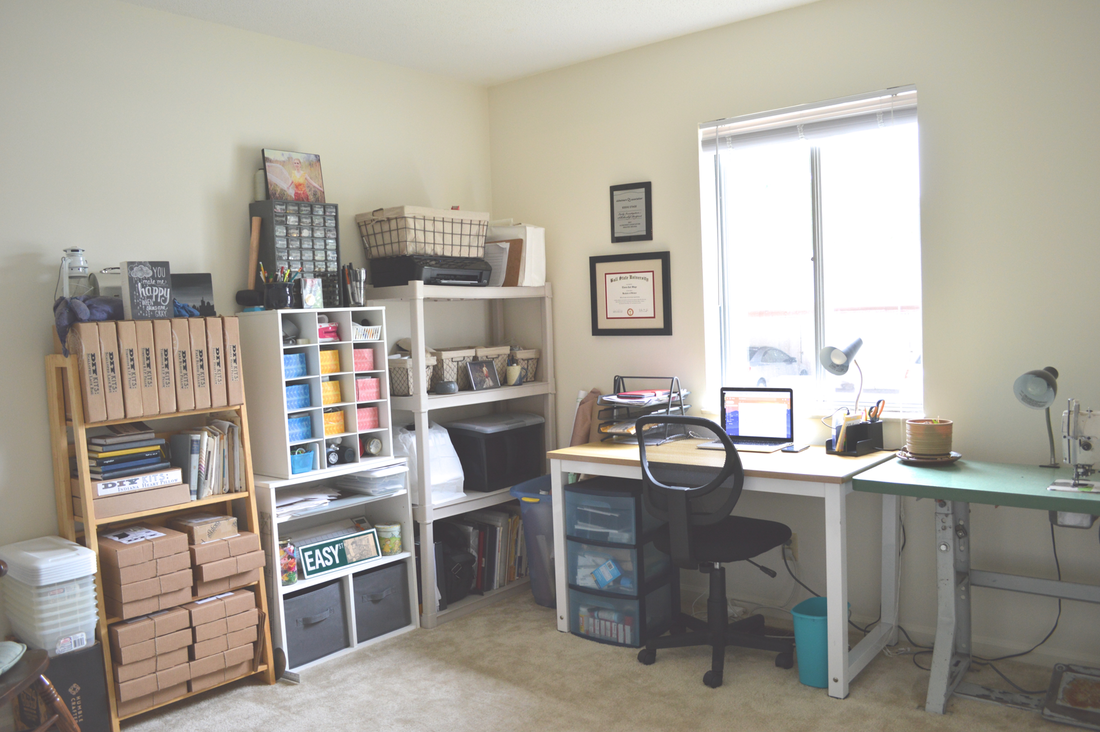
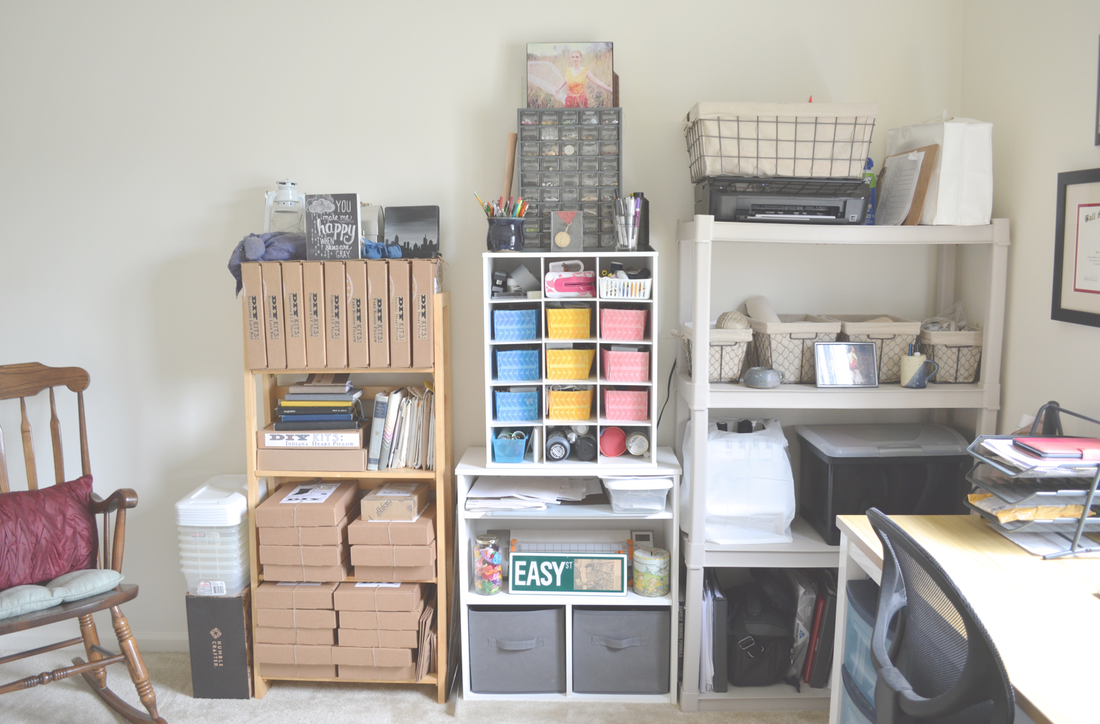
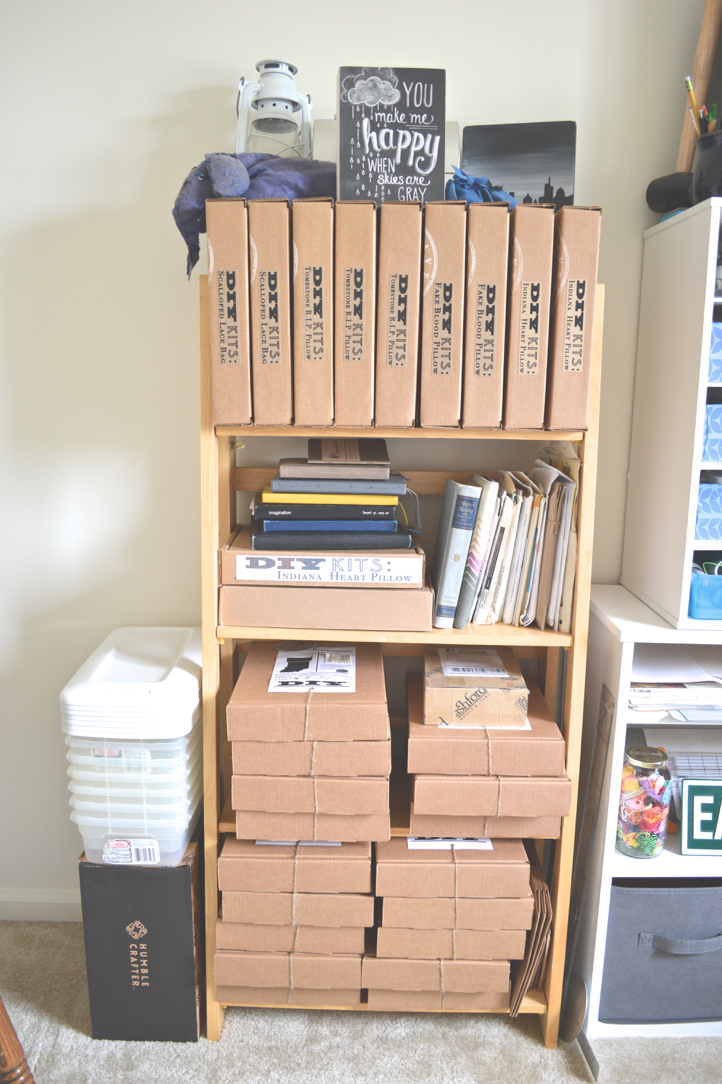
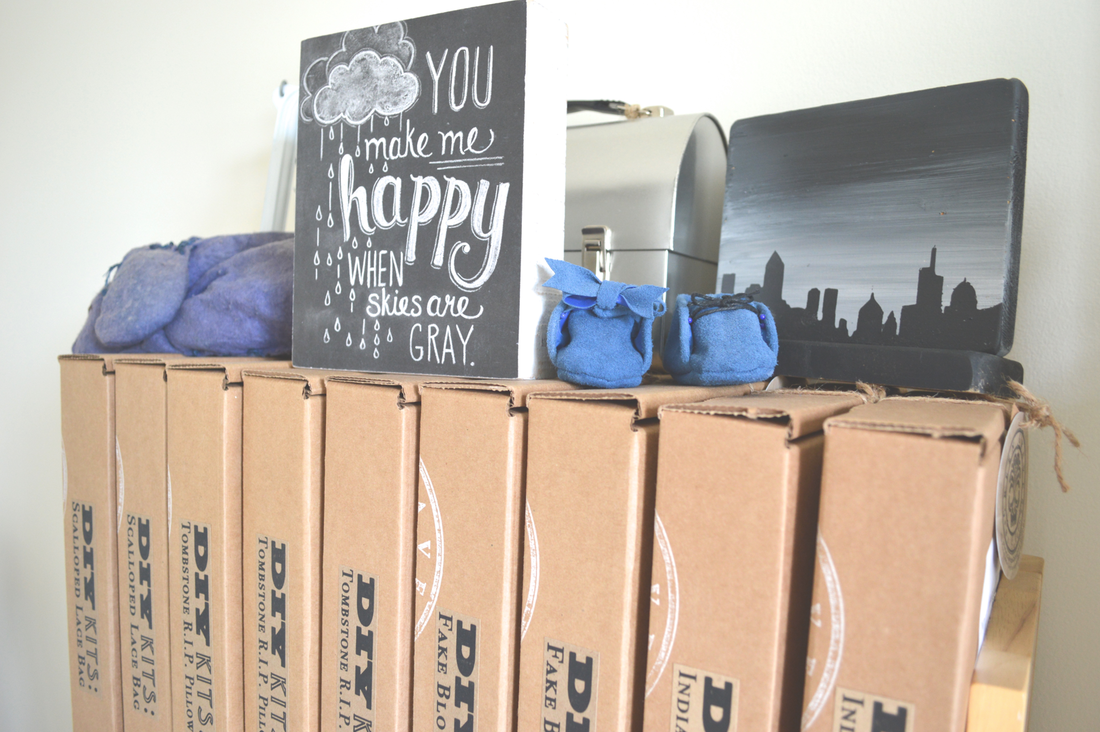
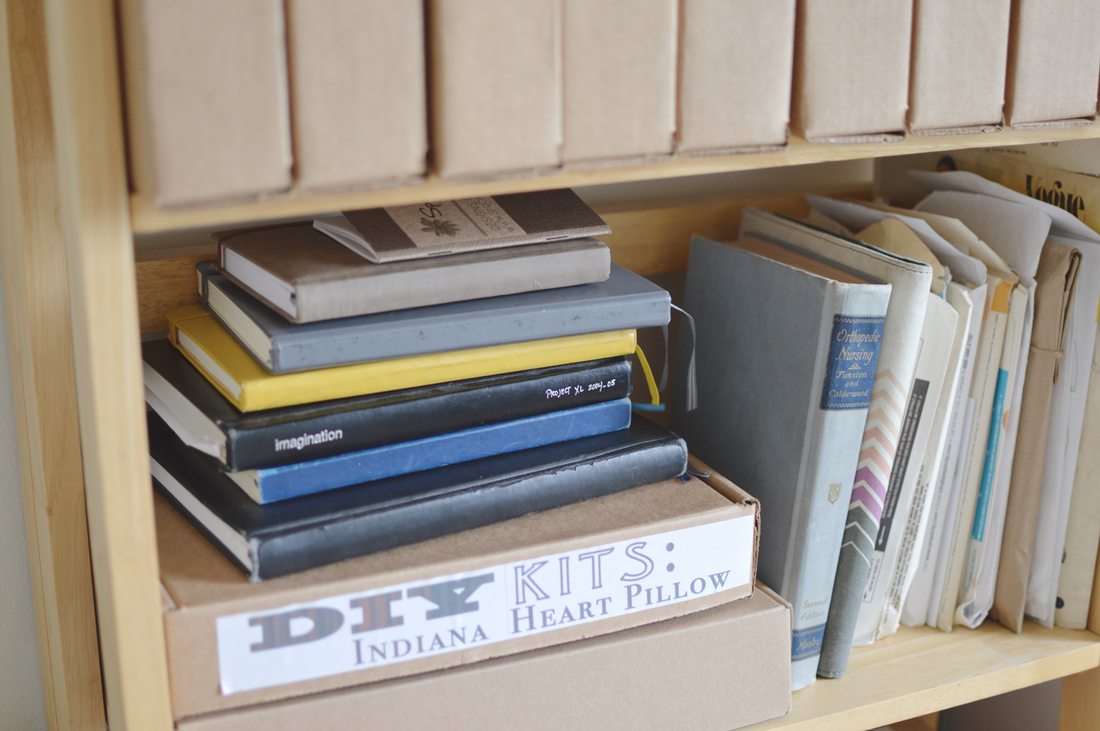
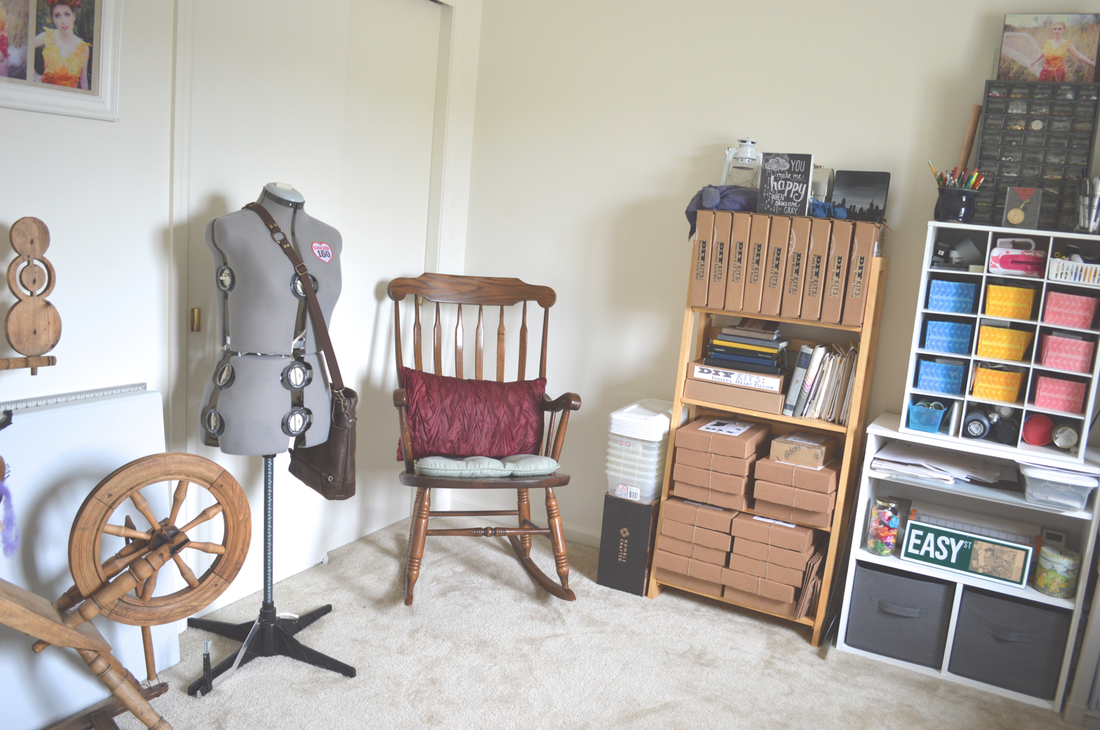
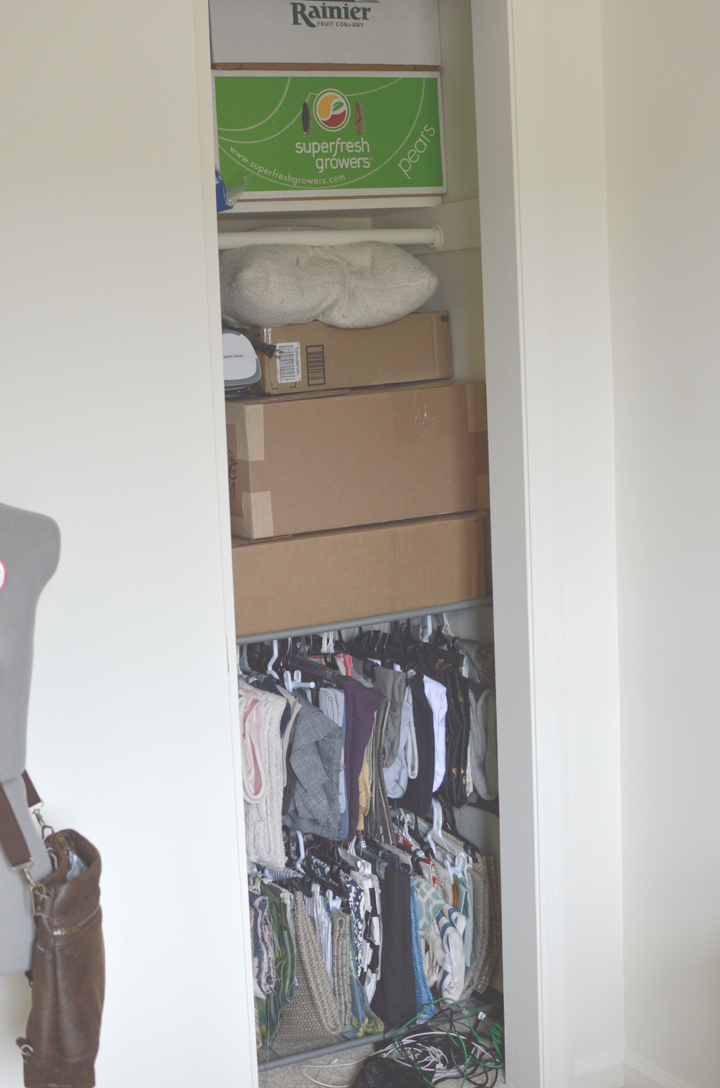
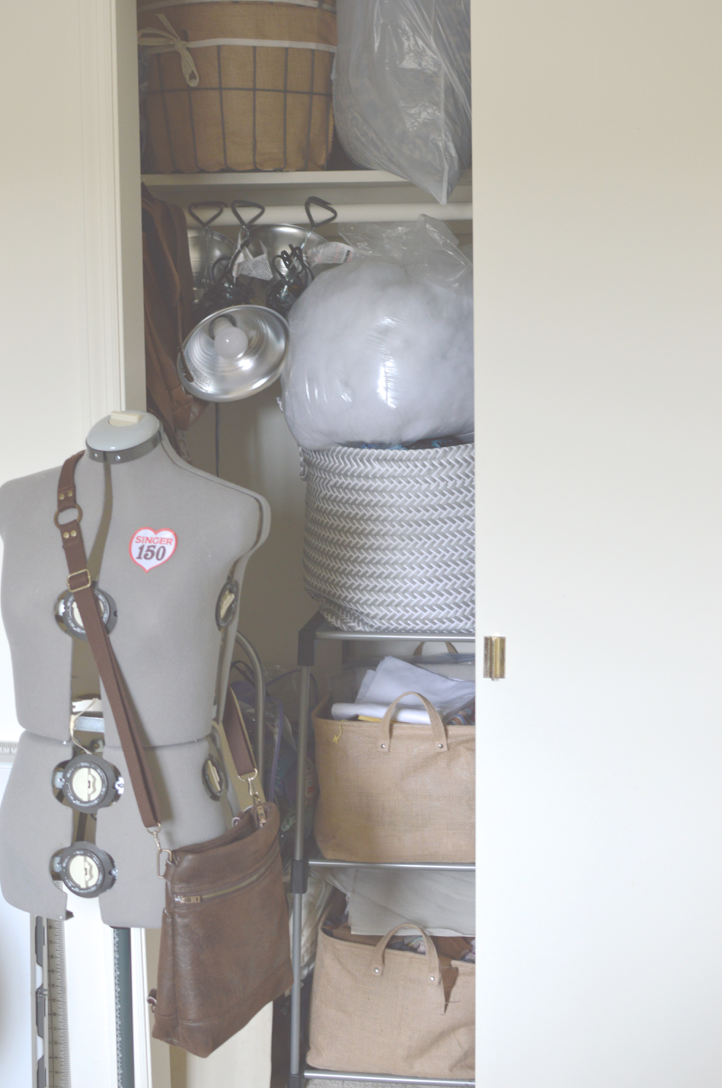
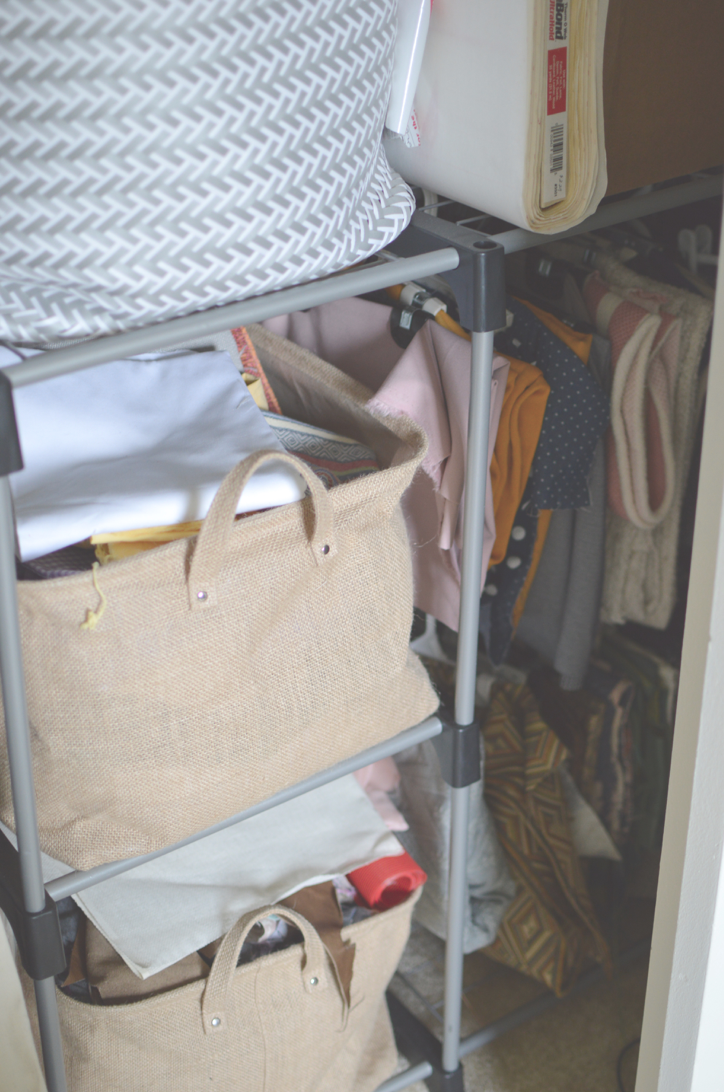
Along with having a baby in July, we also moved apartments. I'll spare you the long dramatic story of the stressful moving. Here's the short version: newborn baby + postpartum packing + new apartment issues + cockroaches + moving everything we own three times + breaking the new lease + living out of an empty apartment + finding a new apartment last minute. Fun stuff. But the end result is that we now have a great new apartment in the suburbs of Indianapolis. And it has TWO BEDROOMS. Yaaasssss! With all of my business stuff taking up so much room in our apartment, we knew that adding in Finnegan and all his baby stuff would mean needing more space than our downtown one bedroom. And because Finn is sleeping in our bedroom, and doesn't actually need his own space yet (we rarely tell him to "Go to your room!") the second bedroom is officially the craft room! And I cannot be more excited. I've never actually had a craft room before! Between lots of feedings and nap times, I've finally managed to put all of my stuff into some sort of semblance of organization, and I'm ready to give you a tour! Starting off on the right side of the room, I've set up my industrial machine, along with giant cork boards on the righthand wall. The space in front of the wall is where I'll put up my 6 foot folding table when I need to, for cutting and paper patterning days. To the left of my industrial machine is the desk, which is actually a shared desk for both me and my husband. Just to the left of the desk, I have my large paper patterns. These are my own designs, and also the printed out PDF patterns that I've bought. I roll them up, rubber band them, write the name of the pattern on the outside, and store them standing up in this laundry basket, along with my large roll of patterning paper. I also have my new magnetic sweeper stored here. It's a telescopic pick up tool meant for nails and screws that I got from the hardware store. I use it to sweep along the floor and pick up any loose pins that I may have dropped before I vacuum (or before Finn comes in to play). Next is the big utility shelf in the corner. On the bottom I have all of my sewing books and magazines, along with my camera. The next shelf has my serger and our filing box. Up one more has four cute baskets full of different odds and ends (one is full of zippers, one is full of everything I need to tag and price my physical products, etc etc). The top shelf has my Huskystar sewing machine, the printer, and the large basket full of all my shipping supplies. The setup to the left of the utility shelf is kind of a catch all storage unit. Anything from needles to rivets to chalk paint to elastic to buttons to glue is stored here. The top part is a hardware organizer that I picked up at the thrift store and the white middle section is actually a shoe cubby, and my colorful boxes that I use for drawers? Kleenex boxes. It's the only thing that I could find tat was the right size when I first set it up. To the left again, we have the kit shelf (also I store my rulers in between these two shelves). All my DIY kits that are ready to go, along with the supplies I need to put the kits together are stored here. And then also my notebooks and my enveloped sewing patterns. The last wall of my craft room has my mannequin, my spinning wheel, and the rocking chair (according to Eddie it's so that he can feed and rock Finn while visiting with me while I work. Or vice versa.) Hidden behind the rocking chair is the closet for this room. Which is STUFFED with all the rest of my sewing supplies. It actually reminds me of this dorky show I used to watch as a kid called Zaboomafoo with this now-terrifying puppet lemur. The Kratt brothers would always have to get into this closet to find something and everything would fall out every time. I'm not QUITE at that point yet, but I'm gonna have to watch myself. Here's a peek inside. The baskets have different types of fabrics in them that go to specific products, and the hangers are full of the rest of my selection of fabrics (that I have here with me. I have a ton more at my parents house. Sorry mom! I love you!) The top shelf of the closet is full of already made products ready to be shipped out or head to a craft show. Whew! That's the deep dive into my current organizational setup. I'd love to answer any questions you guys have, or hear how you organize things like fabric and patterns. I love to get new ideas from other people, and I'm sure that we will be completely reorganizing once Finn actually needs his own room. But for now I'm super excited to have this space to keep all of my work in one place and keep it from taking over the entire apartment again! Ok except for my rolls of fabric. Those are under the bed. But that doesn't count, right?
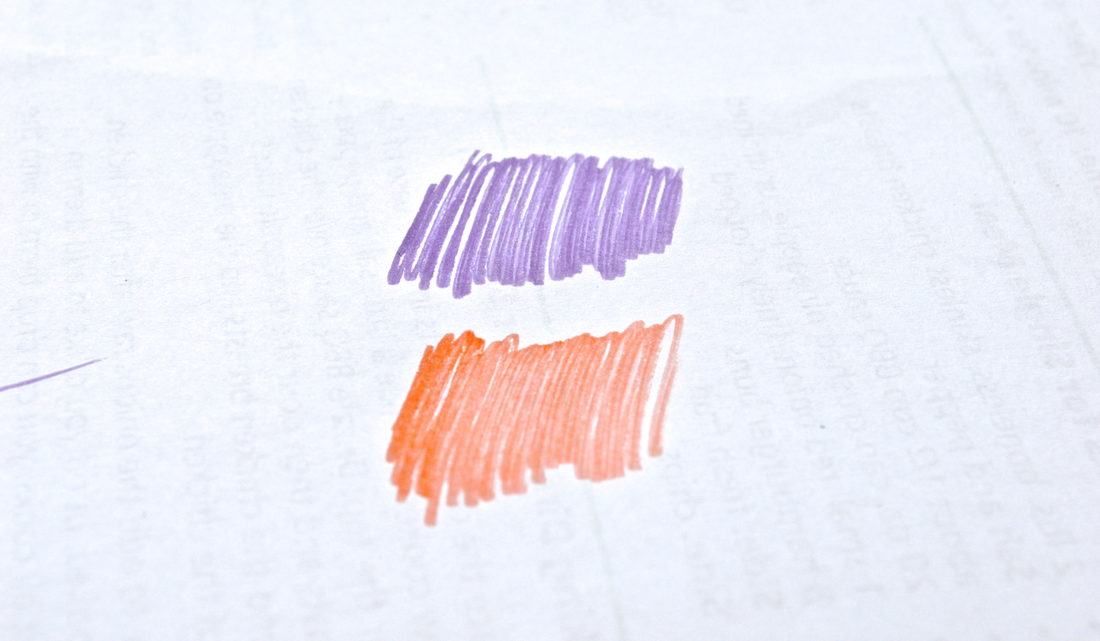
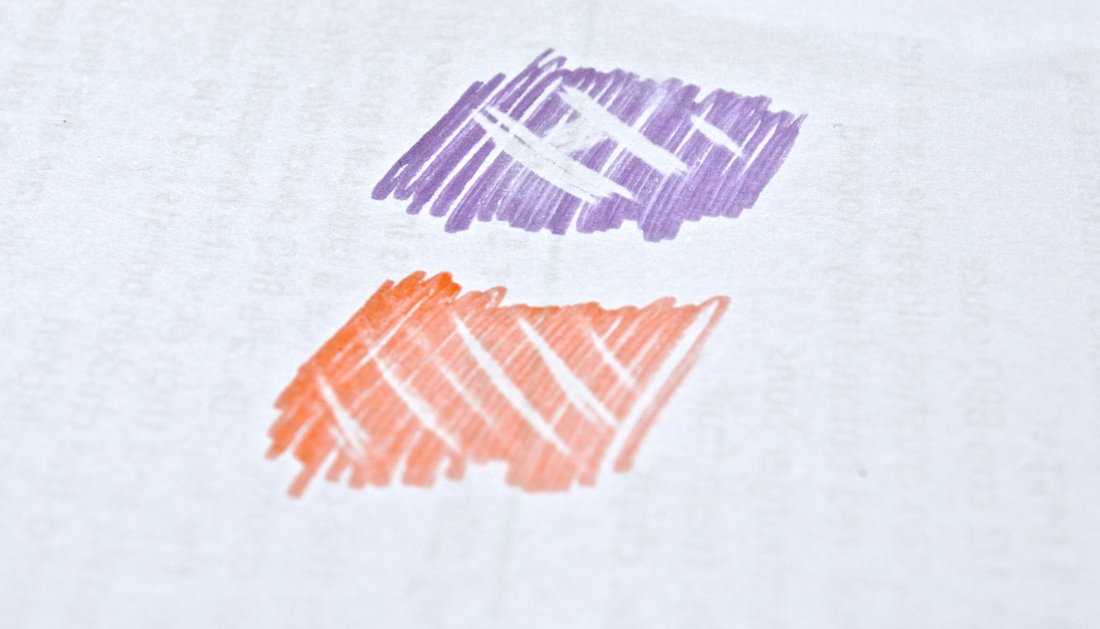
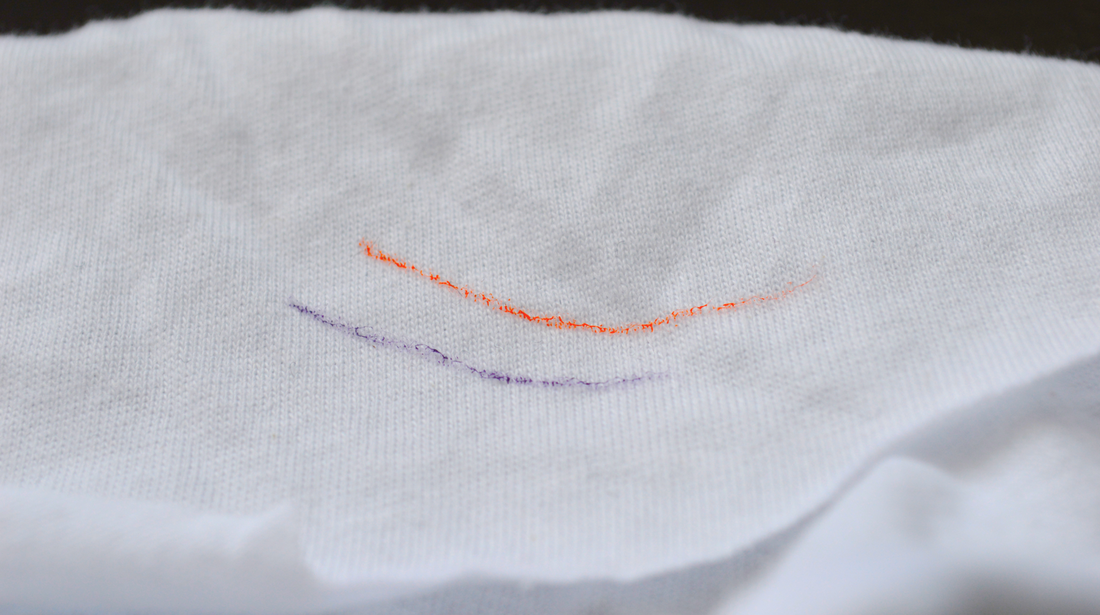
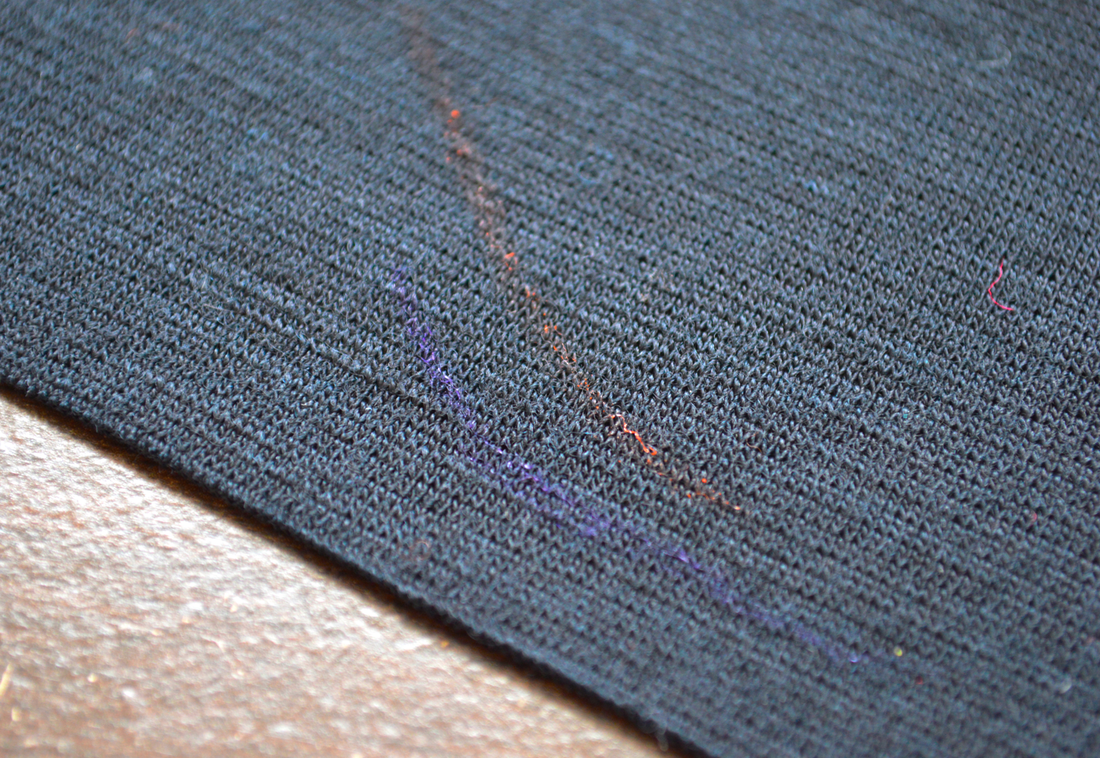
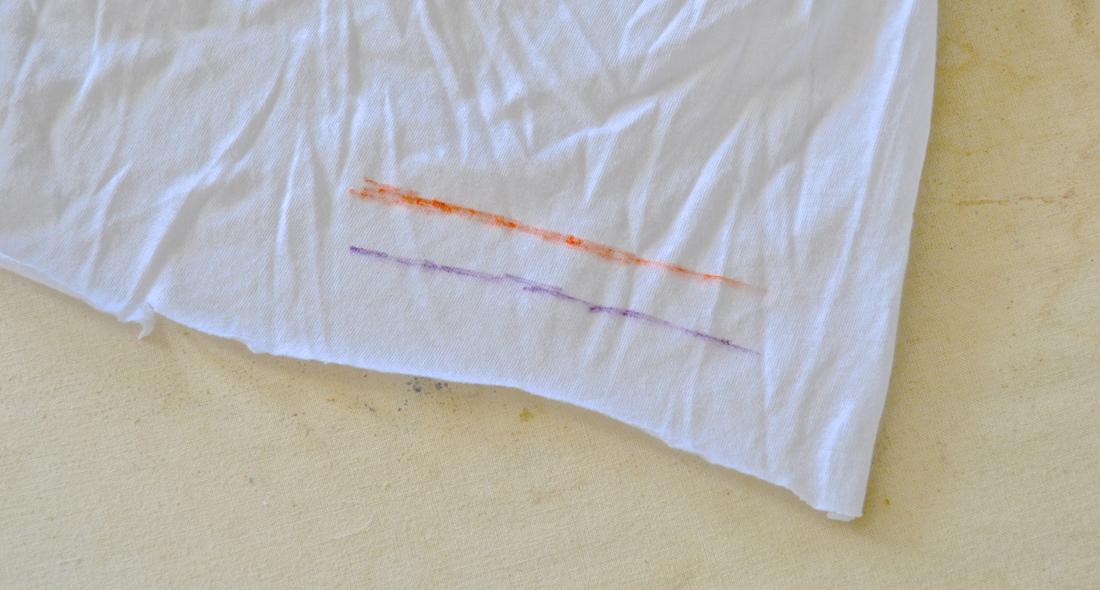
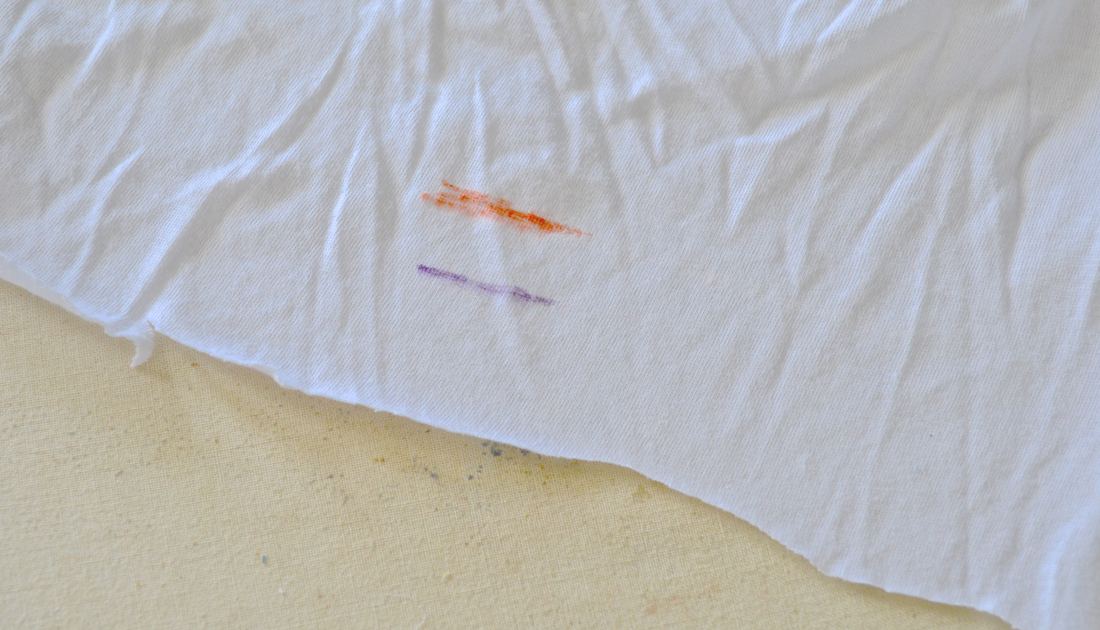
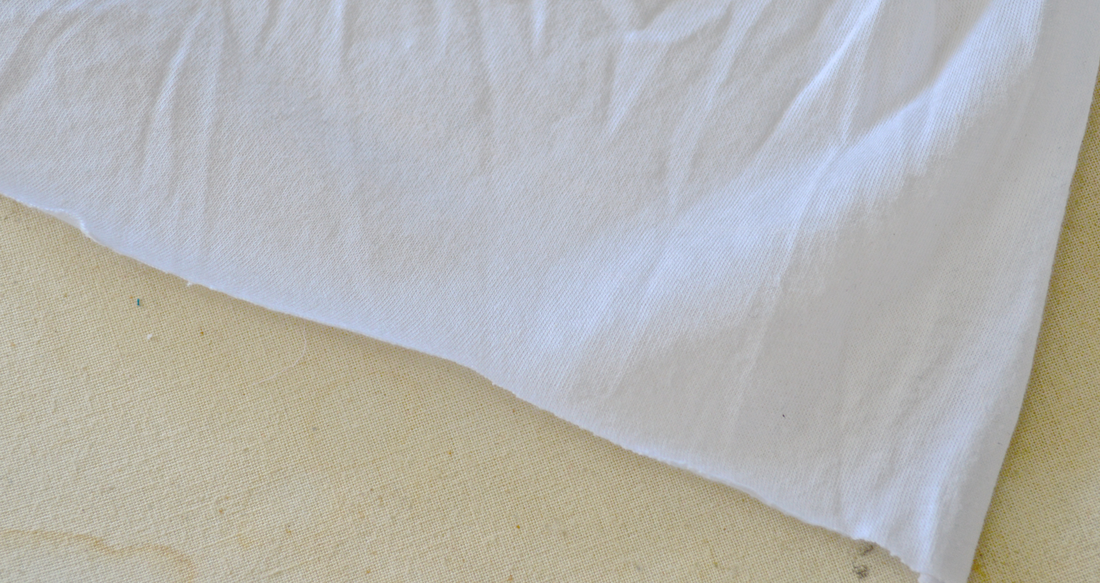
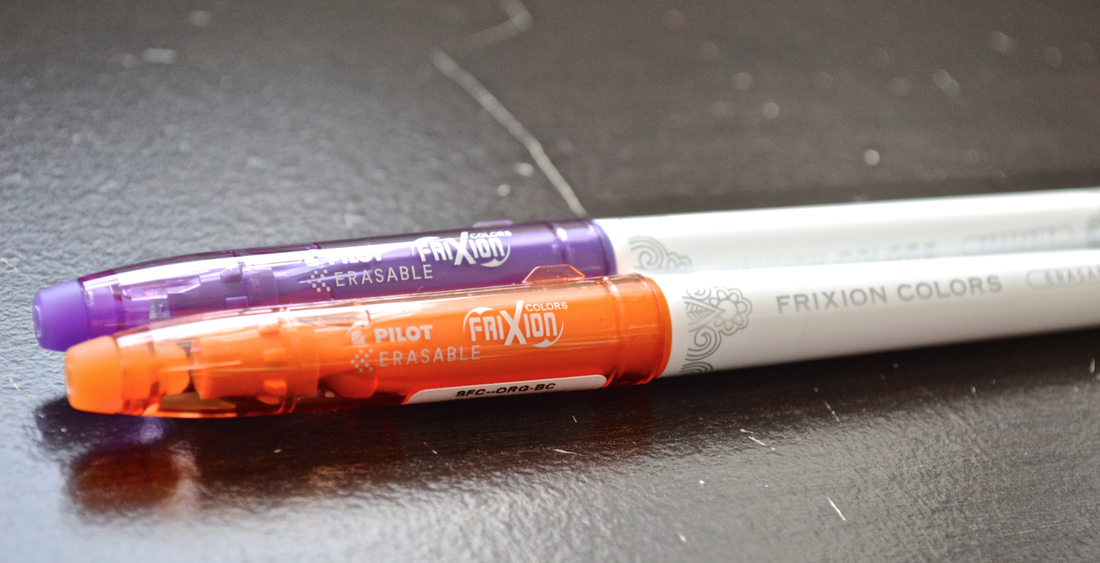
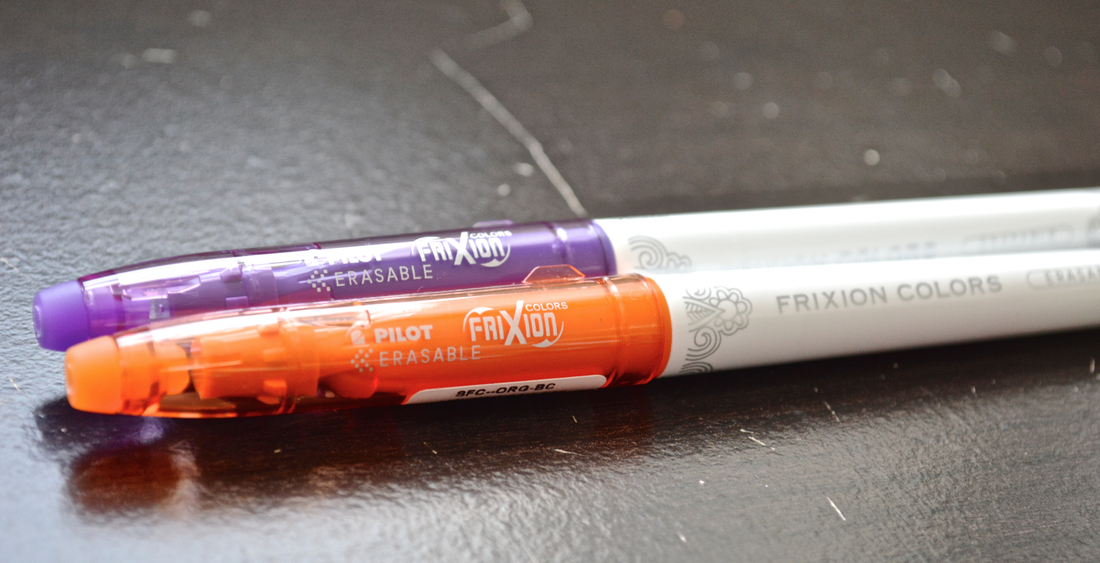 I am a total sucker for sewing tools. Anything that makes creating more fun and enjoyable, or cuts down on tedious tasks is A-Okay with me. These Pilot Erasable FriXion markers came highly recommended by a fellow sewist, and I had to try them out! I figured I'd share my findings with you too! So these markers are not actually intended for fabric. They are actually erasable markers for paper! Which is pretty cool too! Your writing disappears when heat is applied to the ink. Which is why they come with a little rubber tip on the end, so that you can "erase" with the tip, which actually creates heat from the friction, which makes the ink disappear. Obviously, they recommend not trying to erase on very delicate paper that might rip from erasing, but other than that, they really work well! But what my fellow sewists have discovered, is that you don't actually HAVE to "erase" with the tip. It's really just any significant heat that will do the trick. Like..... an iron!! Which of course is so perfect for sewing! I've used a wide variety of marking utensils on my fabrics over the years. And some I like way better than others. Honestly, I do sometimes just use a normal pen or marker when I'm 100% sure it will never be seen on my finished project. I also use chalkboard chalk, tailors chalk, and tracing paper. ooh and I do love a good clover chalk wheel. It gives such a nice thin line. But what about if you are experimenting with where a line may go, and you want to be able to change it? Or if you don't want to have to wash your work to get all that chalk out? I've used some fabric markers that disappear with time, and that is a good option too. But honestly, I'm the queen of finishing a project 2 months (or years) after I've started it. And I'd rather not have to remark everything I do every time I find time to come back to it! Which is why I'm loving these Frixion markers! They easily draw on your fabric, stay until you WANT them to disappear, come in a squillion colors, and.... some colors even show up on dark fabrics! Look at the black knit in the picture above! I'm not saying that it's super obvious on black, and may not show up on all fabrics, but you CAN see it on this if you have good lighting. The Drawbacks: Obviously, not every sewing tool is right for every situation. You should test your marker, and it's erasing abilities on a scrap piece of fabric before you go all gung-ho coloring on your project. And remember that this marker only disappears with your iron IF your fabric can be ironed without melting (once again, test it!) The biggest drawback is the cold! I've tested the fabric by throwing it in the freezer to see if the ink comes back in the cold. And unfortunately there is a ghosting effect. The color doesn't come through as strong, but it does come back some. It can be reheated and disappear again, but that's a bit annoying to have to redo! Note to self: don't use these markers for a winter coat! The last drawback is kind of a funny one. Be sure not to accidentally apply heat to your markings before you are ready. A friend warned me that she'd used these markers for a beautiful bullet journal page, and then unthinkingly set down her cup of coffee on the paper. And then found that she had a coffee cup sized blank space in her writing haha. I bought my markers from a friend's sewing shop in Bloomington: The Tailored Fit but I know that you can find them on Etsy, or even at Target and probably a million other places.
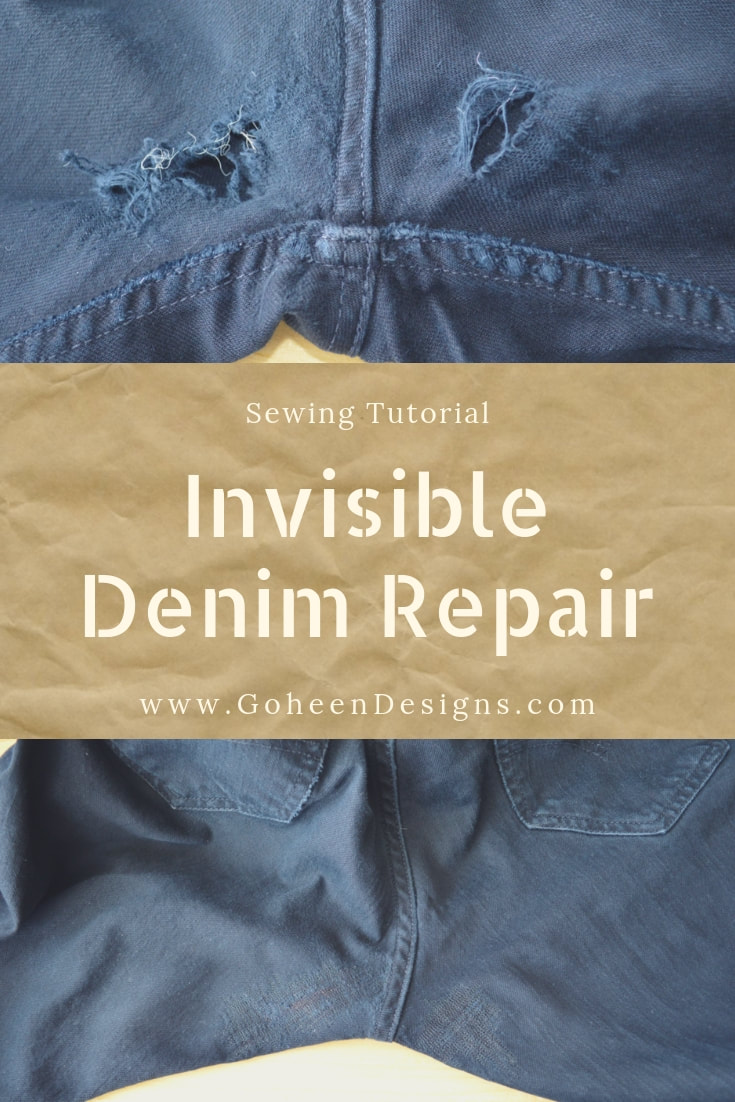
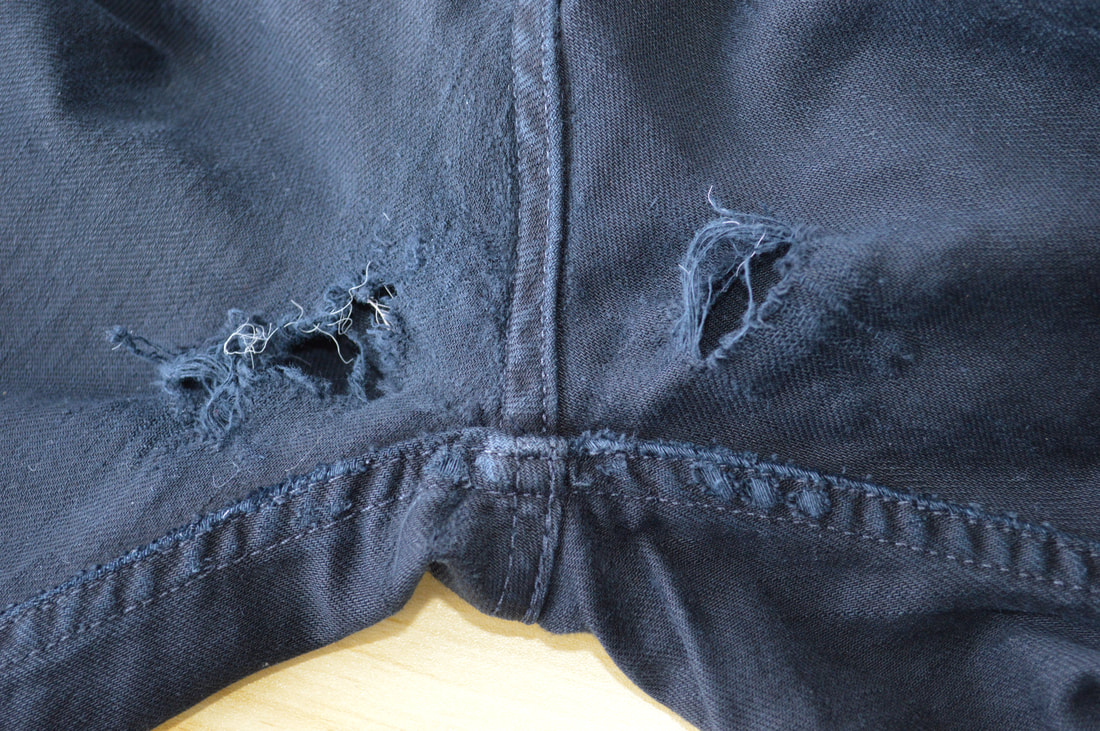
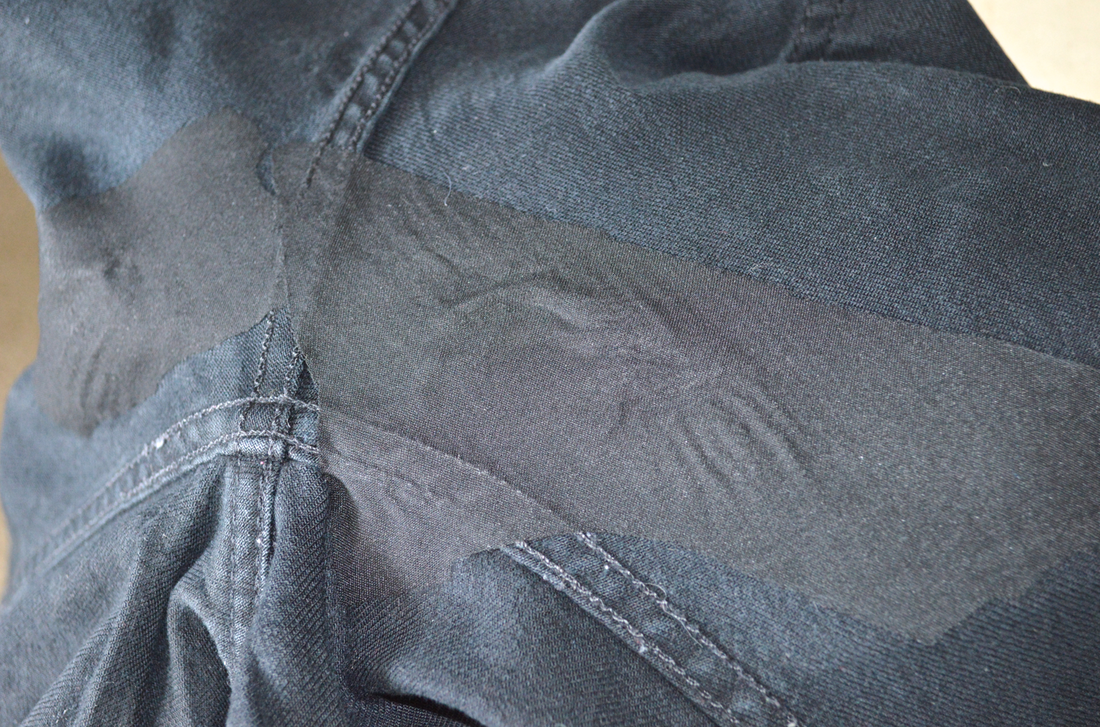
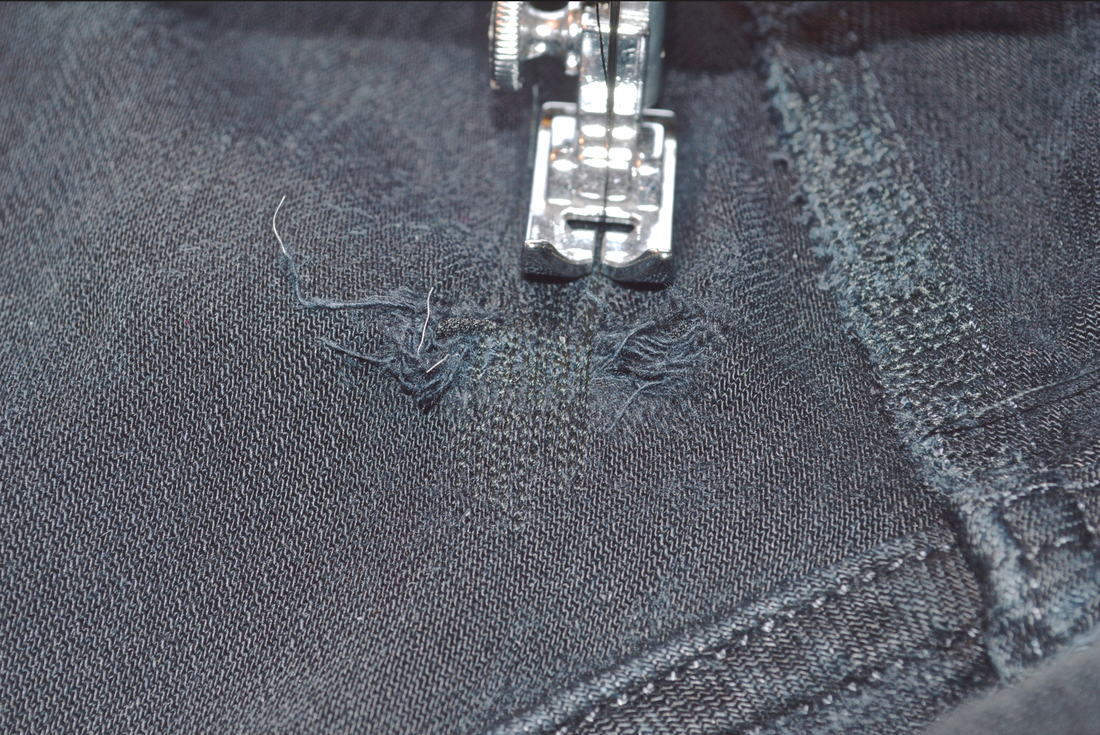
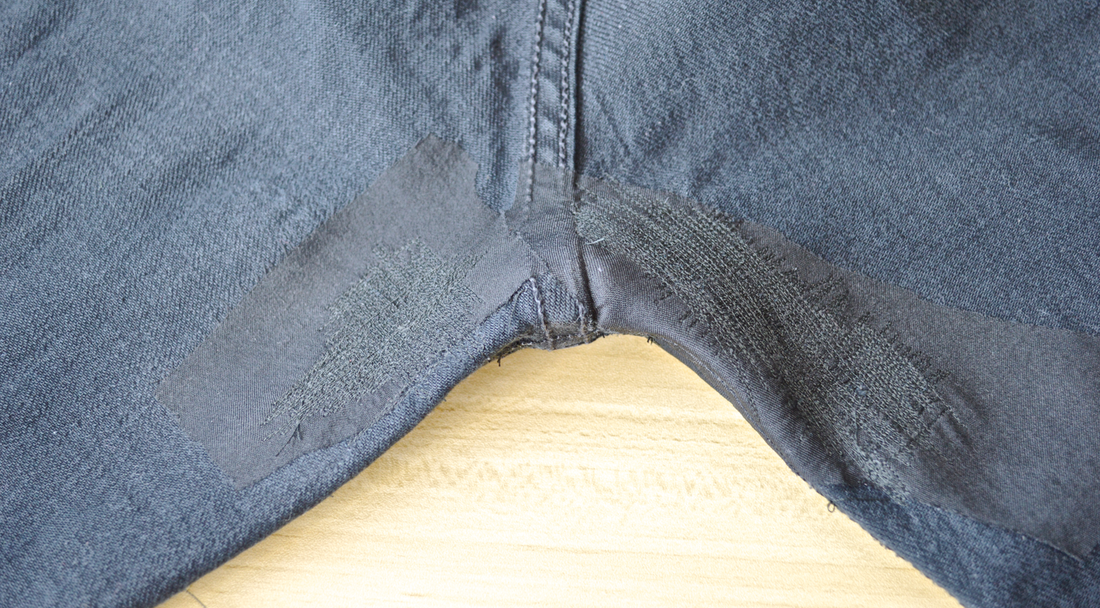
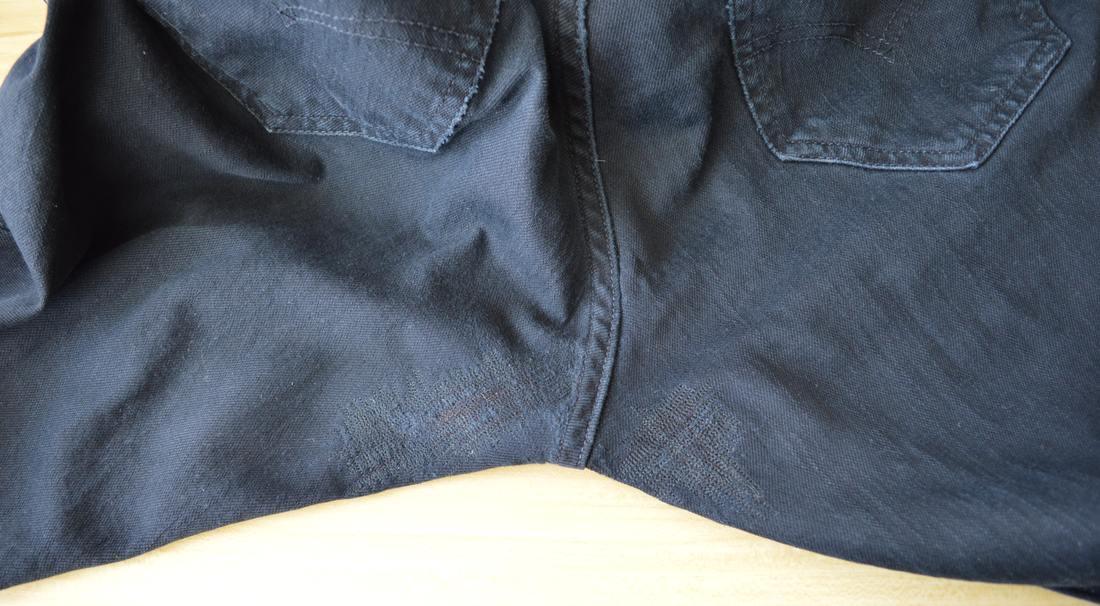
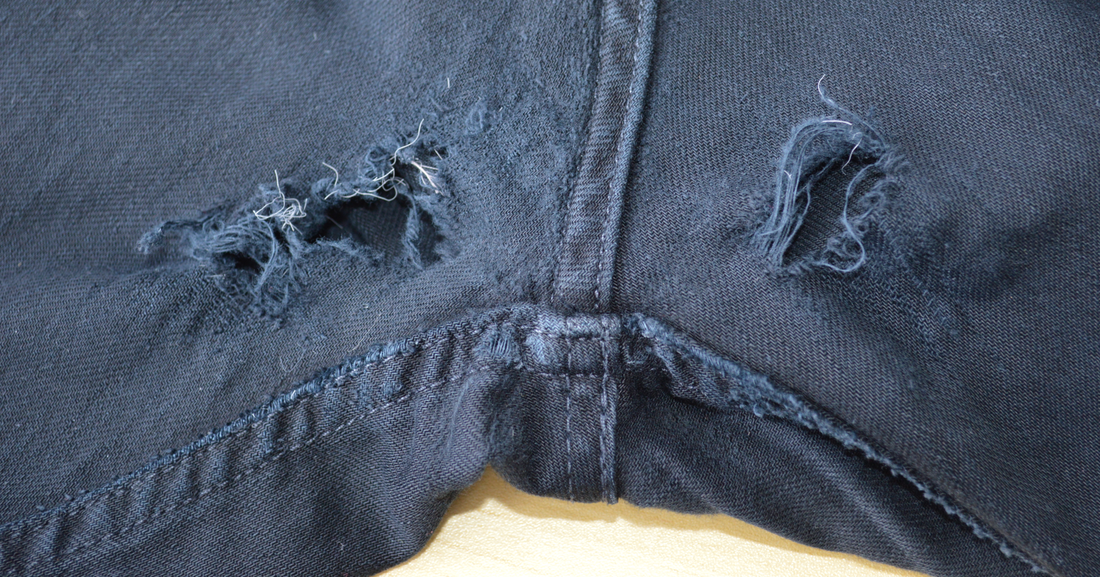
A few weeks ago, I saw in instagram post by Closet Case Patterns that completely blew my mind! She was sharing an interview she did with Rain from Indigo Proof. She is a specialist in denim repair, and you absolutely have to take a look at Rain's before and after photos. It is complete magic! Along with the interview, Heather (of Closet Case Patterns) also put up a blog post about how to try this invisible mending technique for ourselves. I can't tell you how excited I was when I discovered a giant hole in my husbands jeans over the weekend... I don't think he's ever seen me so excited to mend his clothing. The process was actually really simple! I used some scraps of fusible interfacing (lucky for me they were black to match the pants!) to interface the holes, and the area around the holes. Then, using a matching thread color (also lucky for me, because I of course have black thread) I sewed over the holes along the grain of the denim weave, imitating the fabric itself. Heather recommends that you use a darning foot, and that you mix up the top thread color to imitate the many hues of your worn jeans. Well, I don't actually own a darning foot for my machine, so instead I just used a regular foot, put the stitching length at about 1.5, and it seemed to work just fine! I also only had one color of black, so I didn't vary the hues at all. My repair work definitely isn't as invisible as Rain's is from Indigo Proof, or even Heather's attempt, but they look pretty damn good to me! It's a lot less noticeable than your underwear!
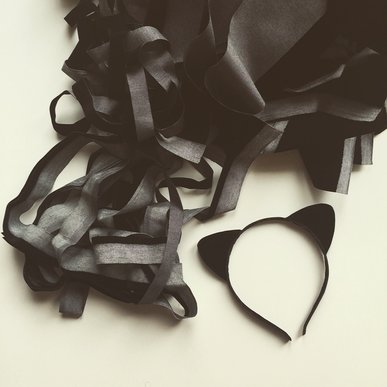
I’ve always hated throwing away fabric. Even the little pieces. As you probably know, I have an entire Etsy shop dedicated to reusing fabric remnants! So why in the world it didn’t occur to me to recycle my fabric scraps before… I don’t know! I have no excuse! Except that maybe, just like everyone else, I didn’t really know you could! Oh I knew you could reuse fabric, and I do a lot of that. But I didn’t’ really know you could recycle it. But then I watched this video (if you haven’t seen it yet, it is worth watching!): And it blew my mind. Zero waste. ZERO. And then I watched True Cost on Netflix. Which is another eye opener. I recommend watching that too. It really got me motivated to do everything I could to lessen my negative impact in the fashion and manufacturing world. True Cost is a documentary that came out in 2015, about the impact the fashion industry has on the world. According to the film, there has been a 500% worldwide increase in clothing consumption when you compare it to the 90’s. There is also a huge increase in the amount of clothing that is disposed of every year. The average American wastes 82 lbs of textiles in a single year. The U.S. Environmental Protection Agency estimates that 85% of post-consumer textile waste ends up in our landfills, and that textile waste makes up almost 5% of all landfill space. But what can I do to help this?? I went on a Google spree. I became obsessed! I looked up everything I could on how to recycle fabric in my area. I know that not all of these options are going to hold up everywhere, but these ideas will at least help you get started!
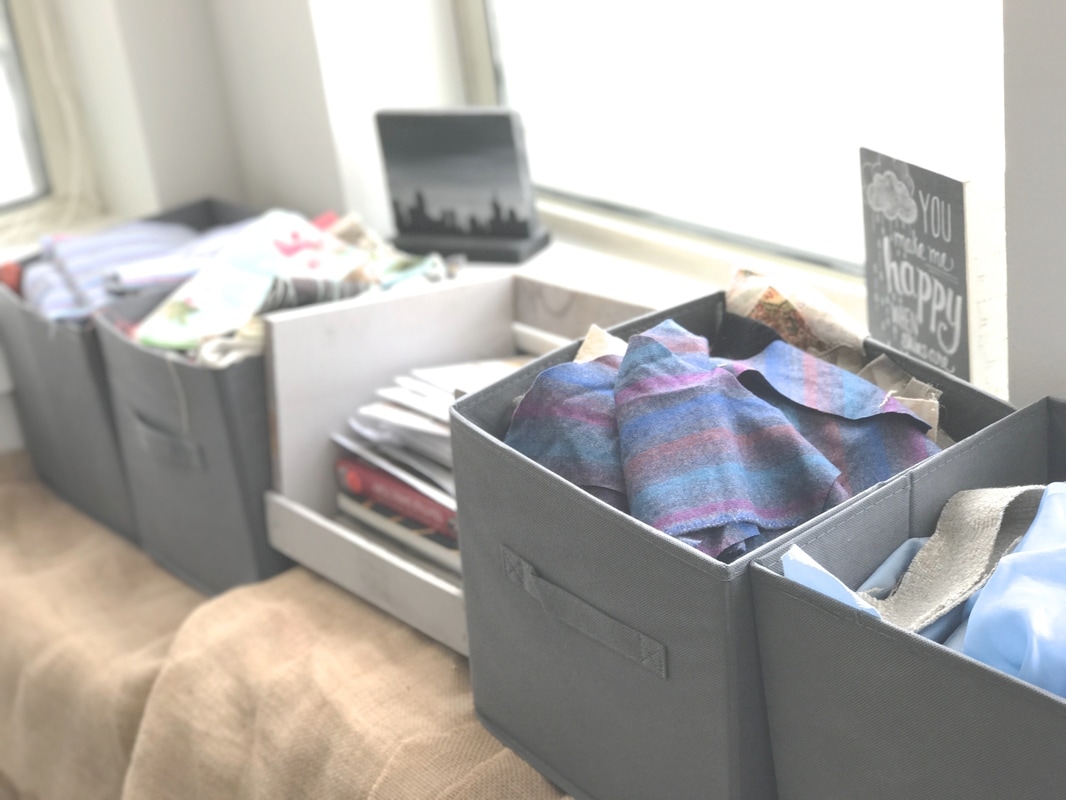
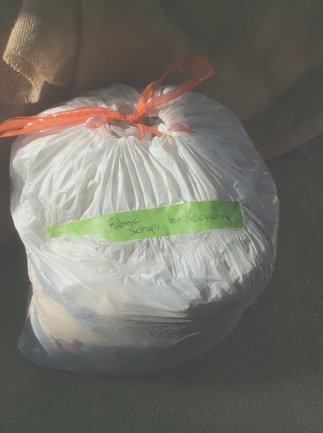
With all the different people and groups I’ve reached out to about fabric scraps, I’ve developed a bit of a system in my apartment. I now have a series of containers where I separate my fabric scraps into large, small, and unusable. Once I fill up my containers, it’s time to pass them along. The unusable scraps go into a trash bag marked “fabric scraps” and get delivered to one of the thrift stores. The larger pieces go to the 4-H and Project Linus groups. And the small pieces go to the kids just learning how to sew! I have a spreadsheet complete with everyone’s contact info, and I rotate who gets the next delivery of fabric goodness.
I am determined to create more of a handmade wardrobe for myself. I tend to make special occasion pieces, but not a lot of everyday pieces. I'm starting to change this, but as I put so much time into sewing my own clothing, I feel the need to take better care of my clothing. A large part of my closet space is taken up by workout clothing, which I throw willy nilly into the wash with no care for how it looks on the other side. But something I spent HOURS creating? I want it to last, and to keep looking as good as the day I first finished it. A big part of taking care of your clothing is washing it correctly. I am terrible at this! Especially if the clothing or fabric has those little symbols for directions. In an effort to correct this, I was researching online, and I stumbled across this great chart that you can download and print at home for FREE! Now I can have a chart handy right by my laundry basket! I thought I'd share it with you guys (link down below), because I don't think I'm the only one who struggles with this! You can find the download link at Everyday Best. Just click through!
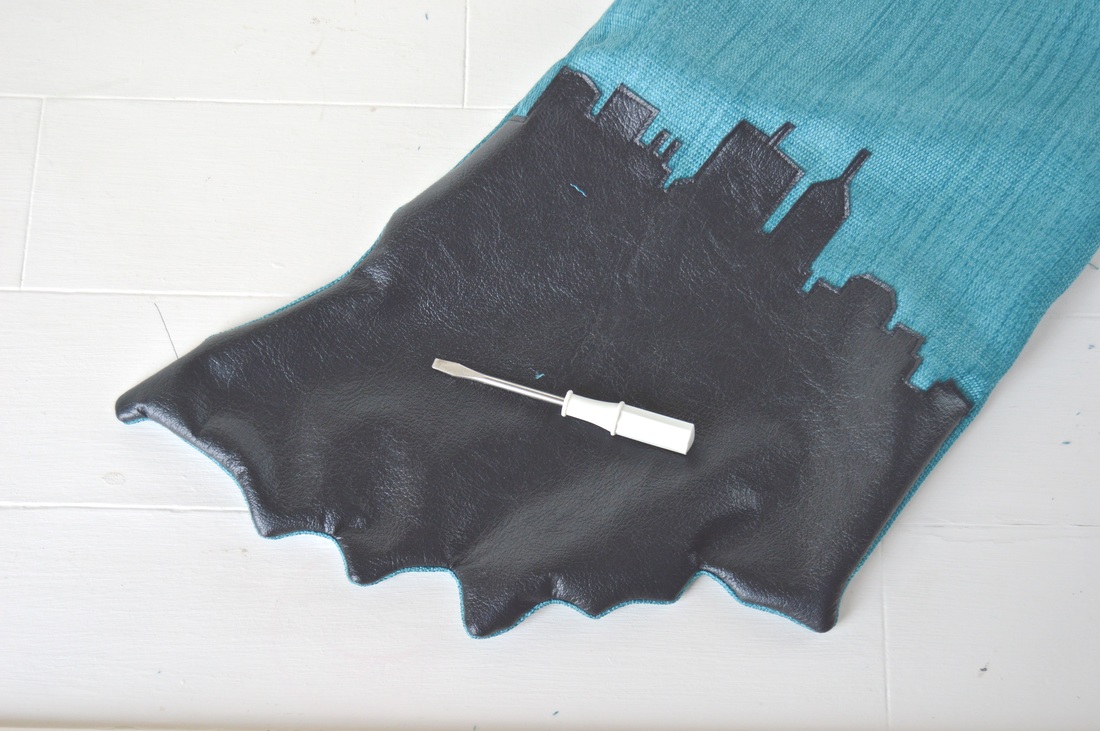
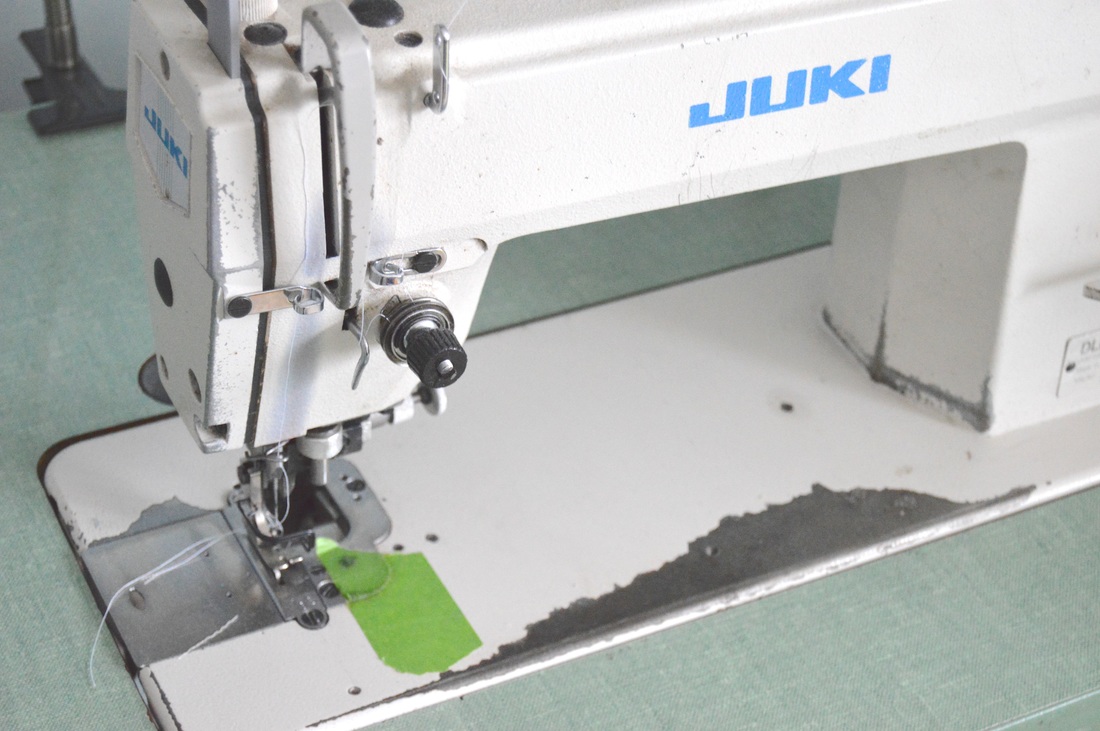
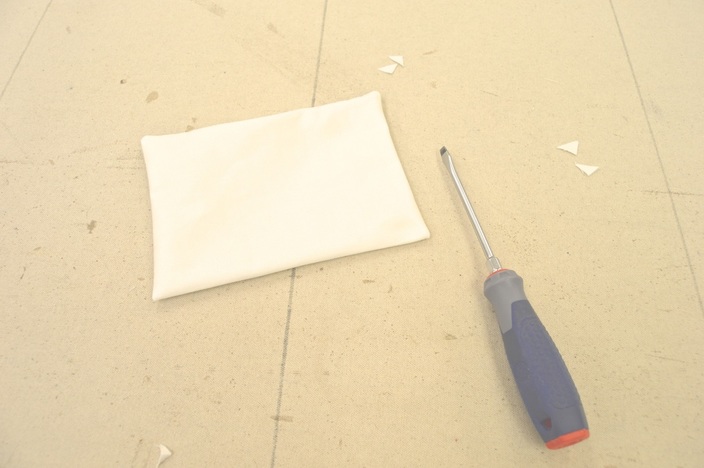
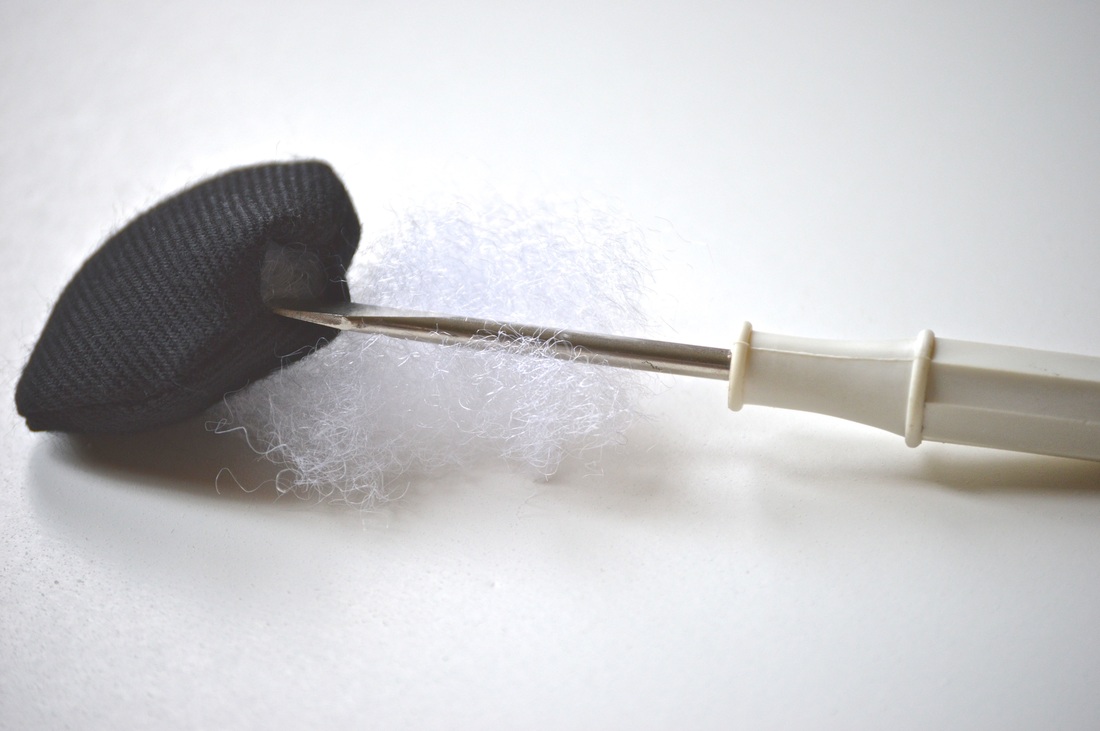
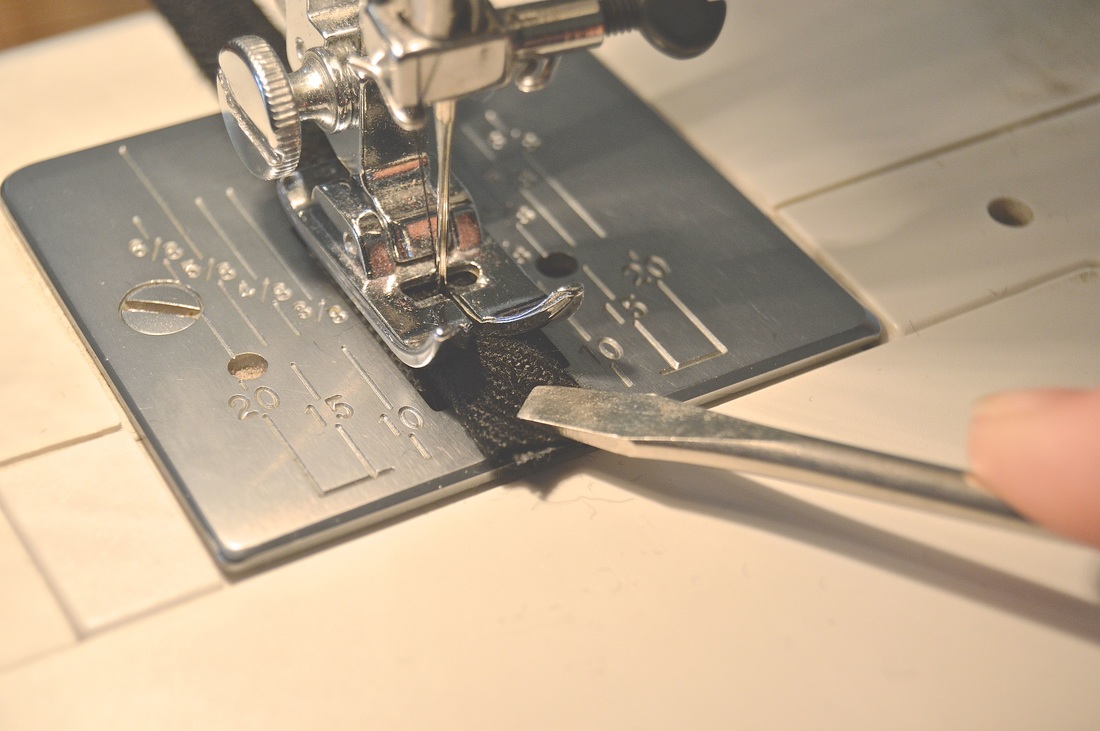
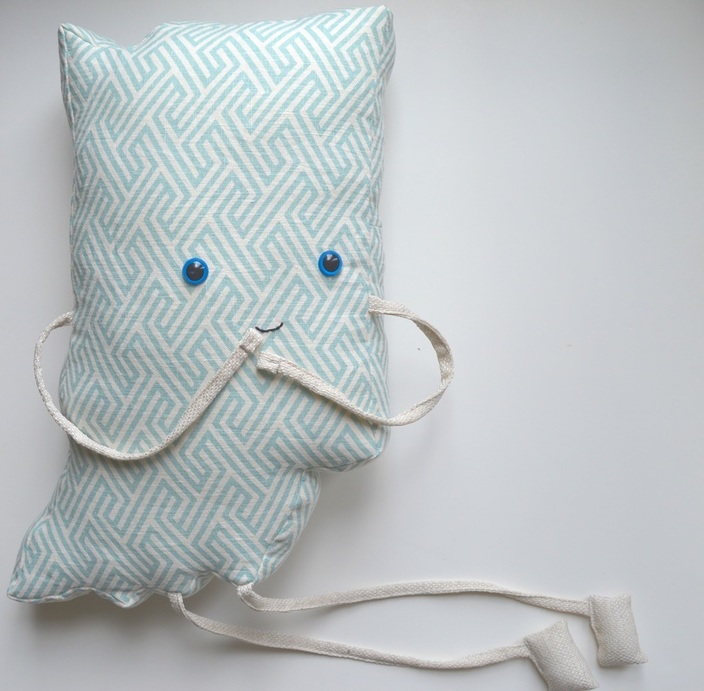
And, if you have any helpful hints on how to take better care of my clothing (handmade or not) leave a comment below! I need all the help I can get. I always keep a flat head screwdriver handy in my sewing room! Here’s why: 1. For changing sewing machine feet – I am constantly needing to switch feet when I sew: normal foot, cording foot, zipper foot, invisible zipper foot and back. Having a screw driver in arms reach makes this task much easier. I even know someone who has a magnet on their machine, and keeps the screwdriver and the extra feet on the magnet at all times. 2. Turning out corners – Turning out sharp corners (or squiggly Indiana riverfront on a pillow) can be tricky to do by hand. But a flat head screwdriver is the perfect tool to help. It is long and narrow, helping you get into those tight spaces, but it isn’t sharp on the end, so there’s no worries about accidentally poking through your fabric. 3. Stuffing small spaces – I’ve also found that a screwdriver is helpful when you are stuffing polyfil into a small space (like a little cat paw) especially if the opening you left is too small for your fingers. 4. Feeding your machine - Sometimes when I'm sewing, there's just a very small piece of fabric to hold onto. In order to avoid my fingers being right next to (or under!) the needle, I use my screwdriver to feed the fabric into my machine. That way, if I get too close, I only get a broken needle, and not a hole in my finger. Happy Sewing!
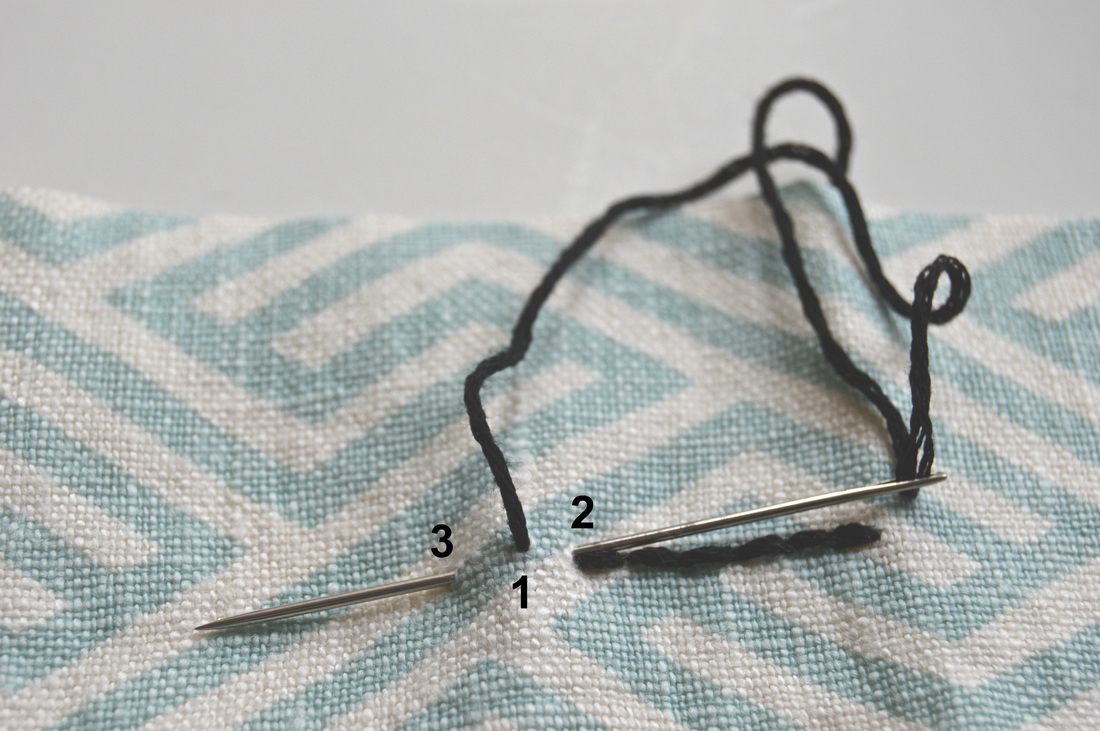
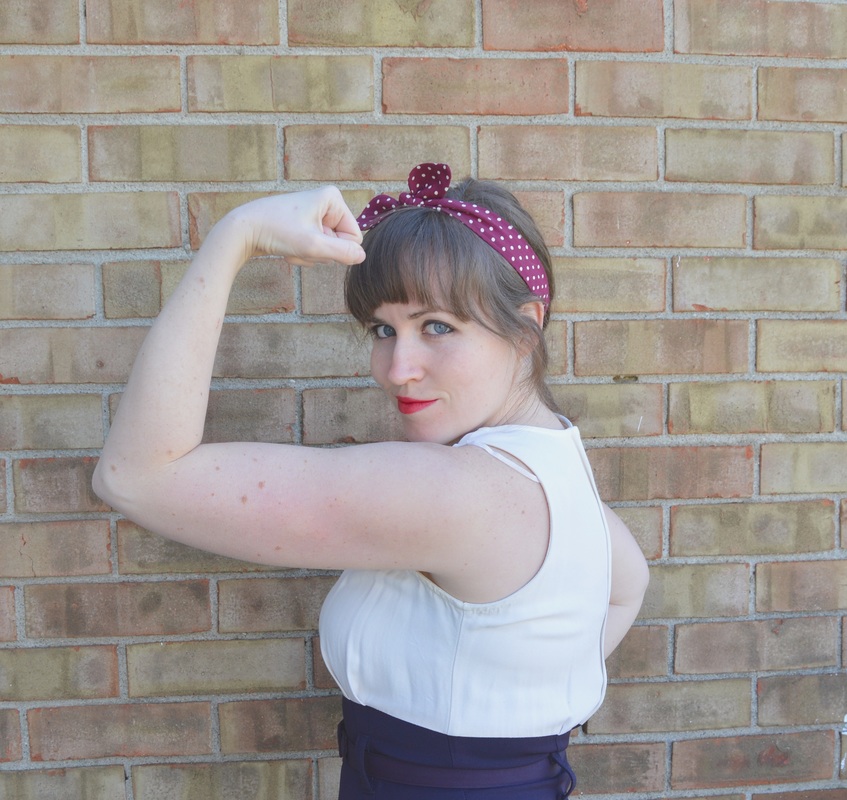
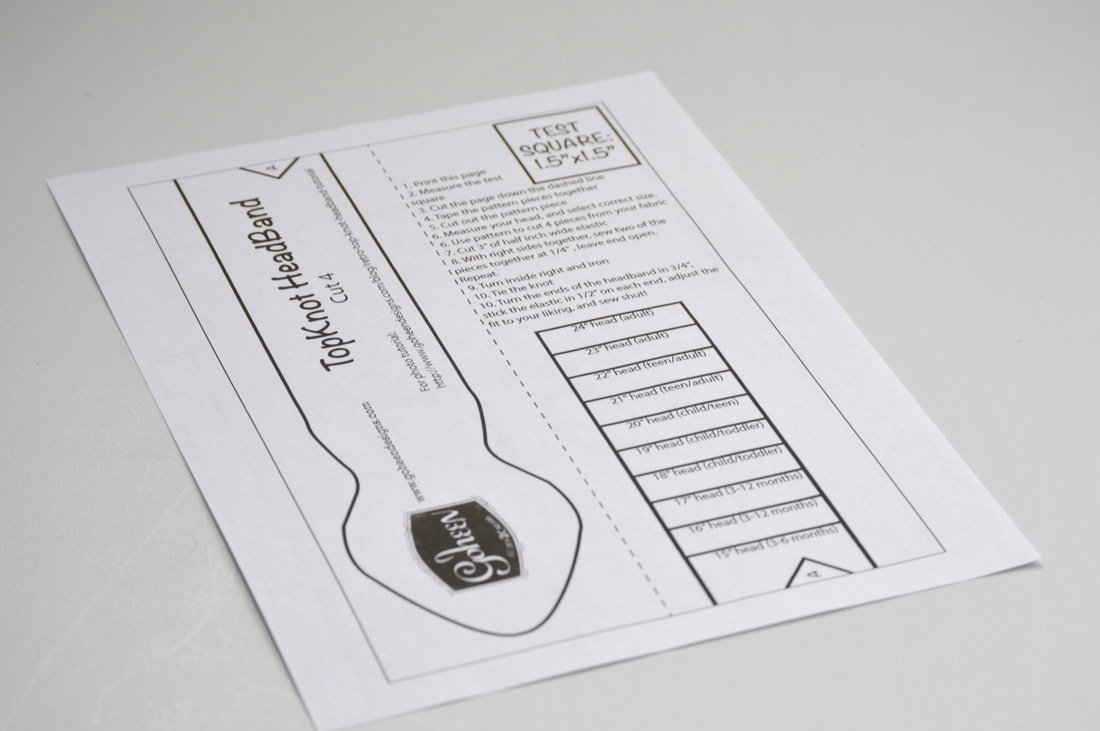
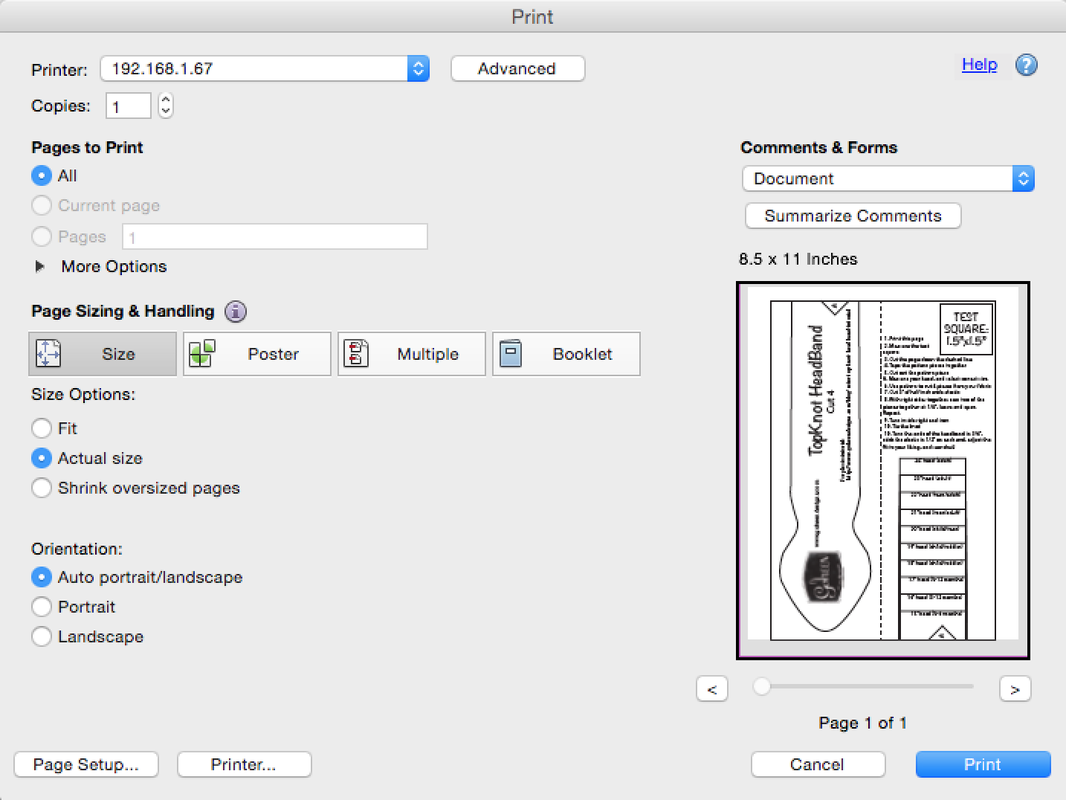
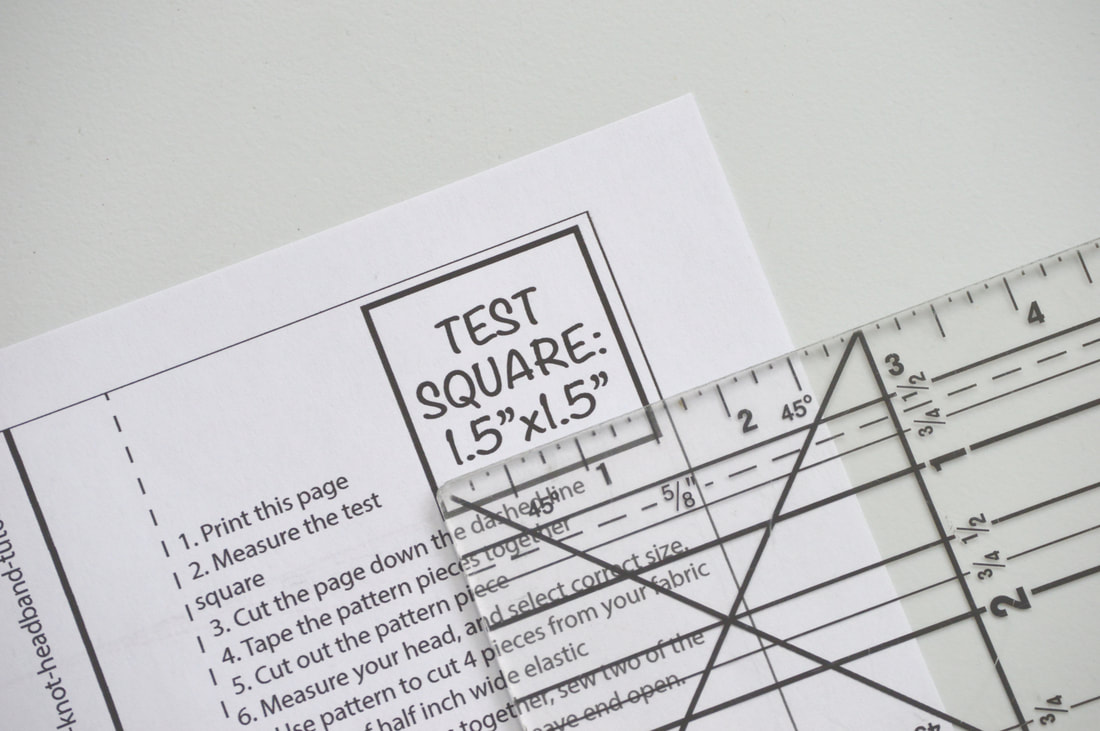
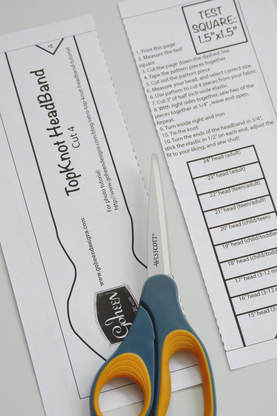
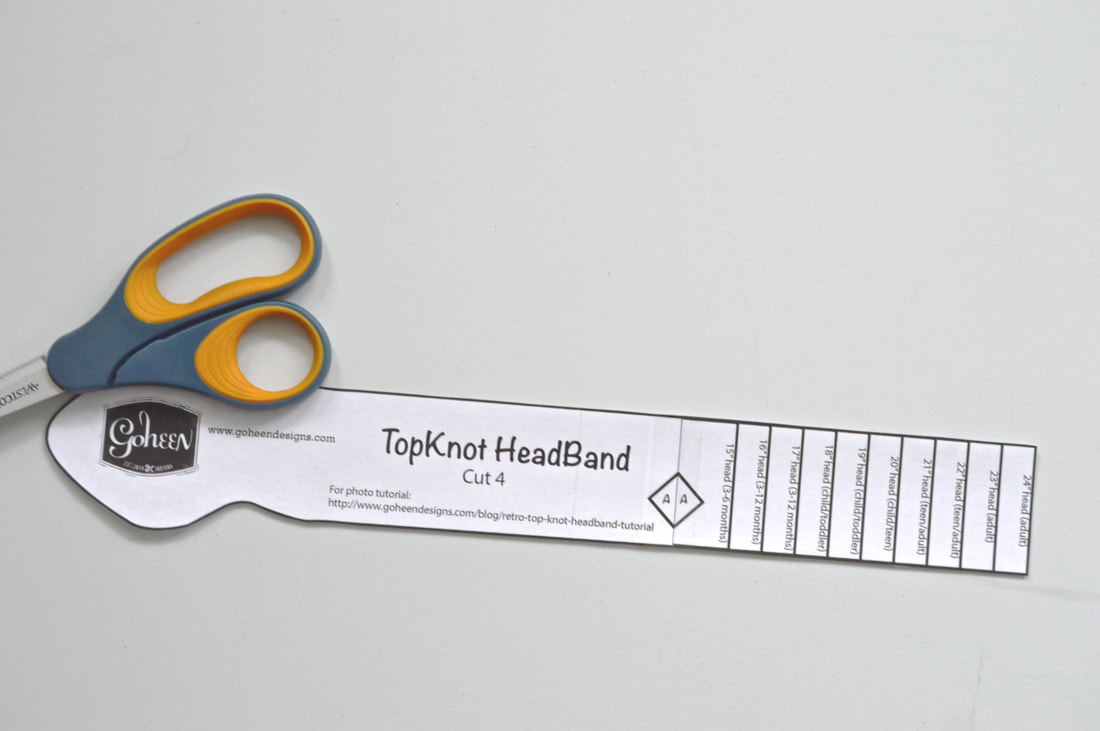
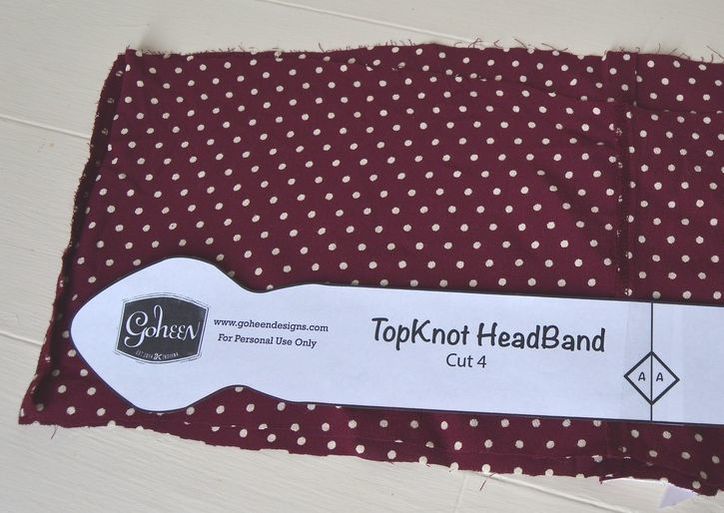
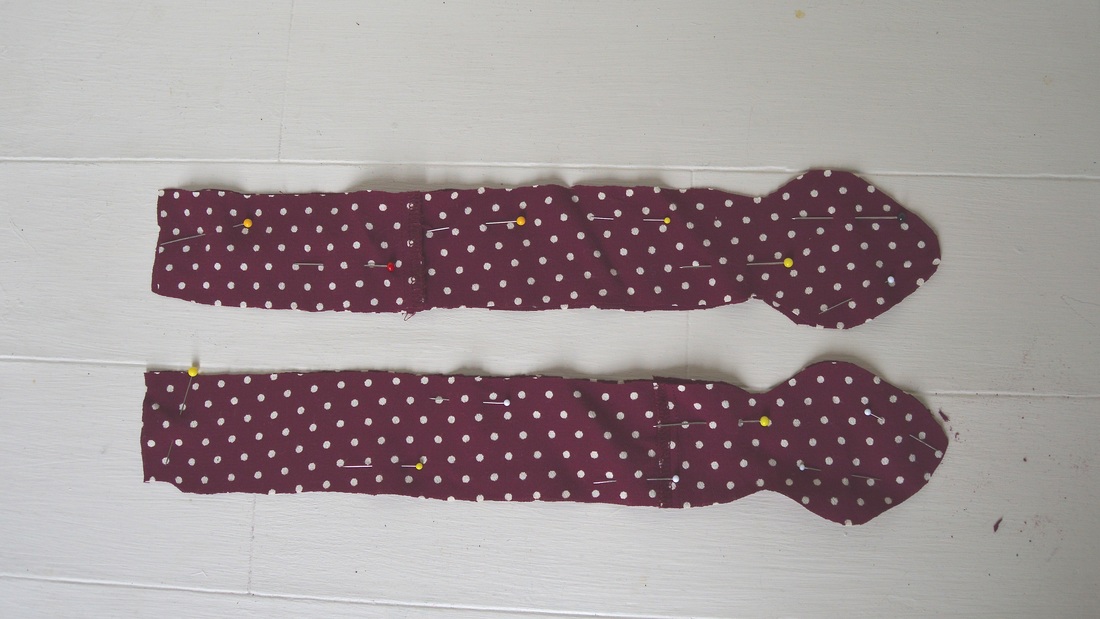
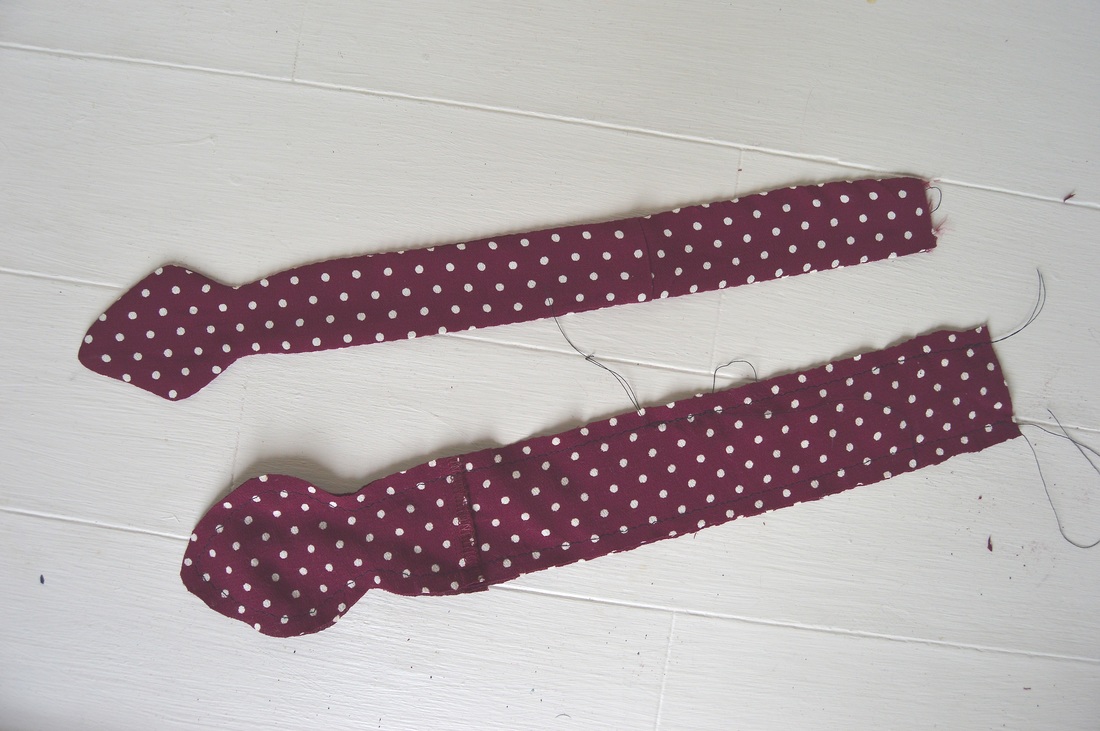
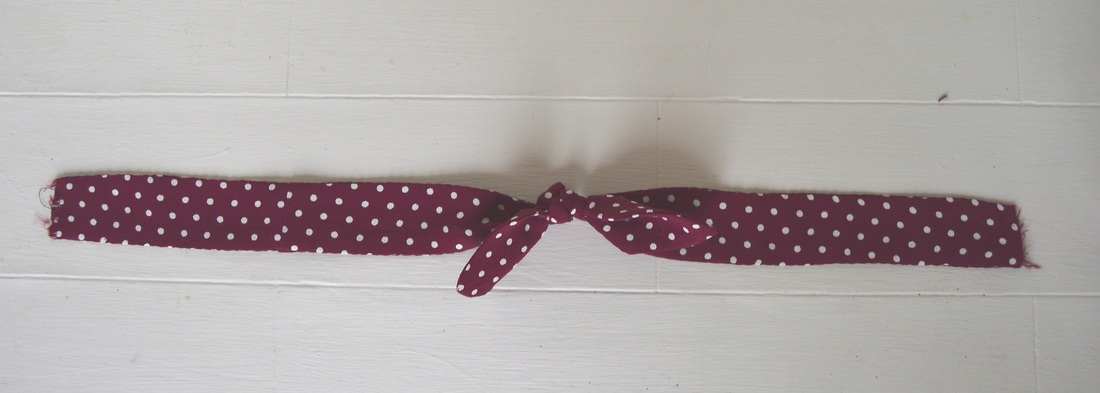
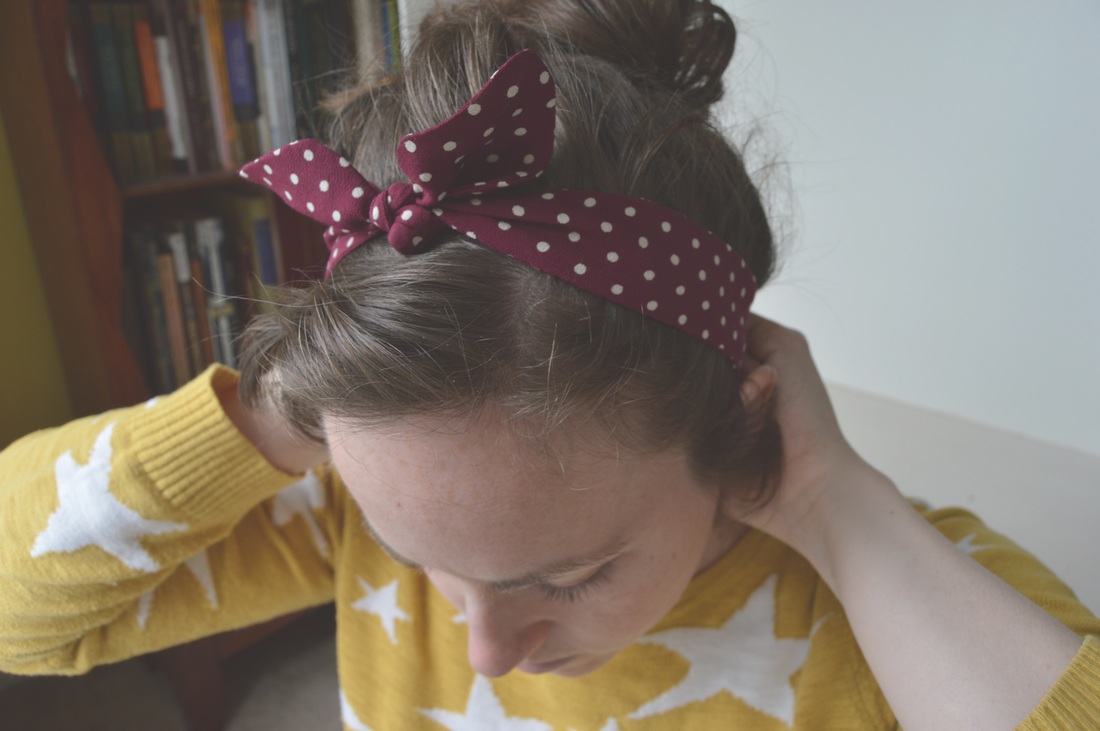
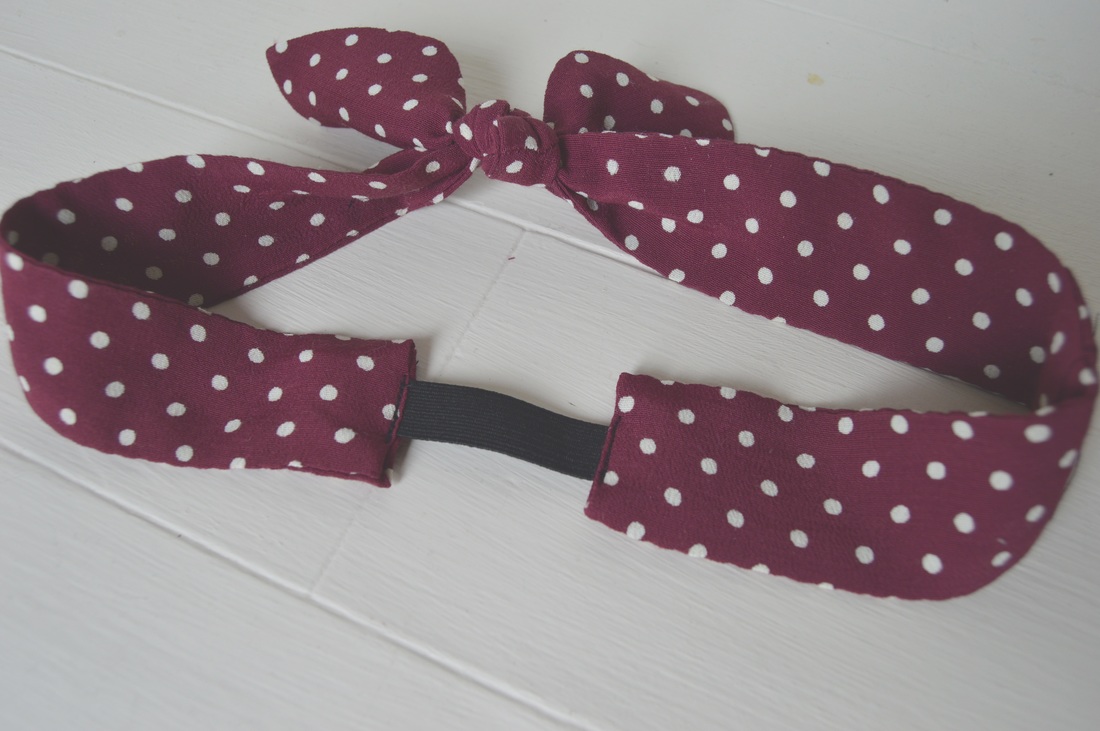
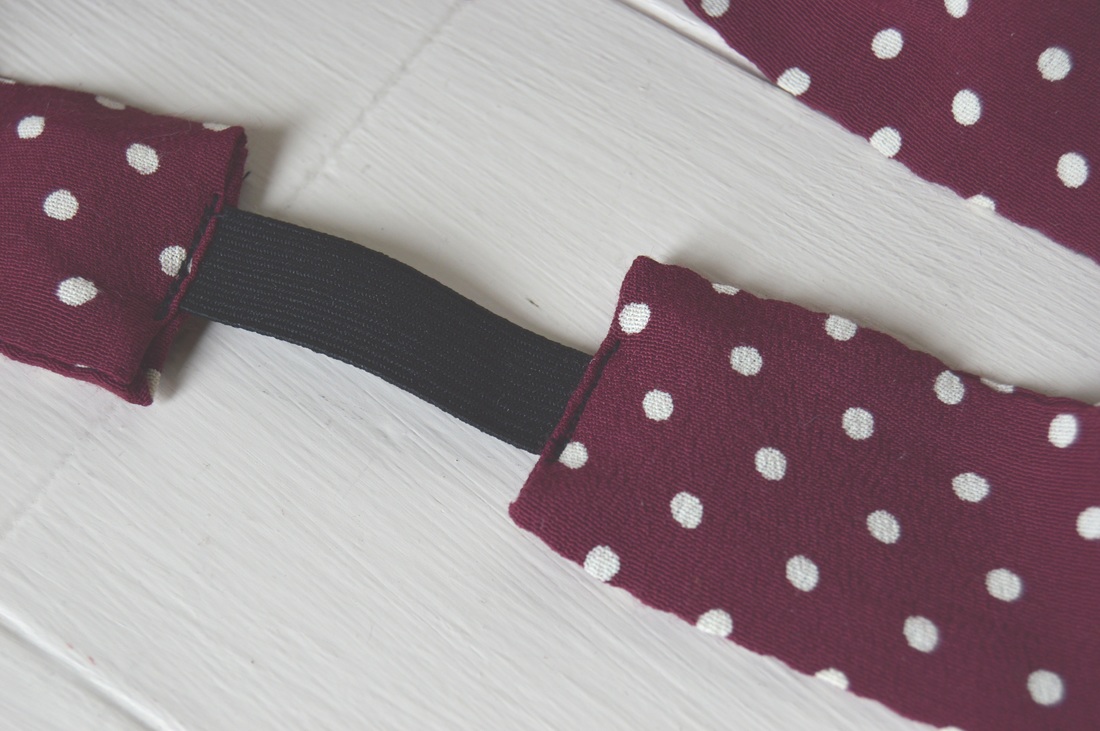
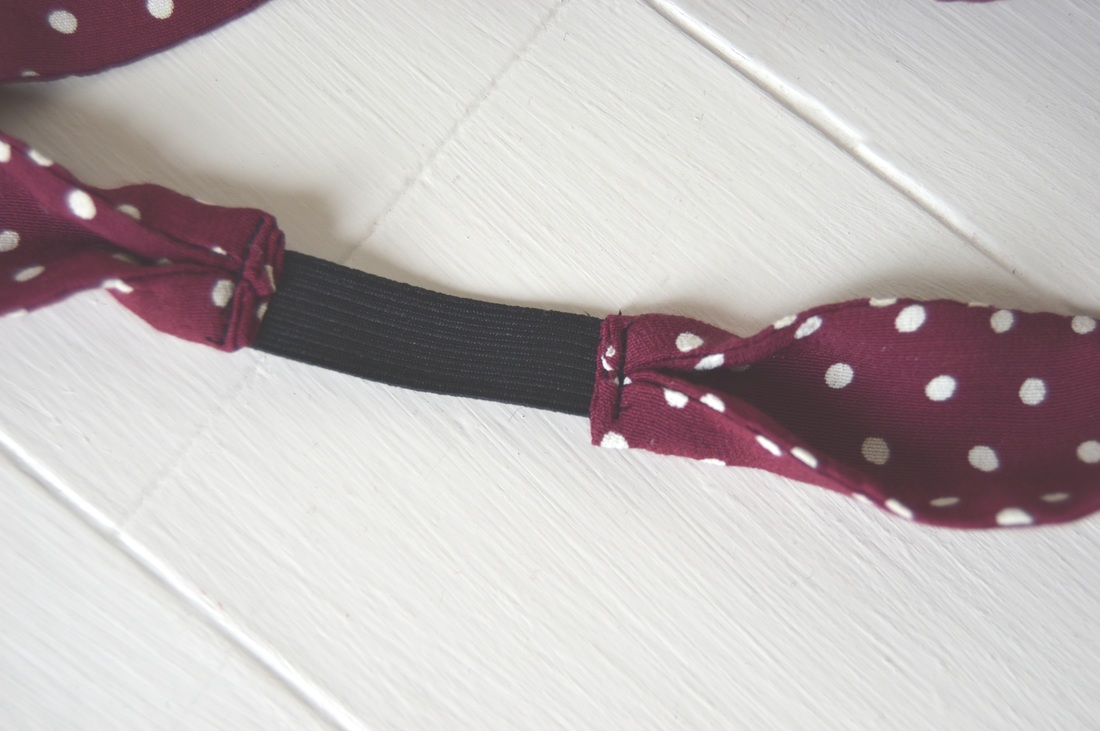
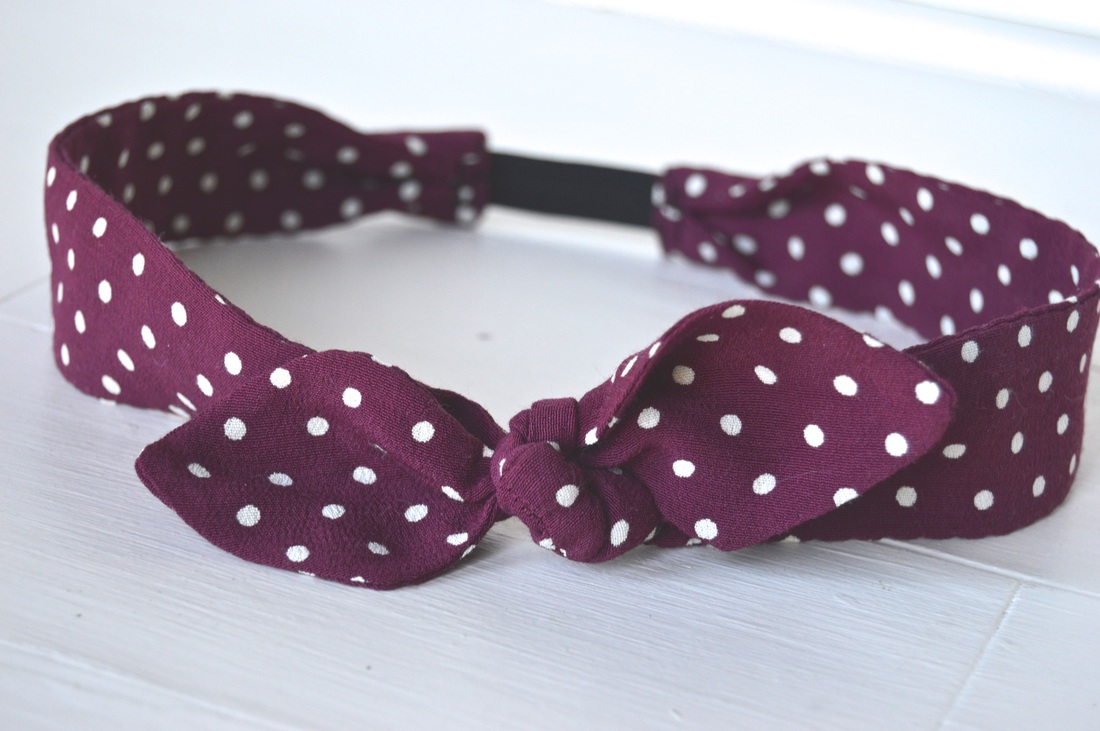
The Backstitch is a very simple but useful stitch to know. It is perfect for hand embroidery when you need to sew a continuous line of stitching, like on this Indiana pillow. Below, I have a simple photo explanation for how to sew a backstitch. 1. bring the needle up through the underside 2. take a stitch BACKWARDS (hence the "back" stitch) 3. bring the needle to the top again leaving a space to be filled with your next stitch backwards I also have a short video to demonstrate this stitch in action. It's not a polished video at all, but it does the trick! I have a new downloadable pattern for you! It is super simple, and super cute! You can find the Top Knot Headband in my shop store. Here's a little visual help using the pattern: When you print your pattern, make sure that you click the option that says "Actual Size", so that it will print correctly: Use a ruler to make sure that the Test Square does indeed measure 2"x2" Cut the page down the dashed line: Cut off one of the "A" edges, and place it on top of the other "A", matching them and taping them in place. Then cut out the pattern piece, and you're ready to use it. You'll see that the pattern has several different sizes for you to choose from. These sizes are based on the actual head circumference measurement. So measure your own head (or whoever is going to be wearing the headband) and pick which size would work best for you! Use the pattern to cut out 4 fabric pieces: Pin your pattern pieces right sides together and sew with 1/4" seam allowance, leaving the small end open (the left ends in the picture below): Clip the curves, turn the pieces inside right, and iron them: Tie the "Top Knot" in your headband. Turn in the ends of your headband 3/4". Then cut 3" of elastic for the back of your headband. Place 1/2" of each end of the elastic inside your headband ends and pin them in place. This is, theoretically, the finished size of your headband. But, as we all will tie the knot a little differently, and may prefer different levels of snugness, it is very important for you to test this size and make sure you like the fit! You can add or subtract from the headband or elastic to perfect it! Topstitch the elastic into the ends of your headband. For my headband (pictured below) I shortened the elastic to 2.5", still inserting .5" on either side. I like my headbands tight! Closeup of the topstitching: After the initial topstitching, fold the corners in on the underside and stitch across it again. Now your headband is done! Enjoy!
|
madeline stage
creative business owner. designer. hoosier. crafter. runner. sewer. swing dancer. outdoor enthusiast. entrepreneur. wife. mom. material hoarder. Categories
All
Archives
June 2023
|
Contact Me
|
Weekly Mantra:Motivation doesn't last. That's why, just like bathing, we recommend it daily.
Click here for the Privacy Policy |
|



 RSS Feed