|
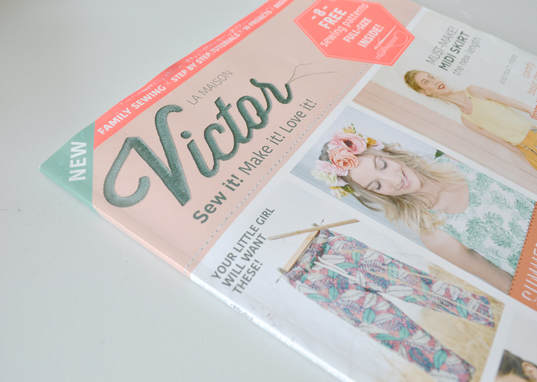
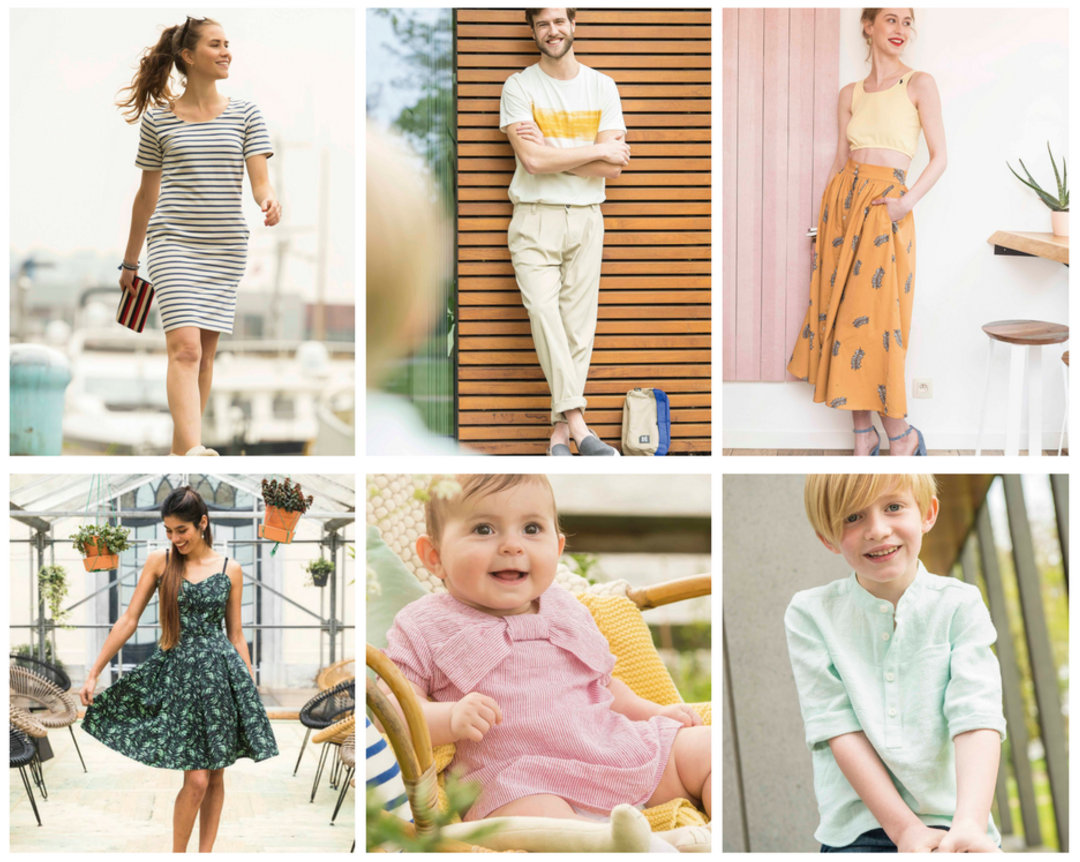
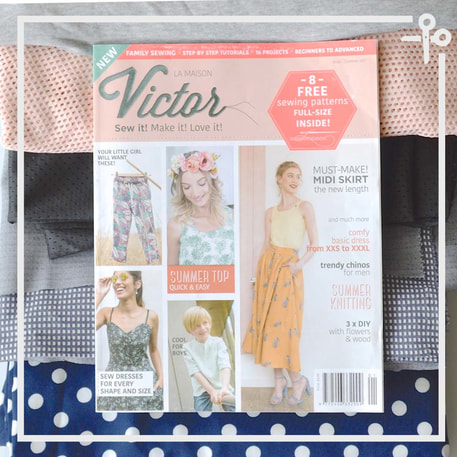
I was originally going to include this blog post in with the London Sewing Tour of 2017, but my love for this magazine spilled over into too many words, so I decided to separate it from the fabric shopping tour. I spotted this magazine in the Manchester airport during our layover on our way to London this summer, and instantly loved it. I took a picture of it so that I could remember what it was called, but then when I was in the public toilet Eddie snuck back and bought it for me (this is typically how things go in our relationship. I want something but will never allow myself to buy it, and then Eddie forces me to get it or surprises me with it) So, I had a very pleasant 2 hour layover reading my new magazine! Apparently, there is a reason I’ve never come across La Maison Victor in Indiana, because this is the first issue in English! One of the biggest things about this magazine that I love is the overall aesthetic. The photos are just the right mix of being beautifully professional but without everyone looking like mannequins. I have very strong opinions on sewing pattern photos and illustrations, often finding that even if a pattern itself is trendy and modern, the photo in the pattern catalog still somehow makes it look like something from the 2000’s, just slightly too out of date to be appealing. Anyway, along with the beautiful inspiration you get from this issue, you also get 8 free sewing patterns with full size pattern pieces! 8 patterns for £5.99 is a steal! Speaking as someone who has designed patterns, I really don’t know how that is even possible. Something else that I really appreciate about La Maison Victor is that they offer not just women’s patterns, but also men’s, children’s and baby’s patterns too! Along with the sewing patterns, there are other DIY projects sprinkled throughout too including an extremely cute sweater you can knit, a DIY flower crown, and a couple of home décor projects too. Different skill levels, very inclusive sizing, and step-by-step tutorials add even more to this already delightful magazine. The only thing that I don’t know yet is how well the patterns are made, because I haven’t had a chance to test one out yet. But once I do, I’ll let you all know!
0 Comments
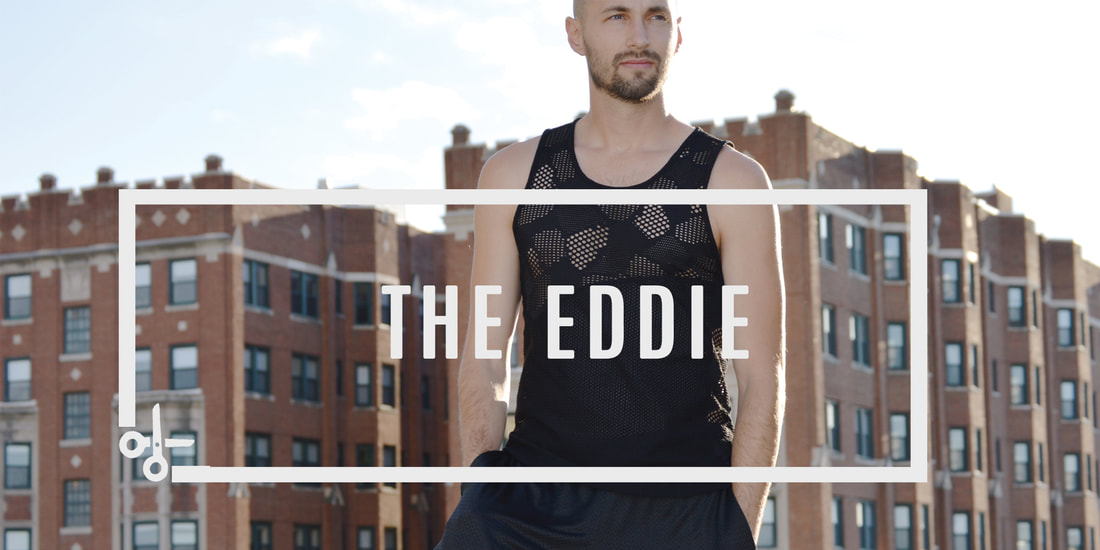
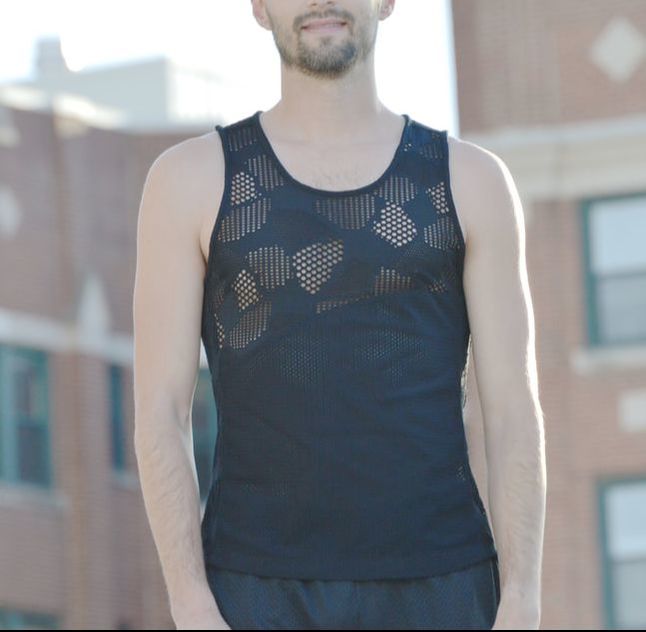
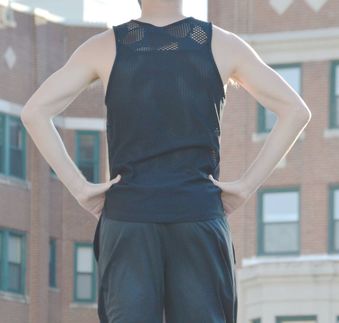
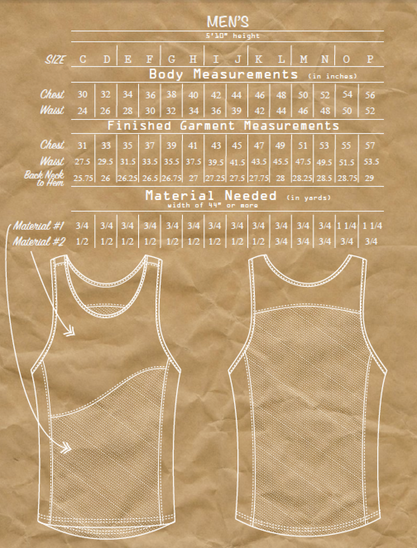
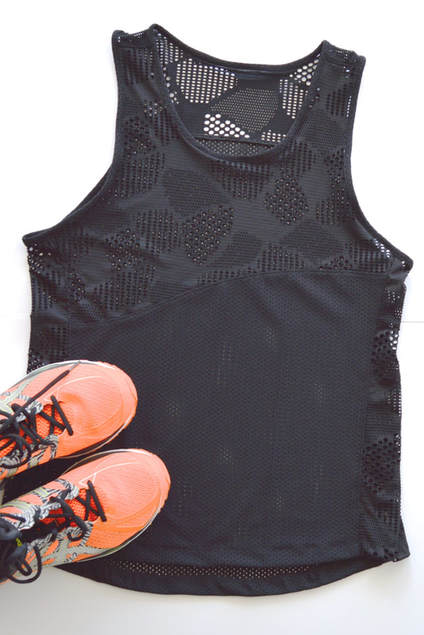
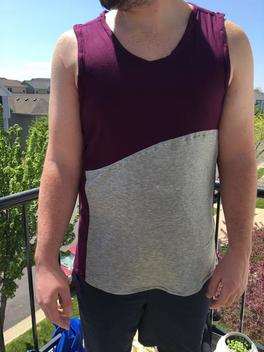
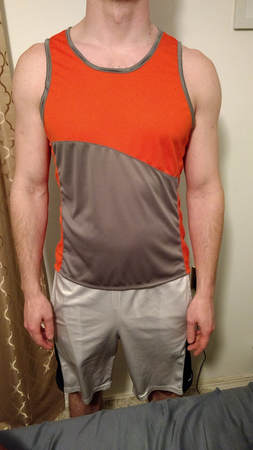
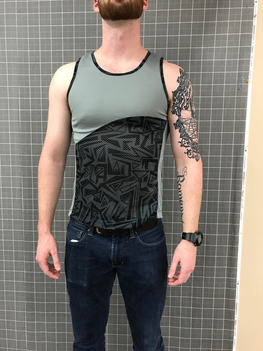
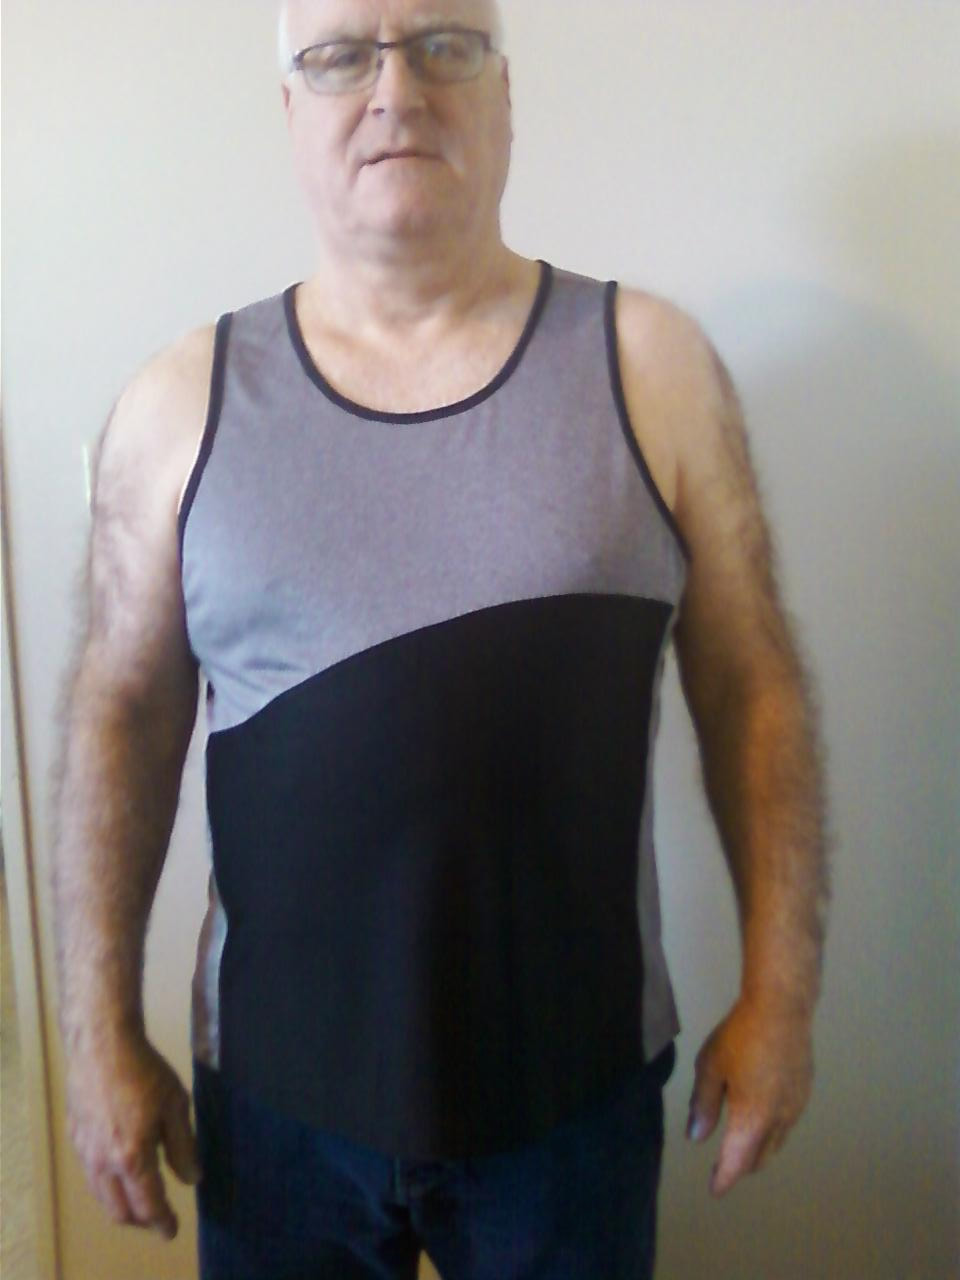
This blog post may be coming a little late, but my excitement about releasing a garment pattern is so fresh that I figured it’s still relevant! The process of creating and releasing a sewing pattern, especially one that requires grading and testing, is a lengthy one. I started patterning my first rendition of The Eddie Tank in January, and didn’t release the finished pattern until May. Obviously, I wasn’t working non-stop on this project all those months. I was also working my day job, fulfilling Etsy orders, working on the wholesale side of my business, and also doing all the back end administrative work as well. Finding (or creating) time to work on the patterning side of my business isn’t always easy. Which is why I’m so excited to finally have the fruits of my labor ready for the picking! The Eddie was inspired back in January by…. You guessed it…. Eddie! For those of you who don’t know him, Eddie is my husband, and his signature look in life is a running singlet. Years of running every day, often multiple times a day, means that running tank tops are one of the staples of his closet, and an easy pick even for when he’s lounging around in the Indiana summer heat. Inspired by this, I wanted to create a simple, comfortable, and stylish workout tank that is a quick sew. For my household, this garment is one that we can make over and over, and wear over and over. Exercise is a very high priority to us, and we aim to work out in some form every day, and Eddie's usual form is running. And when you run every day, you can go through 7 of these puppies in a week. And that is only if we manage to do laundry every week (we don’t). So quick to sew was a must. Stylish is the other side of the coin. The swoosh in the front is just enough to add some interest to the tank, a way to make it stylish, and a way for you to individualize your singlet by incorporating different fabrics into the same tank. The bound arm and neck holes also allow for a contrasting fabric, and give the top a very clean, professional look. Also, the side panels not only add to the style of the top, but also allow for use of a mesh fabric to keep super cool and comfortable when you are working out. For this sample of the Eddie tank, I used performance honeycomb mesh on the top and sides and regular performance mesh for the main back and front pieces. I found these at my local Joann’s (I was surprised too!) and they have been great to work with. Along with all the photos I took of Eddie in the Eddie (he is such a trooper) I wanted to share some of my testers’ photos too! They did a great job, and I love seeing the different color combinations they came up with. Basically, I love my Eddies, both human and fabric, and I can’t wait to see even more of them pop up as more people try out one of their own.
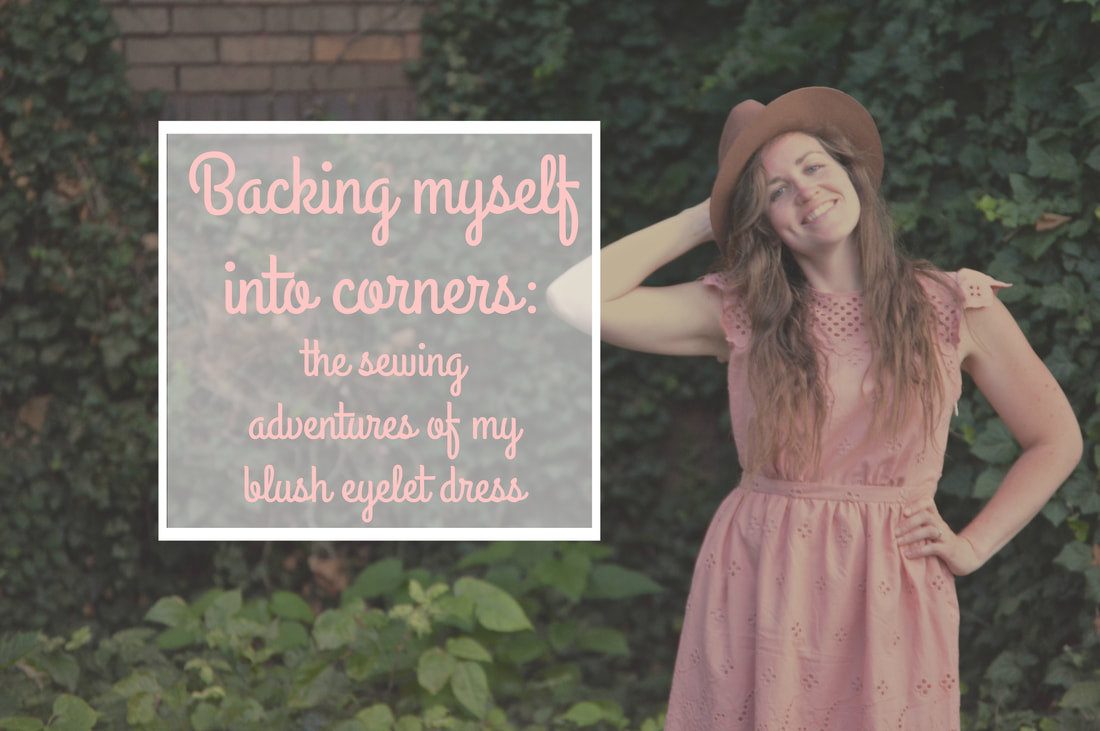
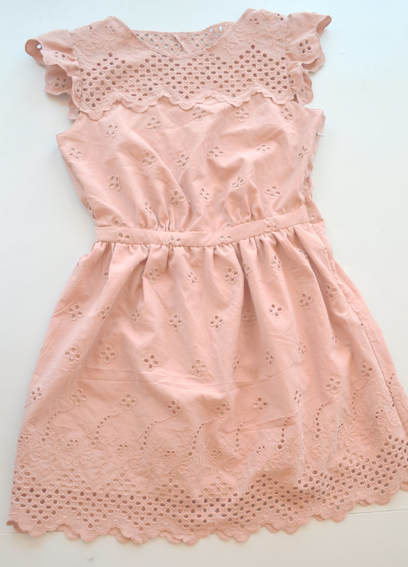
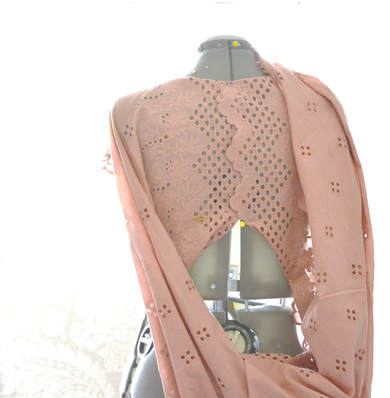
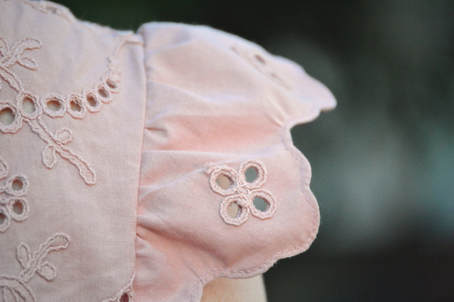
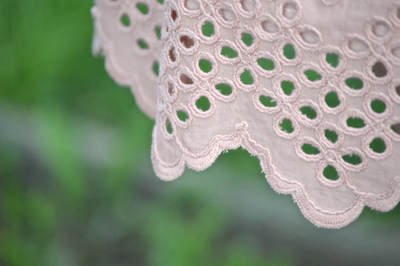
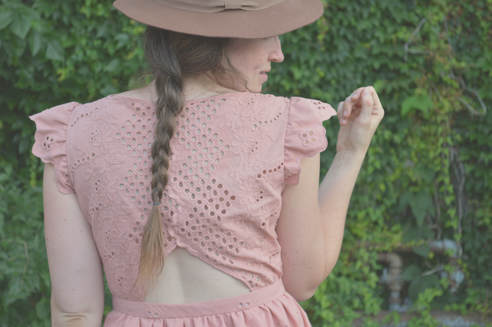
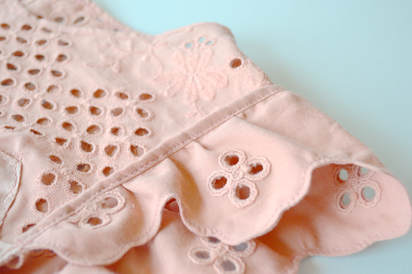
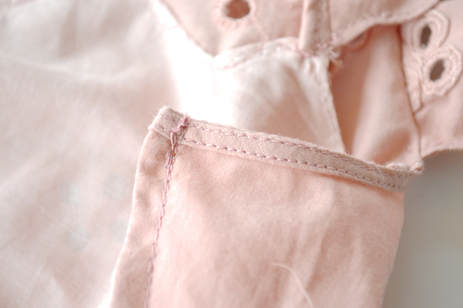
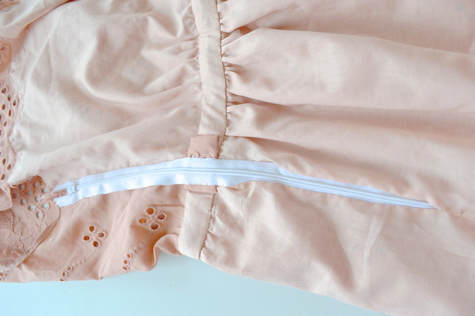
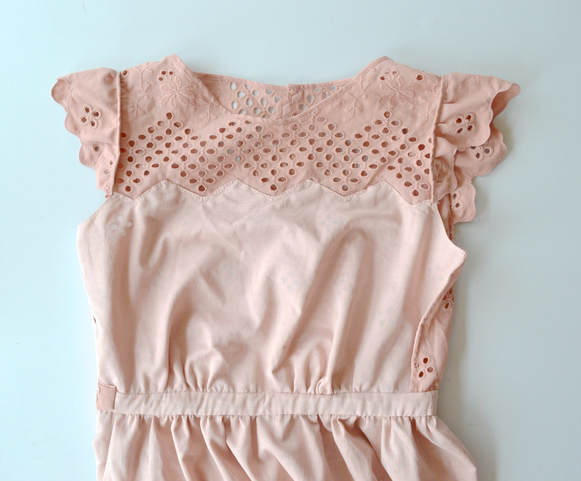
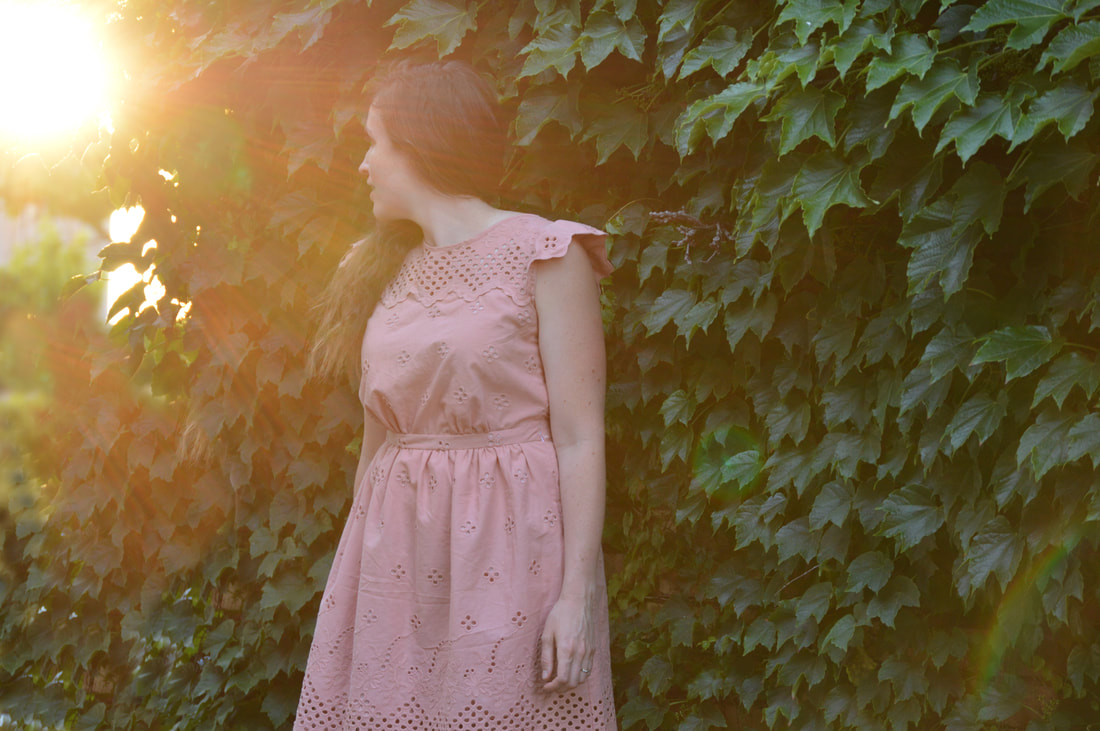
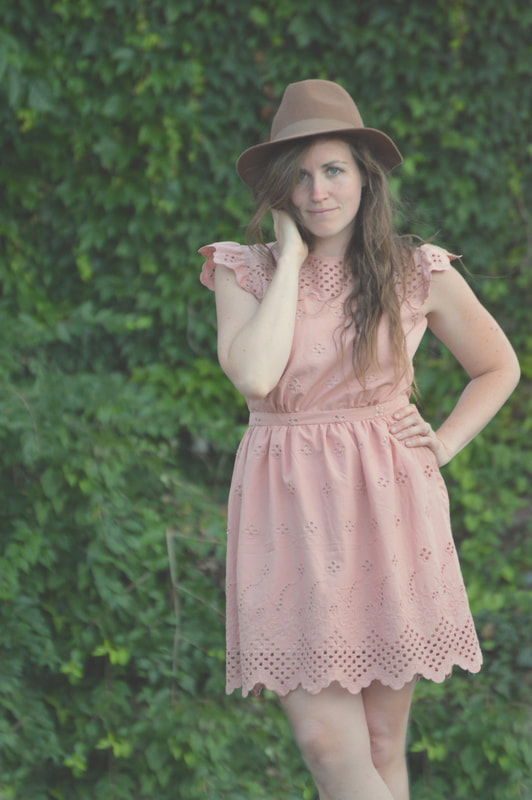
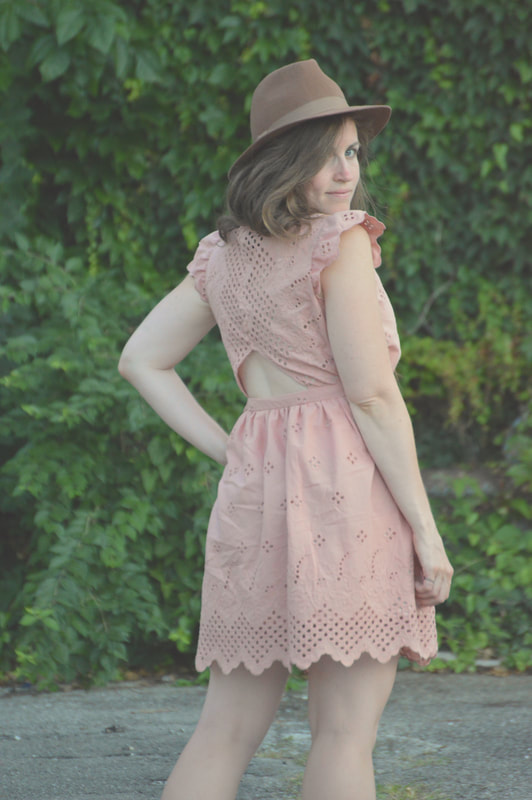
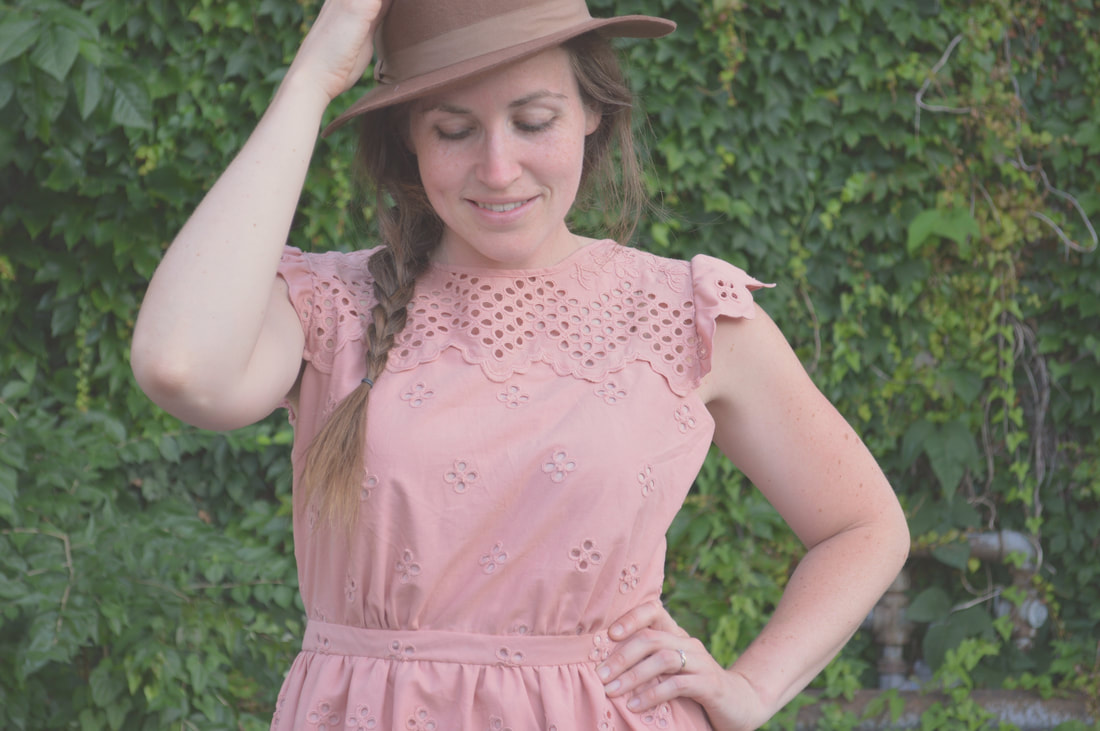
You know when you just see a fabric and you absolutely fall in love with it? Yeah. That’s what happened to me at Let’s Sew. I was there on a trip with my ASDP group this past spring, visiting one of our members’ sewing workrooms, and we decided to check out the local fabric store while we were there. Let’s Sew is a great store full of beautiful garment fabrics and quilting fabrics (that are good enough quality to also be used for garment making!) I had intended to just go to look, and not to buy anything. Ha. You know how that goes. I spotted a beautiful blush eyelet fabric on a roll against the wall, and that was it. I didn’t know what I would make with it, but it was coming home with me! I started sketching in the car ride home, and by the time we made it back, I had a plan. ….That I worked on intermittently for the next 4 months…. The downside to working a day job where I sew, and owning a side business that also involves me sewing for hours, is that you end up having very little time and energy for getting sewing done for yourself. This is actually the first whole project I’ve taken on just for me in years. I started out by playing around with the fabric on my dress form, and then drafting the pattern for my new dress. I actually drafted it specifically for the fabric that I had bought. I hadn’t known what I wanted to make with the fabric in the store, and I was trying not to overbuy, so I really had a very limited amount to work with. I started with 1.5 yds of the face fabric, and 1 yard of the lighter pink lining fabric. I also wanted to draft the pattern very specifically for fabric use because as an eyelet fabric, it had the most beautiful border on the edges! There were certain parts of the dress that I wanted to make sure that I used that border for. The bottom hem, the front yoke, and the center back for certain were going to be out of the border pattern. I would have used more for the sleeves, but I didn’t have any more even for that. Instead, I ended up tracing around the scallops of the edging in order to create the sleeve edge, mimicking the look. So after pattering a new dress, the logical next step is to make a muslin, to test the pattern out. But I have this bad habit of not making a muslin before diving in to a project, and true to form, I didn’t make one for this dress. I don’t make a lot of time for sewing for myself, and when I do, I never want to lose that precious time to a test run, even when I know I’m risking the entire project by choosing not to do one. I cut all my pieces out with a 1” seam allowance to give me some wiggle room, but I definitely had some “Oh shit” moments during the process, when I thought I’d completely screwed it up. Although if I’m honest, every new project I do goes through a moment or two (or five) when I feel like I’ve completely messed it up and I can’t stand looking at it. Luckily I usually get passed this feeling, and I did with my pink dress too. Originally, I had drafted this pattern to have an elastic waist. But once I tried it on, I did NOT like the way it looked. It bunched in all the wrong places, and I wasn’t satisfied with the look of the elastic on the open back of the waist. It just didn’t look finished to me. So I decided to pivot, and add a waistband in place of the elastic. I scrounged up enough fabric to create the band, and gathered the skirt and top into the band and it looked much better! But by adding a waistband, I had backed myself into a corner. I had gone all out with this dress in terms of finishing the seam allowances. I had decided to make the insides just as pretty as the outsides, and went with french seams, along with all sorts of bound edges and Hong Kong seam finishes. But my late-in-the-game pivot meant that in order to be able to put the dress on (kind of important…) without the elastic waist I now needed a zipper opening in the side seam. The side seam that was already perfectly frenched. (definitely an "oh shit" moment) This lead to a lot of procrastinating, in the form of googling tips for how to put an invisible zipper into a French seam. But in the end, I just had to wing it. It was pretty much hand sewing to the rescue. My bright white zipper did end up taking away from the sophisticated look of my dress innards, but a lot of hand sewing at least made it look cleaned up and presentable. As with any project (especially one that I don’t make a muslin for...), I already have improvements in mind for my next go with this pattern. But overall I’m pretty happy with the way it turned out! I definitely had fun trying to take some pictures of it! I’ve been eyeing this ivy wall down the street from me for a while, and I got Eddie to come with me to cut out the awkward selfie shenanigans. He said he would only come with if he could pretend he was a real photographer and dress the part. Apparently this is how Eddie thinks photographers dress: hat, glasses, and cut off jean shorts. He is so adorable.
|
madeline stage
creative business owner. designer. hoosier. crafter. runner. sewer. swing dancer. outdoor enthusiast. entrepreneur. wife. mom. material hoarder. Categories
All
Archives
June 2023
|
Contact Me
|
Weekly Mantra:Motivation doesn't last. That's why, just like bathing, we recommend it daily.
Click here for the Privacy Policy |
|




 RSS Feed