|
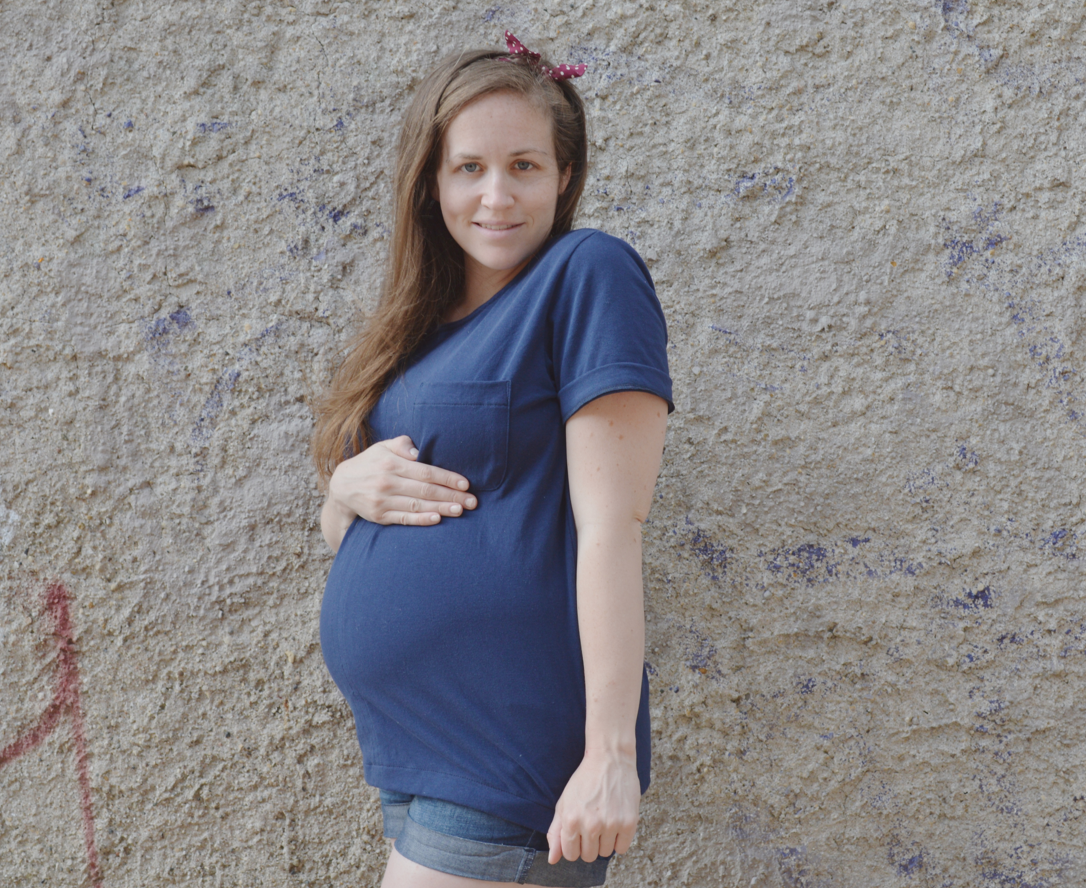
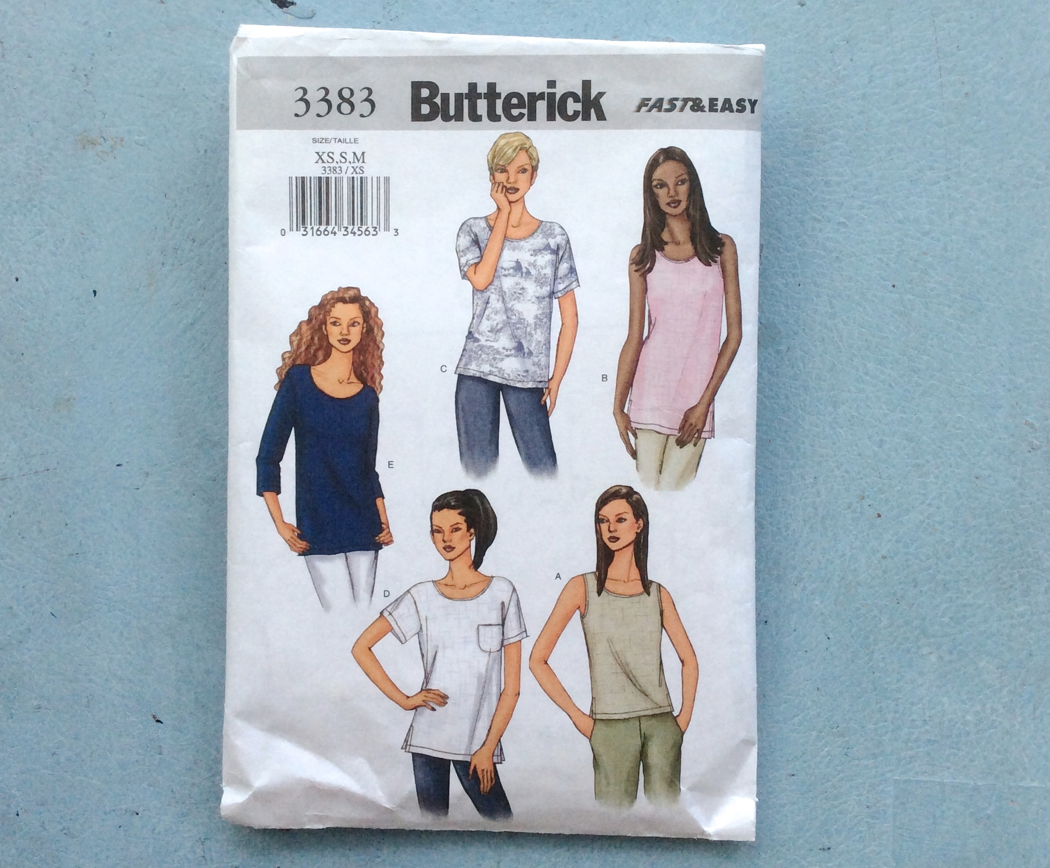
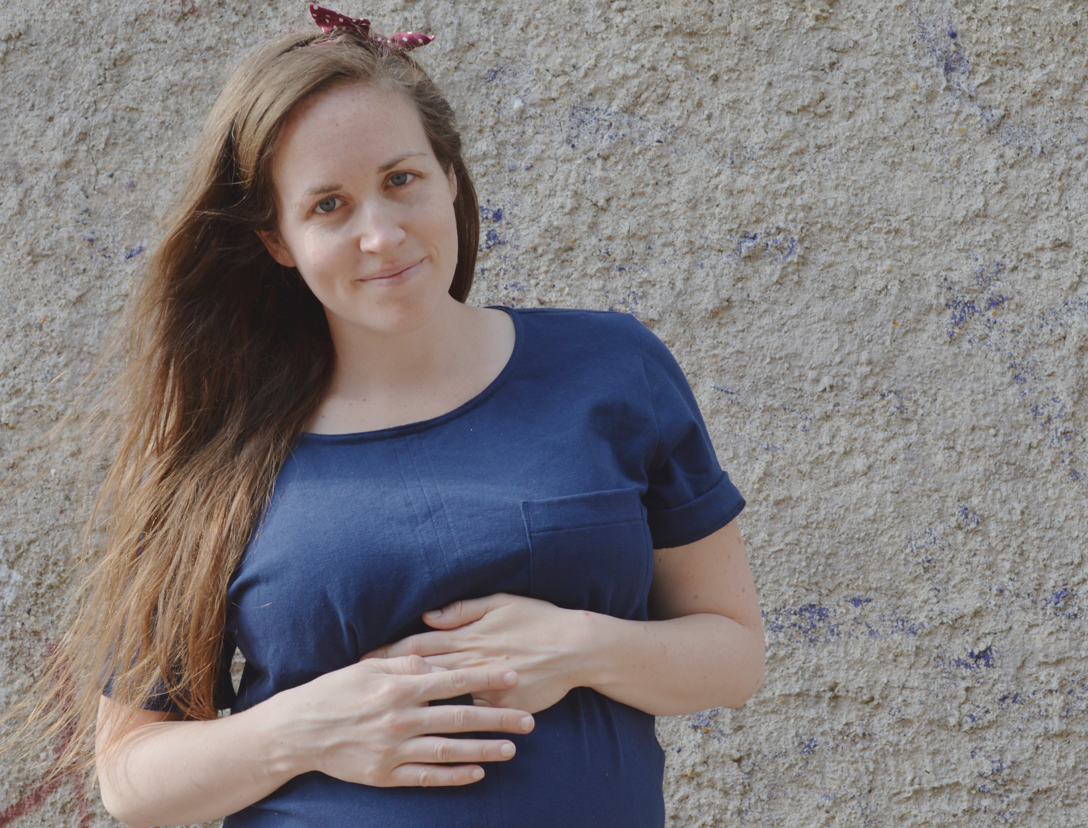
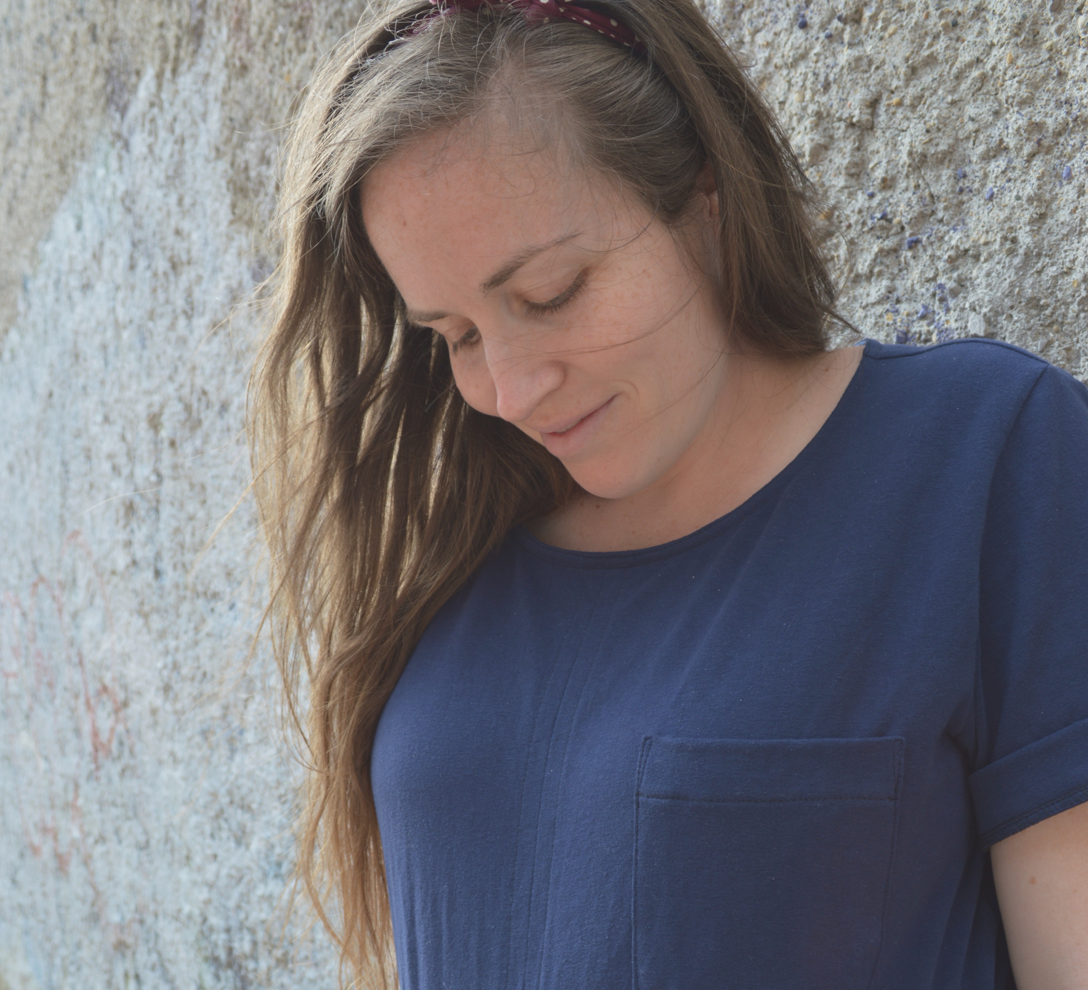
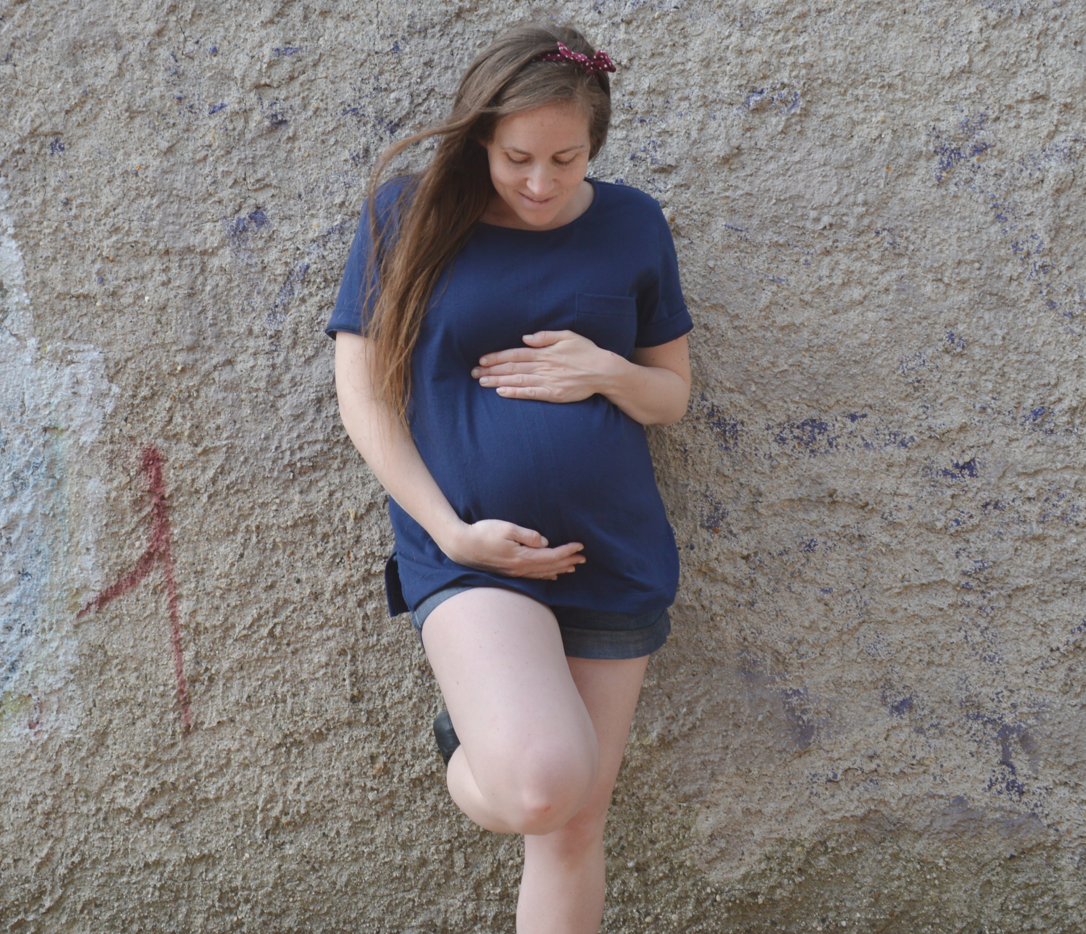
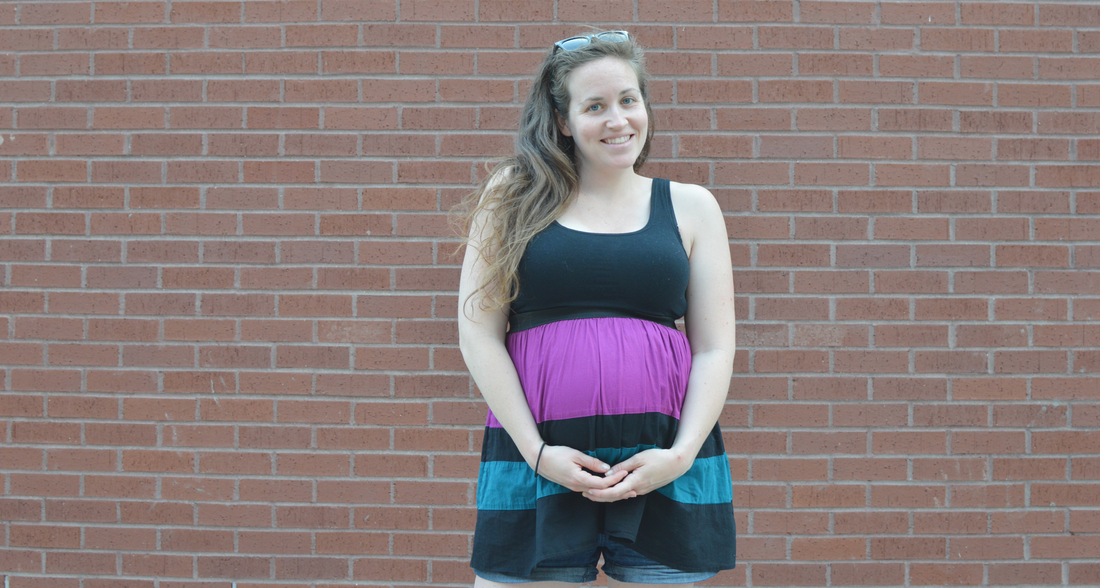
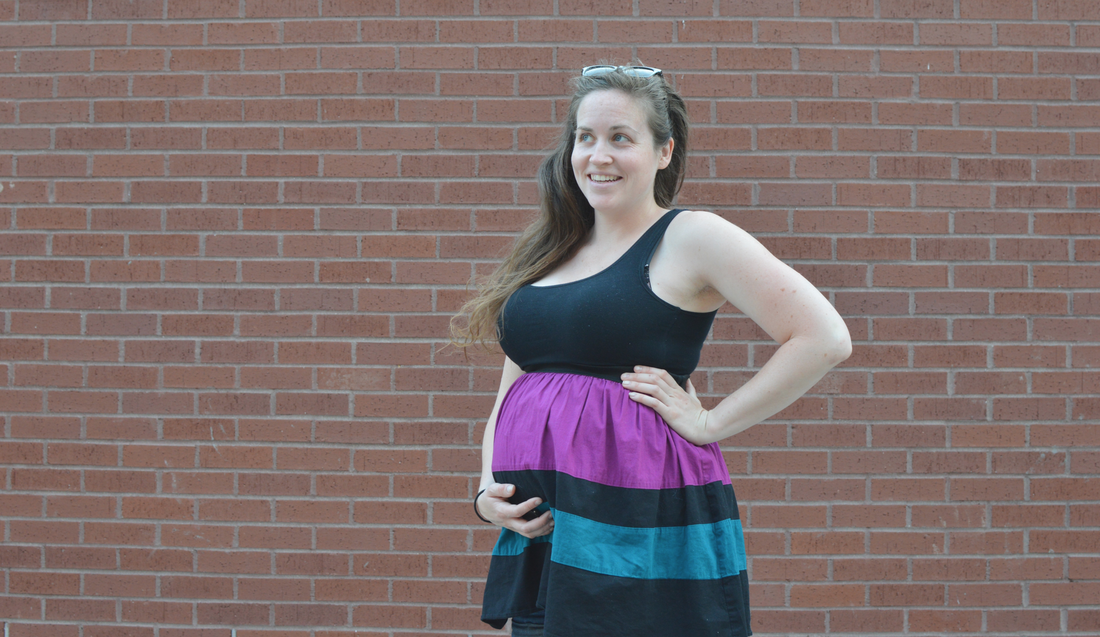
A few weeks ago, in the midst of a lot of long term projects, I got the itch to sew something quick and simple. So I looked through my bin of patterns and pulled out Butterick Fast&Easy 3383. It's a really boxy, oversized t-shirt pattern with three sleeve length options, a pocket option, and the option for side seam slits. I'm not usually a fan of really oversized t-shirts, and I considered altering the pattern from the get go. But I wanted to see what it was going to be like without alterations, and figured oversized was exactly what sewing for my bump called for. I picked out some scraps I had in a sturdy navy mystery knit, and some bias tape that I'd had laying around for ages (seriously, I think I've had it since I was like 12) and went to work! Of course, being scrap fabric I didn't actually have enough to cut the pattern out as it was intended. So I decided to split the front into two, and try to make it look intentional. To make it look more like a design detail, I used 1" seam allowance for the center front, serged the sides separately, and topstitched each side. I think it turned out pretty well! Actually, the whole shirt turned out better than I expected. A lot of times when I jump into a project and finish it really quickly it ends up turning out pretty terrible for one reason or another. But this boxy look is indeed super comfy for being pregnant. And the slits in the sides help give even more room as I go into the last few months of my pregnancy. I really like the stability that the woven bias tape gives to the scoop neckline, and I love the pocket detail. The only thing I'd change for next time around is to make the sleeves shorter, since every time I wear it I end up rolling them up a turn or two anyway. I can't say that it's my favorite make ever, but it was the perfect pick for a quick and easy project, and it's a great basic to have in the closet!
Oh! And p.s. this is my Retro Topknot Headband in case you were wondering :)
0 Comments
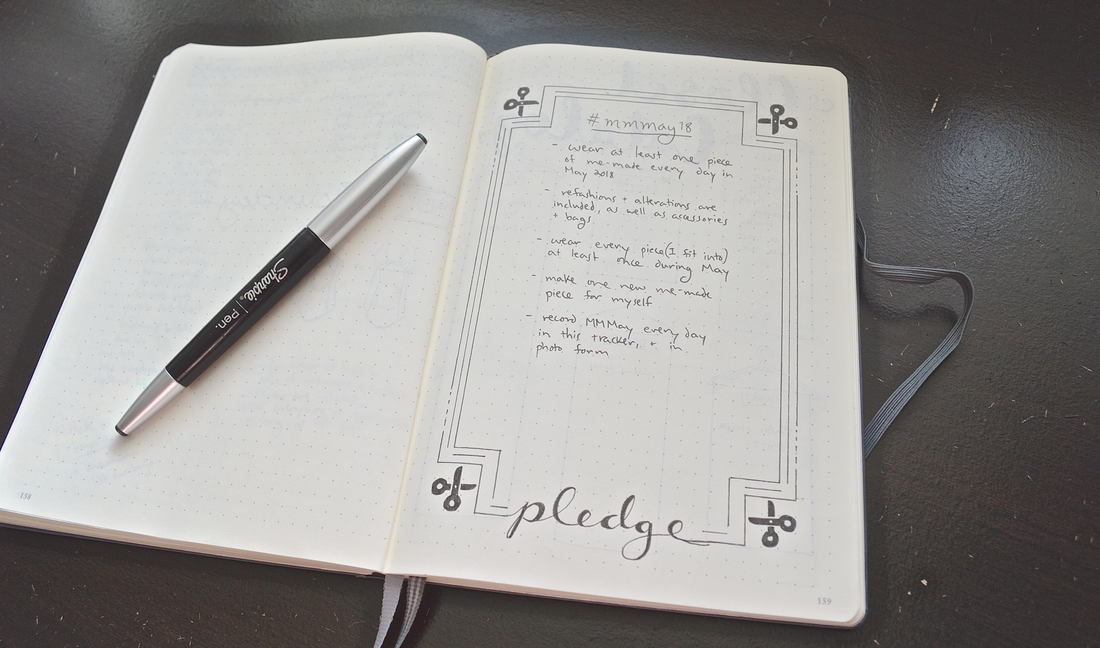
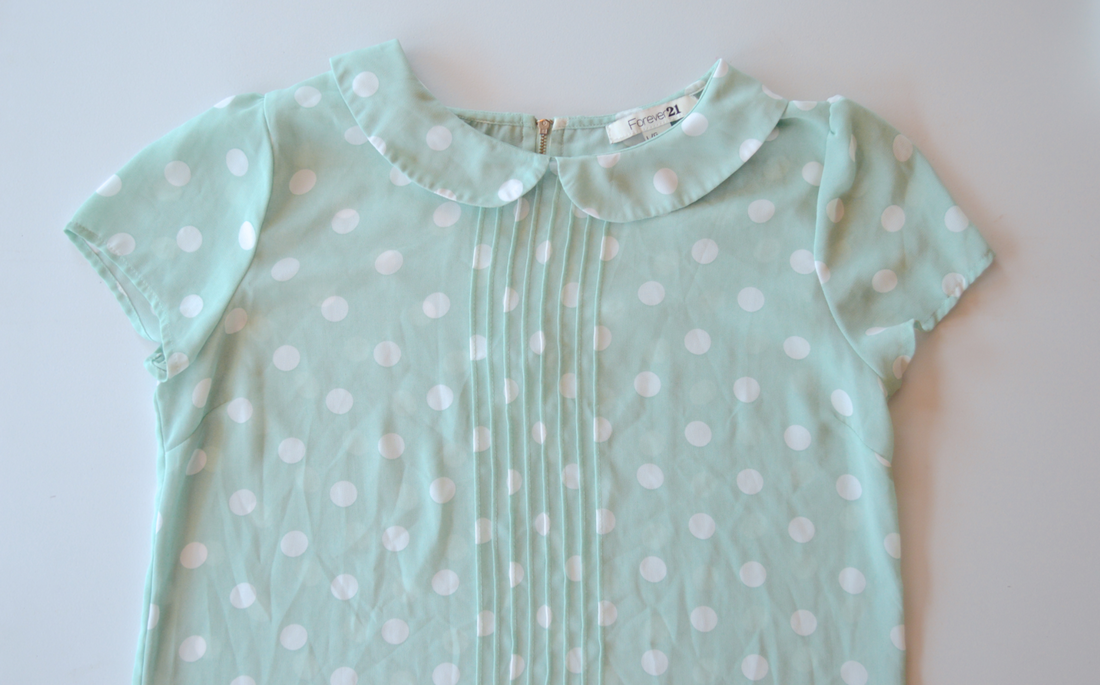
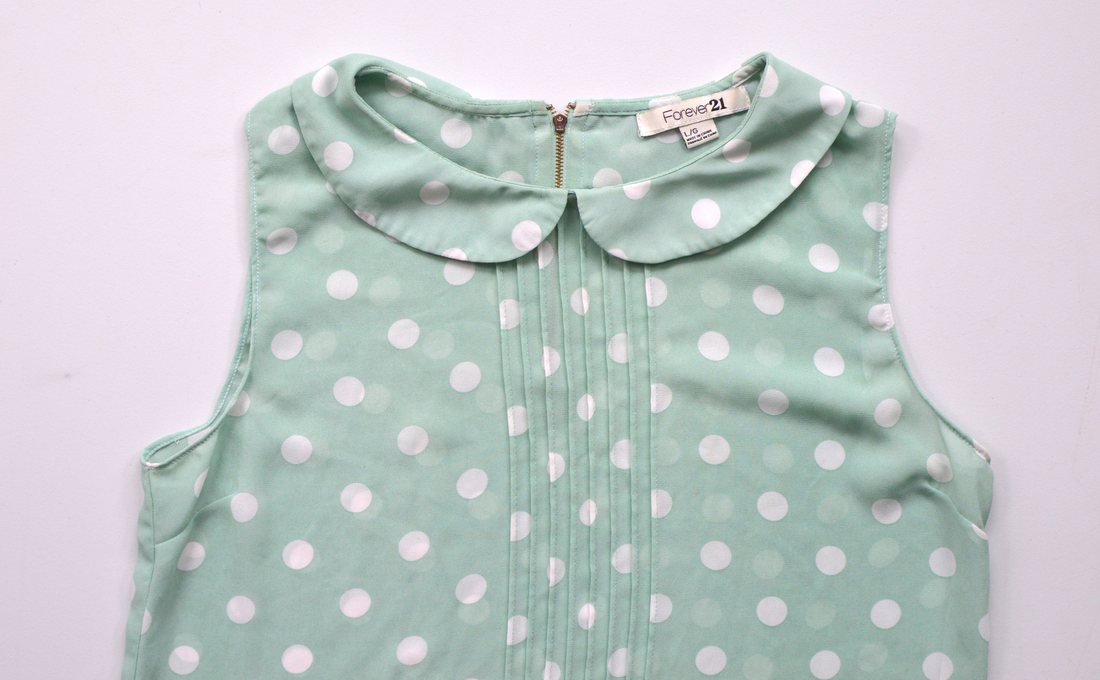
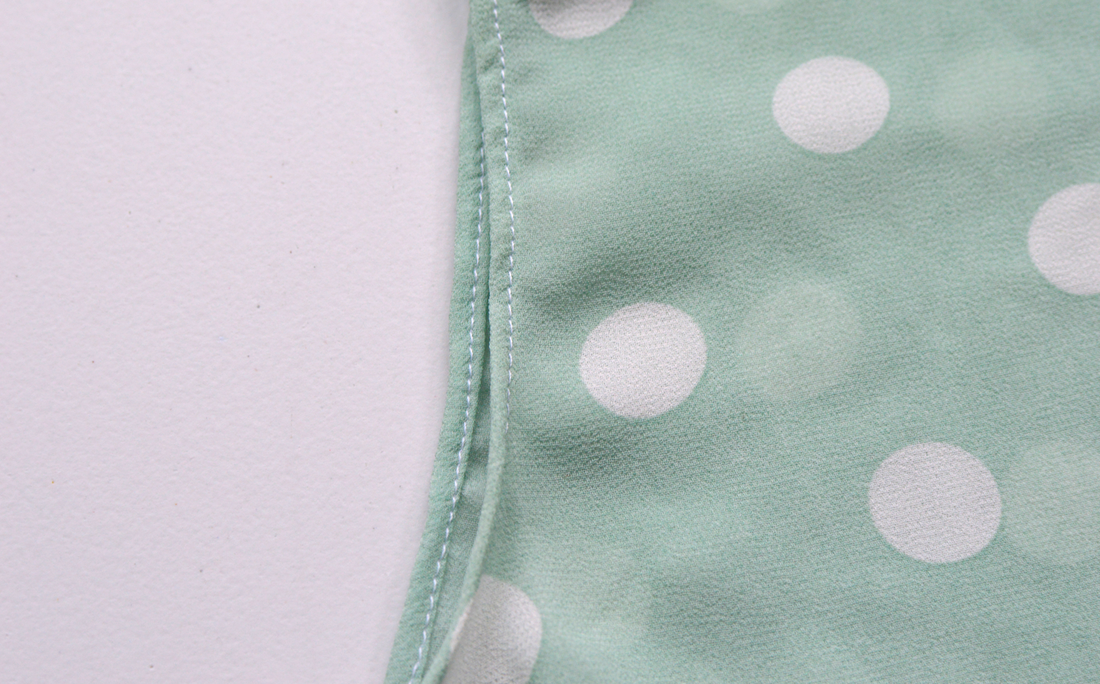
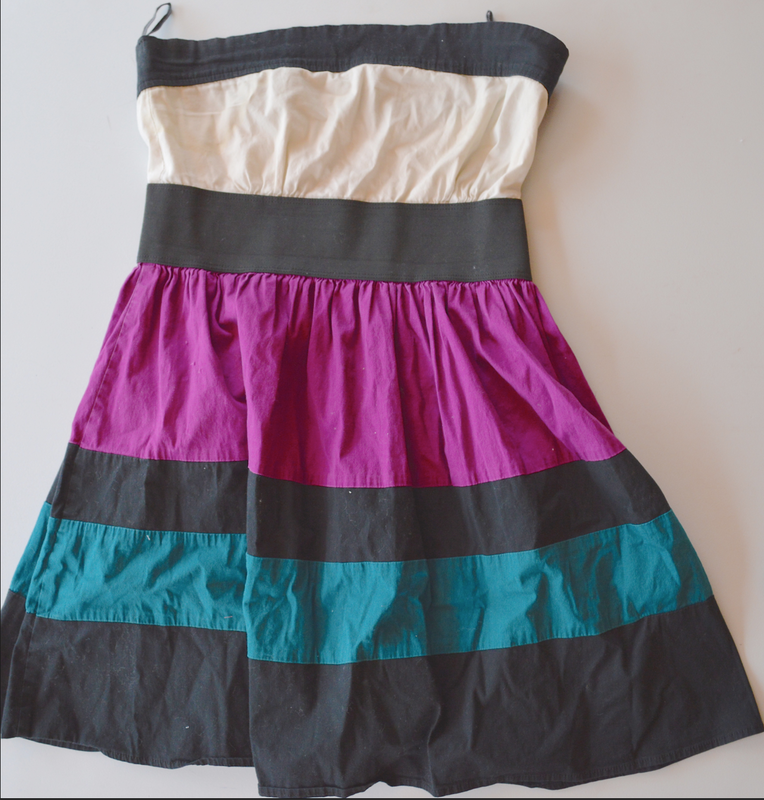
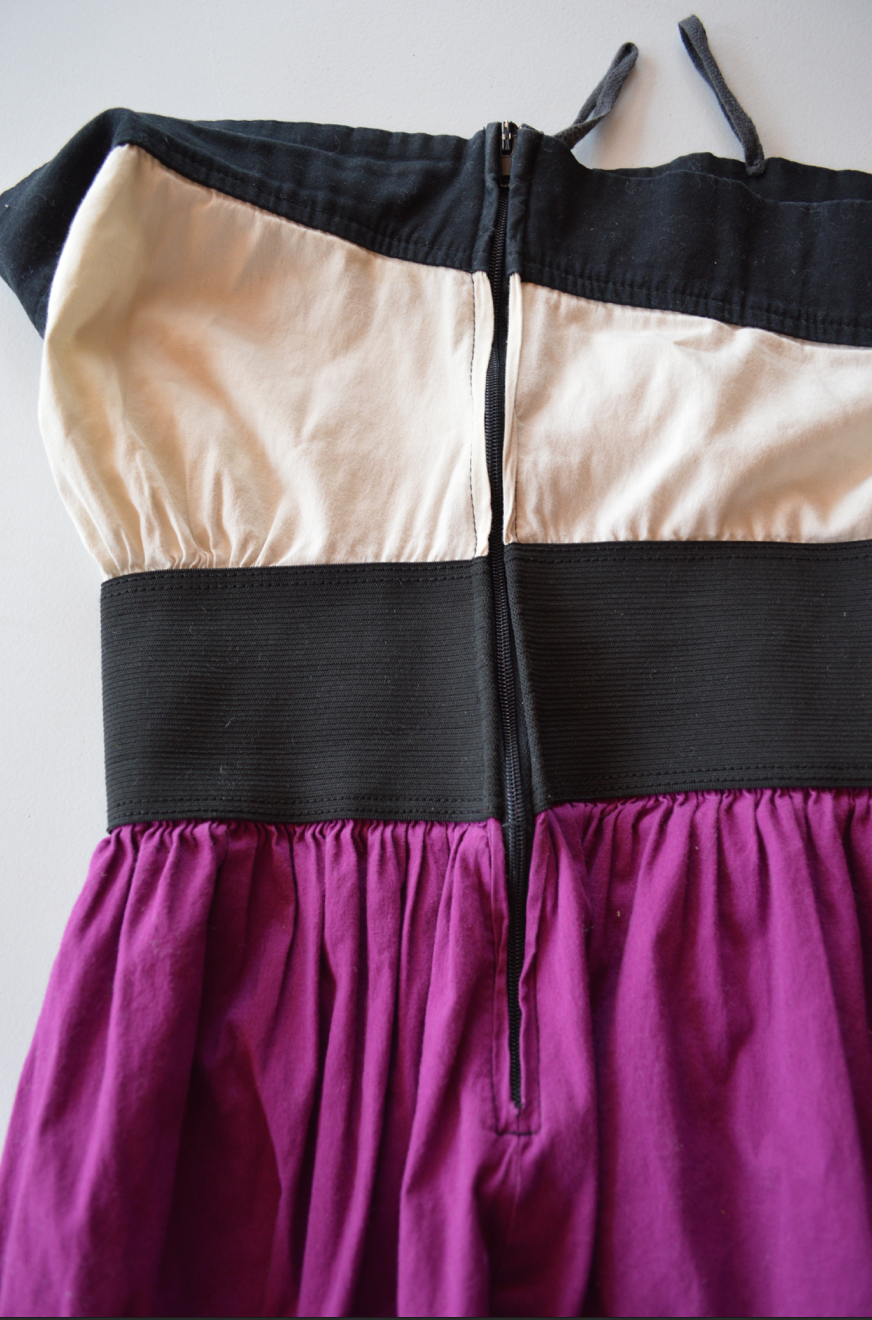
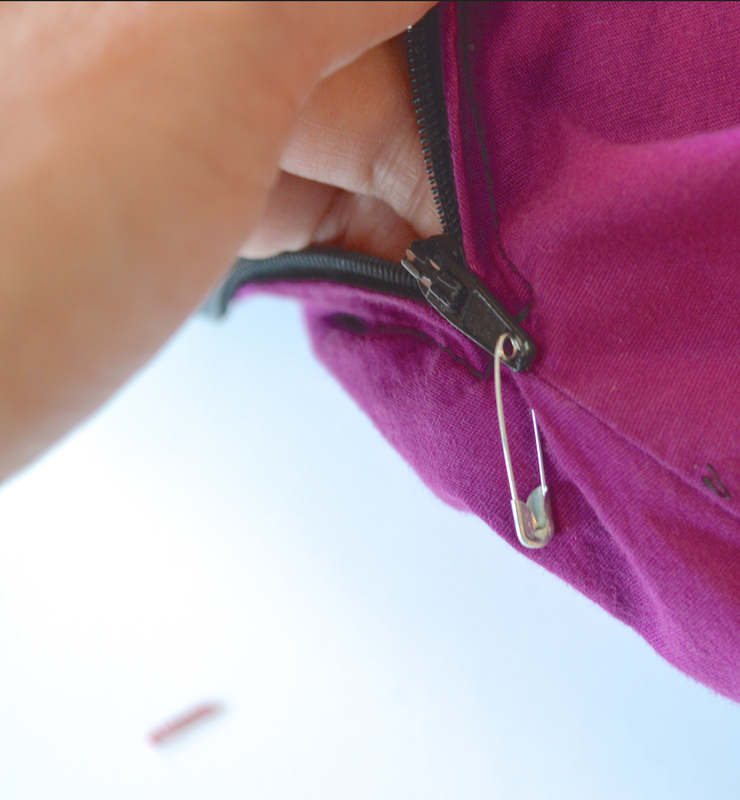
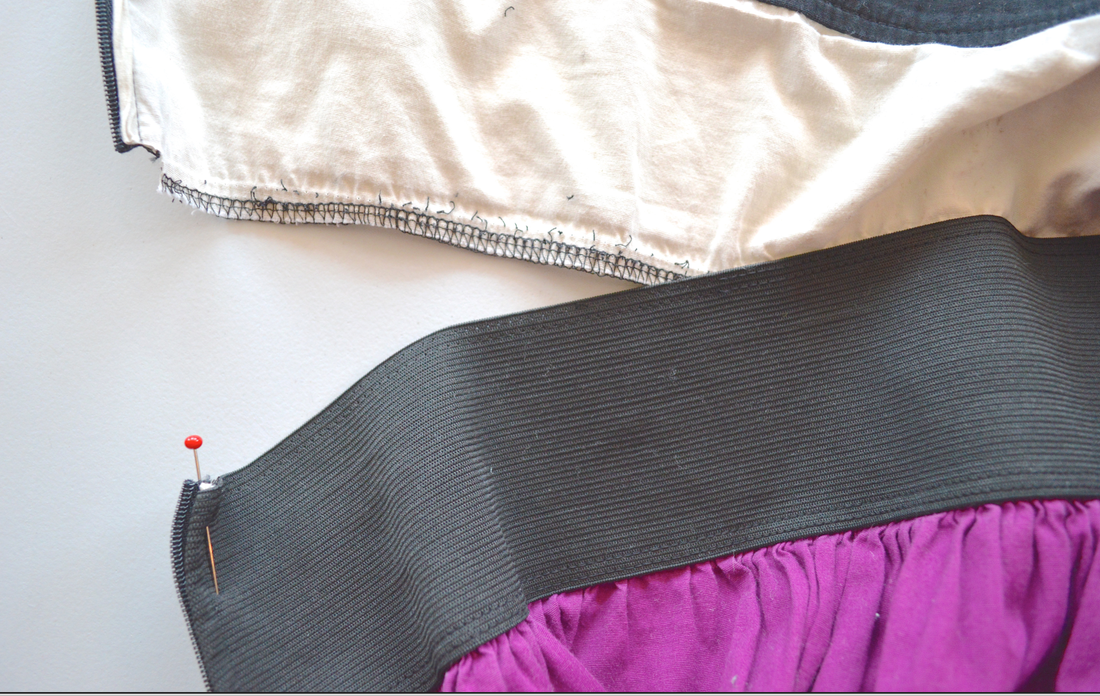
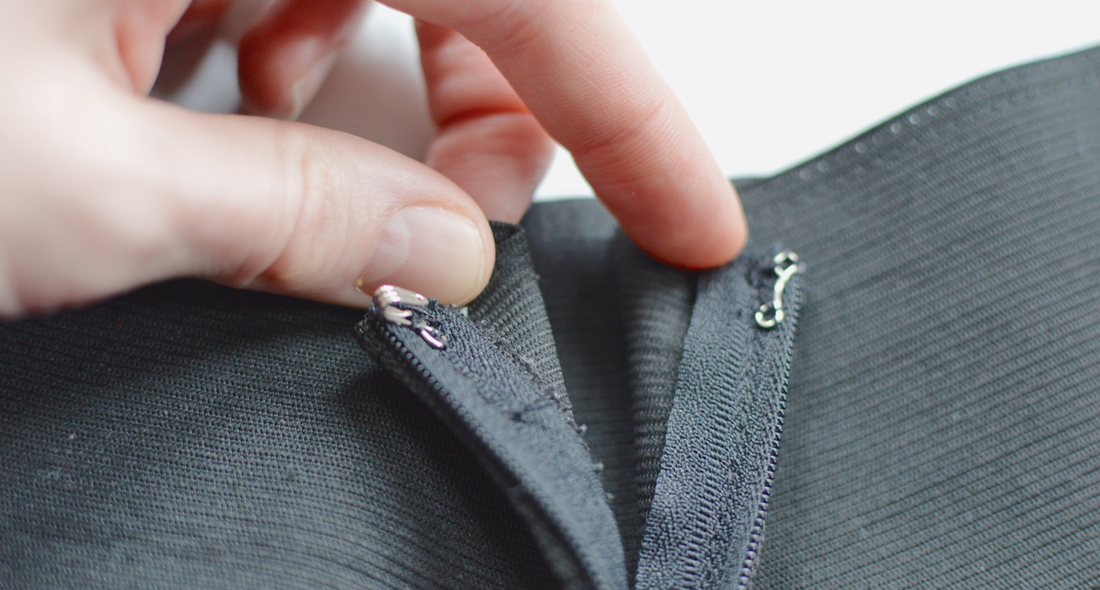
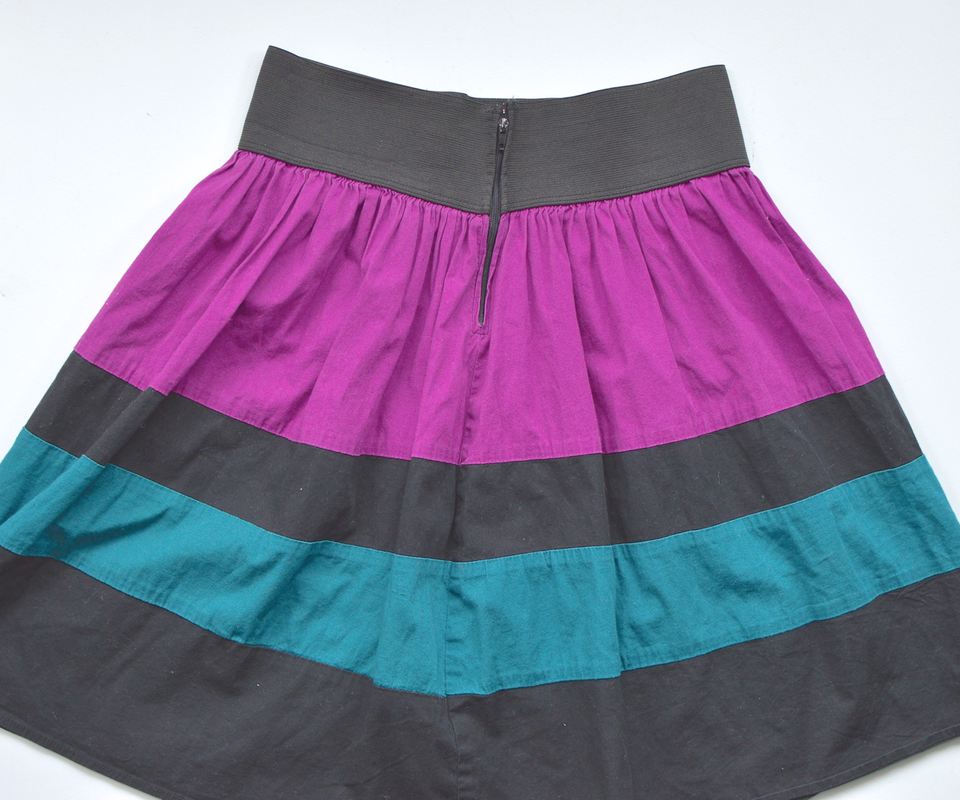
Sometimes it is so exciting to create a totally new me-made garment! That excitement can get other things pushed to the bottom of the list, like repairing the clothing I already have. I'm pretty good at repairing anything me-made, I think because I really appreciate those pieces more. But I've been trying to get better at repairing, altering, and refashioning not just the things I've made, but the rest of the clothing in my closet as well. I've been doing better (see my invisible jeans mending post) but there is still a lot of room for improvement. I would say that about 80% of my closet is second hand clothing, which I love, but they often come with little things wrong with them that, if I fixed them, would make me love them even more. A lot of them are easy fixes too! But my intentions to fix them often end up leaving me with a pile of mending that sits there for months at a time. Me Made May has been very inspiring for me in terms of finally getting these things mended and altered. I decided that since my me-made wardrobe is pretty limited while I'm pregnant, that I would include wearing things that I've mended and altered as well as the completely self made pieces. And I'm loving it! It has really motivated me to do those alterations, and to appreciate those pieces more! Here are a few examples of my alterations: The polka dot top: I got this shirt at a second and shop, and I love the color and pattern, and the style of the shirt! Whenever I go swing dancing, it always pops into my head as a perfect little retro looking top to wear. The problem is, with swing dancing (as with many things in life) you have to be able to raise your arms with ease. And this shirt did not allow for that. What an easy fix! I just had to take off the sleeves, and turn under the raw edges. And yet... it sat in my mend pile for about a year before I touched it. The Striped Dress: This dress is another second hand piece of clothing that just wasn't quite right. It was a strapless dress, but had absolutely no support on top, which led to a lot of yanking up to make sure everything was covered. On top of that, the white of the bust area was not only slightly see through, but also had some staining in the pits. Solution: take off the top! This was another really simple fix. I seam ripped the top from the bottom, cut the zipper down, (safety pinned the zipper down so I wouldn't accidentally pull it off during alterations) and then hand tacked the zipper in place and a hook and eye at the top of the elastic. Voila! Skirt. Altering the ready to wear clothing that I already have is such a quick easy sewing project. Sometimes it's nice to sit down and be able to accomplish an entire project in a half hour. I also feel like RTW clothing often gets the short end of the stick. I know the quality isn't always great, but that doesn't mean we shouldn't be using all the discarded second hand clothing that already exists. Wear it out. And then repair it! RTW deserves to be repaired too! I just need to make it more of a priority....
|
madeline stage
creative business owner. designer. hoosier. crafter. runner. sewer. swing dancer. outdoor enthusiast. entrepreneur. wife. mom. material hoarder. Categories
All
Archives
June 2023
|
Contact Me
|
Weekly Mantra:Motivation doesn't last. That's why, just like bathing, we recommend it daily.
Click here for the Privacy Policy |
|

 RSS Feed