
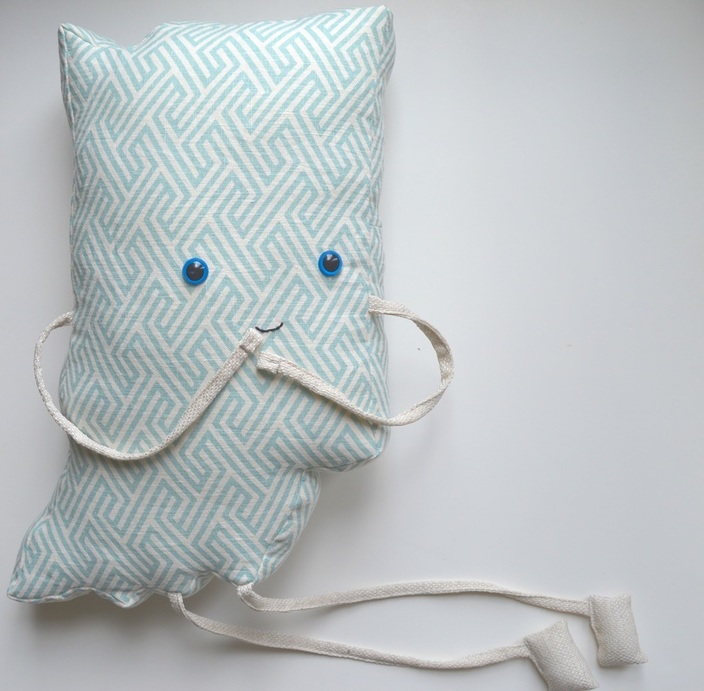
 The Backstitch is a very simple but useful stitch to know. It is perfect for hand embroidery when you need to sew a continuous line of stitching, like on this Indiana pillow. Below, I have a simple photo explanation for how to sew a backstitch. 1. bring the needle up through the underside 2. take a stitch BACKWARDS (hence the "back" stitch) 3. bring the needle to the top again leaving a space to be filled with your next stitch backwards 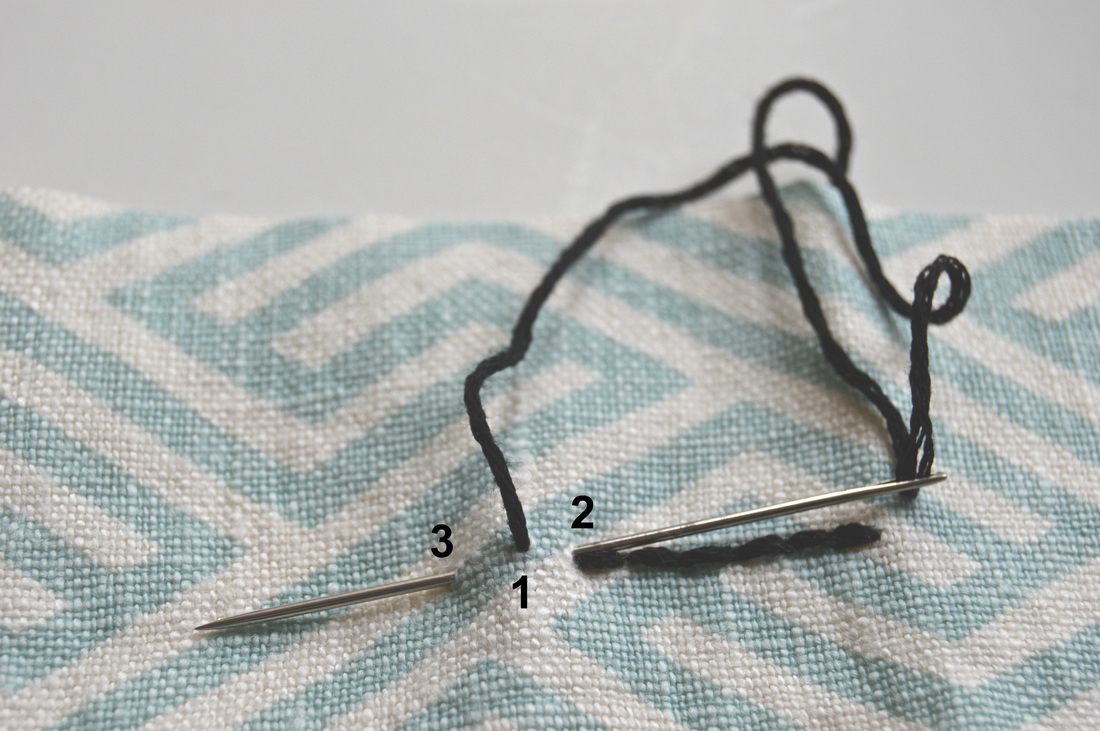 I also have a short video to demonstrate this stitch in action. It's not a polished video at all, but it does the trick!
0 Comments
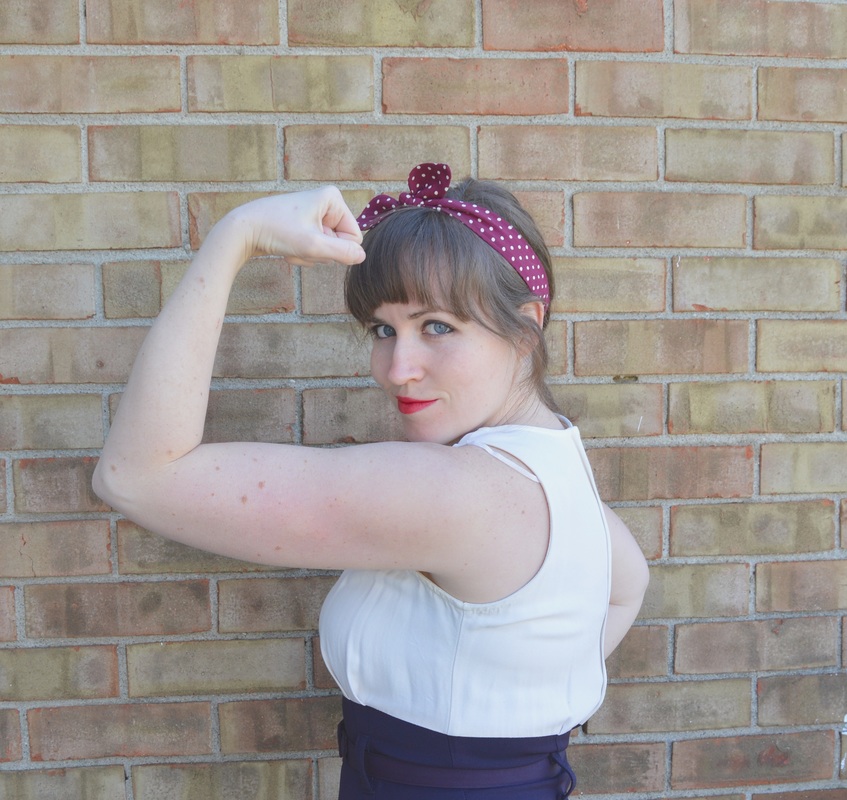 I have a new downloadable pattern for you! It is super simple, and super cute! You can find the Top Knot Headband in my shop store. Here's a little visual help using the pattern: 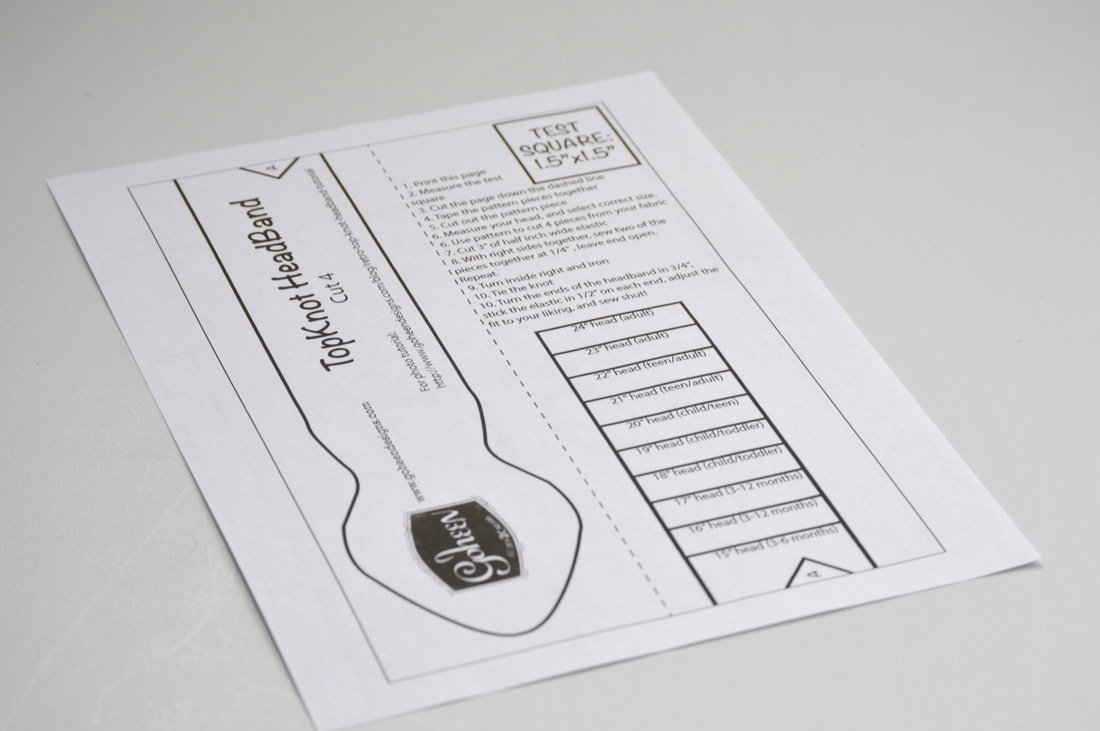 When you print your pattern, make sure that you click the option that says "Actual Size", so that it will print correctly: 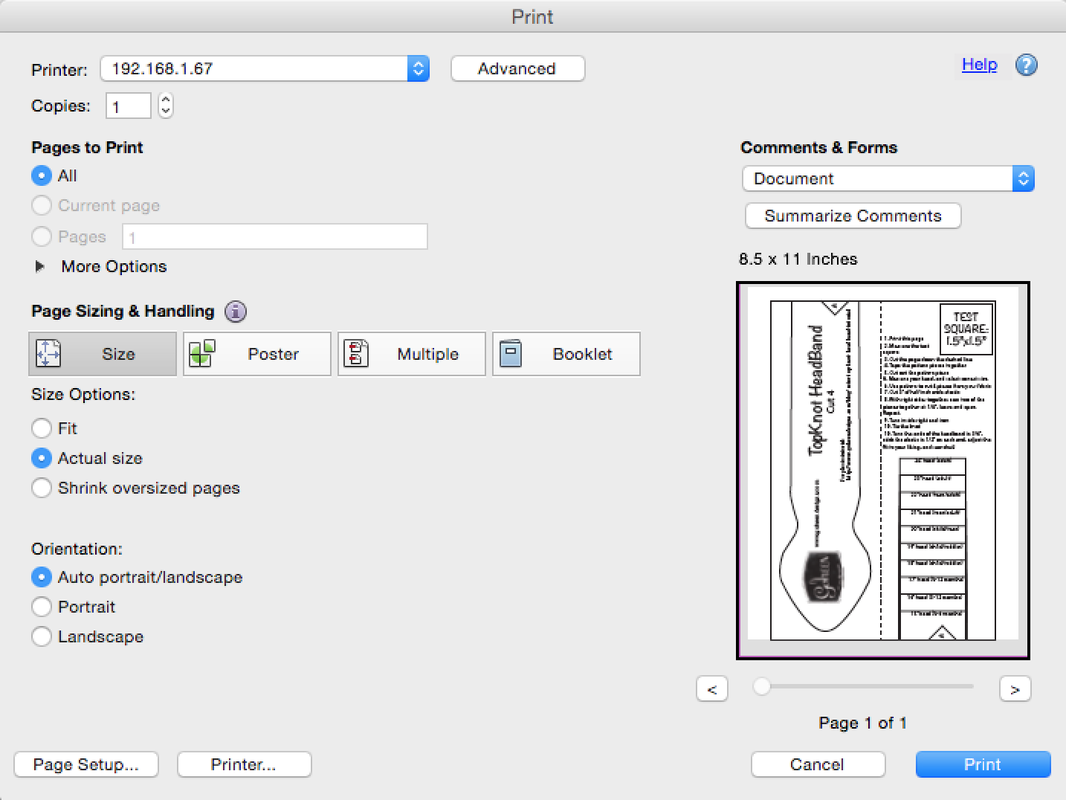 Use a ruler to make sure that the Test Square does indeed measure 2"x2" 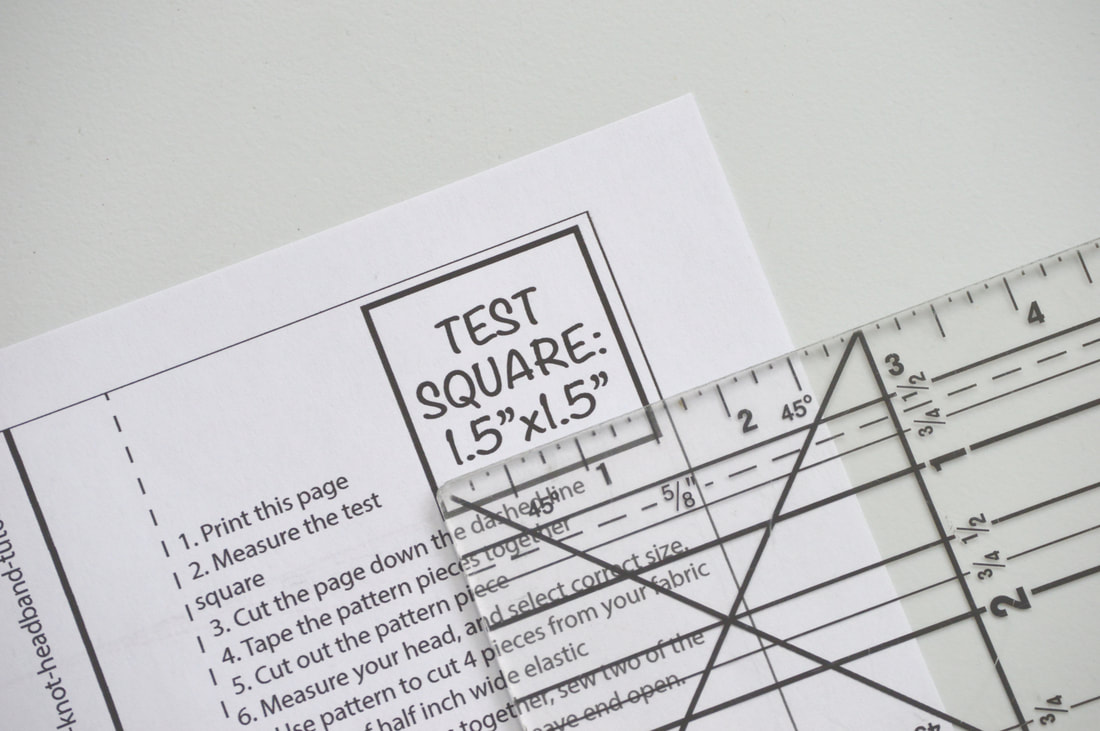 Cut the page down the dashed line:  Cut off one of the "A" edges, and place it on top of the other "A", matching them and taping them in place. Then cut out the pattern piece, and you're ready to use it. 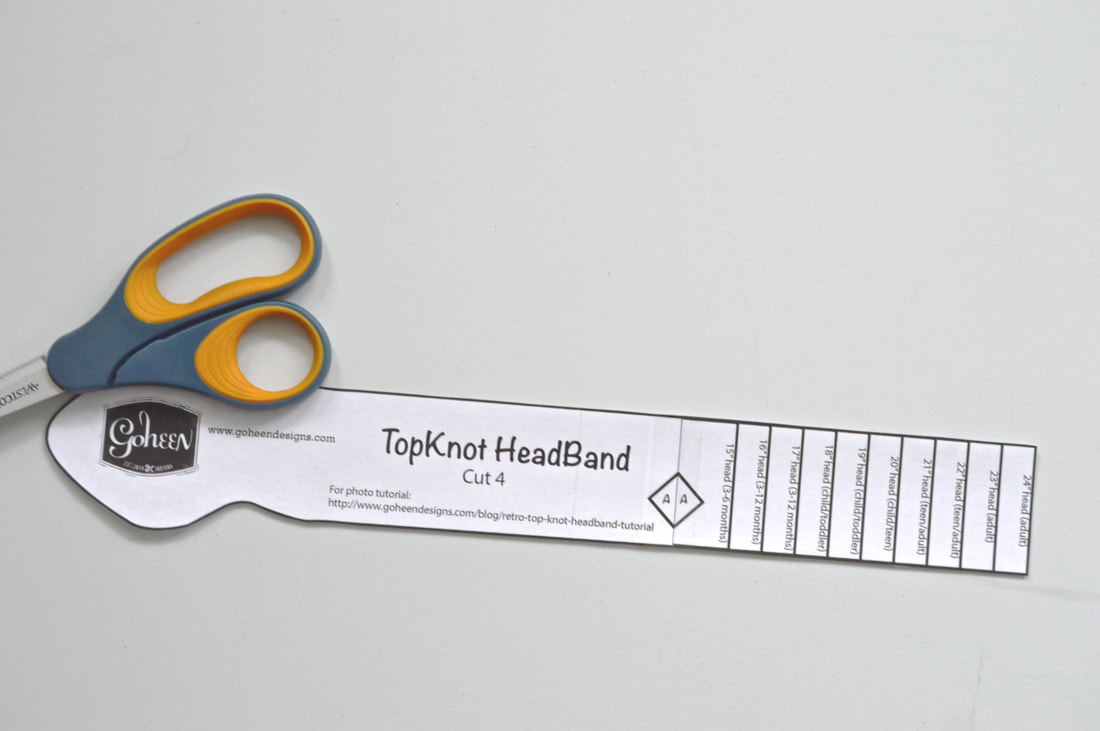 You'll see that the pattern has several different sizes for you to choose from. These sizes are based on the actual head circumference measurement. So measure your own head (or whoever is going to be wearing the headband) and pick which size would work best for you! Use the pattern to cut out 4 fabric pieces: 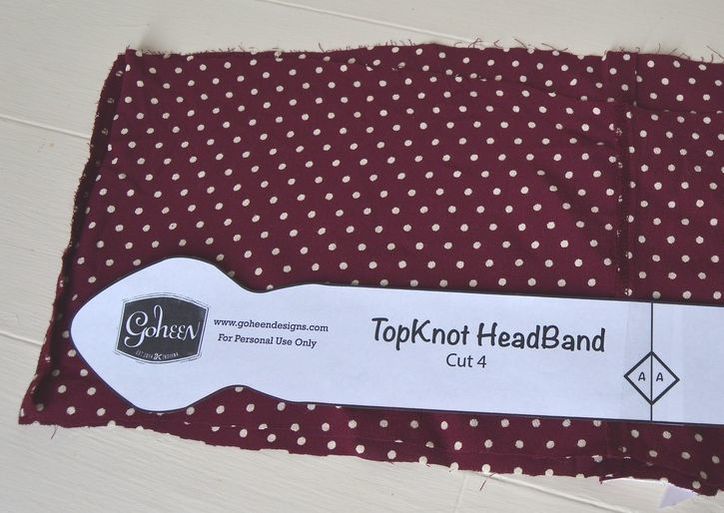 Pin your pattern pieces right sides together and sew with 1/4" seam allowance, leaving the small end open (the left ends in the picture below):  Clip the curves, turn the pieces inside right, and iron them: 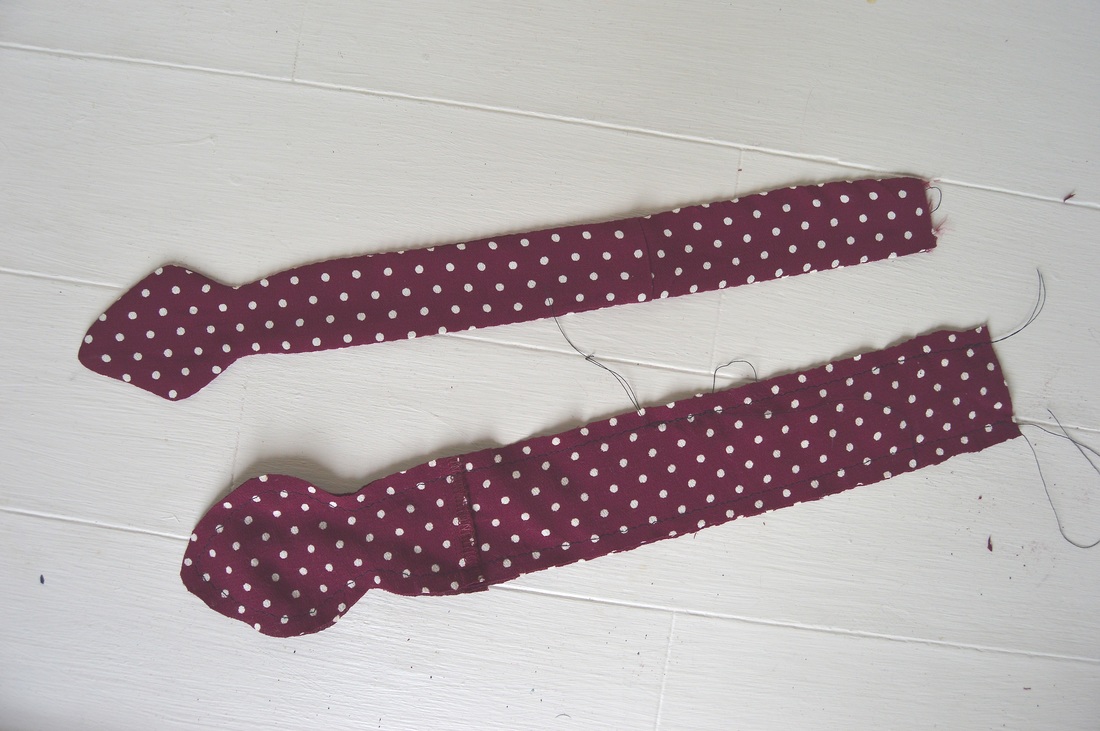 Tie the "Top Knot" in your headband. 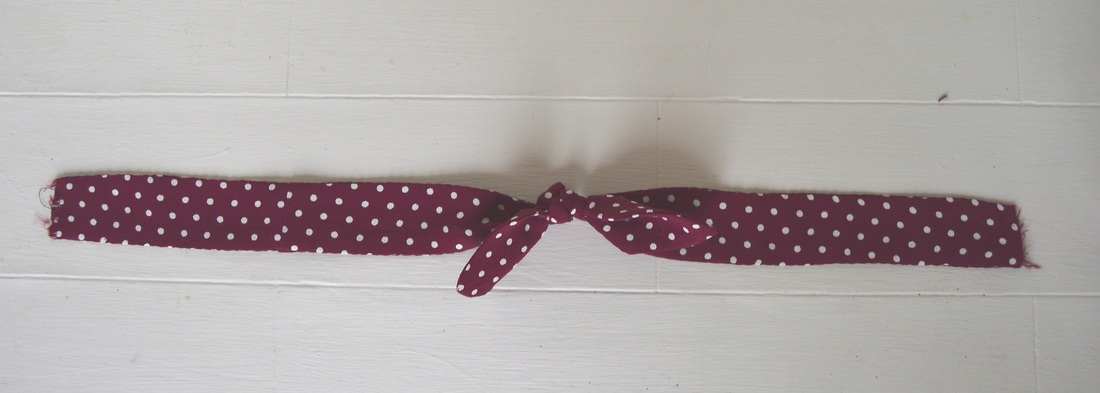 Turn in the ends of your headband 3/4". Then cut 3" of elastic for the back of your headband. Place 1/2" of each end of the elastic inside your headband ends and pin them in place. This is, theoretically, the finished size of your headband. But, as we all will tie the knot a little differently, and may prefer different levels of snugness, it is very important for you to test this size and make sure you like the fit! You can add or subtract from the headband or elastic to perfect it! 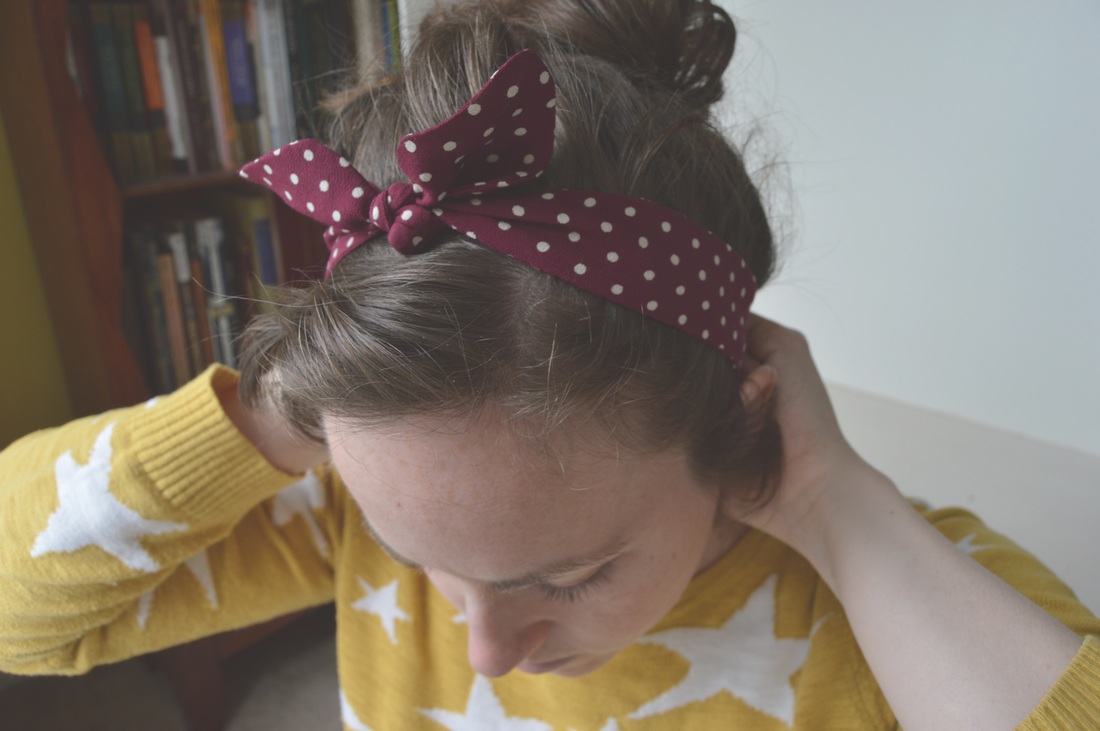 Topstitch the elastic into the ends of your headband. For my headband (pictured below) I shortened the elastic to 2.5", still inserting .5" on either side. I like my headbands tight! 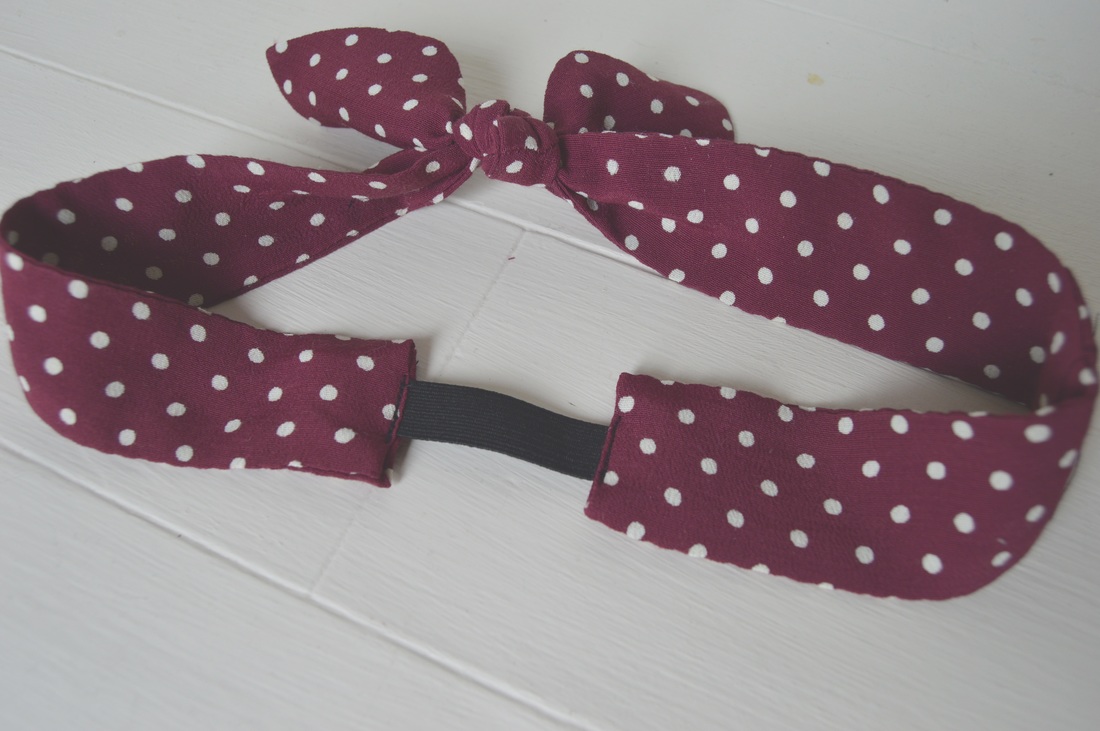 Closeup of the topstitching: 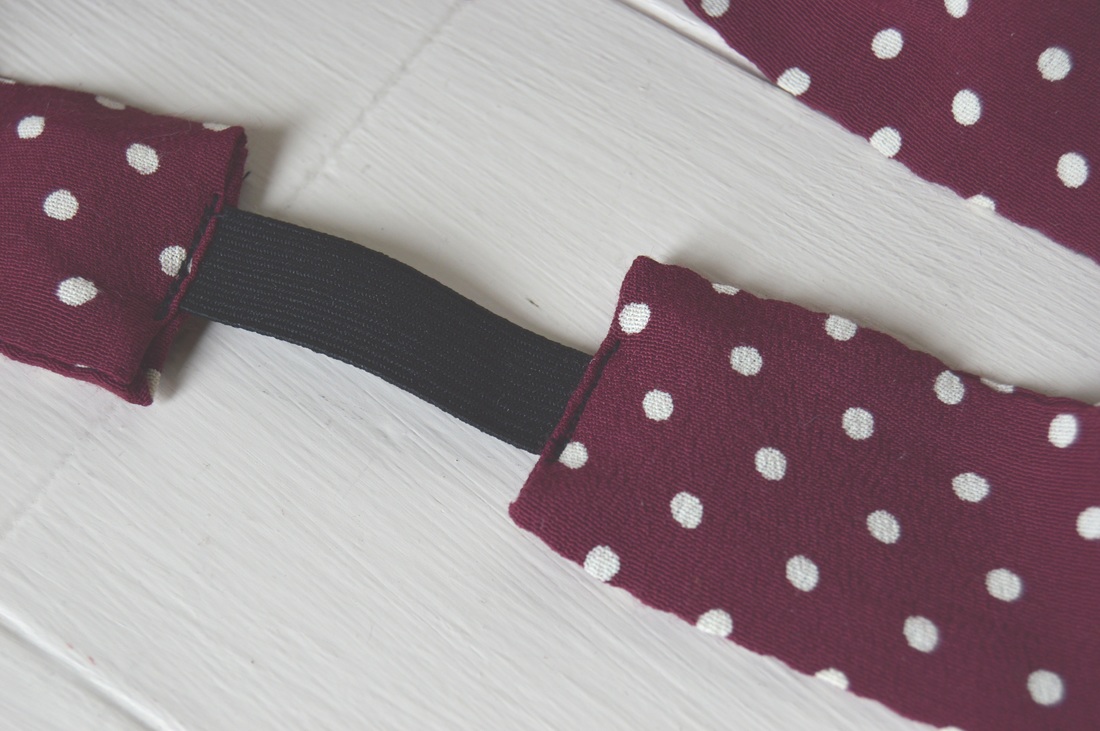 After the initial topstitching, fold the corners in on the underside and stitch across it again. 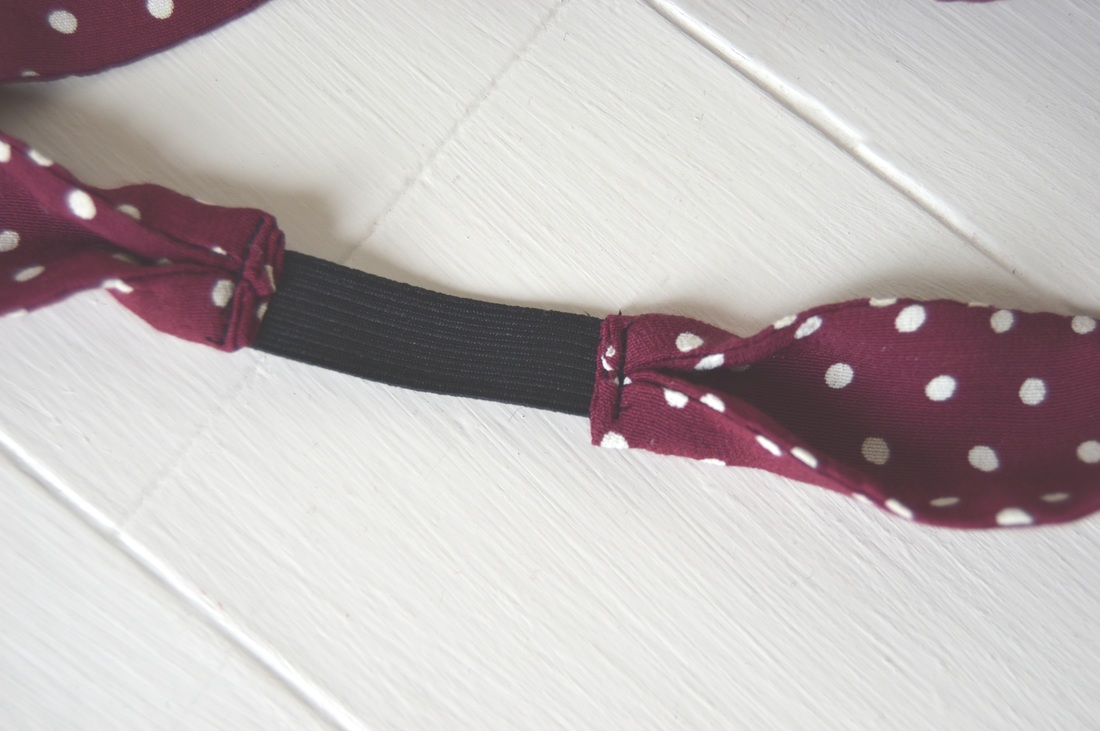 Now your headband is done! Enjoy! 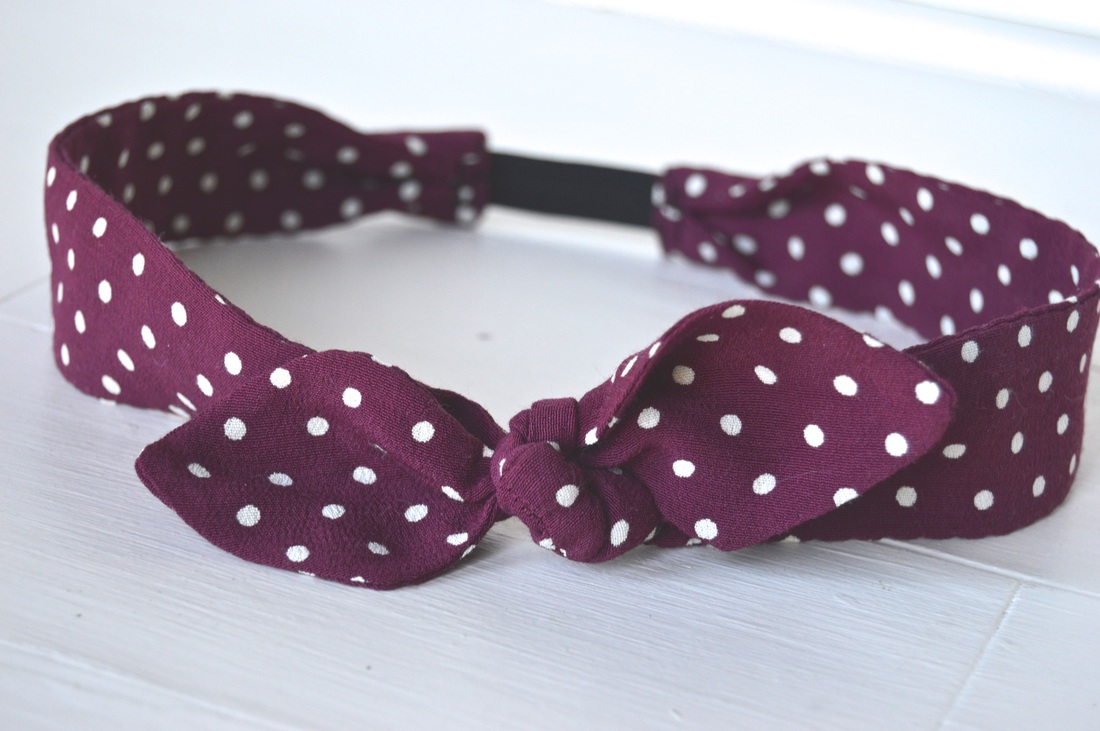 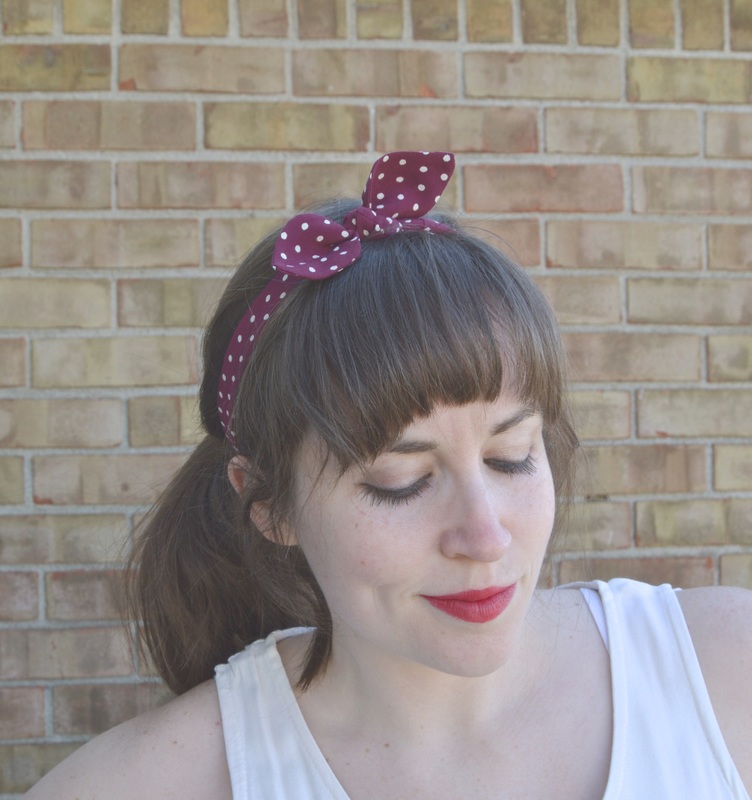
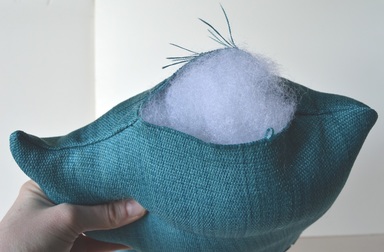
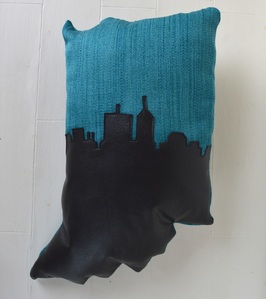
The Ladder Stitch is a great technique to have in your arsenal! It is perfect for sewing closed pillows (like this Indiana one) and stuffed animals with a nearly invisible seam. It is a very easy stitch once you get the rhythm! First, pin the opening shut, with the raw edges tucked to the inside: 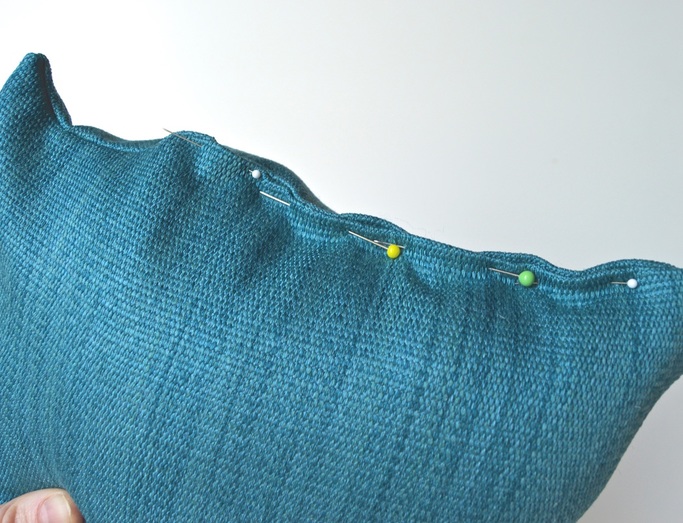 Then, thread your needle and tie off one end of the thread. Here is a quick tutorial on how to tie your thread using a French Knot This method of tying has changed my hand sewing forever. so easy. so quick. Also, apparently I was whispering into the camera, so you may have to turn it up.
Bury the knot inside your pillow by starting the needle on the inside of your seam and bringing it through to the outside right on the fold. Then, insert your needle into the opposite side of the opening, and run it along the fold for about 1/8 of an inch. 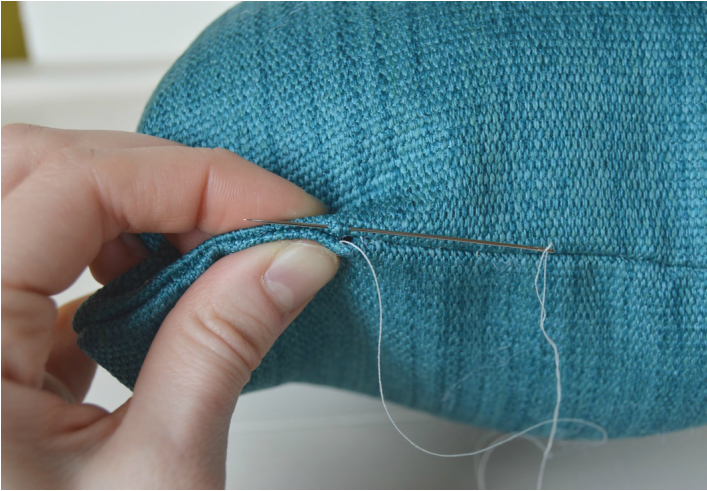 For the next stitch once again insert the needle into the opposite side of the opening, directly across from where the thread is coming out, and take another 1/8" bite along the fold. 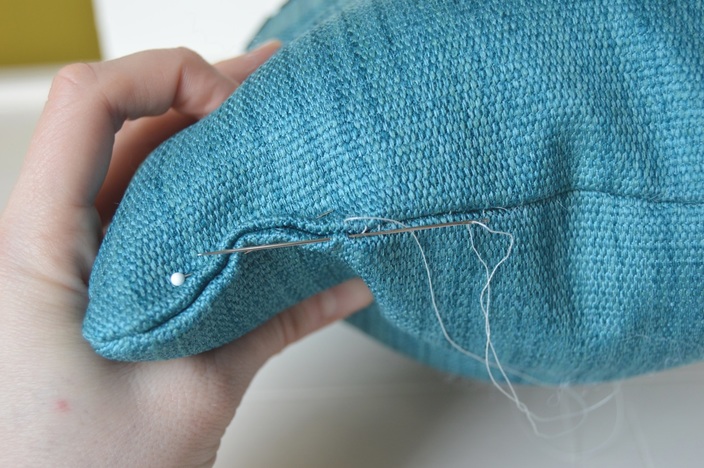 Keep repeating this process! After a few more stitches, your sewing will look like this: 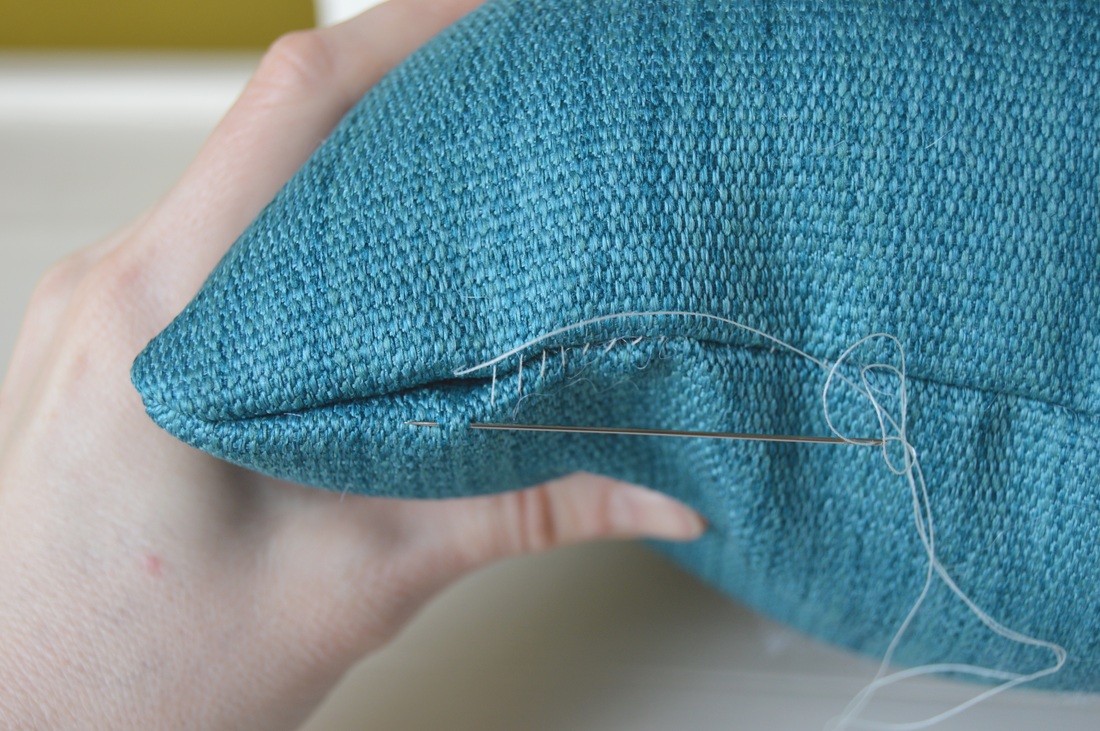 Every couple of stitches, pull your thread taut and your stitches will disappear!  Once you get to the end of your opening, tie off your thread, and cut off the extra! Ta-Done. Here's an oversimplified graphic of the Ladder Stitch: 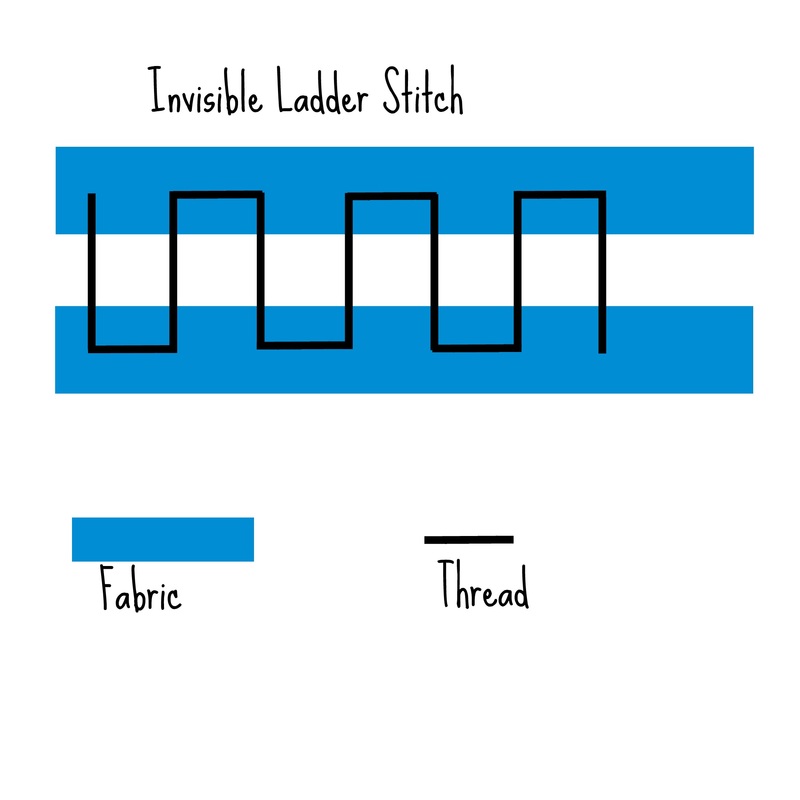 This method of tying my thread on a needle has changed my hand sewing forever. so easy. so quick. I will run through a quick set of written instructions, and then I've made a little video demonstration. The demonstration is much easier to understand than the written instructions, FYI. Although apparently I was whispering into the camera, so you may have to turn the sound up. 1. Thread your needle 2. Pull the thread through so that one side is much longer than the other 3. Hold the needle between your left thumb and forefinger 4. Place the end of the longer thread side in that thumb and forefinger along with the needle 5. Use your right hand to wrap the long thread around the needle a few times (the more you wrap it the larger the knot at the end) 6. Add the wrapped thread to the left thumb and forefinger (still holding the needle and the end of the thread as well) 7. Use your right hand to pull the needle carefully through the wrapped thread (that you are still holding onto the entire time) 8. Keep pulling until you get to the end of your thread, and you have a knot! 9. Cut off any extra thread tail you might have on the knot. 10. Start sewing! |
madeline stage
creative business owner. designer. hoosier. crafter. runner. sewer. swing dancer. outdoor enthusiast. entrepreneur. wife. mom. material hoarder. Categories
All
Archives
June 2023
My Instagram Feed:
@GoheenDesigns |
 RSS Feed