
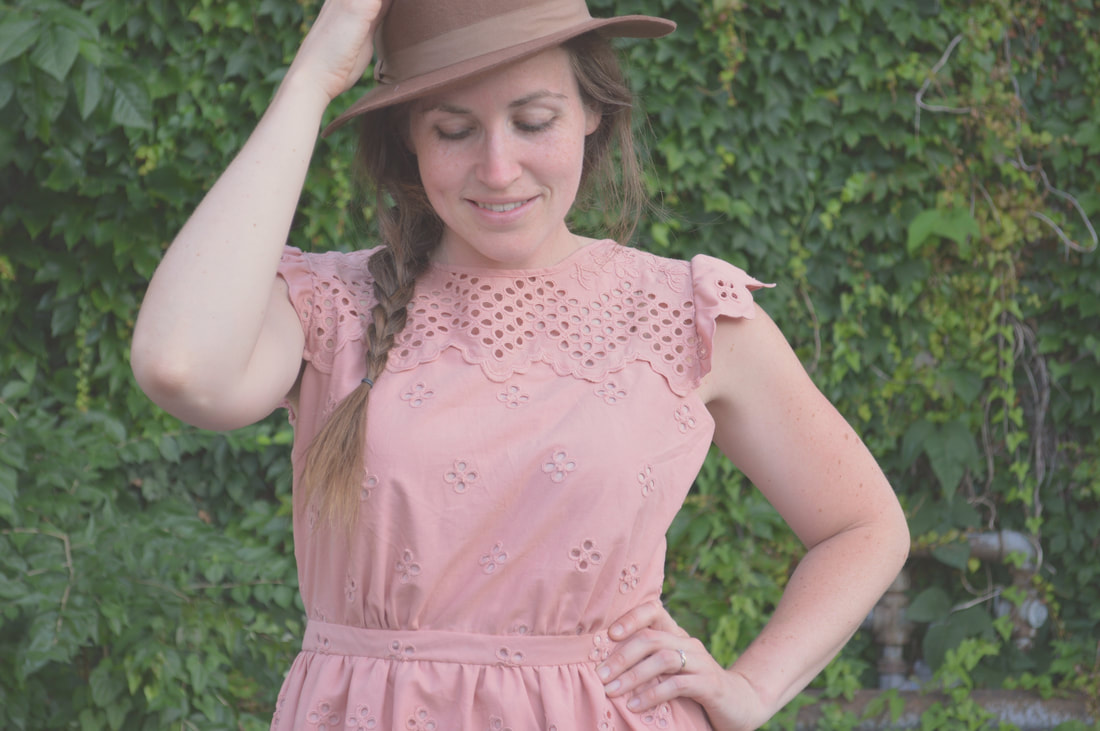
 You know when you just see a fabric and you absolutely fall in love with it? Yeah. That’s what happened to me at Let’s Sew. I was there on a trip with my ASDP group this past spring, visiting one of our members’ sewing workrooms, and we decided to check out the local fabric store while we were there. Let’s Sew is a great store full of beautiful garment fabrics and quilting fabrics (that are good enough quality to also be used for garment making!) I had intended to just go to look, and not to buy anything. Ha. You know how that goes. I spotted a beautiful blush eyelet fabric on a roll against the wall, and that was it. I didn’t know what I would make with it, but it was coming home with me! 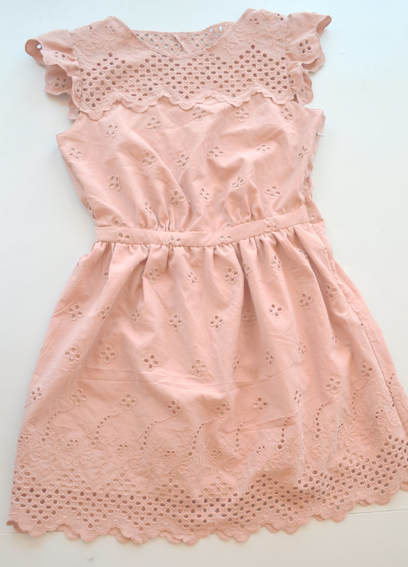 I started sketching in the car ride home, and by the time we made it back, I had a plan. ….That I worked on intermittently for the next 4 months…. The downside to working a day job where I sew, and owning a side business that also involves me sewing for hours, is that you end up having very little time and energy for getting sewing done for yourself. This is actually the first whole project I’ve taken on just for me in years. 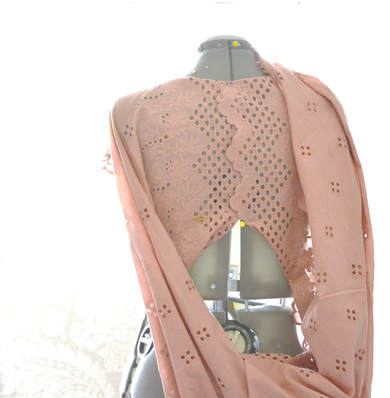 I started out by playing around with the fabric on my dress form, and then drafting the pattern for my new dress. I actually drafted it specifically for the fabric that I had bought. I hadn’t known what I wanted to make with the fabric in the store, and I was trying not to overbuy, so I really had a very limited amount to work with. I started with 1.5 yds of the face fabric, and 1 yard of the lighter pink lining fabric. I also wanted to draft the pattern very specifically for fabric use because as an eyelet fabric, it had the most beautiful border on the edges! There were certain parts of the dress that I wanted to make sure that I used that border for. The bottom hem, the front yoke, and the center back for certain were going to be out of the border pattern. I would have used more for the sleeves, but I didn’t have any more even for that. Instead, I ended up tracing around the scallops of the edging in order to create the sleeve edge, mimicking the look. 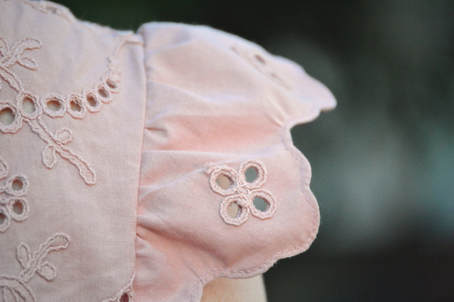 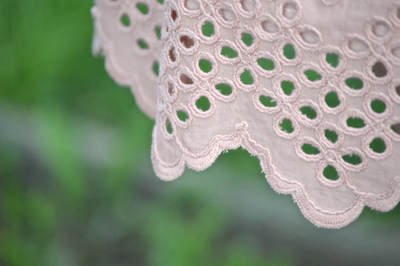 So after pattering a new dress, the logical next step is to make a muslin, to test the pattern out. But I have this bad habit of not making a muslin before diving in to a project, and true to form, I didn’t make one for this dress. I don’t make a lot of time for sewing for myself, and when I do, I never want to lose that precious time to a test run, even when I know I’m risking the entire project by choosing not to do one. I cut all my pieces out with a 1” seam allowance to give me some wiggle room, but I definitely had some “Oh shit” moments during the process, when I thought I’d completely screwed it up. Although if I’m honest, every new project I do goes through a moment or two (or five) when I feel like I’ve completely messed it up and I can’t stand looking at it. Luckily I usually get passed this feeling, and I did with my pink dress too. 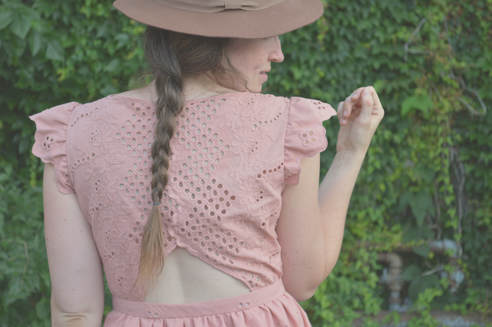 Originally, I had drafted this pattern to have an elastic waist. But once I tried it on, I did NOT like the way it looked. It bunched in all the wrong places, and I wasn’t satisfied with the look of the elastic on the open back of the waist. It just didn’t look finished to me. So I decided to pivot, and add a waistband in place of the elastic. I scrounged up enough fabric to create the band, and gathered the skirt and top into the band and it looked much better! But by adding a waistband, I had backed myself into a corner. I had gone all out with this dress in terms of finishing the seam allowances. I had decided to make the insides just as pretty as the outsides, and went with french seams, along with all sorts of bound edges and Hong Kong seam finishes. But my late-in-the-game pivot meant that in order to be able to put the dress on (kind of important…) without the elastic waist I now needed a zipper opening in the side seam. The side seam that was already perfectly frenched. (definitely an "oh shit" moment) This lead to a lot of procrastinating, in the form of googling tips for how to put an invisible zipper into a French seam. But in the end, I just had to wing it. It was pretty much hand sewing to the rescue. My bright white zipper did end up taking away from the sophisticated look of my dress innards, but a lot of hand sewing at least made it look cleaned up and presentable. 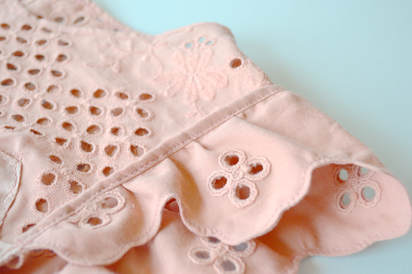 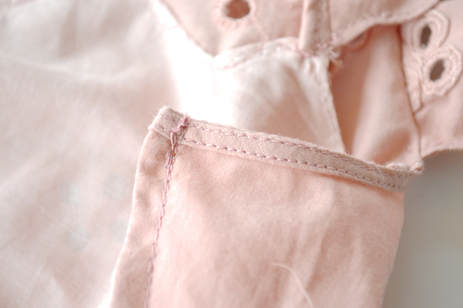 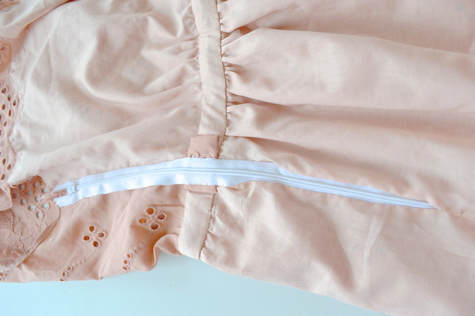 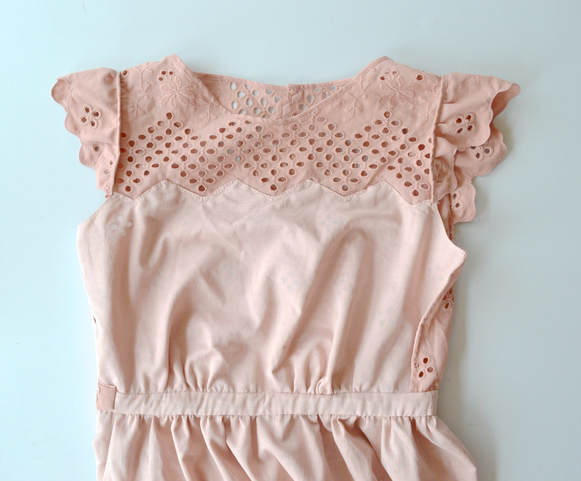 As with any project (especially one that I don’t make a muslin for...), I already have improvements in mind for my next go with this pattern. But overall I’m pretty happy with the way it turned out! I definitely had fun trying to take some pictures of it! I’ve been eyeing this ivy wall down the street from me for a while, and I got Eddie to come with me to cut out the awkward selfie shenanigans. He said he would only come with if he could pretend he was a real photographer and dress the part. Apparently this is how Eddie thinks photographers dress: hat, glasses, and cut off jean shorts. He is so adorable. 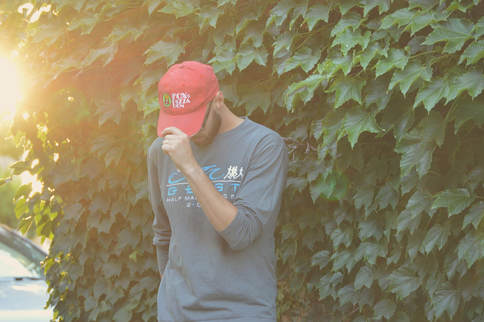 
0 Comments
Leave a Reply. |
madeline stage
creative business owner. designer. hoosier. crafter. runner. sewer. swing dancer. outdoor enthusiast. entrepreneur. wife. mom. material hoarder. Categories
All
Archives
June 2023
My Instagram Feed:
@GoheenDesigns |


 RSS Feed