
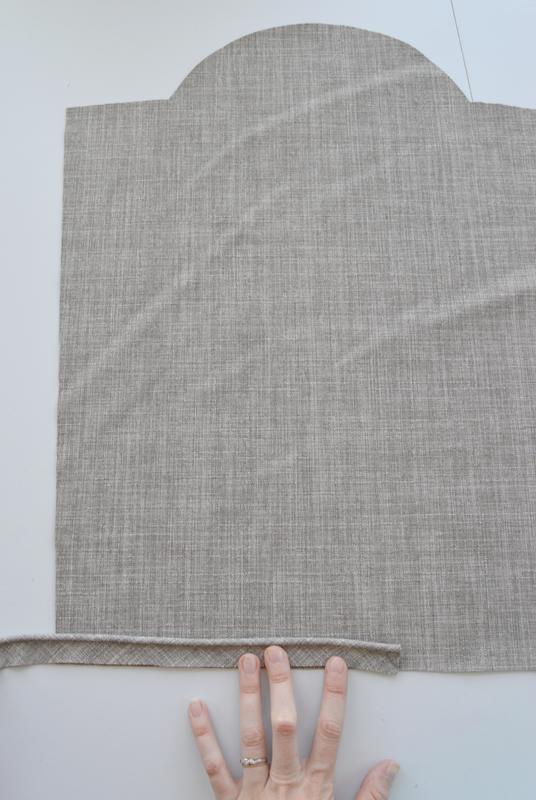
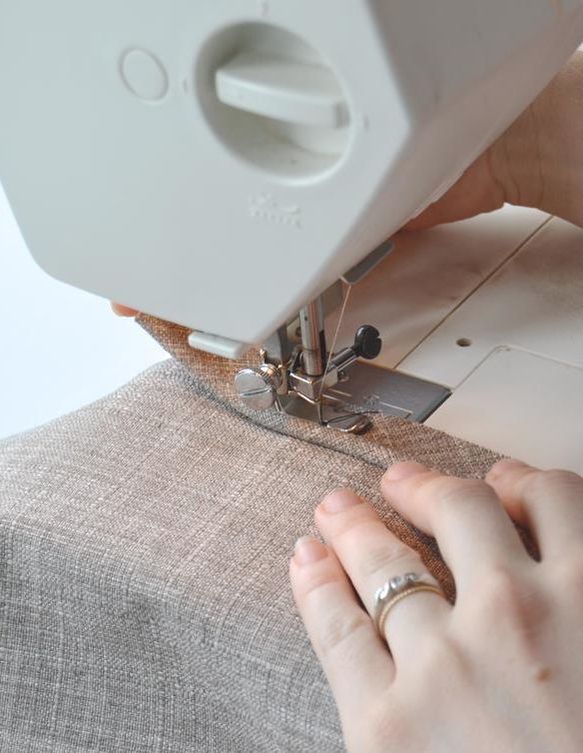
 Today on the sewalong, we are going to be cutting and sewing If you missed Part 1, Part 2, or Part 3 you might want to go back to see what we've done so far! Or, if you are here just to learn some tips and tricks about cording, read on! Also, if you don't actually want cording on your tombstone, you can just completely skip it! But I do love the look of the cording on the pillow, so I definitely go for it. You can also buy pre-made cording if you prefer. But the instructions below will help you to make your own cording, which is sure to match your face fabric! TIP: If you can’t find the cording you want at a craft store, take a look at clothesline. My local grocery store sells a clothesline that is perfect for cording! I recommend buying 5/32” cording, but if you buy another size, you can just adjust the width of the bias strips to work for you. Aim to have about 1/2" of seam allowance on the edge of your cording when it is sewn. CUTTING BIAS STRIPS First, you will need to cut bias strips to cover the cord. Fold the fabric on the diagonal and cut along that line. 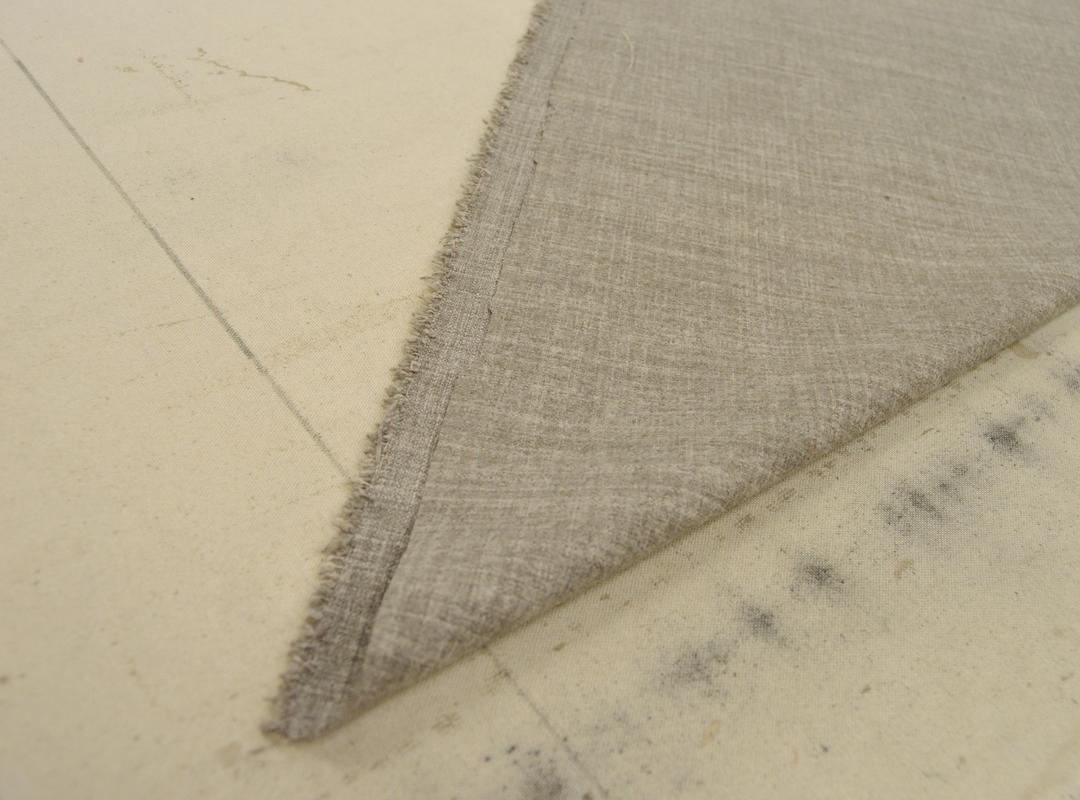 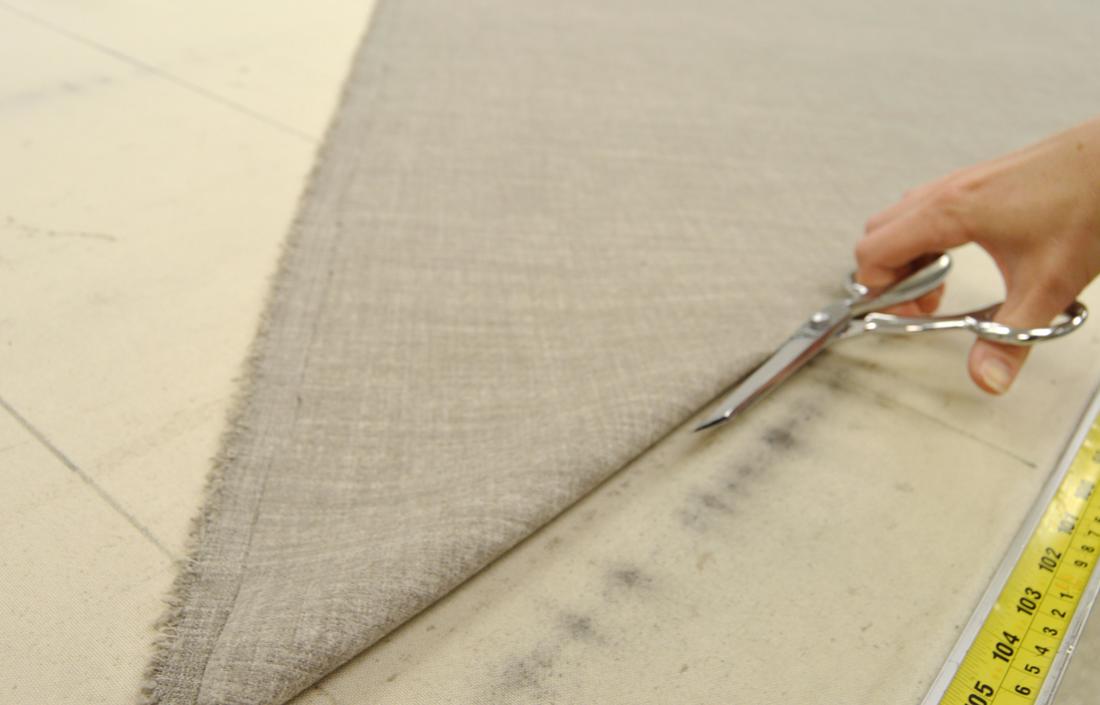 Then, using a fabric marker, draw your cut lines 1 ¾ “ apart using your new diagonal cut edge as a guide. Cut enough strips to cover 140” of cording. 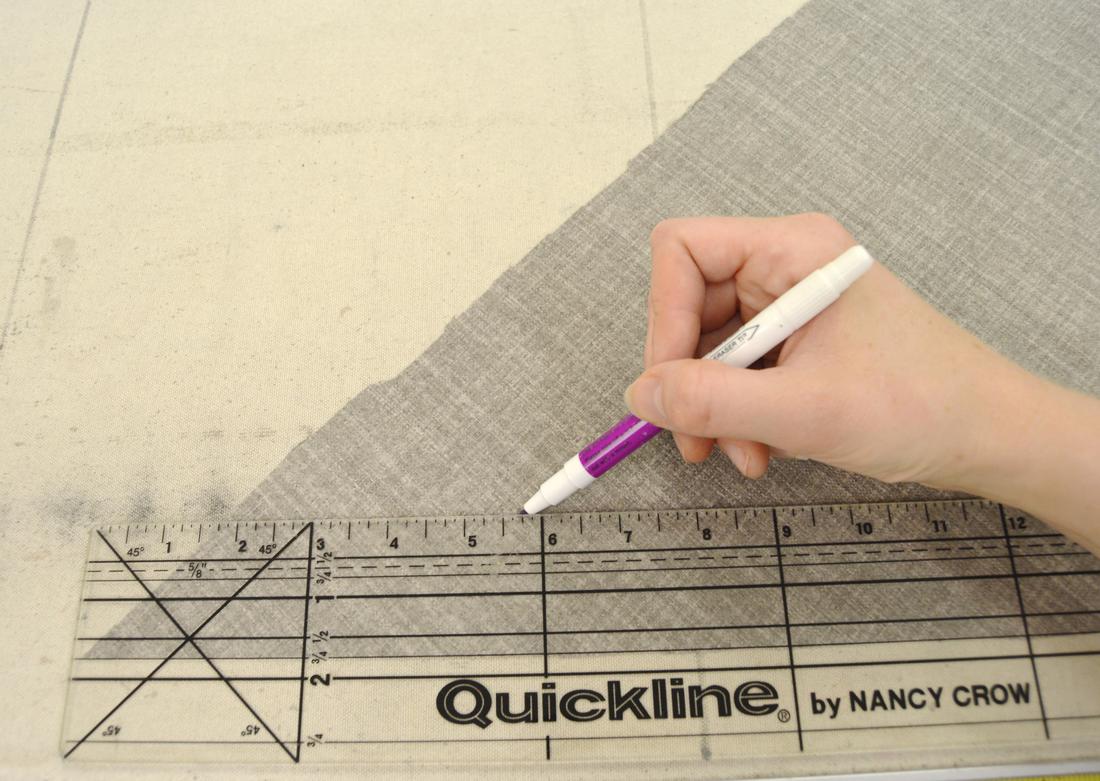 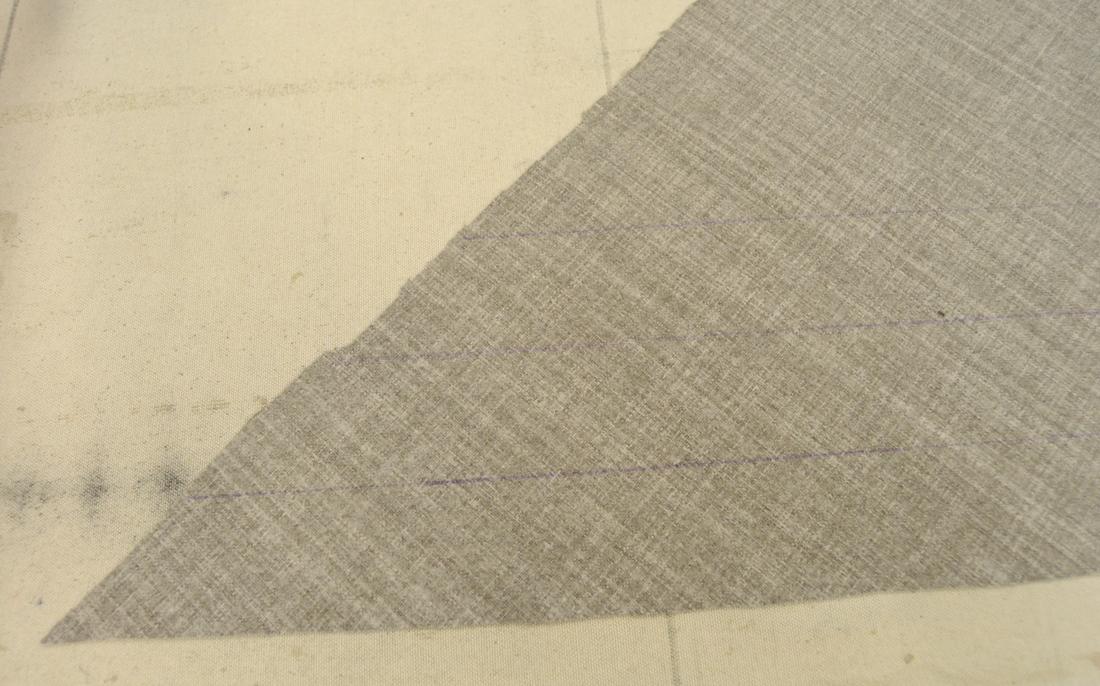 JOINING THE STRIPS After you have cut enough strips, you will need to join the ends. Pick two ends that, when put together, match up like the picture below. 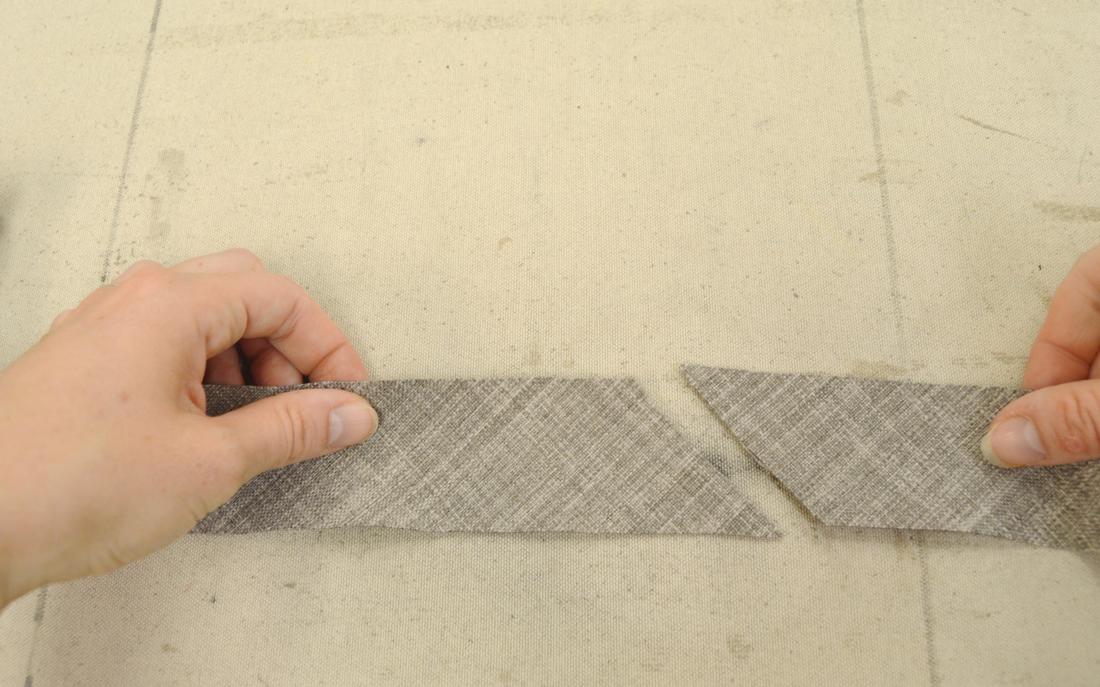 Then turn one strip 90 degrees, and lay it on top with the diagonal edges lined up. Offset them just a bit, so that ¼ “ in is where the edges of your fabric match up. Then sew that ¼ “ seam, and press it open. Join all of your bias strips this way. 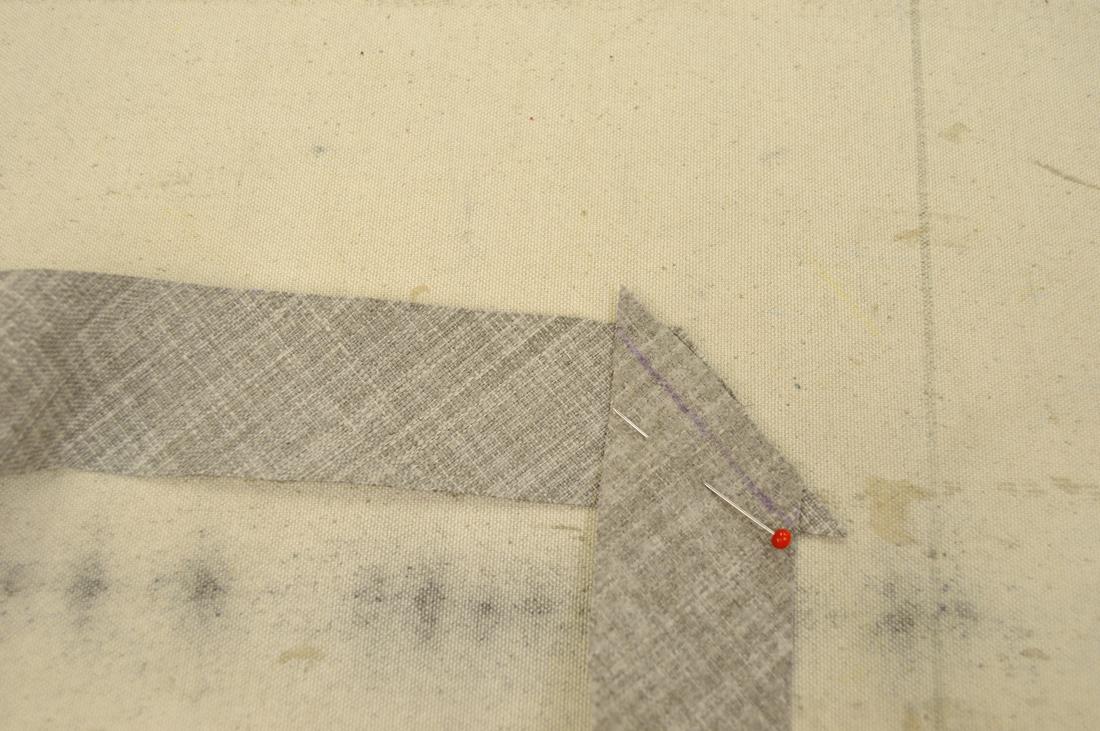 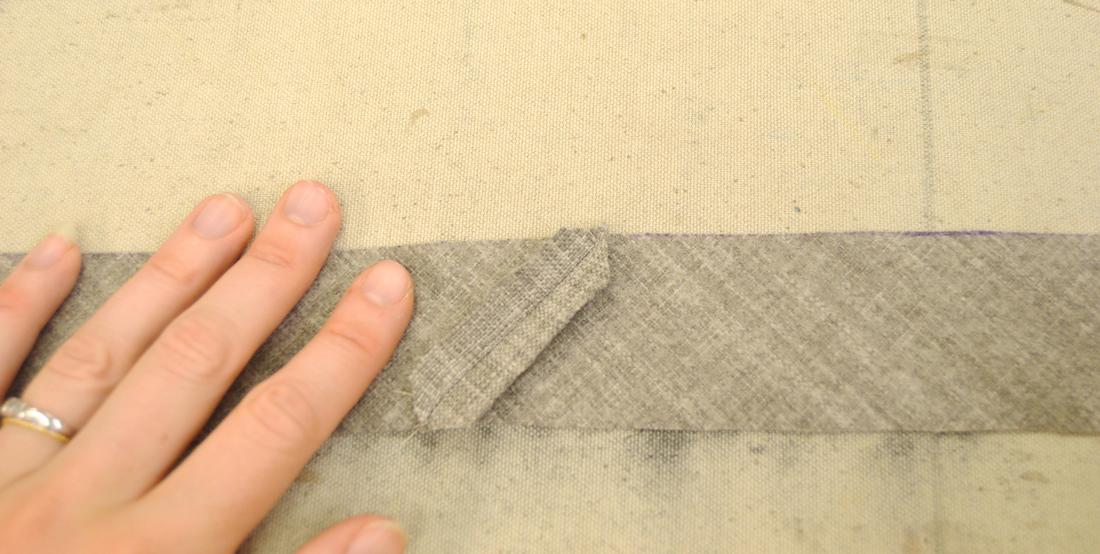 MAKING THE CORDING Once they are all joined, you will make the cording using either a cording foot or a zipper foot on your machine. If you use a cording foot, make sure you are using the correct size (3/16" foot or a 1/4" foot). 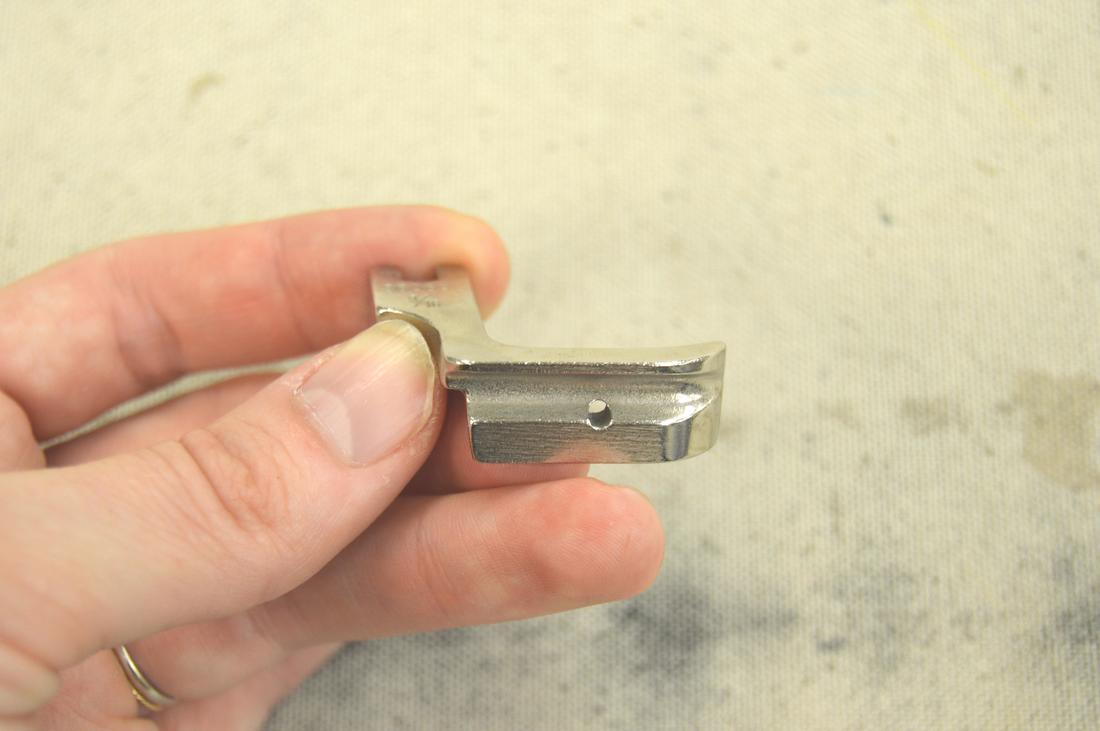 If you are using a zipper foot, try to get up as close as possible next to the cording as you sew (shown below). The strips get wrapped in half around the cord as you go, like the photo below. Make sure you have the right side facing out. 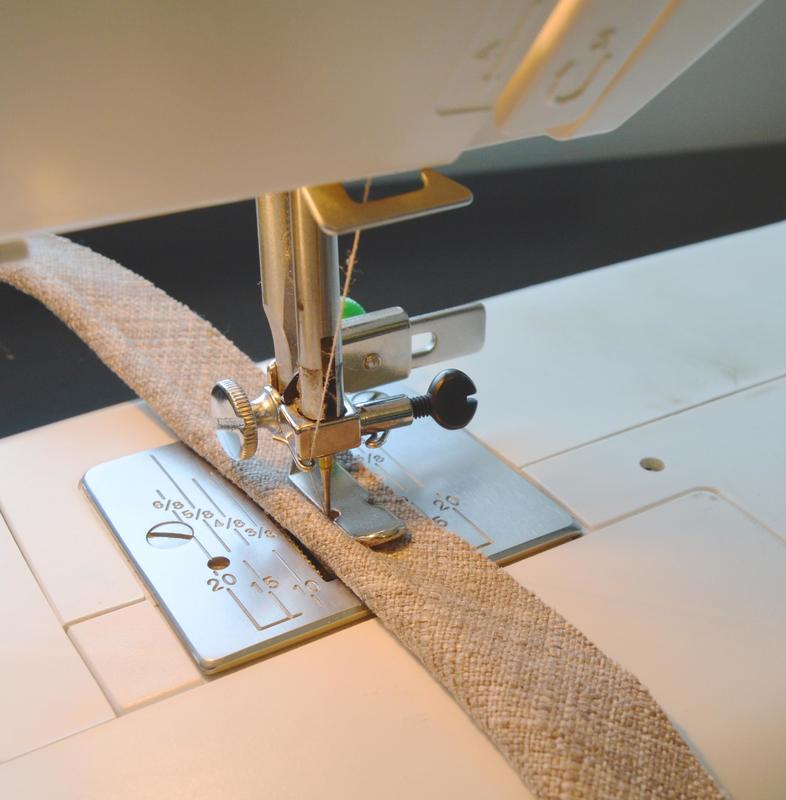 If you are using 5/32” cording, and 1 ¾ “ fabric strips, the leftover fabric that makes up the seam allowance for the cording should measure about ½”, which is perfect. If you have used your own measurements, be sure to cut down your seam allowance to ½” before moving on to the next step. SEWING ON THE CORDING Next, sew the cording onto the front and back of your pillow. Start on the bottom edge of the tombstone, leaving a few inches of cording free before you start stitching. Simply line up the edge of the cording with the edge of your pillow, and sew as close to the cording as you can.
When you get to a corner, or to the curved edge of the tombstone, you will need to clip the cording seam allowance to make it easier. 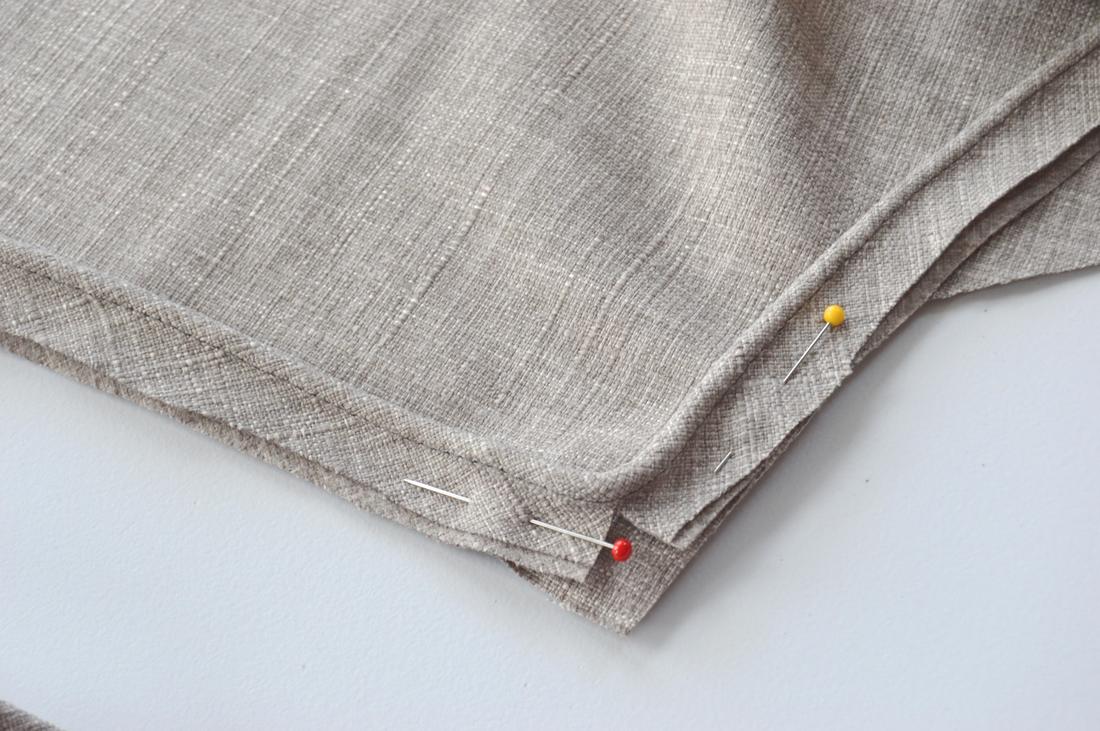 When you get to the bottom of the pillow again, leave a few inches free before you get to where you started. Lay the two ends of the cording overlapping, and cut the ends so that they overlap exactly 1 and ¾“ (it is no coincidence that this is the same size as the width of our bias strips. These measurements should always match.) TIP: If your cording likes to fray, you can use a small piece of tape to keep it from unraveling! 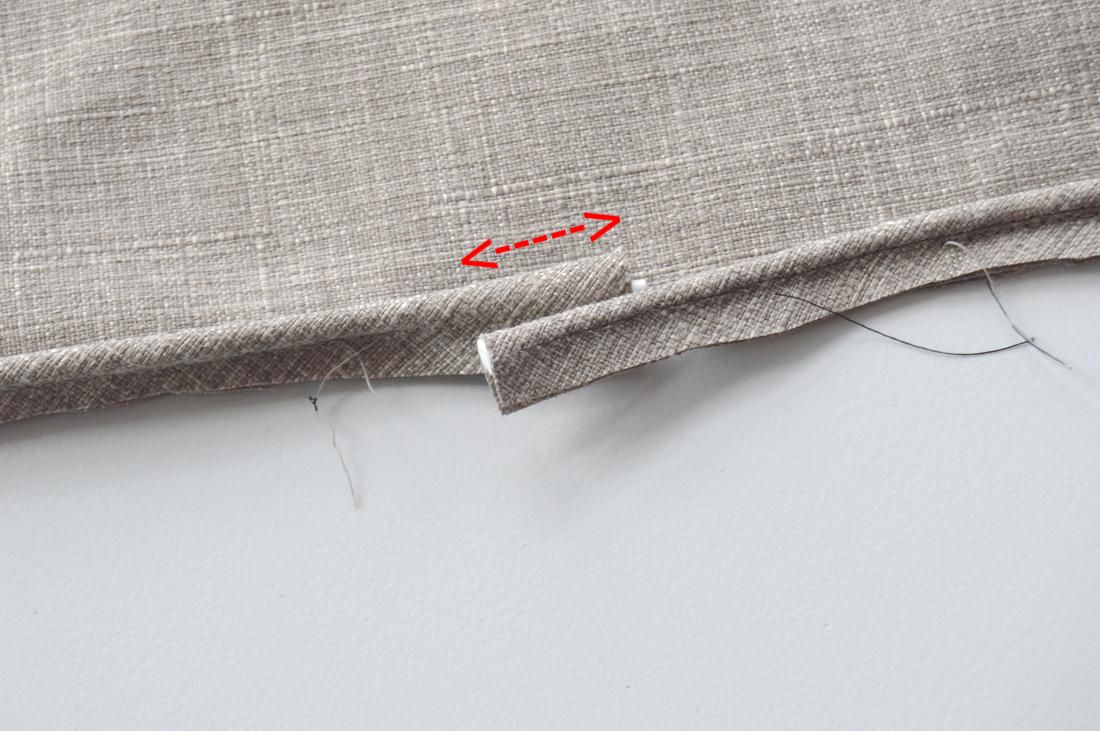 Now take out the stitching of your cording a few inches in each direction, so that you have room to sew the ends together. Match the ends like the picture below at a 90 degree angle, and sew the diagonal. It should look just like the other joins you made for the strips. 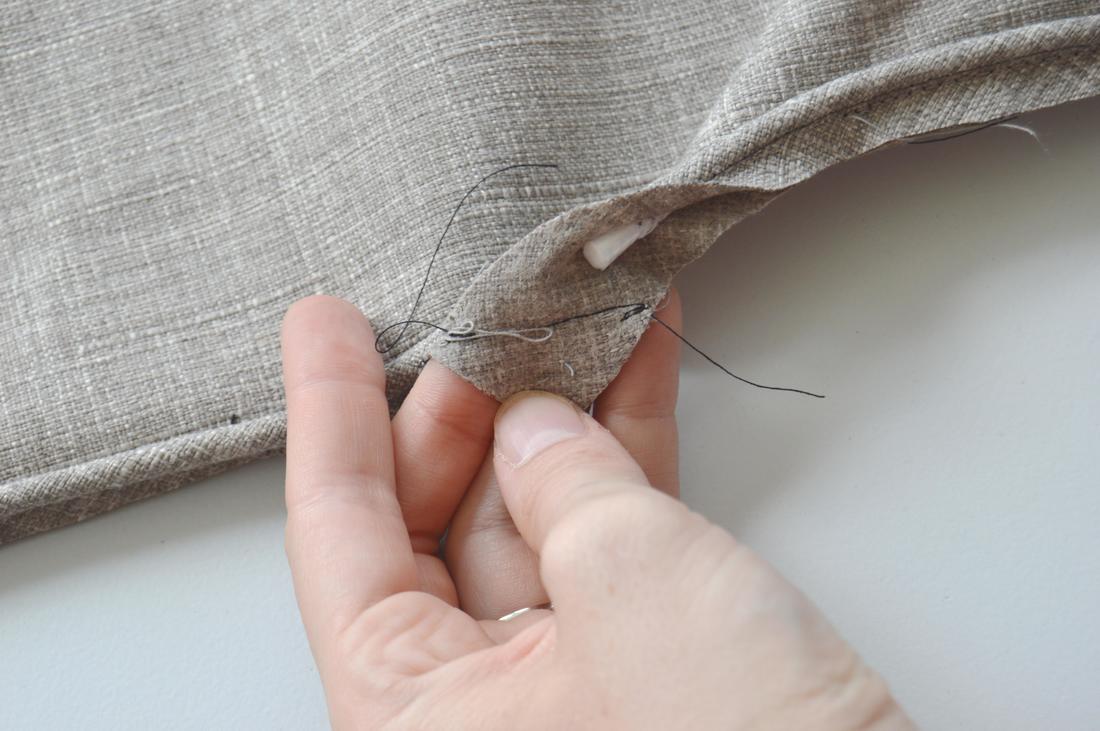 Finally, cut your inside cord so that the ends just meet in the middle, tape them together, and finish sewing the cording to the bottom edge of the pillow like normal. Bam! Perfect continuous cording every time! 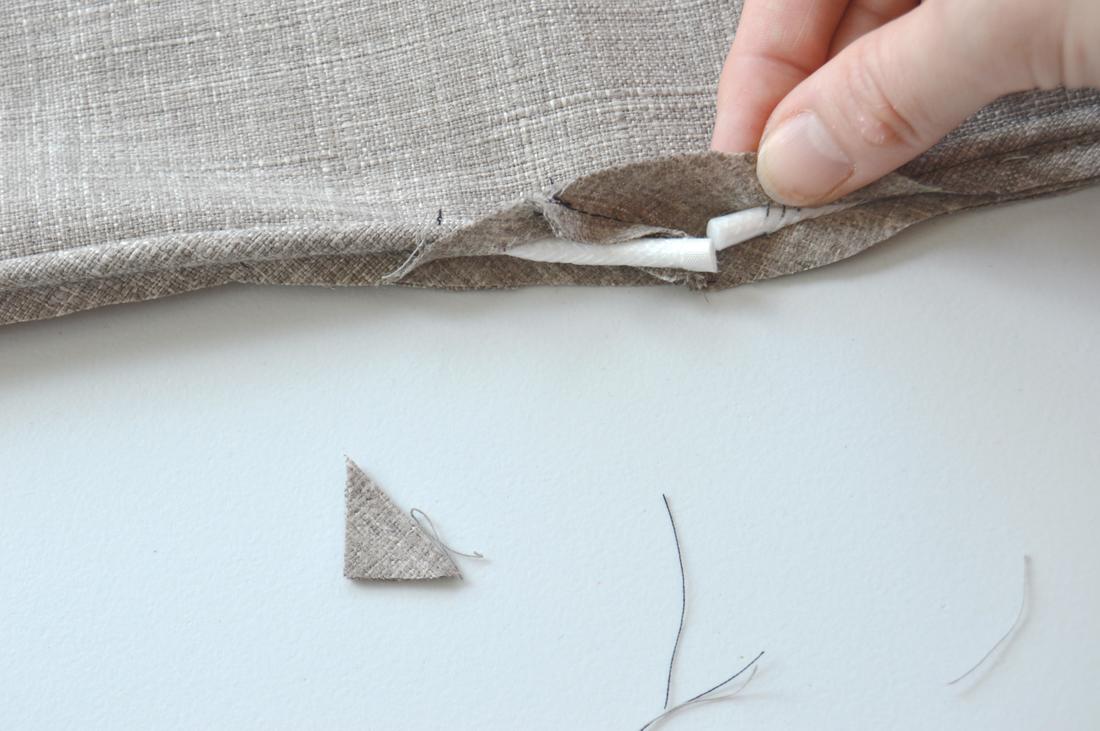 Make sure you do both the front and back of your pillow. 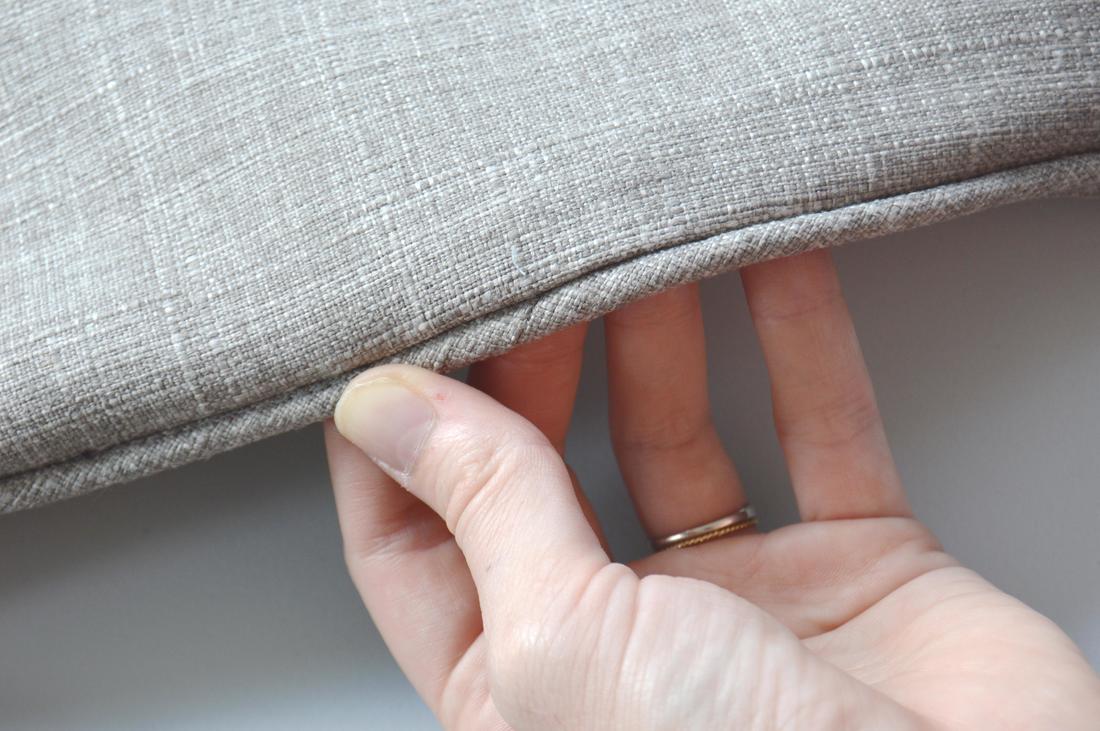
0 Comments
Leave a Reply. |
madeline stage
creative business owner. designer. hoosier. crafter. runner. sewer. swing dancer. outdoor enthusiast. entrepreneur. wife. mom. material hoarder. Categories
All
Archives
June 2023
My Instagram Feed:
@GoheenDesigns |
 RSS Feed