|
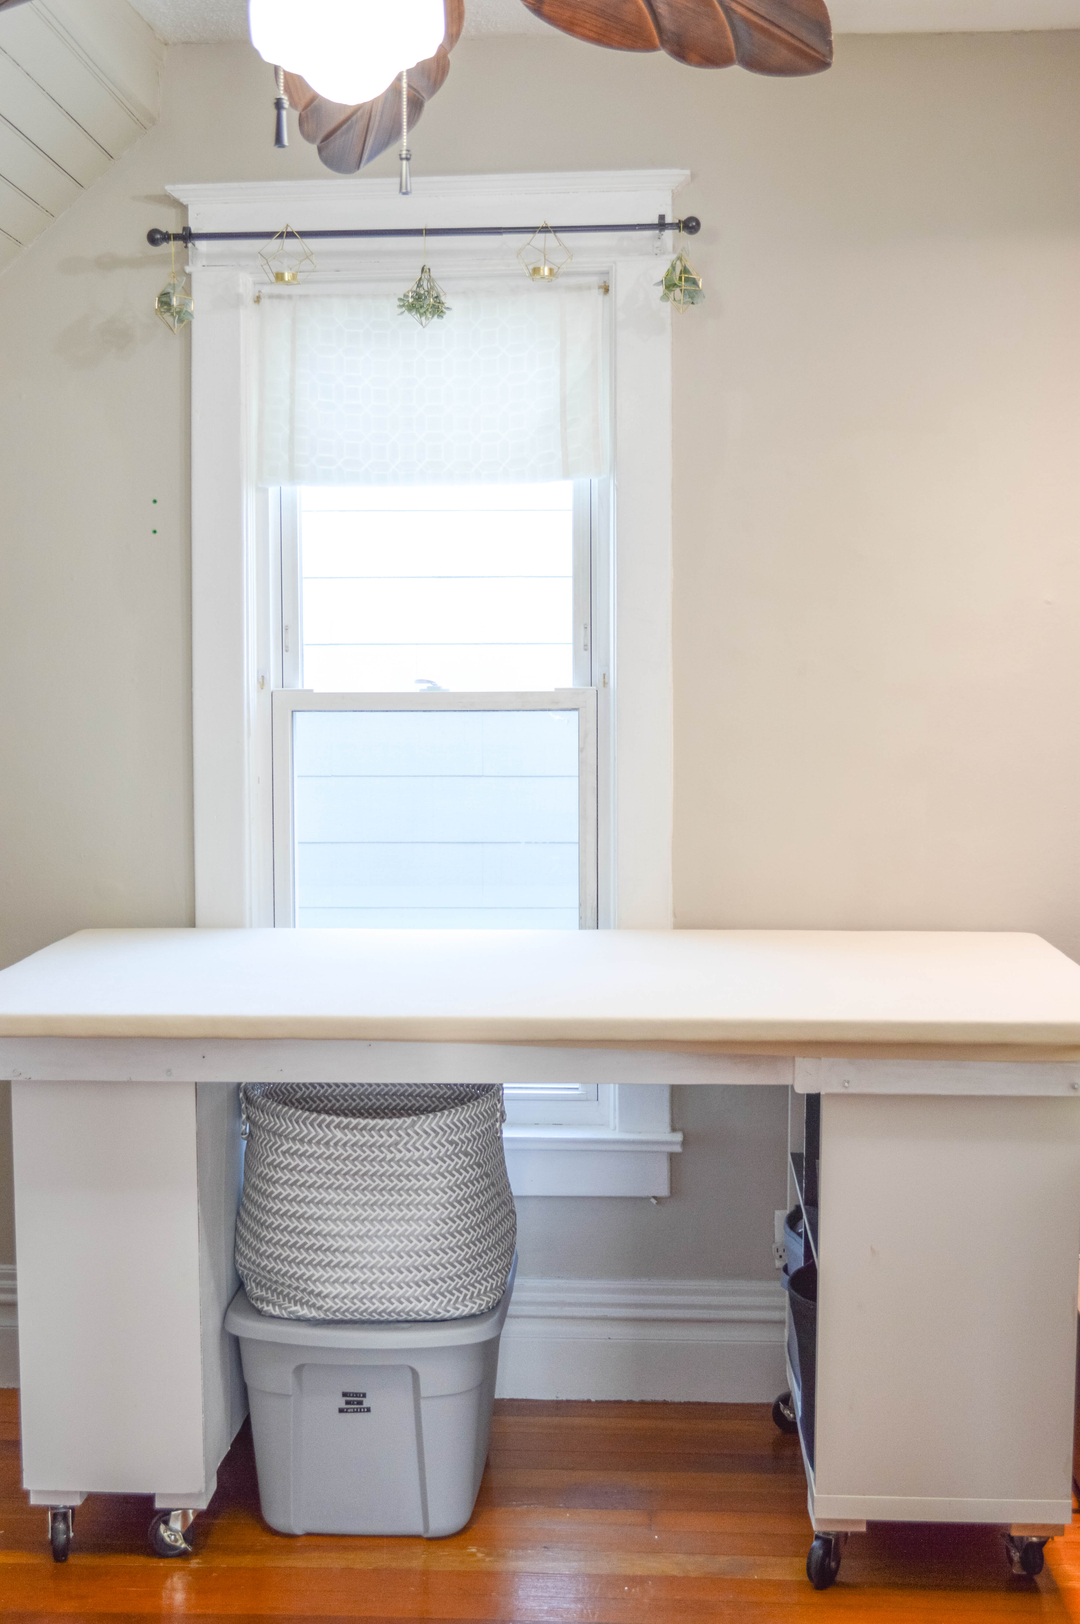
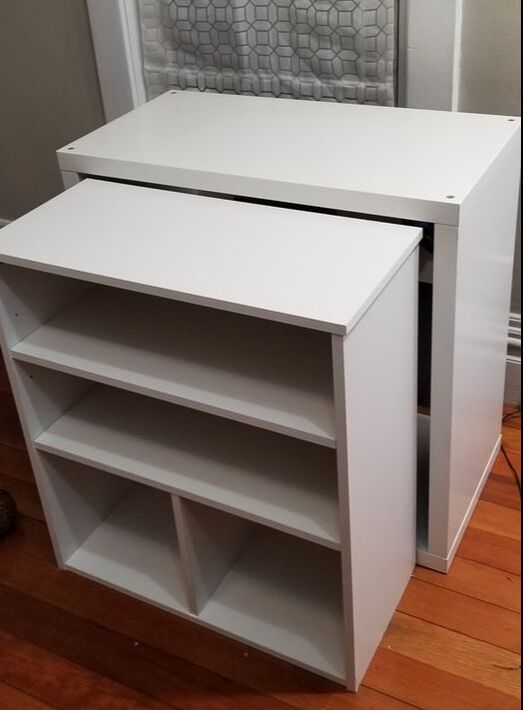
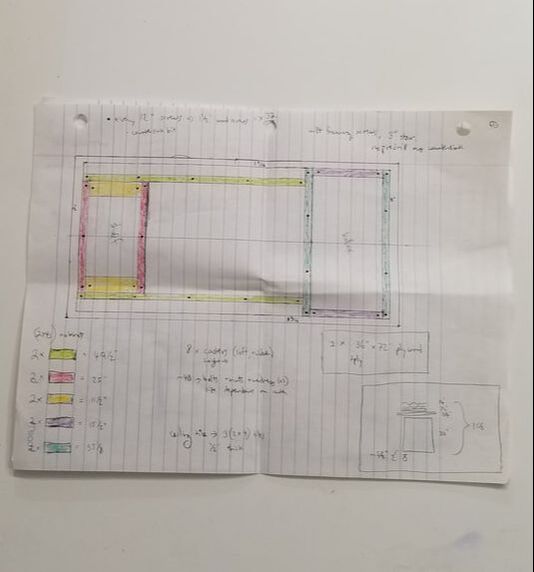
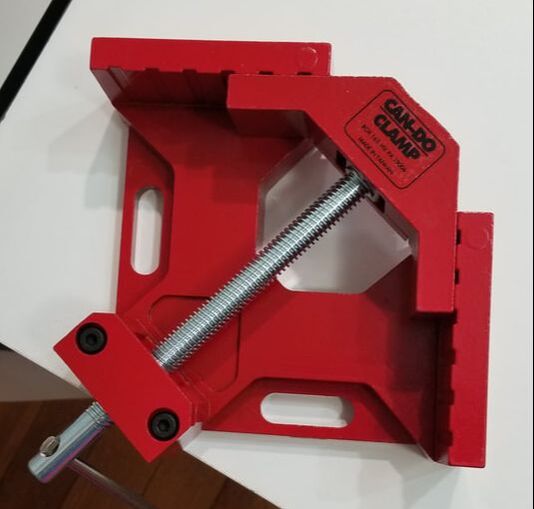
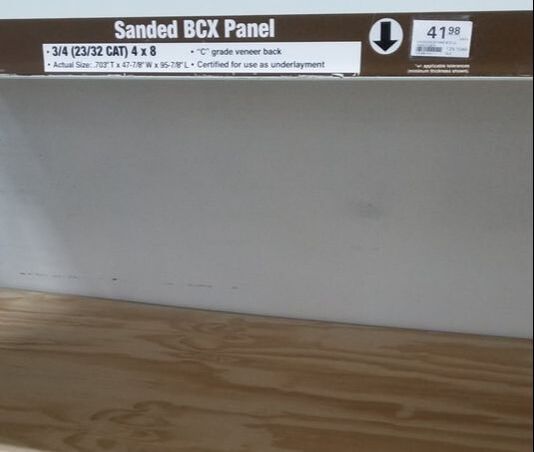
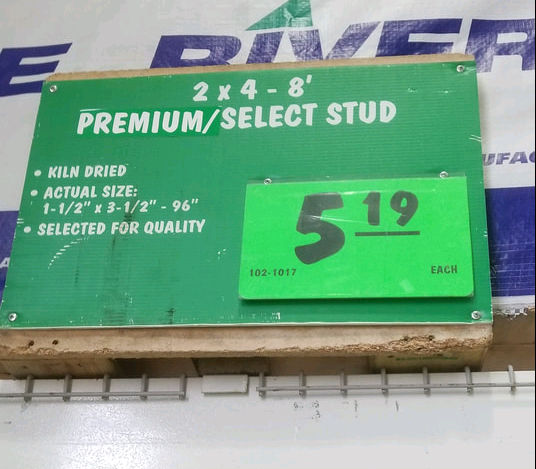
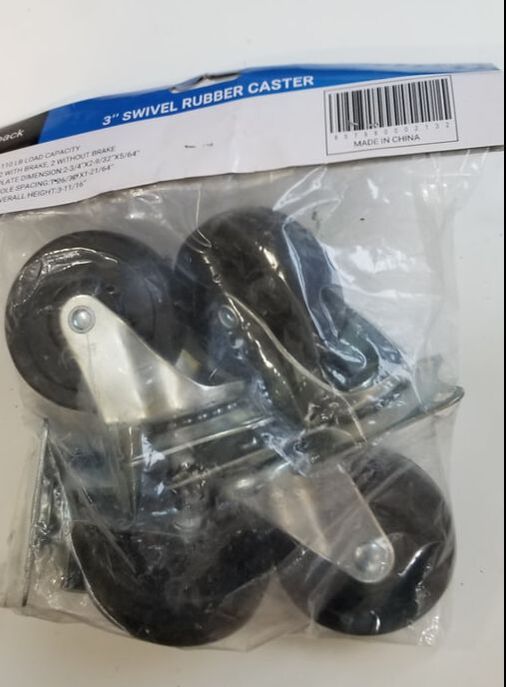
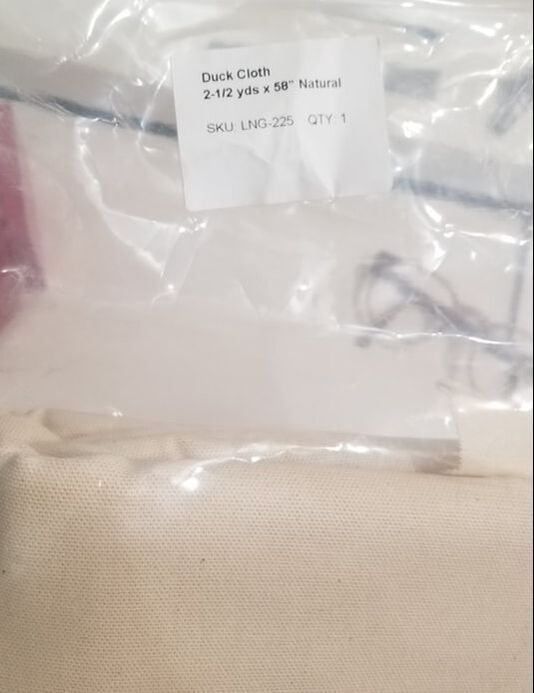
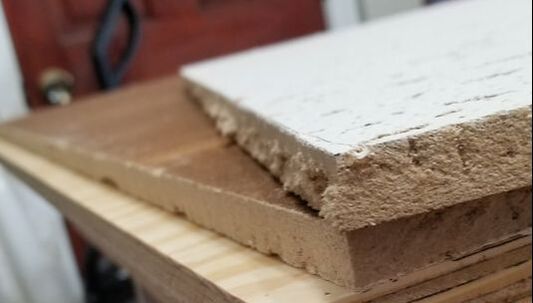
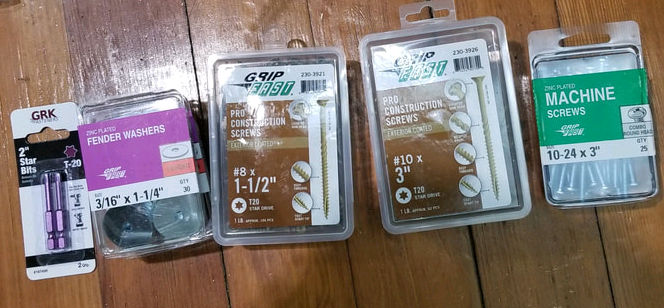
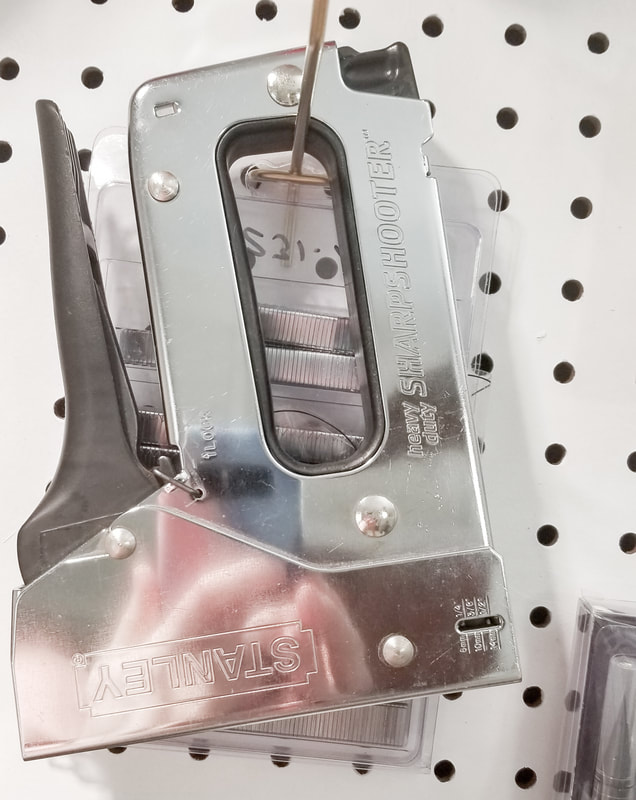
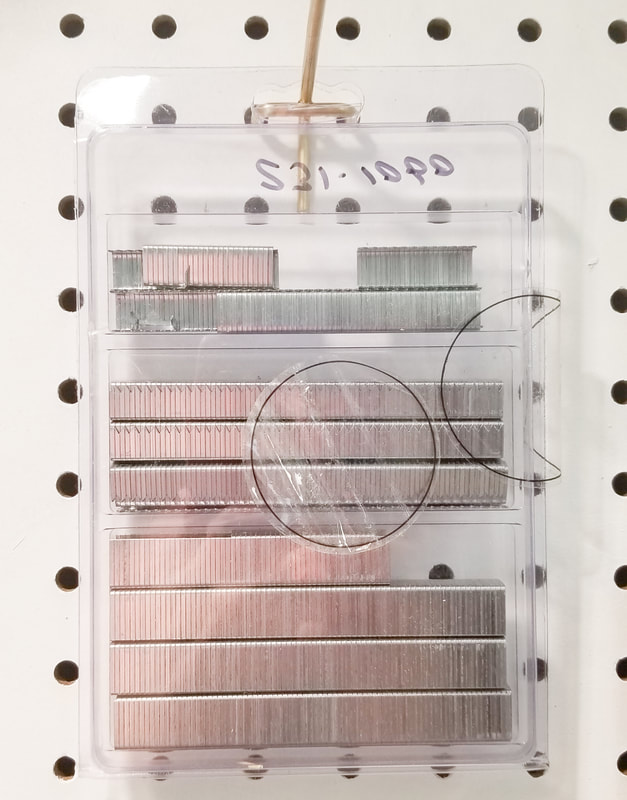
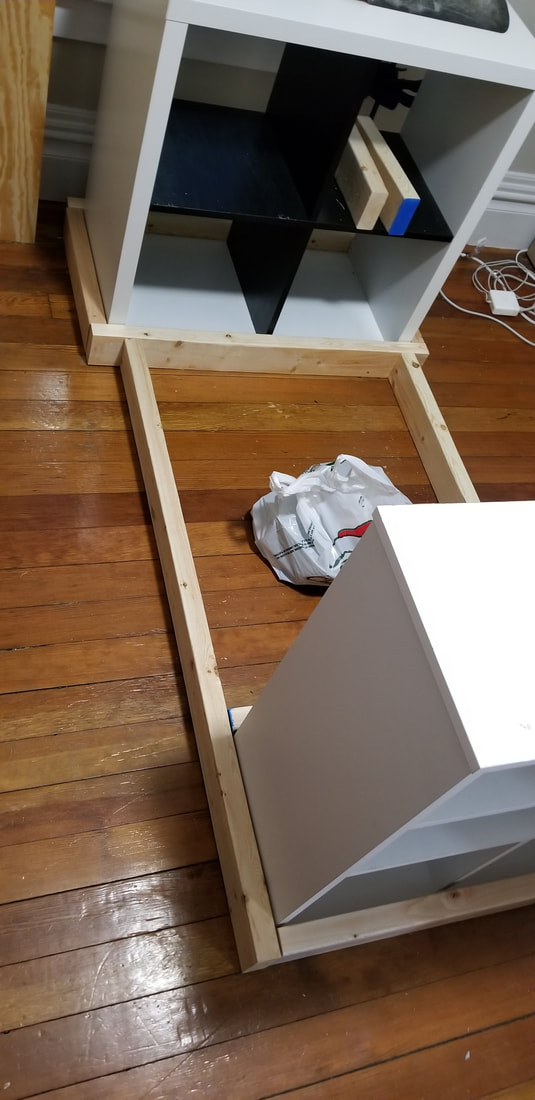
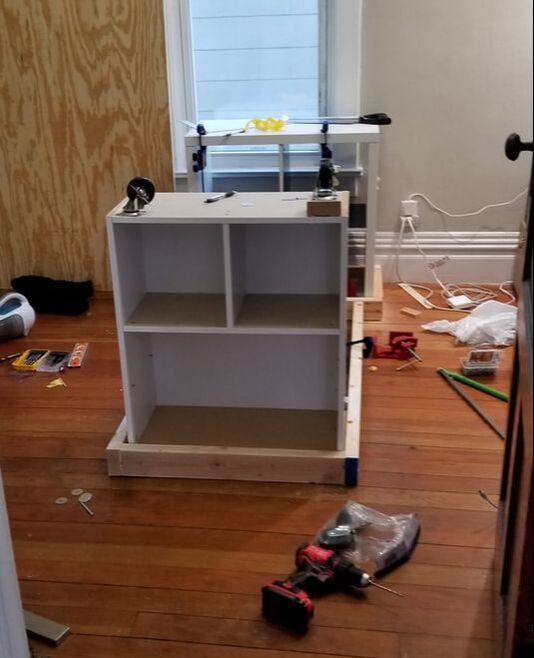
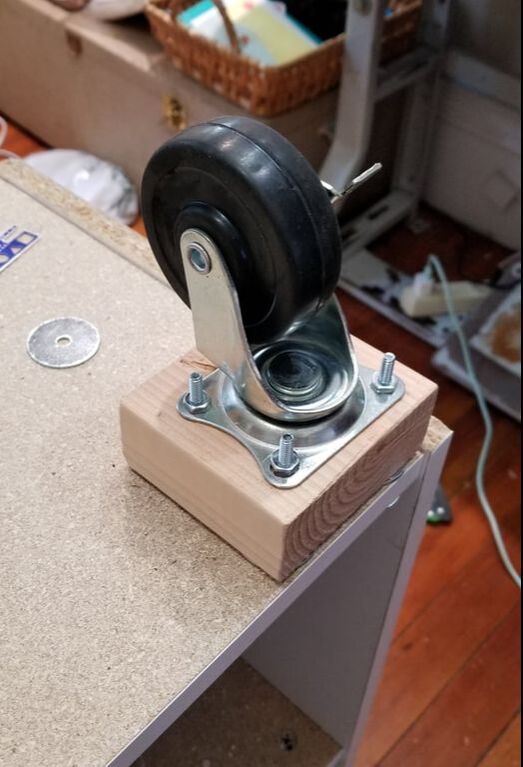
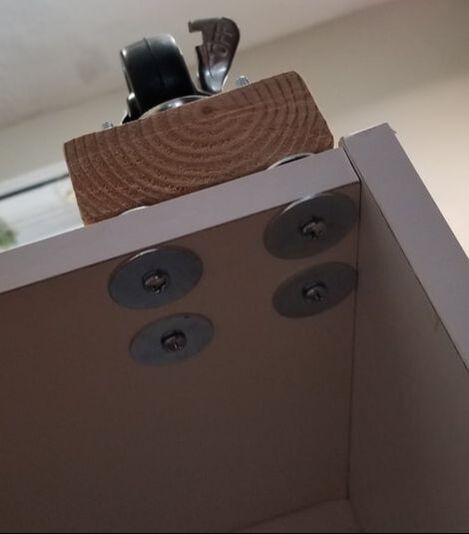
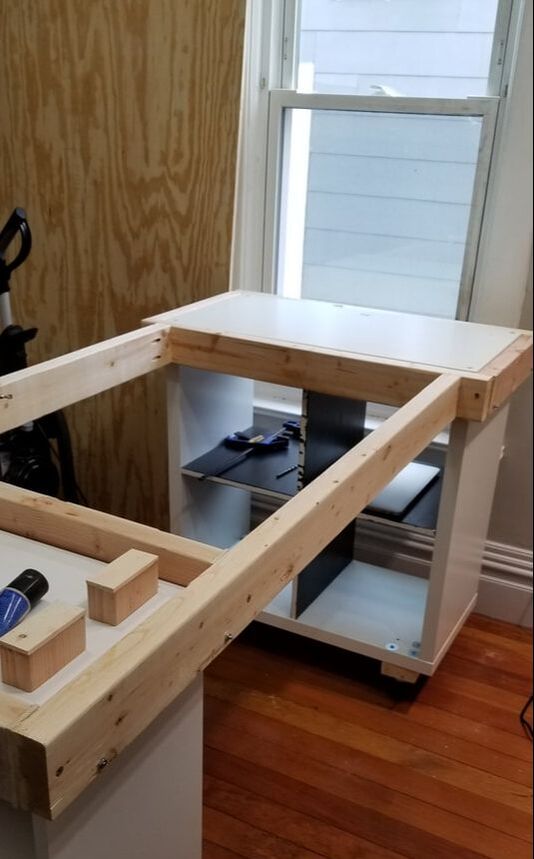
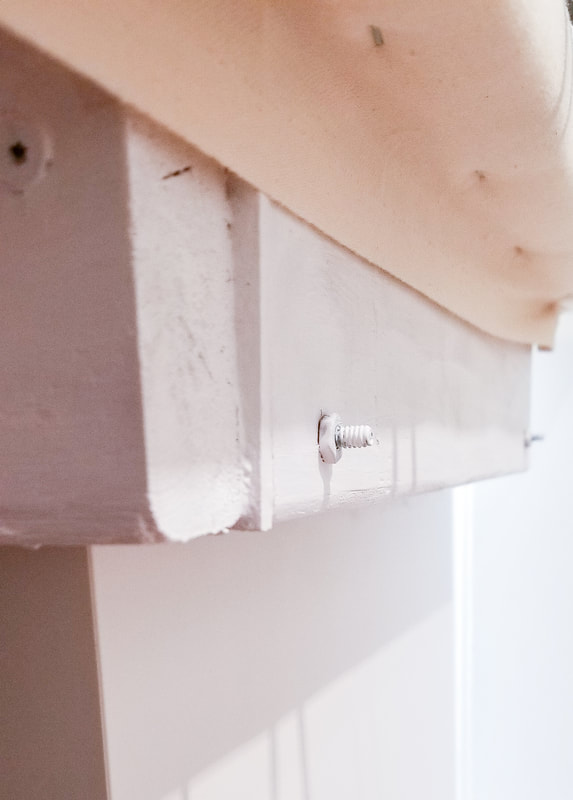
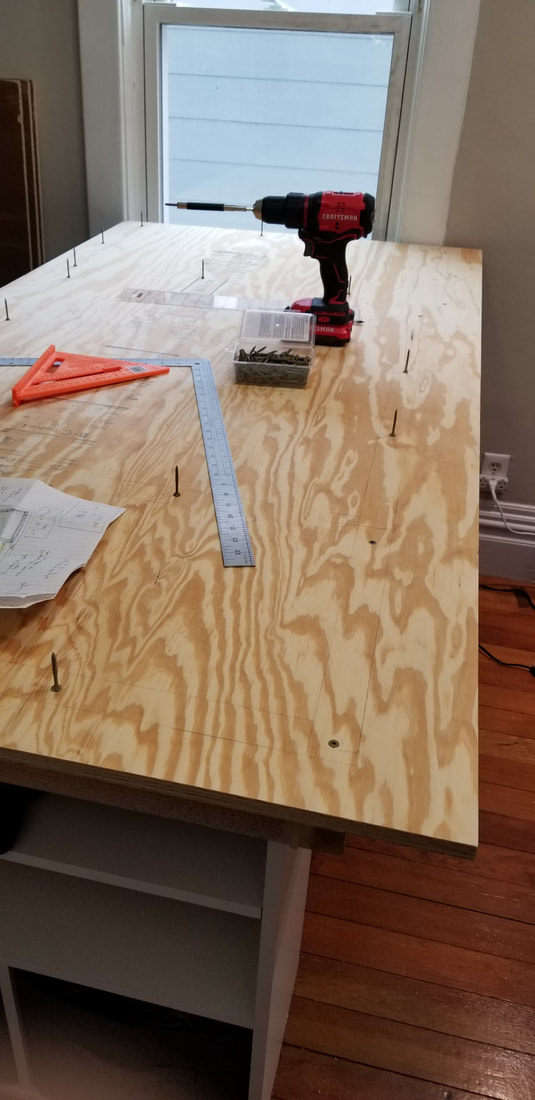
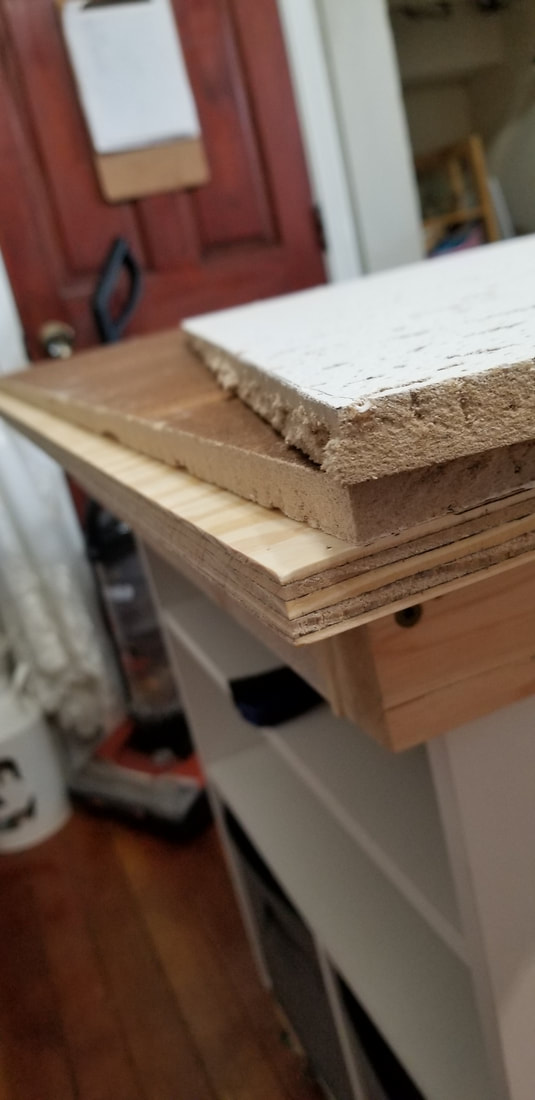
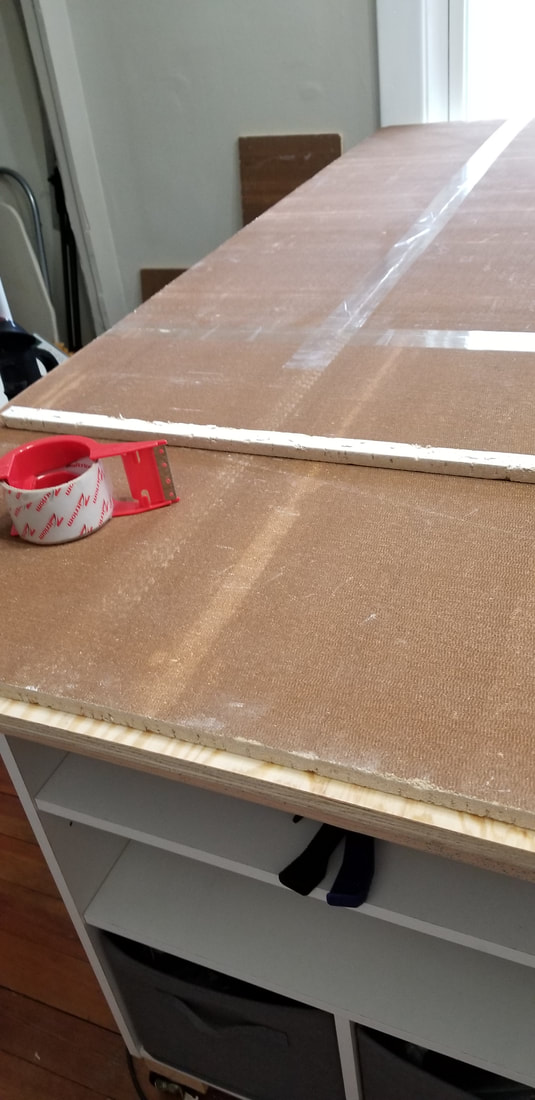
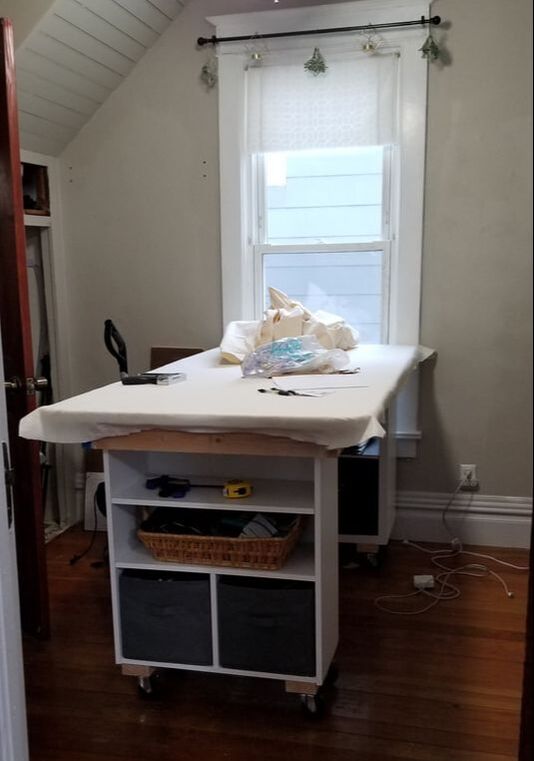
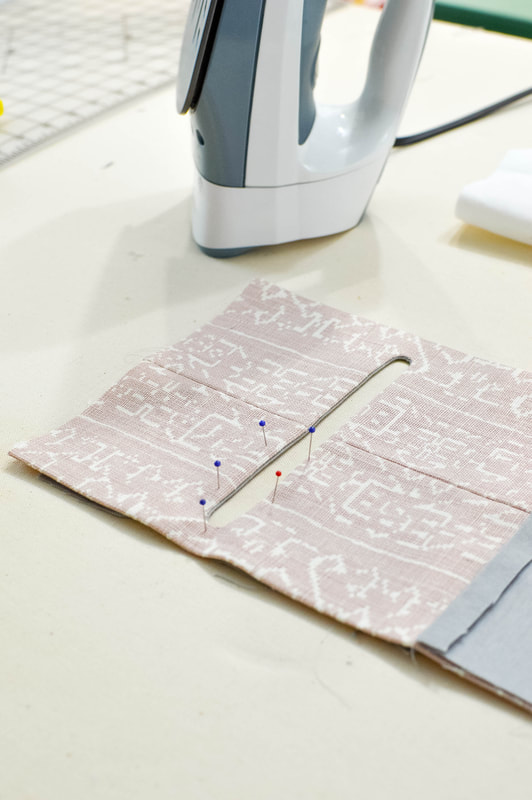
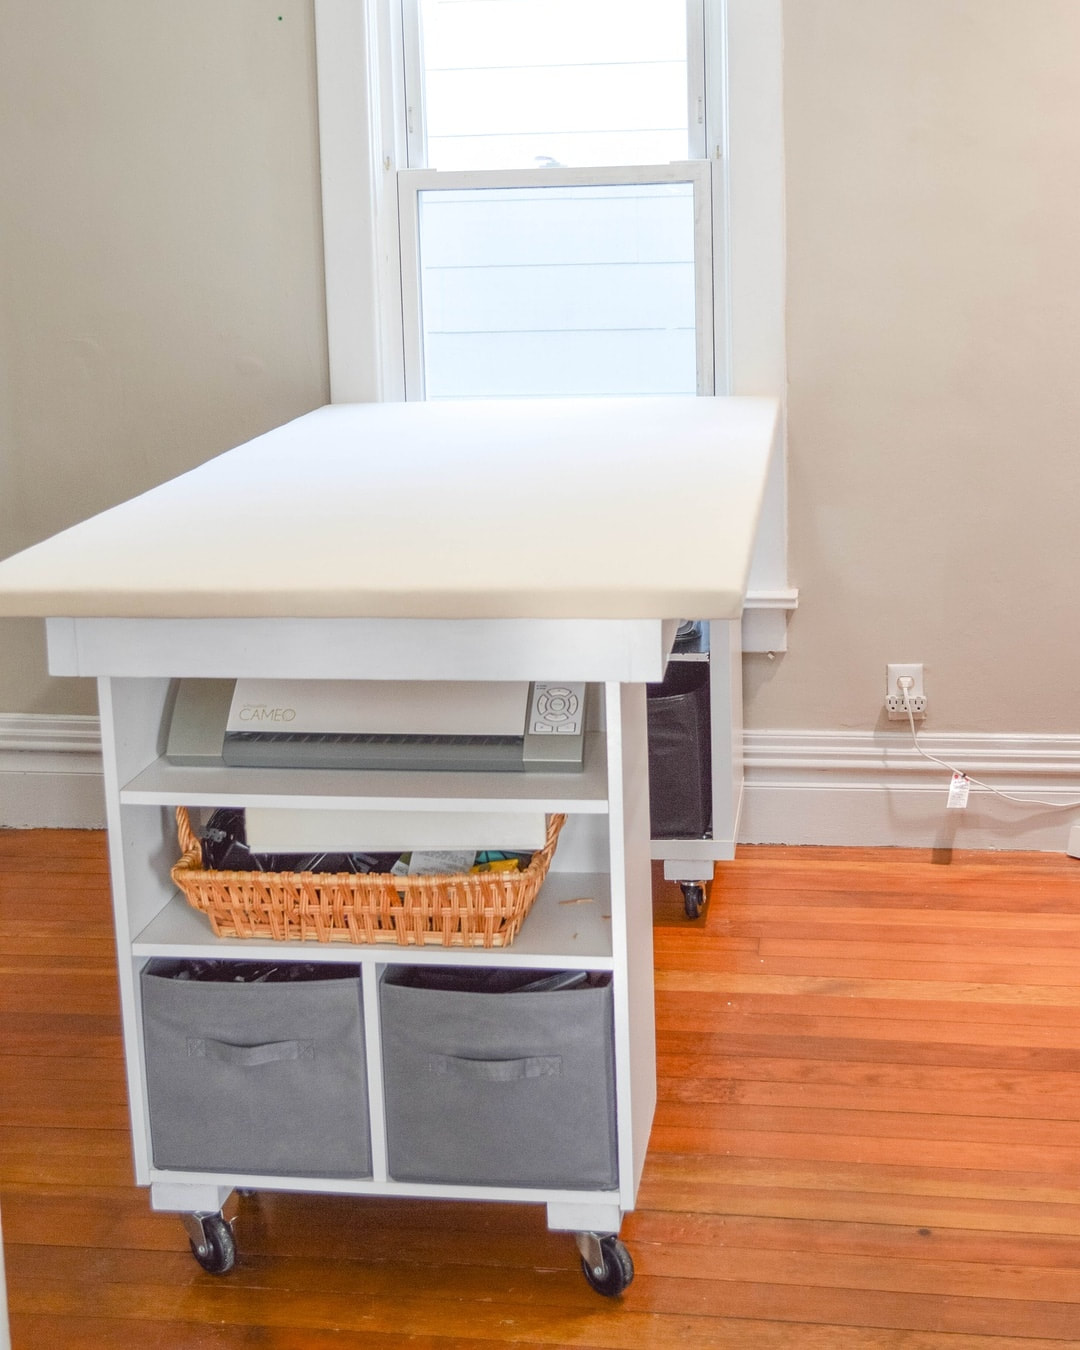
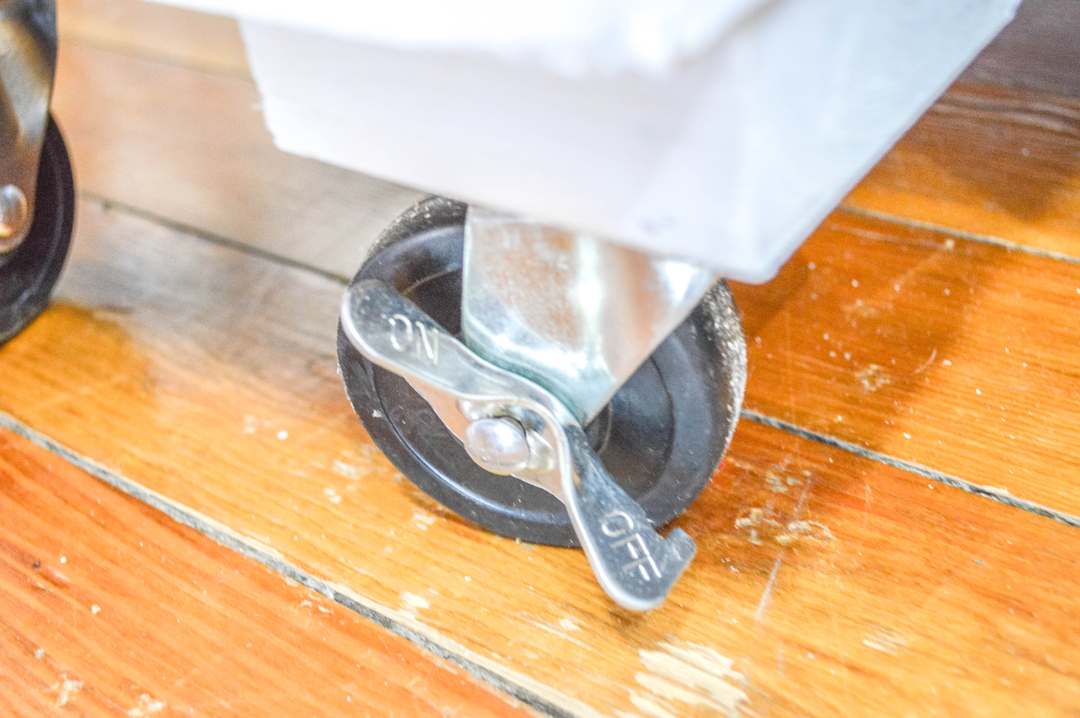
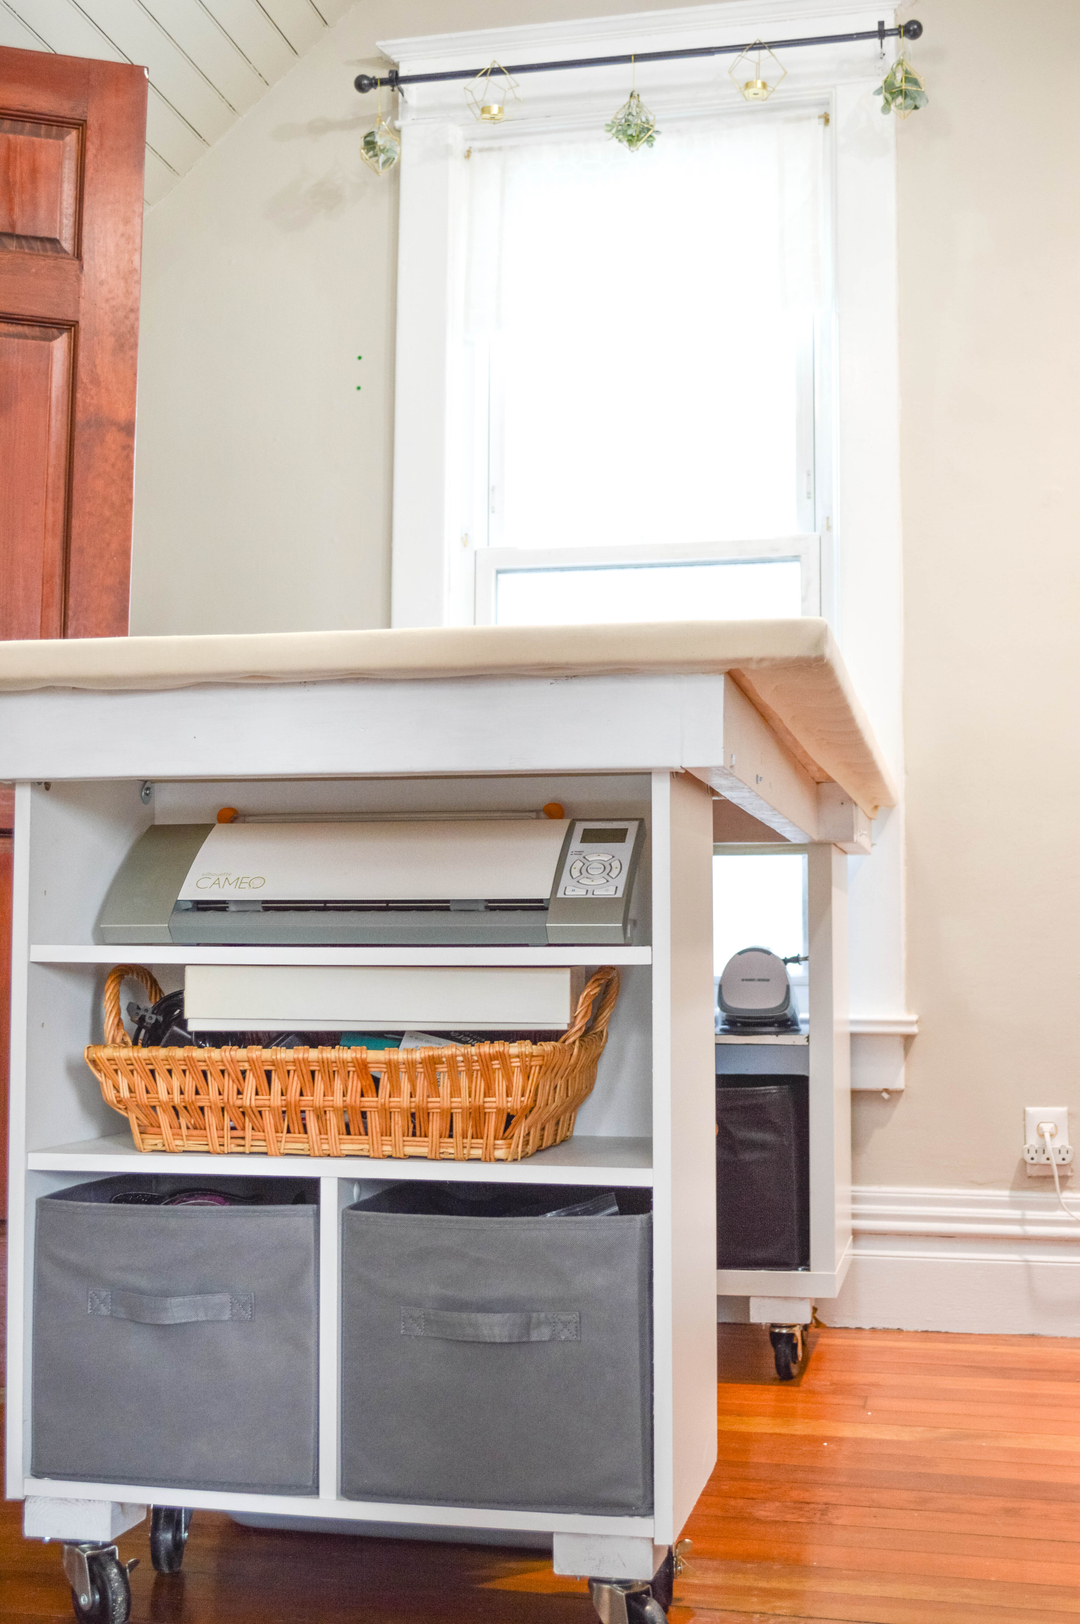
Disclosure: Some of the links below are affiliate links, meaning, at no additional cost to you, I will earn a commission if you click through and make a purchase. Affiliate links are marked with an * Back around 2015, I got a job at Silk Mountain creations. It's a drapery workroom, and I had so much fun seeing all the sewing techniques and tools that were totally new to me, but completely normal for the home decor/soft furnishings industry. Hands down, my favorite new tools were the tables we used. They were big, on wheels, countertop height, rulers along the sides, pinnable, ironable, and had a ton of storage underneath. The best part? They were DIY. One of the owners of the business had actually built them, and I got to help recover one of them while I was an employee. It was such a great way to work, that I would sometimes come in after hours to use the set up for my own sewing. A lot of the branding photos I use are actually flat lays I set up using these tables, like this one below. After working at Silk Mt for a length of time, I decided that once I had the space, I was going to build myself one of these tables. And now that I DO have a room for my sewing, it is time! The Plan:Here is what I ended up planning for my table in my little sewing room: I decided to create just about the largest table that I could, while still fitting in my sewing studio. Honestly, it doesn't even fit through the door unless I take it apart. I wanted a table that is 36" wide, and 72" long (1 yard by 2 yards). I decided to use a shelf I already had, as well as an Ikea Kallax that I found on Facebook Marketplace for cheap. These would be the base for the table, and I would just add a top and wheels. In order to do that, I planned out a frame made from 2x4s that would sit around each shelf, and hold the piece of wood for the table top. The frame and tabletop would be screwed together, but not permanently attached to the shelves, so that I can easily take the tabletop off to get it to fit through doorways (our doorways are definitely not 36" wide at this house). I drew out a little diagram to scale, and I talked through my whole plan with my dad while visiting for christmas. He gave me advice on how to do it, as well as what tools and materials I should use. He would have loved to come in person to help me, or even make a table for me, but I was too excited to make it a reality to wait for a time when that could happen. My birthday is at the end of Dec, and Eddie had already told me that his gift to me would be to distract Finn for the week between Christmas and New Years so that I could get this thing built. And I managed it! I did run into a few self-generated issues, but in the end I have the table I've always wanted! Side Note: I'm not including all the specs from my plan because it really is very specific to the two shelves that I used. The one Ikea one is easy to find, but I've had the other for years and I couldn't tell you where it is from or if you can get it still, so I figured these specific measurements probably wouldn't actually be helpful to anyone. If I'm wrong, and you all want the details, I can always come back in and add in specific measurements, just let me know in the comments. The Materials:I'm going to do my best to link to the tools/items I used in this DIY. Some I got off of Amazon, some from Menards, and some from Lowes. Anything that I link with an * is an Amazon affiliate link. This means that at no additional cost to you, I will earn a commission if you click through and make a purchase. Tools I used: (not all of these are at all necessary, but I figured I'd list them all just in case anyone is interested) - Drill/Driver* with various sized drill bits - Stapler* - Miterbox and saw* - Kreg Pocket Hole Jig* - Paint brush* - Can do Clamp* (helped with some of the corners) - Star bit to fit my specific screws - Ruler or straight edge - Pencil for marking - Tape measure* - Speed Square* - Level* - Exacto Knife* Materials: - Oops paint (leftover from my pegboard wall) - Sanded BCX Panel 3/4" thick 4x8 ft C grade - I found a very similar product at Menards, but when I found out that my local store didn't have the option to cut it down to size for me, I opted to go to Lowe's instead because they did. I had it cut to 36" by 72" and thankfully it did fit in the back of my minivan! -2x4s - A very helpful fellow customer at Menards (Thank you random dude!) pointed me towards the "Premium/Select Stud" 2x4s with blue paint on the end. Apparently you are more likely to find straight pieces of wood in that section. They are a bit more expensive, but since I was hoping for a straight table, I thought it was worth the extra cost. And since Menards had a handy little self help miter saw area, I went ahead and cut all my pieces to size right there in the store. -3" Swivel Rubber Castors - I found these at menards for a great price, and got 8 in total, 4 for each shelf. Here is a similar product on Amazon*. -Duck Cloth - I bought my duck cloth from Wawak, which is a great sewing catalog resource if you've never checked them out. That's where we used to order supplies at the workroom, so I figured it was a good bet. I got a piece that was 2.5 yds x 58" and 7oz. I definitely recommend at least 7oz for this project. I've heard of people using 10oz and even 12oz. -Ceiling Tiles* - My goal was basically to find the cheapest ceiling tile that I could, as long as it didn't have too much texture. I believe I went with Armstrong 2'x4' drop ceiling tiles, which I linked on Amazon for you to look at, but DON'T buy a whole box from Amazon. You can go to your local home improvement store and just buy the 3 pieces you need instead of a full box. And, remember to count the height from the ceiling tiles when planning out the final height of your table. -Packing tape - I used packing tape to tape together the ceiling tiles into one large table top sized piece. That way I don't have to worry about them shifting on me as much. -Screws - My dad recommended Grip Fast Pro construction screws. They are more expensive, but since they are both self tapping and countersinking, I didn't need to worry about pre drilling or drilling countersink holes, so it really sped the process up! I got a package of #10x3" for building the frame and a package of #8x1.5" for screwing the top board to the frame. -Nuts & Bolts - I went with machine screws for attaching the tabletop/framework to the shelves. That way I can simply unscrew them to take the table apart. I used 4 sets on each shelf, as well as 32 for the castors (4 for each of the 8 castors). I got 10-24 x 3" zinc plated machine screws, and then realized that that length was simultaneously too short for the frame connections and too long for the castors. Went BACK to the store the next day, and got 2.5" and 3.5" lengths instead. -Washers - I also had to go back for more washers. I used these to help spread out the pressure of the nuts/bolts on the shelves, since these cheaper shelves are basically hollow on the inside, and I need them to hold up under quite a bit of weight. But, what I didn't think about until too late is how close my castor drill holes were to the inside wall of the shelf. So I had to go get washers with a smaller outer circumference for some of the holes. I used 3/16" x 1-1/4" zinc plated fender washers and then went back for 3/16" x 1" - Shims - On a whim, I picked up a couple shims, just in case I needed to use a 1/4" here and there to level out the table (since my two shelves were not the same height). Thank goodness I did, because I ended up adding a 1/4" extra not only to level the table, but also to several of the other cuts I had previously made. This is because I made the mistake of cutting the wood to the EXACT dimensions of the shelves, which did not leave any wiggle room for when I need to slide the top on and off. -Staples* - I used my little staple gun to secure each layer of batting and the canvas. I used 1/4" staples to secure it on the underside of the wood tabletop -Batting - I used batting that I already had in my stash, and I ended up putting 3 layers of it down on top of the ceiling tiles. Building the Table:Here's the basic order of building: 1. I glued some extra pieces of wood to the top of my shorter shelf to even out the two shelves. I tried to be precise to get them level, but it turns out my house's floors aren't level so I could have saved myself some greif. 2. I flipped my shelves upside down, and layed out the wood frame around them to make sure everything fit. It didn't, so I had to glue some 1/4" wood pieces to the ends of my cuts to add in ease. 3. I screwed the 2x4s together, using a combo of my Can-do-Clamp* and my Kreg Pocket Hole Jig* to help, then put my upside-down shelves back in place. 4. I drilled holes through the sides of the frames and shelves, and tested out my machine screw/nut/washer setup. Of course, this is when I realized that I needed a new, larger size of the screws. 5. I drilled the holes for the castors in the bottoms of the shelves. I drilled holes in 8 extra scrap pieces of 2x4 as well, because I decided I wanted a little extra height to my table, and this was the easiest way I knew how to add it in. 6. I attached the castors with my new, smaller size of machine screws, and made sure to use the washers on both sides of the shelf bottom for extra support. 7. I took out the screws that connected the frame to the shelves, took the shelves out and flipped them upside right, then flipped the frame, put it in place, and screwed it all together with the washer/machine screw/nut combo. 8. I placed my previously cut wood board in place on top, and attempted to get it exactly in the right place. 9. I drew out where my framework was underneath, and marked where I wanted to put all the screws in (avoiding any place that could run into the screws I used to put the frame together). Then I screwed it all together, making sure that the heads of the screws were level with the board in the end. 10. I put the ceiling tiles in place on top, cutting off any extra with an exacto knife, filling in any gaps, and using packing tape to hold it all together. I also decided to install the ceiling tiles upside down since the "good" side had a little bit of texture, and I wanted everything to be as smooth as possible. 11. One at a time, I stapled 3 layers of batting to the wood, gently pulling the batting tight and smooth and securing it on the underside of the board. 12. I ironed the canvas, and then stapled it down as well, this time pulling tightly and smoothing out any wrinkles as I went. I ended up going back for a second round of stapling to tuck under the raw edges of the canvas so I didn't have to deal with it fraying too much. 13. Finishing touches: I painted the natural wood so it sort of matched the rest of the shelving, got a few bar stools from the thrift store, and put all my stuff back into the storage cubbies! Final Thoughts:Surprise suprise: I LOVE IT!
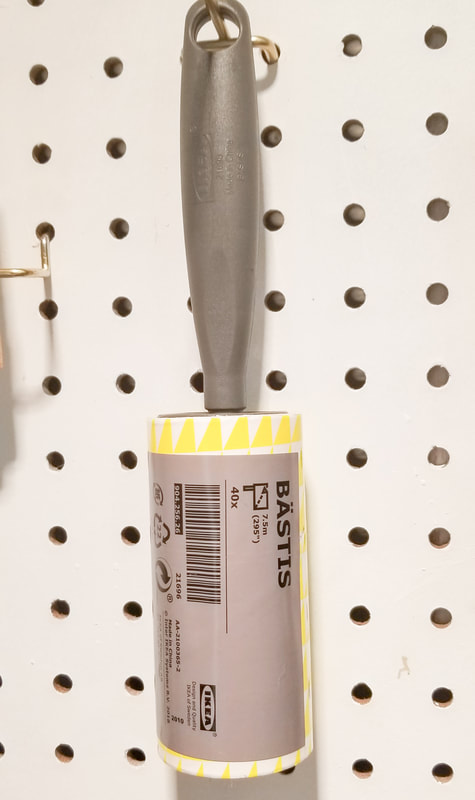
In all honesty, it is aesthetically too large for the space it's in, but I love how much room I have to work, and I can always move the table to the side if I need to. I love the fact that I don't have to move to a different area to iron, and that I can iron REALLY big things all at once (quilts!, large pieces of fabric, etc). I love that it is pinnable. I can create a little makeshift bias tape maker, I can pin hems in place while I press them, I can easily "rub-off" ready to wear by pinning through a garment into a piece of paper. The tables at my previous workplace had these handy ruler edges along the sides, as well as measurements marked by hand in permanent marker for easy curtain hemming. I haven't decided yet if that's something I want to do. For now I'm enjoying the completely blank tabletop. It feels like having a fresh piece of blank paper: the possibilities are endless! Eventually, the canvas will get marked up, with dirt, iron marks, pen marks, etc. And when that happens, I can just unstaple the canvas and put on a fresh piece. or maybe even just flip it over! I use lint rollers like this one* to clean off the table in between projects. They even make super big ones*, which is what we used for the extra large workroom tables. And sometimes even on the floor.
5 Comments
Deb Carlile
8/7/2021 07:19:08 am
I ran across your blog post in my news feed. Talk about serendipity; this is exactly what I needed. Hope you'll forgive me, this is going to be long. I made a work table by cutting down an old dresser, putting an upper kitchen cabinet on the back, pegboard on the ends, plywood on the bottom and added casters. It measures 29-1/2 x 47', fits my space and I love it but I don't love my solution for the top. To save money, I used pine boards and covered it with a trimmed large cutting mat that I already had. As flat as I sanded those boards, it's still not perfectly flat under the mat. My other issues are that the top needs to be bigger to create an overhang on the cupboard side so I have a place to put a stool, and while I have a small ironing station next to my machine, I don't have a stand-up ironing place. I hate ironing fabric and quilts on the ironing board and don't have room for a separate ironing station. I planned to replace the boards with a 48 x48" piece of 3/4" plywood (adding brackets for the overhang) and was almost decided on covering it with laminate when I saw your post. My idea still didn't solve the ironing problem and yours does. I think it may be a perfect fit. I have a couple of questions: (1) How high are the ceiling tiles? My table is currently belly button high. (2) Does the top provide a stable enough surface to use a cutting mat, Go Cutter, sketchbook, etc.? and (3) Can I Scotch Guard the surface or would that interfere with pressing, pinning and blocking? My longarm is directly across from the table so I put my tools (and coffee) on the table when I'm at that machine. Hope you don't mind brainstorming with another DIYer. Thank you so much for this post.
Reply
madeline stage
8/9/2021 09:06:29 am
Hi Deb!
Reply
Sharon
11/21/2021 01:46:44 am
Madeline it makes my heart so happy to read about you young women taking such an interest in sewing. Your table is fabulous! I retired my one person workroom several years ago but of course still do sew for myself and friends. The 2 things I miss most are my Juki 1541S machine AND my wonderful pinnable table. Happy sewing!!
Reply
Adele Williams
10/31/2022 07:25:40 am
Wow. Im in the middle of building myself a cutting table. I used milk crates. But on the top i was going to us laminate, but i love your idea about celling tiles. Thank you for you post.
Reply
Leave a Reply. |
madeline stage
creative business owner. designer. hoosier. crafter. runner. sewer. swing dancer. outdoor enthusiast. entrepreneur. wife. mom. material hoarder. Categories
All
Archives
June 2023
|
Contact Me
|
Weekly Mantra:Motivation doesn't last. That's why, just like bathing, we recommend it daily.
Click here for the Privacy Policy |
|




 RSS Feed