|
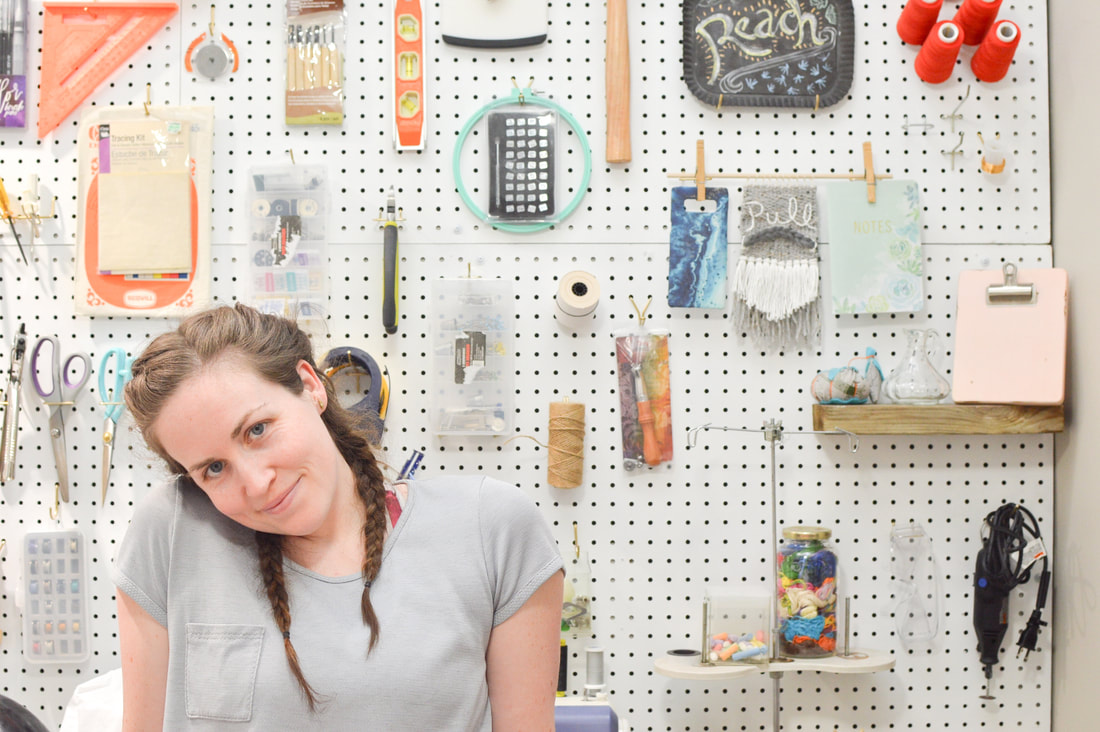
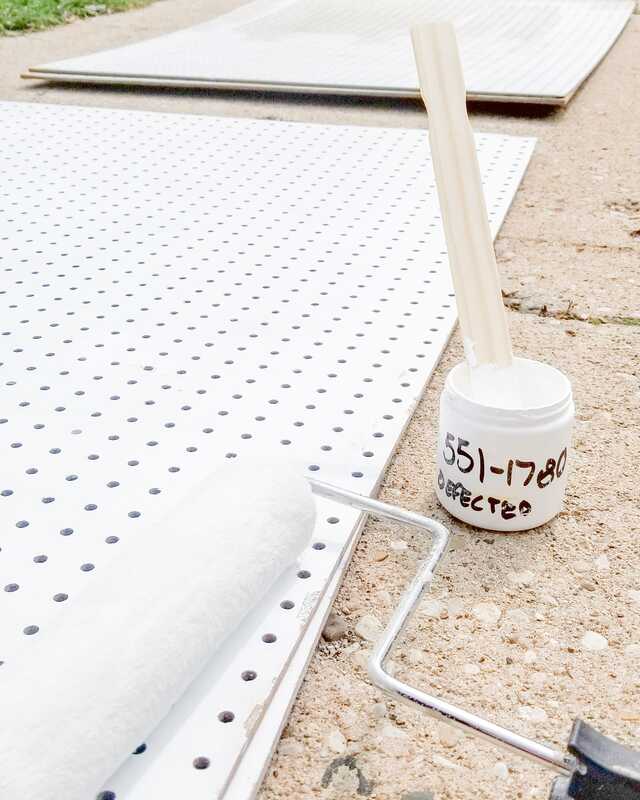
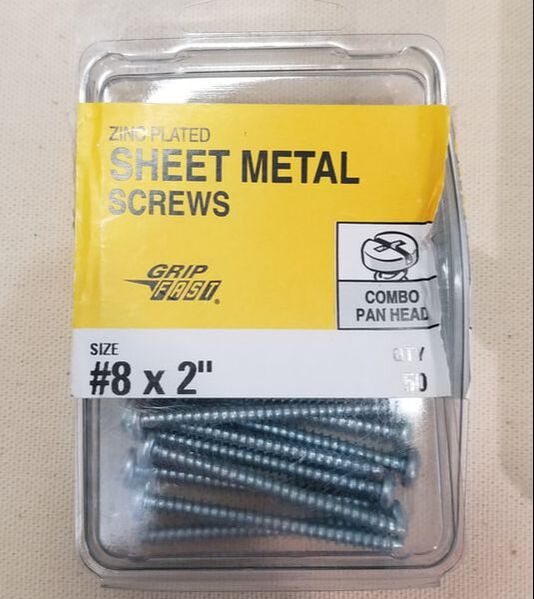
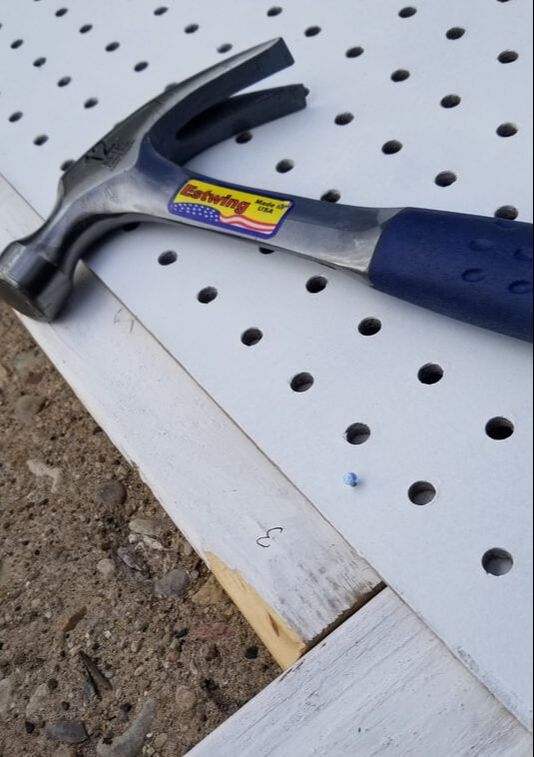
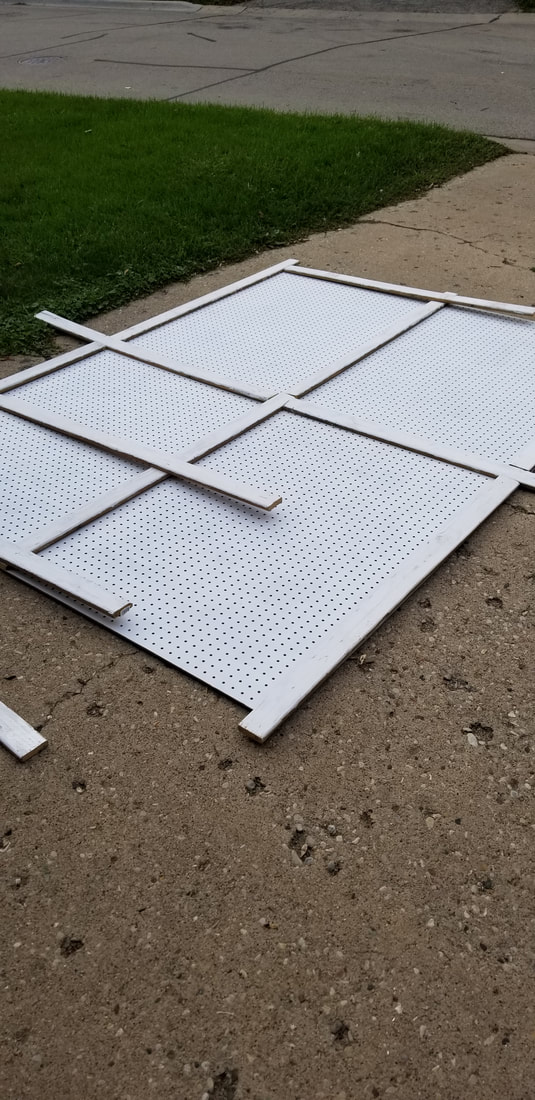
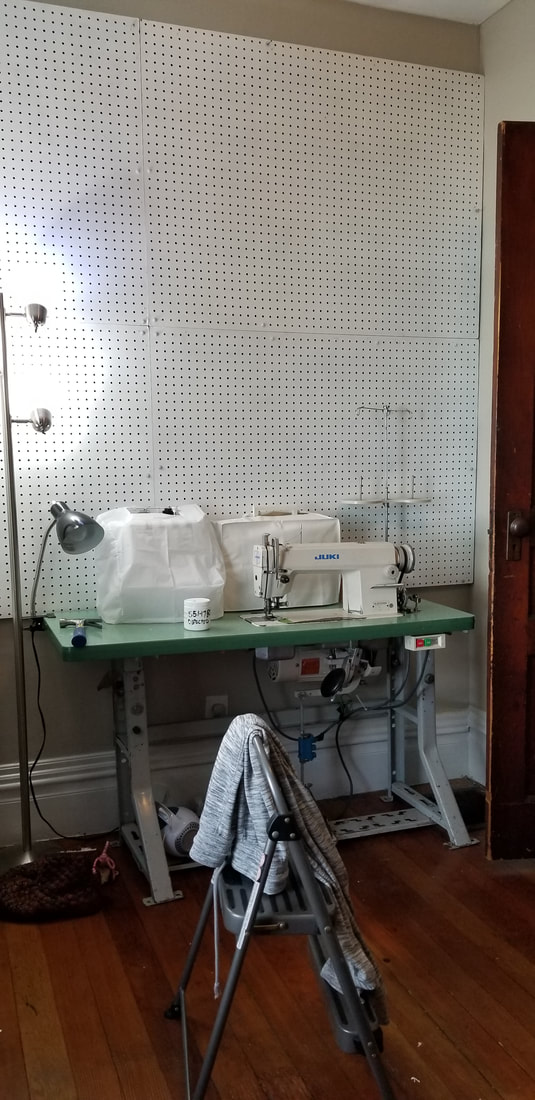
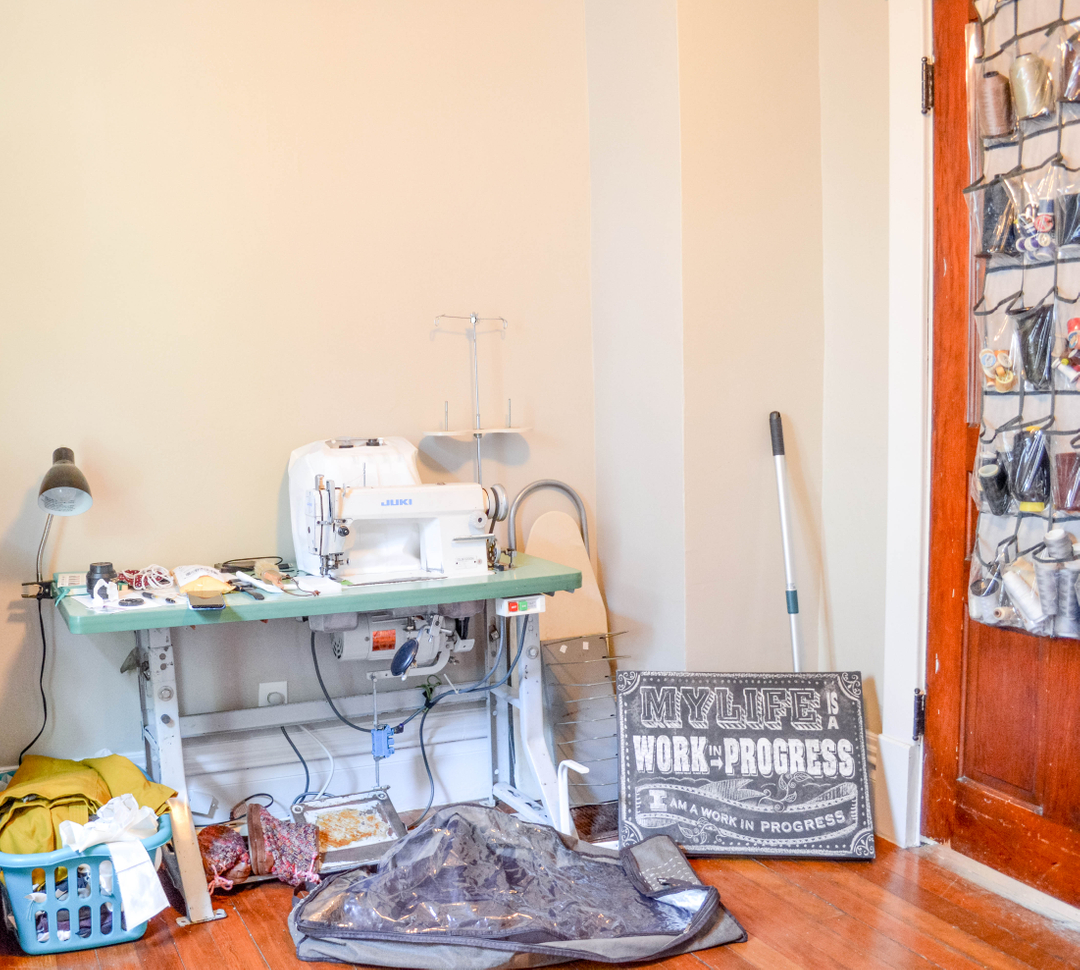
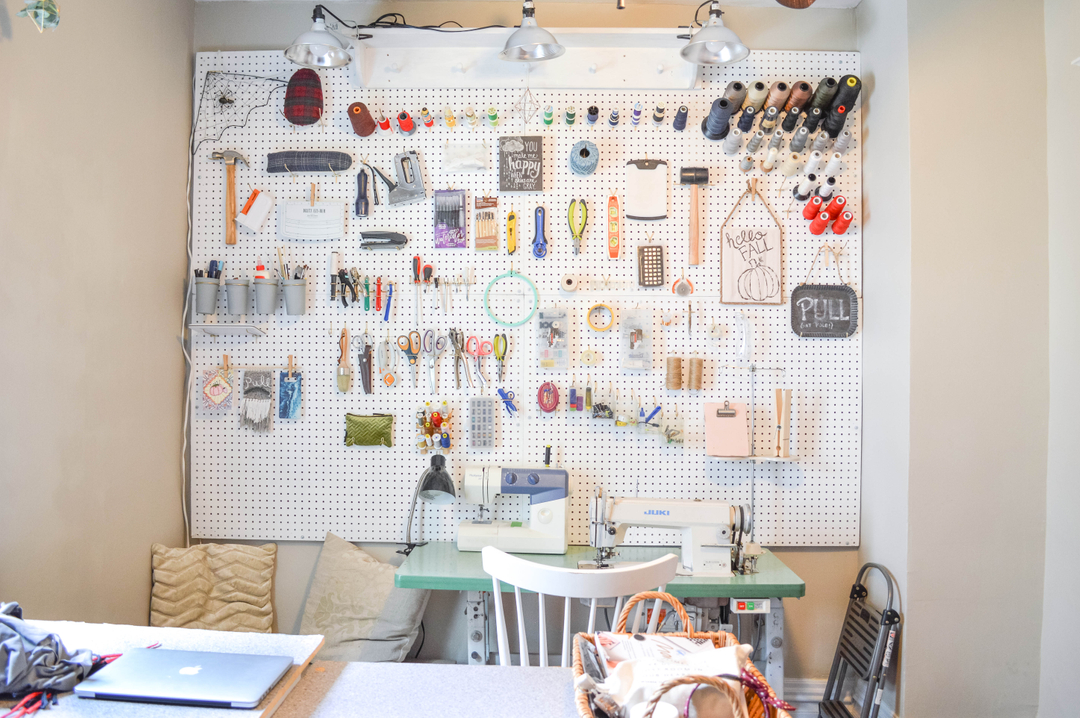
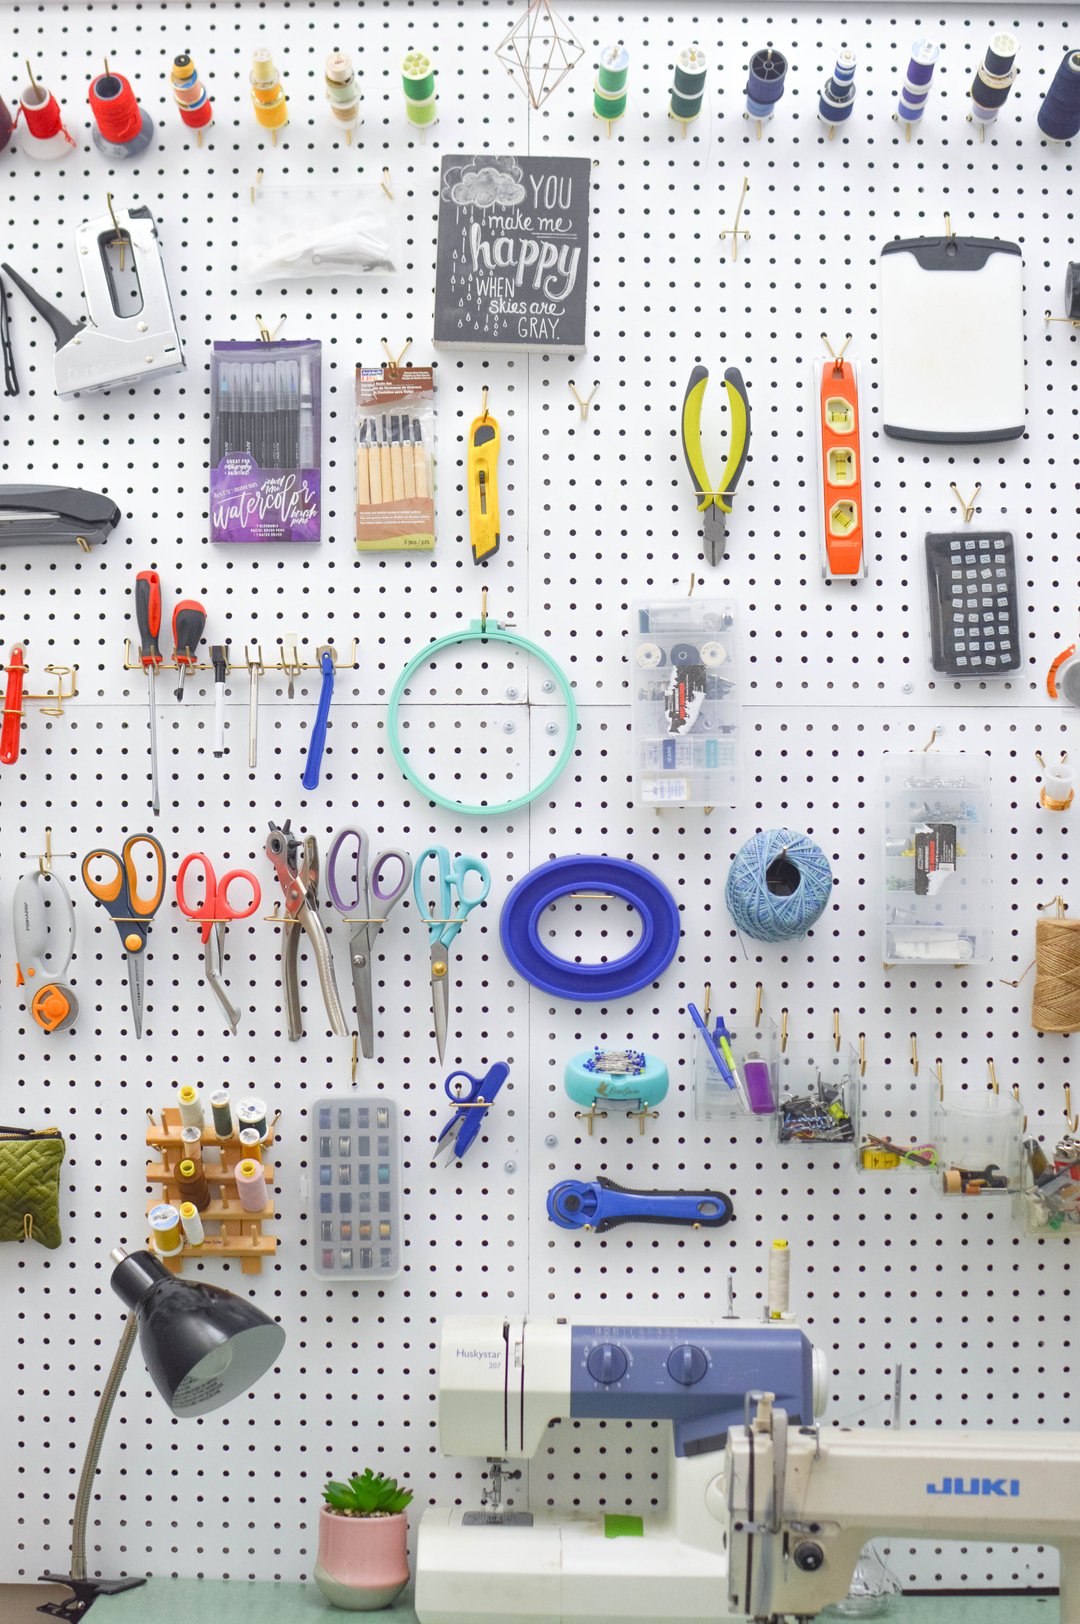
Disclosure: Some of the links below are affiliate links, meaning, at no additional cost to you, I will earn a commission if you click through and make a purchase. A super fun project that has been in the works over the last few months is my sewing studio! My little sewing room is coming together, especially with the addition of my pegboard wall. I knew that in such a small room, storage was going to be one of the big challenges. I decided to tackle this challenge with a two pronged attack. First, I don't keep fabric in my sewing room (it's all sorted into storage bins in the basement), and second, I use as much vertical space as possible. After drooling over several other sewist's pegboard walls, I couldn't resist going all out and making an entire wall of my studio into pegboard storage. After some white paint and several calls to my dad for mounting advice (Thank you dad!) I now have a gorgeous way to display (and organize) all my tools. I was pretty nervous about installing a whole wall of pegboard, especially since the house we are renting is pretty old. I had a terribly hard time trying to find studs, and the walls themselves seem to be made of plaster, so I was nervous about the weight of the pegboards on the wall. I ended up using wall anchors, and attached the boards every 18" inches, using #8 x 2" sheet metal screws with washers and went through the actual peg board holes. I got these at my local hardware store, but if you are looking for similar ones online, check out these screws* and these washers*. To make it easier to hang, I laid everything out in my driveway, cut the wood framing to size and hammered a few nails in to hold them in place. But I did it strategically, so that the boards were only attached to one of the four pieces of pegboard, and I could put them up one at a time, fitting each new board in place like a puzzle piece. It's hard to explain, but it worked pretty well, and meant that I didn't need an extra pair of hands to set it up. This project ended up being unexpectedly cheap! I found free used pegboard from facebook marketplace, used some wood pieces that I had from a previous project, and got the paint from the "oops paint" section at Menards. I got 4 of these defected little sample jars for $.50 each. I'm not trying to match anything over here, so any shade of white works for me! I did have to buy the screws and anchors, as well as hooks for the wall. I first bought this variety pack of 130 hooks* off of Amazon, and then once I started organizing, realized I wanted a lot more of the 4" hooks, and ordered this pack of 50* of them as well. They were the perfect size for storing all my threads. Just for fun, I also ordered this awesome gold spray paint*, and painted all the hooks gold! It's a little touch, but I love it! Before and AfterHere's a good before and after look at my studio wall. The before photo is from just a few weeks after moving in to our new house (hence the mess). And then look at that after photo!! Not only does it give me a whole wall of space to store things, but it also helps brighten up the room with the white paint, and I think it makes the room look bigger and more balanced because it draws the eyes up! My room is so dark, I decided to add some overhead lighting as well! I used clamp lights* I had previously used for photo shoots, and clamped them to a shelf that I also painted white and hung at the top of the board. I have daylight bulbs* in my lights, and it makes a HUGE difference, especially at night (which comes in handy when the sun sets at 4pm). I love the pops of color that my pegboard shows off, and I love that nothing is permanently placed. I can change it all up whenever I want! Overall, this was SO WORTH the time and effort to put up. And this little DIY gave me more confidence to tackle my next studio project: my dream sewing table. * Links followed by this asterisk are amazon affiliate links. This means that, at no additional cost to you, I will earn a commission if you click through and make a purchase.
2 Comments
10/6/2022 08:32:47 pm
Direction main look accept.
Reply
Leave a Reply. |
madeline stage
creative business owner. designer. hoosier. crafter. runner. sewer. swing dancer. outdoor enthusiast. entrepreneur. wife. mom. material hoarder. Categories
All
Archives
June 2023
|
Contact Me
|
Weekly Mantra:Motivation doesn't last. That's why, just like bathing, we recommend it daily.
Click here for the Privacy Policy |
|

 RSS Feed