
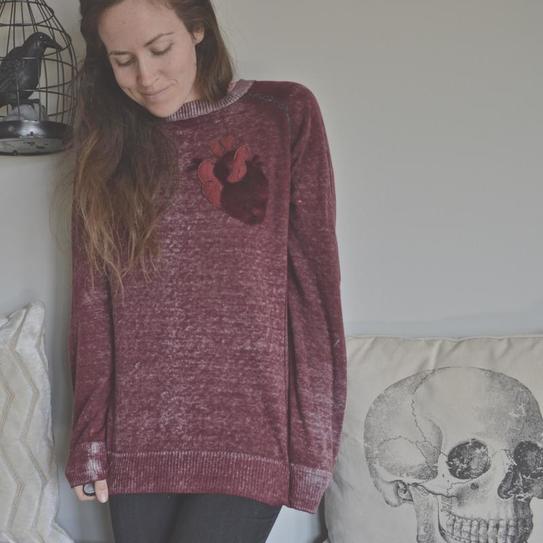
 I have a new PDF pattern for you guys!! It is a super quick and easy anatomical heart appliqué! As I'm sure you know by now, I'm obsessed with all things Halloween. I love the big elaborate costumes, but I also love little touches of macabre. Things that I can wear all October long, simply as a part of my outfit, without drawing a ridiculous number of stares. And this simple little heart is absolutely perfect! You can add it to a tshirt, a dress, a coat, or a costume. Make it really stand out with contrasting fabric, or make it a subtle addition as I did here. I appliquéd this thrift store sweater last friday, and then immediately wore it out to Kings Island for their Halloween Haunt night and it was perfection! Now I just need to make about ten more! 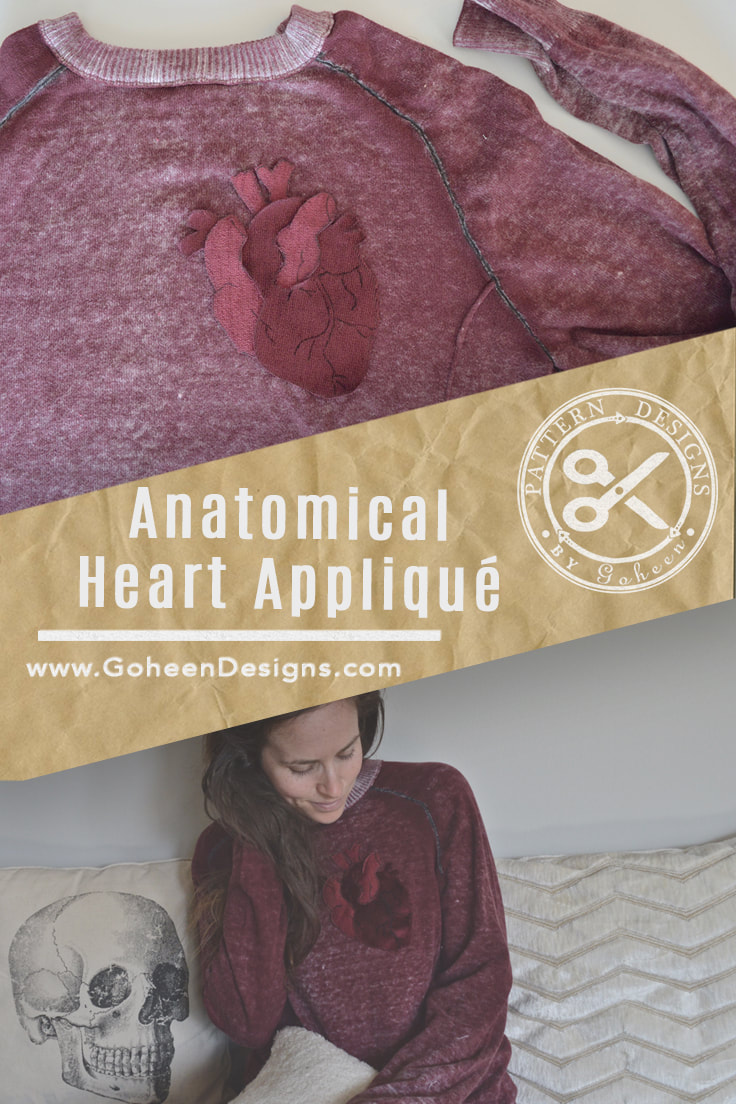 If you haven't picked up the pattern yet, you can head on over to the shop to grab it. I have the basic written instructions on the one page pdf as well, but if you want a more detailed tutorial, you are in the right place! Read on!
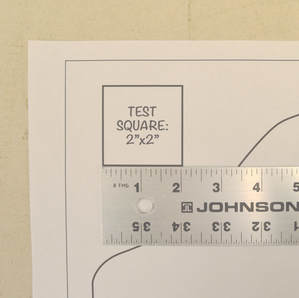
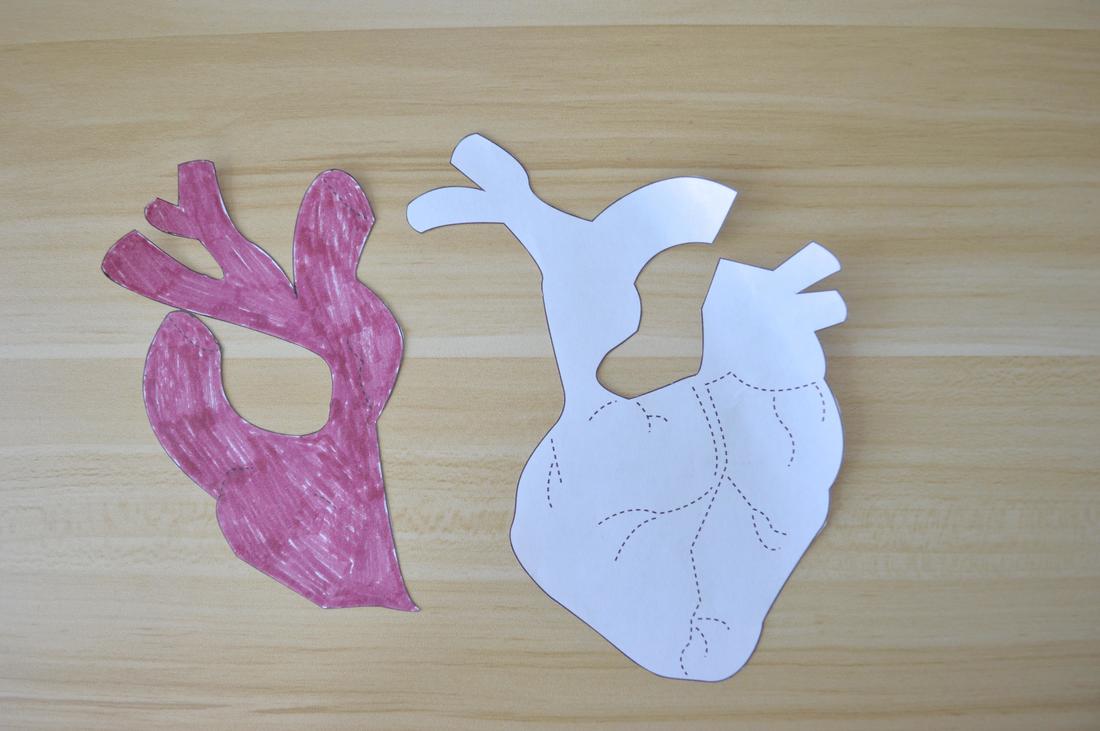
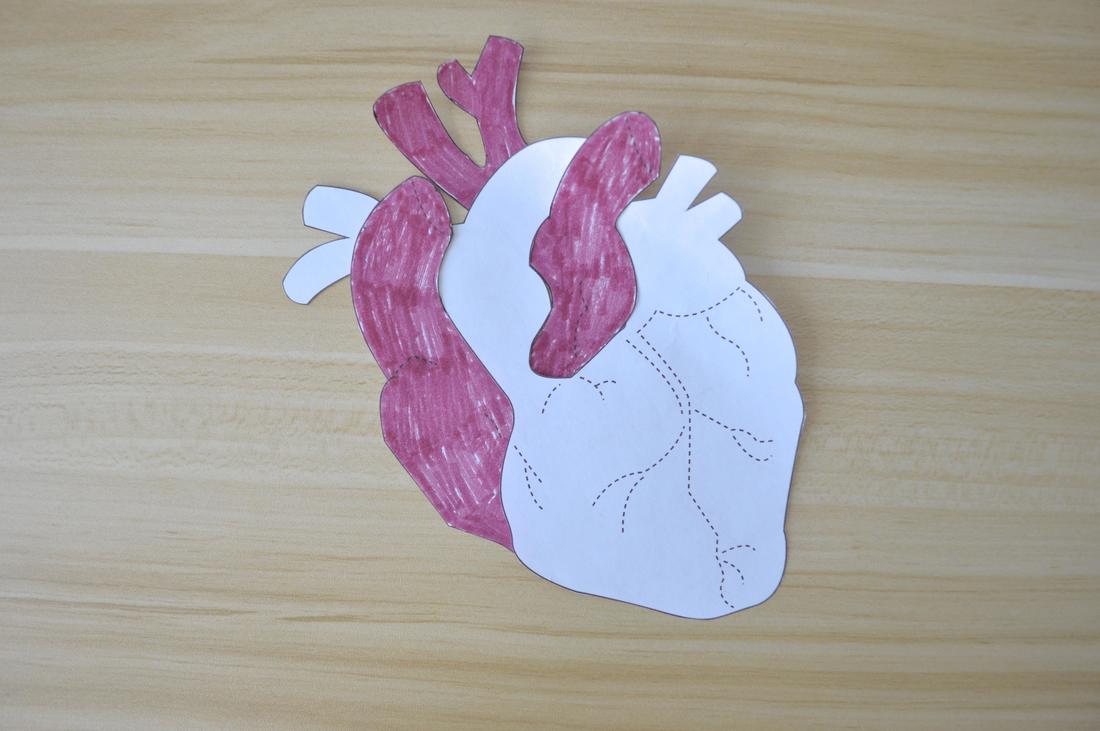
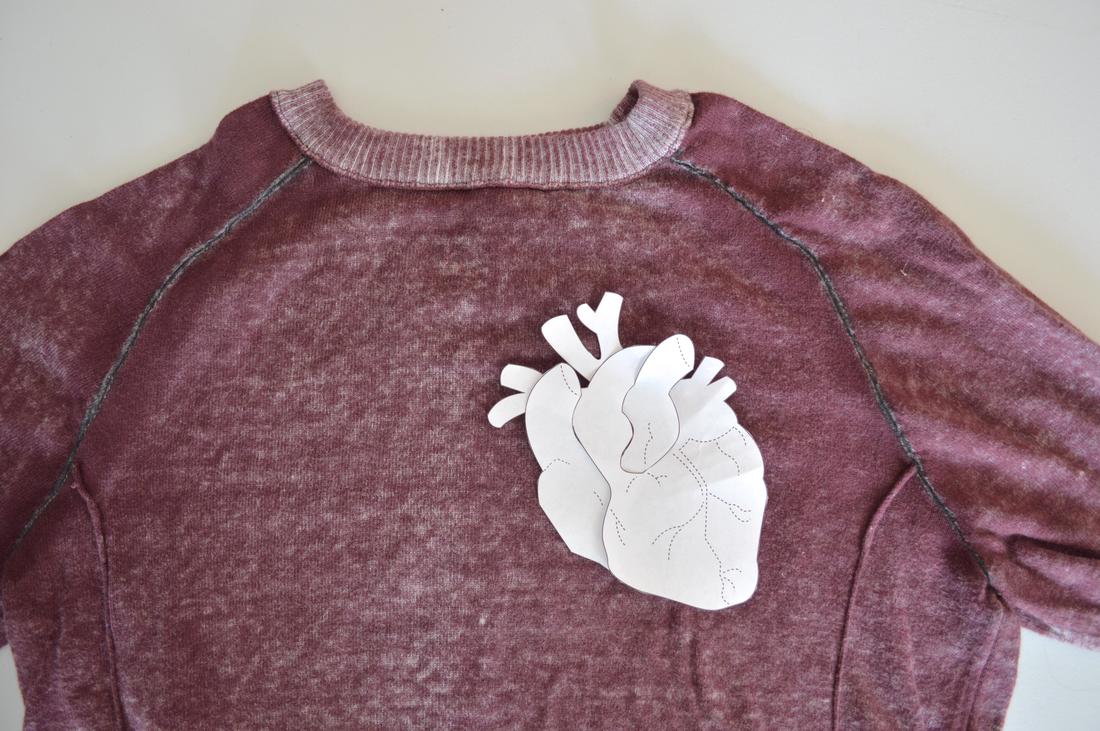 Cut out the 2 (only two!) pattern pieces, and use them to cut your fabric. I really like the look of having two different tones for the two different pieces of the heart. A super easy way to do this is to use the same fabric, just flipped to the back side, which is what I did here! One is right side up, and the other is right side down. 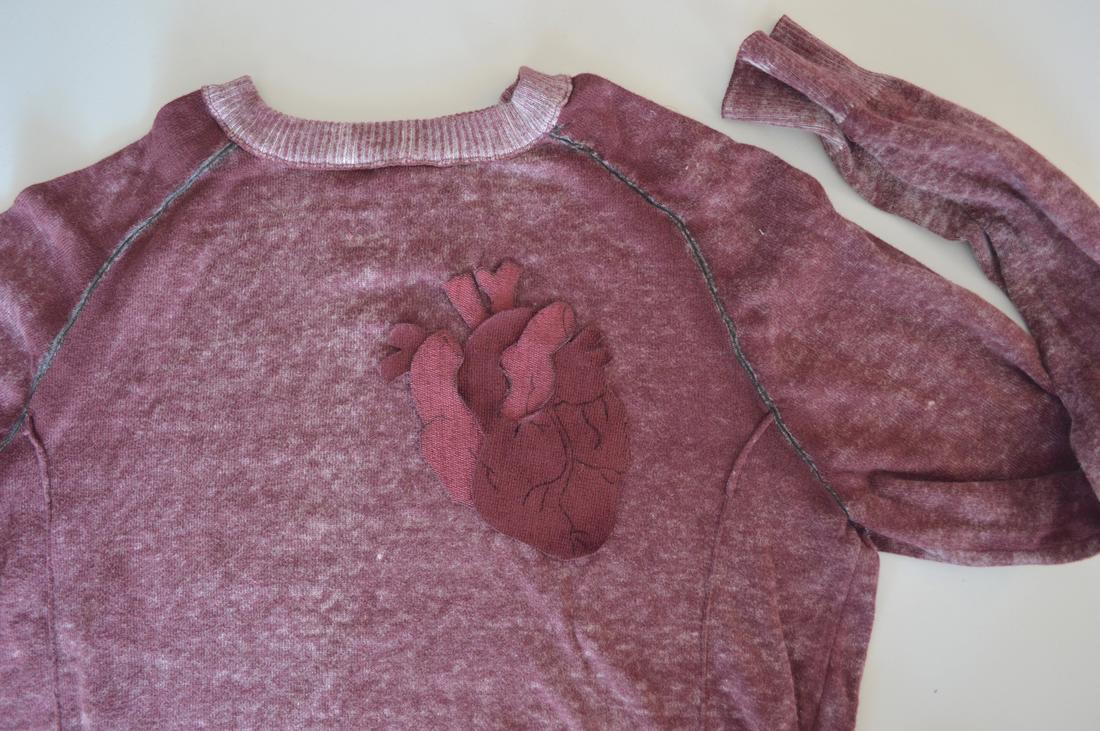 Transfer the dotted line markings from your pattern to your fabric. I honestly just used a black marker since I planned to sew over them in black thread anyway.  If you are using a fabric that may unravel along the edges, you can use fray check or some sort of stabilizer to help keep your fabric intact. 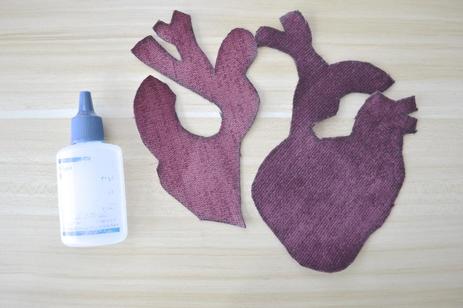 Once the fray check has dried, intertwine your two heart pieces together so that they look like so: 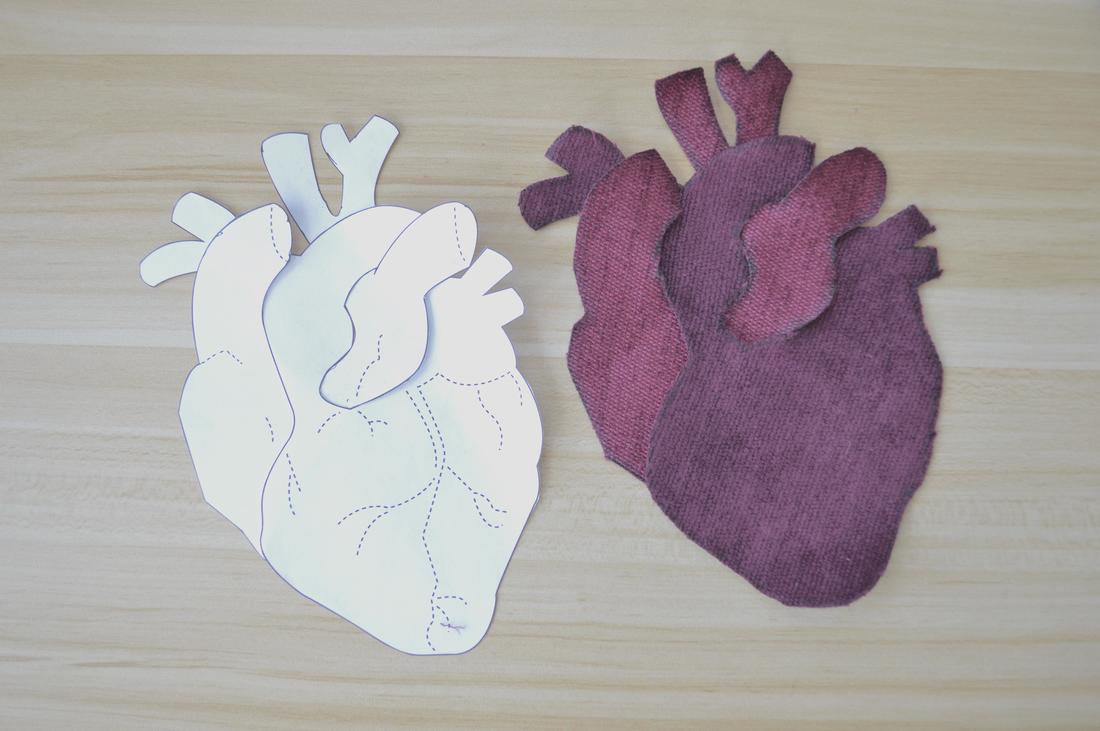
Pin them into place on your main fabric (whatever you are adding this appliqué to) and topstitch them in place! I just followed along the edges of my heart pieces, and then sewed down a few of the dotted lines as well. 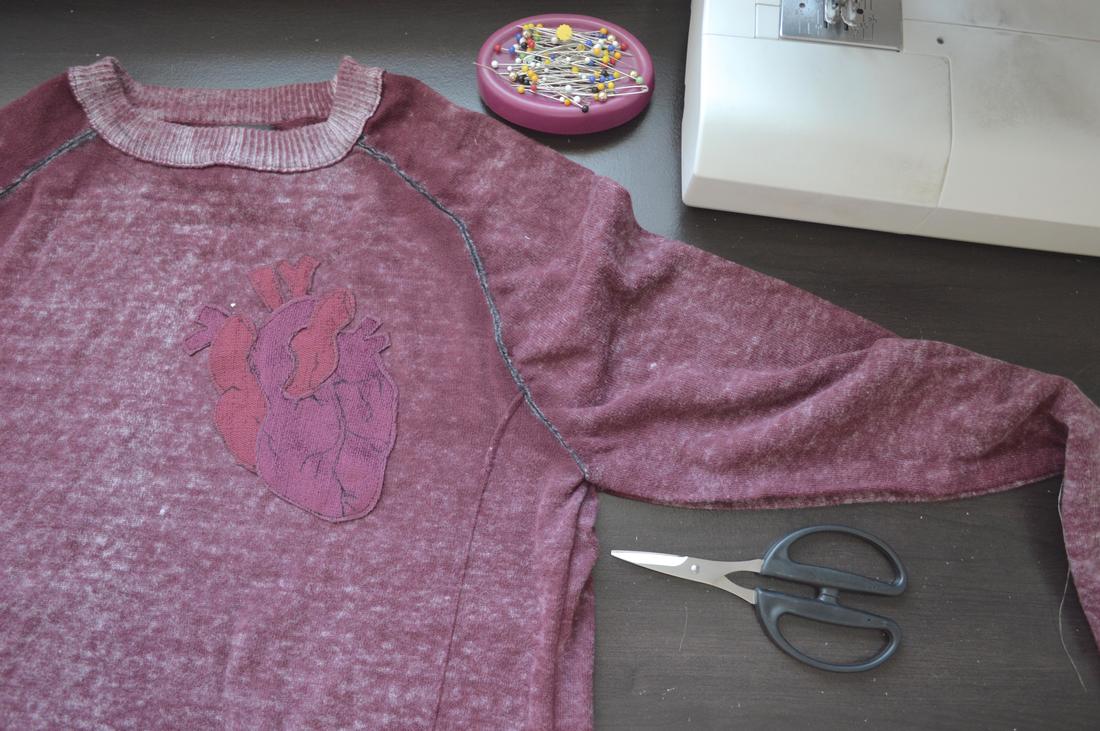 Then, if you like, you can use embroidery thread to really make your heart lines pop! 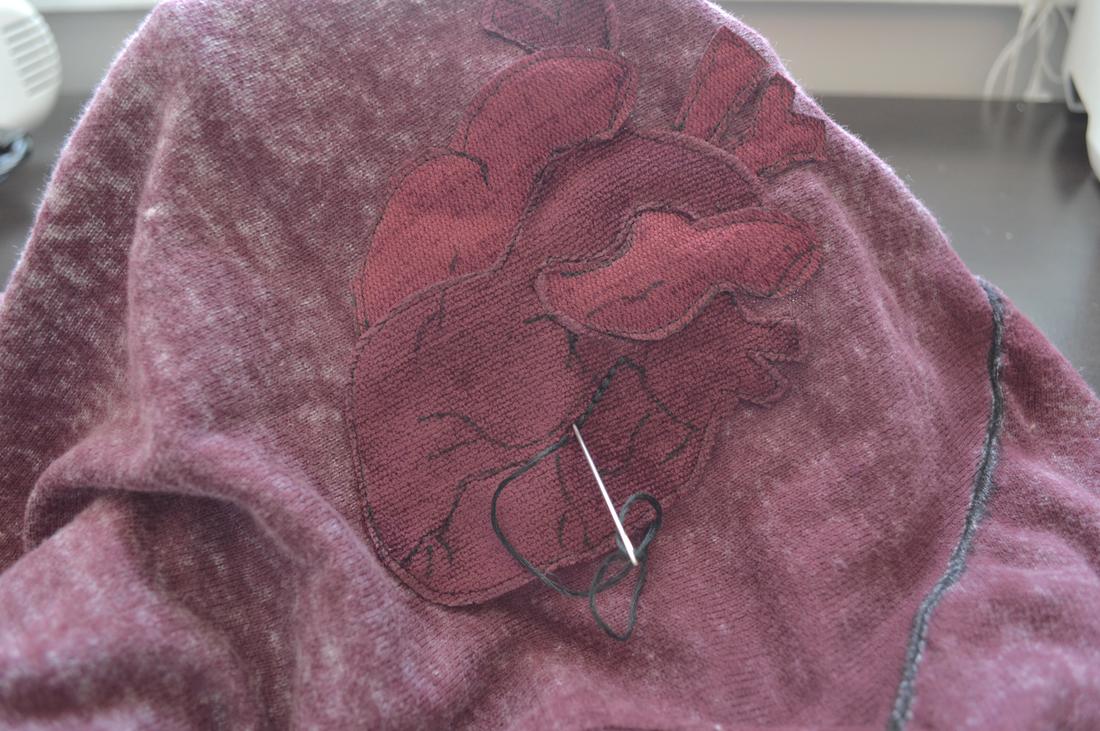 Boom! Done! Enjoy your new anatomical heart! And don't forget to use #anatomicalheartapplique so I can see your creations!! 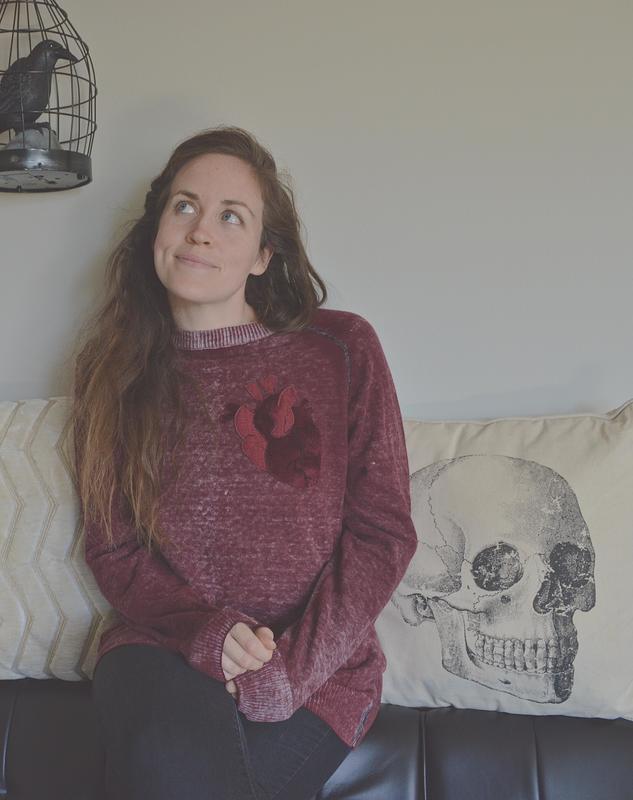
0 Comments
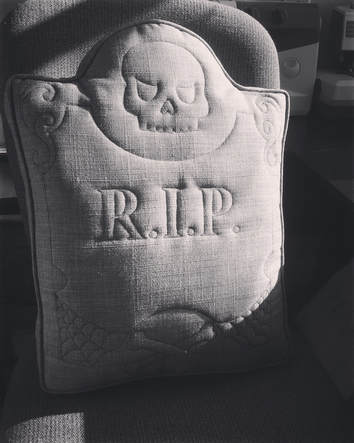 HELLO! Hello and welcome to the Tombstone Pillow Sewalong! It's time to start thinking about Halloween decorations (I just got mine out of storage today!) and this creepy pillow is a great addition to any spooktakular home setup! If you don't have your own copy of the pattern yet, you can pick it up in the Goheen Pattterns shop, or in my GreenGraves Etsy shop. If you would like to order a custom Tombstone (you get to pick what the epitaph is) I can do that too! The Tombstone Pillow Sewing Pattern is rated CONFIDENT on my sewing levels chart. This means that you sew on the regular, are familiar with sewing patterns, and you know your sewing machine like the back of your hand! Basically, if you have never sewn anything before in your life, this one might not be the pattern to start with. HOW IT WORKS Over the next few weeks, I'll publish a series of blog posts taking you step by step through the entire process of making your own tombstone, from PDF pattern to finished pillow. You can sew along with me, ask me questions, and share your techniques and advice with other sewists following along as well! You can leave comments and questions here on the blog, in our Goheen Patterns Sewing Group on facebook, or on instagram with the hashtag #TombstoneSewalong. I'll try my best to answer any questions as quickly as I can, but feel free to jump in and help each other out too! SCHEDULE The Tentative Schedule for the Sewalong is: Aug 17th - Part 1 - Intro, Gathering Materials Aug 20th - Part 2 - Putting together the pattern Aug 23rd - Part 3 - Cutting out the fabric, and Quilting the front Aug 30th - Part 4 - Making cording and Sewing your tombstone together Oct 7th - Part 5 - Flipping, Clipping, Stuffing, and Closing your pillow Show off your finished pillows! To be featured, email me a photo at [email protected] or use #TombstoneSewalong So if all goes according to plan, you will have a finished decoration by Oct 7th! Plenty of time to use it for Halloween 2017! GATHERING YOUR MATERIALS Materials and Tools you need by Aug 20th, for Part 2: - The pattern (available in the pattern shop) - A way to print the pattern (printer at home or at a copy shop) - Paper Scissors - Clear Tape - A ruler or measuring tape Materials and Tools you need by Aug 23rd, for Part 3: - 1yd (1 meter) of any 40-60" wide woven fabric, prewashed. I love using a nice textured grey fabric from the home decor section! - 1/2 yd (1/2 meter) of "lining", prewashed. This can be any fabric at all, it will not be seen on the outside of your tombstone, so it is a great stash buster. - 1/2 yd (1/2 meter) of any quilt batting (18"x22" for you scrap busters) - Thread - Contrast Top stitching Thread (black thread is great on a grey tombstone) - 145" of 5/32 of welt cording (370 cm) Etsy is a great place to find this if it's not at your local craft store. You can also sub in 5/32 inch clothesline found at a hardware store or even a grocery store! - Fabric Scissors - Fabric marker/chalk - Sewing Machine - Pins - Handsewing Needle - Skinny Black marker - Press and Seal OR Transfer Paper OR Tissue Paper That's it for now! I'll see you back for Part 2 on the 20th! Let me know if you have any questions about gathering materials! 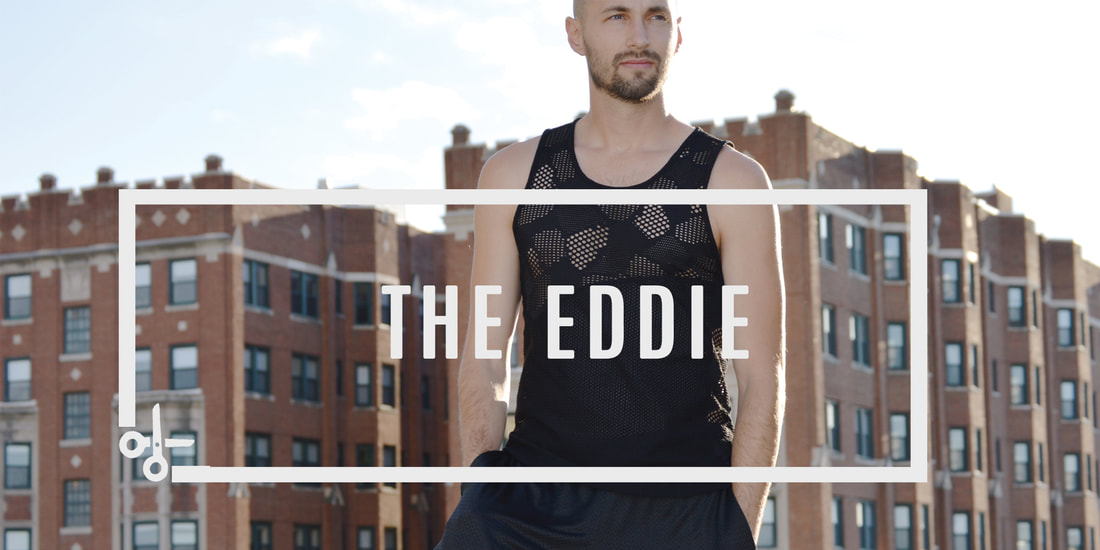 This blog post may be coming a little late, but my excitement about releasing a garment pattern is so fresh that I figured it’s still relevant! The process of creating and releasing a sewing pattern, especially one that requires grading and testing, is a lengthy one. I started patterning my first rendition of The Eddie Tank in January, and didn’t release the finished pattern until May. Obviously, I wasn’t working non-stop on this project all those months. I was also working my day job, fulfilling Etsy orders, working on the wholesale side of my business, and also doing all the back end administrative work as well. Finding (or creating) time to work on the patterning side of my business isn’t always easy. Which is why I’m so excited to finally have the fruits of my labor ready for the picking!
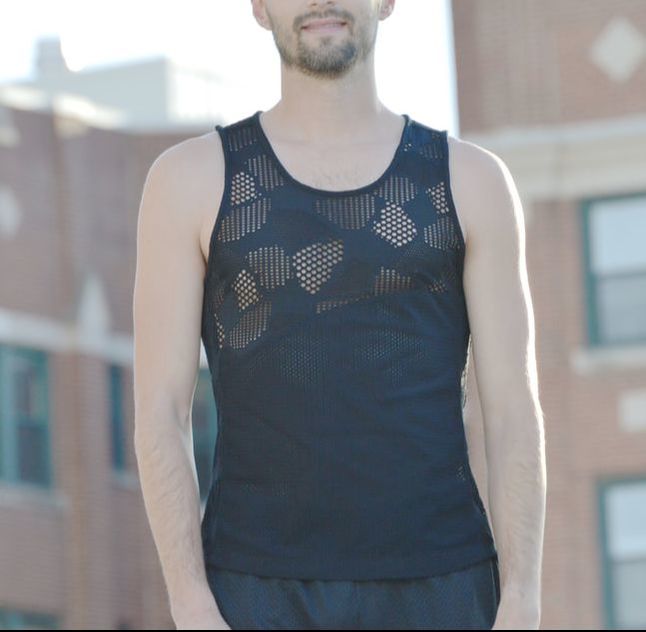
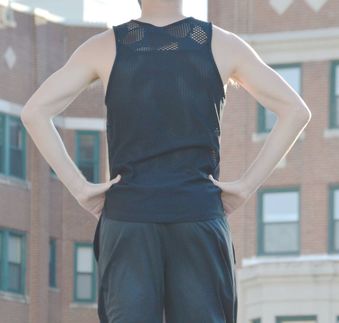
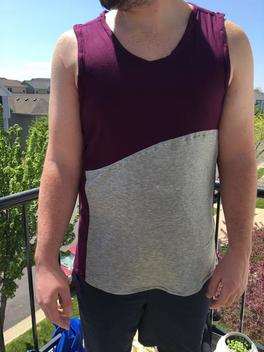
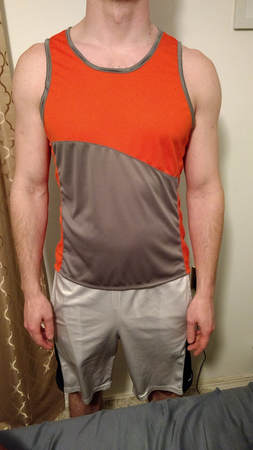
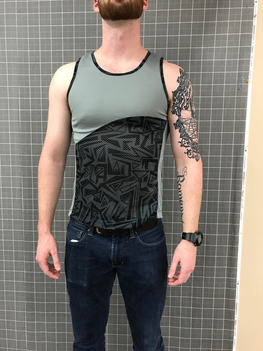
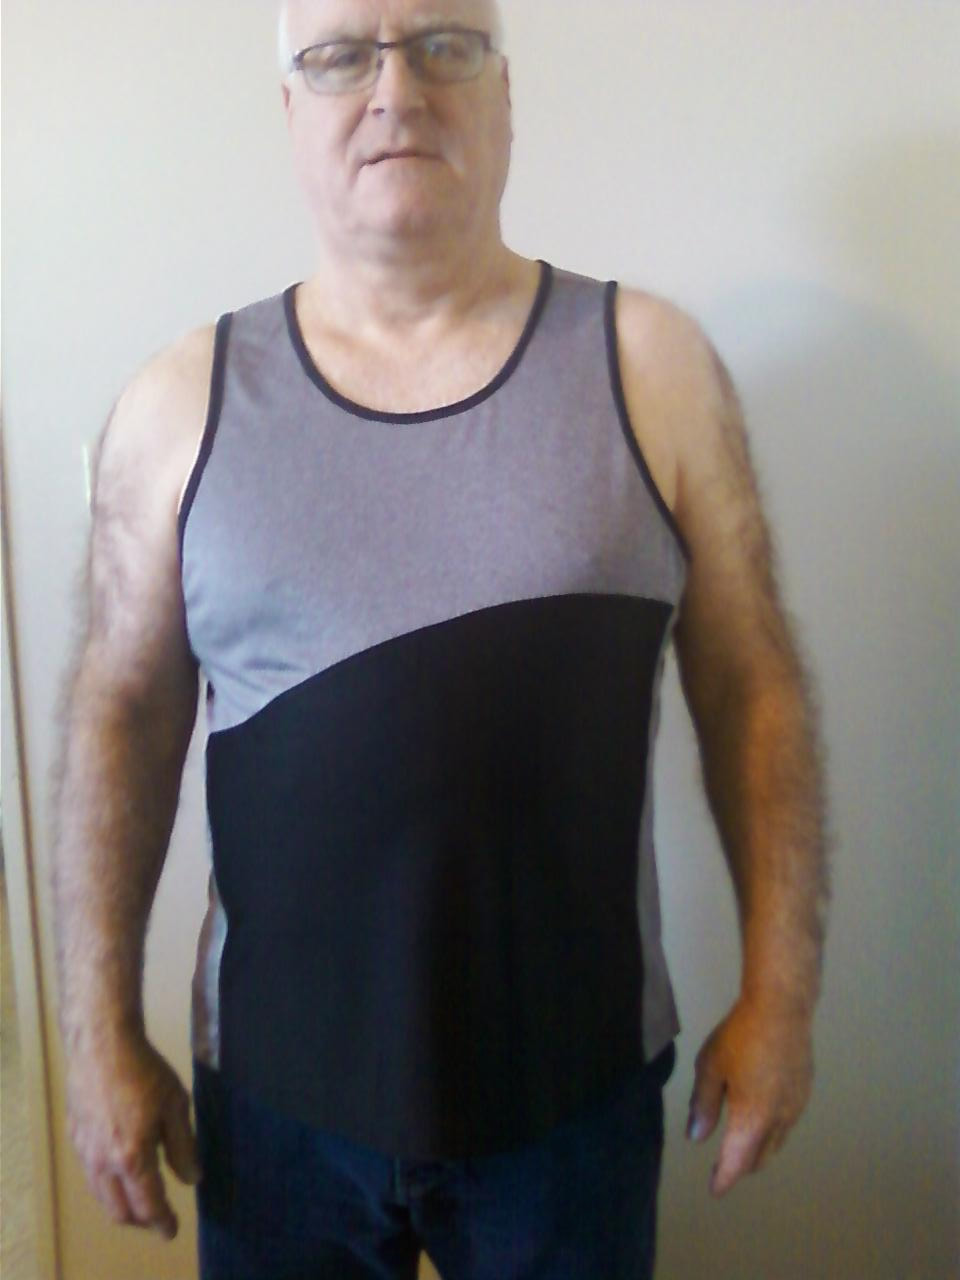
 The Eddie was inspired back in January by…. You guessed it…. Eddie! For those of you who don’t know him, Eddie is my husband, and his signature look in life is a running singlet. Years of running every day, often multiple times a day, means that running tank tops are one of the staples of his closet, and an easy pick even for when he’s lounging around in the Indiana summer heat. Inspired by this, I wanted to create a simple, comfortable, and stylish workout tank that is a quick sew. 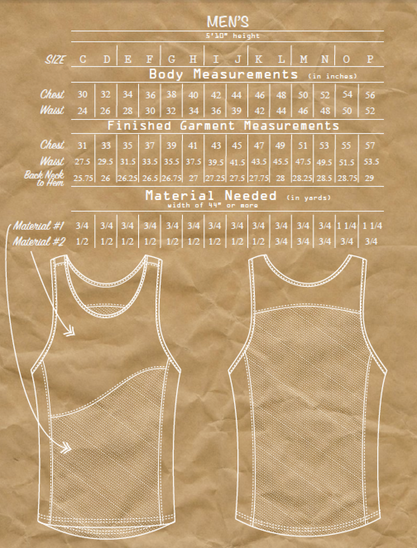 For my household, this garment is one that we can make over and over, and wear over and over. Exercise is a very high priority to us, and we aim to work out in some form every day, and Eddie's usual form is running. And when you run every day, you can go through 7 of these puppies in a week. And that is only if we manage to do laundry every week (we don’t). So quick to sew was a must. Stylish is the other side of the coin. The swoosh in the front is just enough to add some interest to the tank, a way to make it stylish, and a way for you to individualize your singlet by incorporating different fabrics into the same tank. The bound arm and neck holes also allow for a contrasting fabric, and give the top a very clean, professional look. Also, the side panels not only add to the style of the top, but also allow for use of a mesh fabric to keep super cool and comfortable when you are working out. 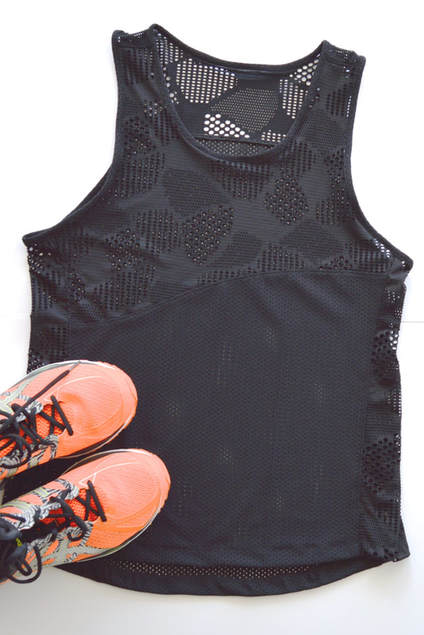 For this sample of the Eddie tank, I used performance honeycomb mesh on the top and sides and regular performance mesh for the main back and front pieces. I found these at my local Joann’s (I was surprised too!) and they have been great to work with. Along with all the photos I took of Eddie in the Eddie (he is such a trooper) I wanted to share some of my testers’ photos too! They did a great job, and I love seeing the different color combinations they came up with.
Basically, I love my Eddies, both human and fabric, and I can’t wait to see even more of them pop up as more people try out one of their own.
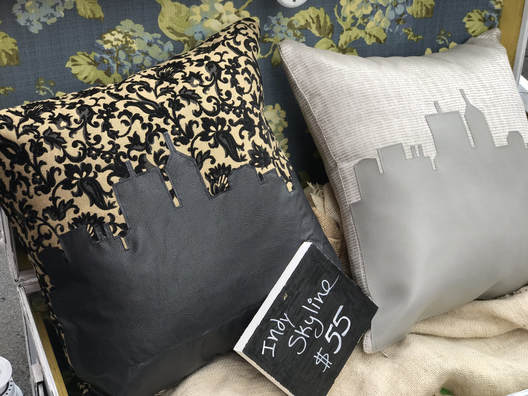 New product alert! I’ve got some new Indianapolis themed goodies, just up in the shop! I debuted these at the IHE last month, but I’ve just gotten around to listing them on Etsy (that’s what traveling to Alaska and then to London in the same month does to your work schedule). These pillows are actually a result of narrowing my product line! Last year, I had made a few throw pillows for a local shop. They wanted to round out the Indiana products with some basic pillows as well. So, I made some pillows, which were sold on consignment, which means when the store later closed down, these pillows came back to me. By this time, I had realized that the products I had been offering were a little too varied for a cohesive look and feel. I had decided to stay clear of basic pillows, and only offer ones that have a little something extra special (a new shape, a face, etc). So these square ones sat around for a while until I realized DUH! I could add a skyline onto them and make them into something extra special! I love how they turned out! I love my Indiana shaped pillows, but not everyone wants a pillow with such an odd shape. Square ones are a much more subtle nod to the circle city. 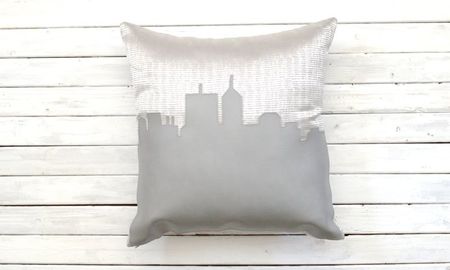 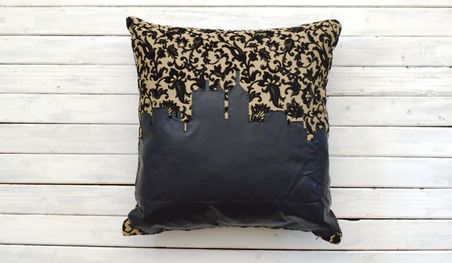 |
madeline stage
creative business owner. designer. hoosier. crafter. runner. sewer. swing dancer. outdoor enthusiast. entrepreneur. wife. mom. material hoarder. Categories
All
Archives
June 2023
My Instagram Feed:
@GoheenDesigns |
 RSS Feed