|
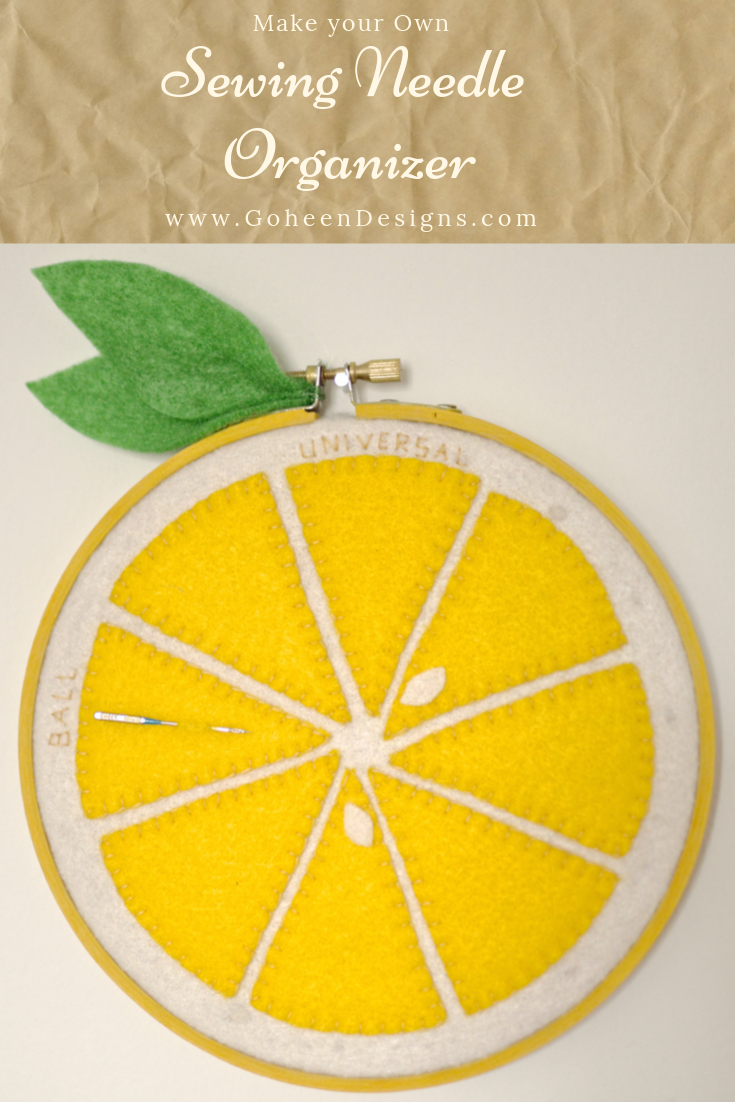
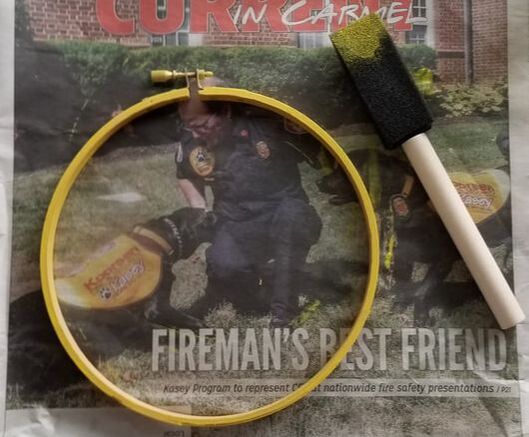
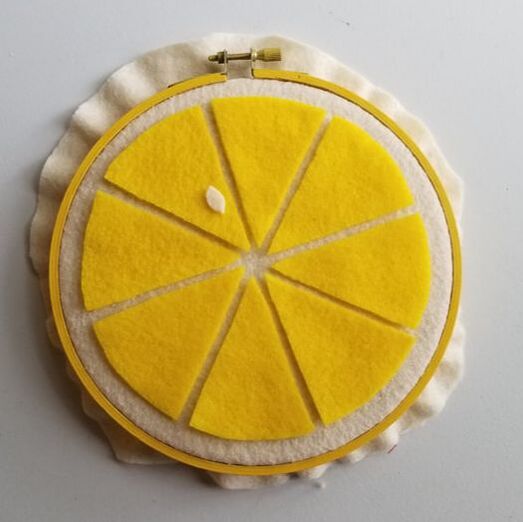
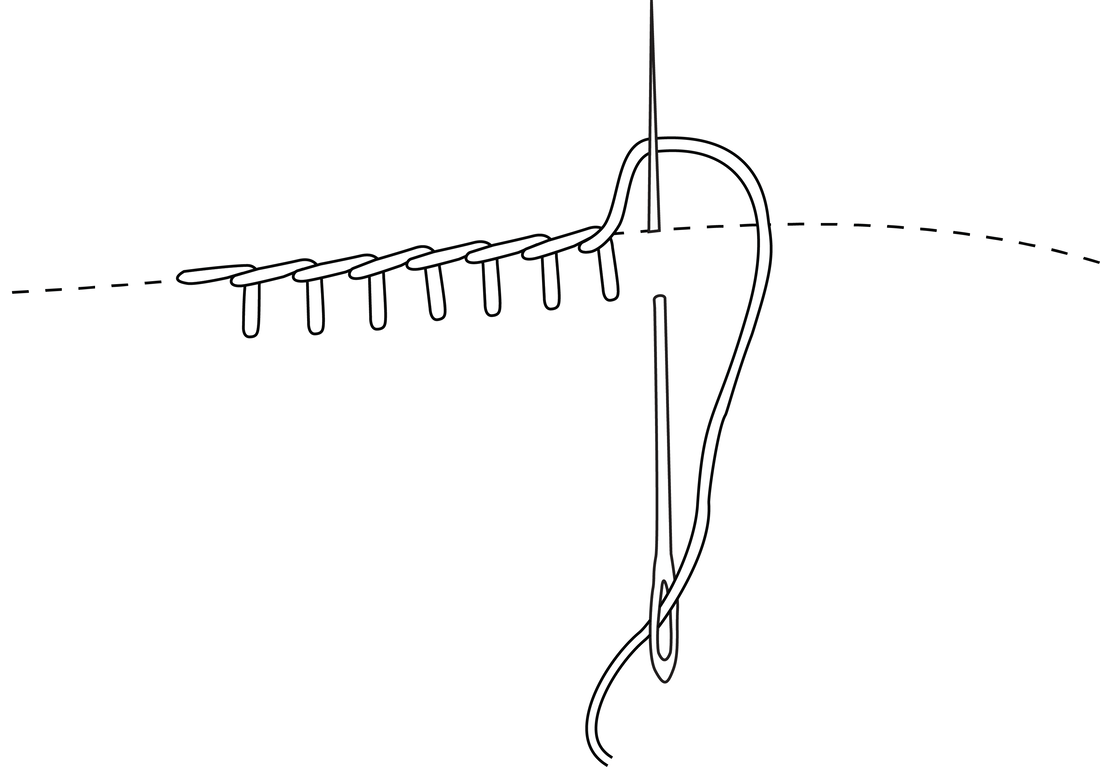
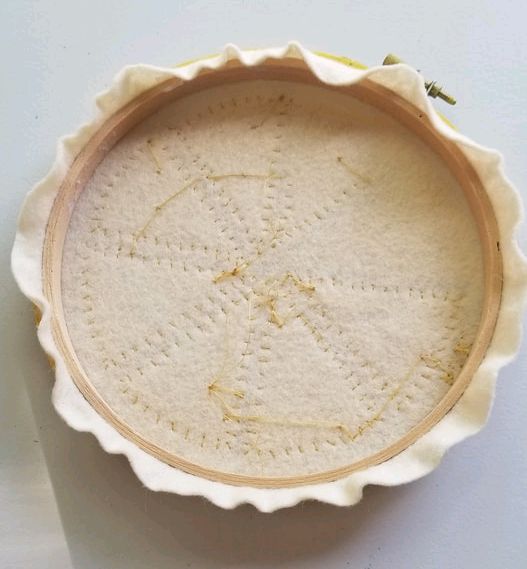
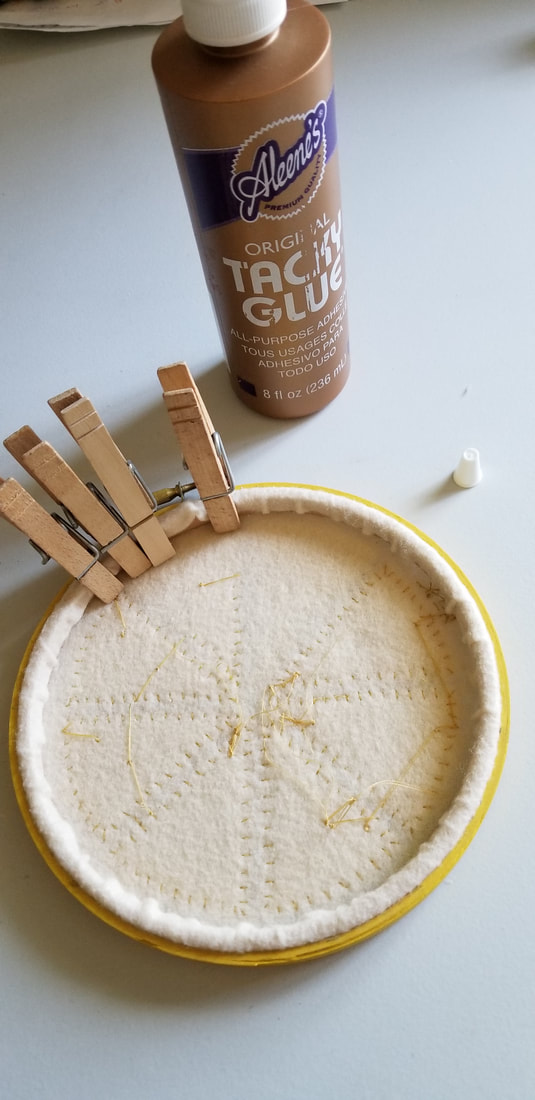
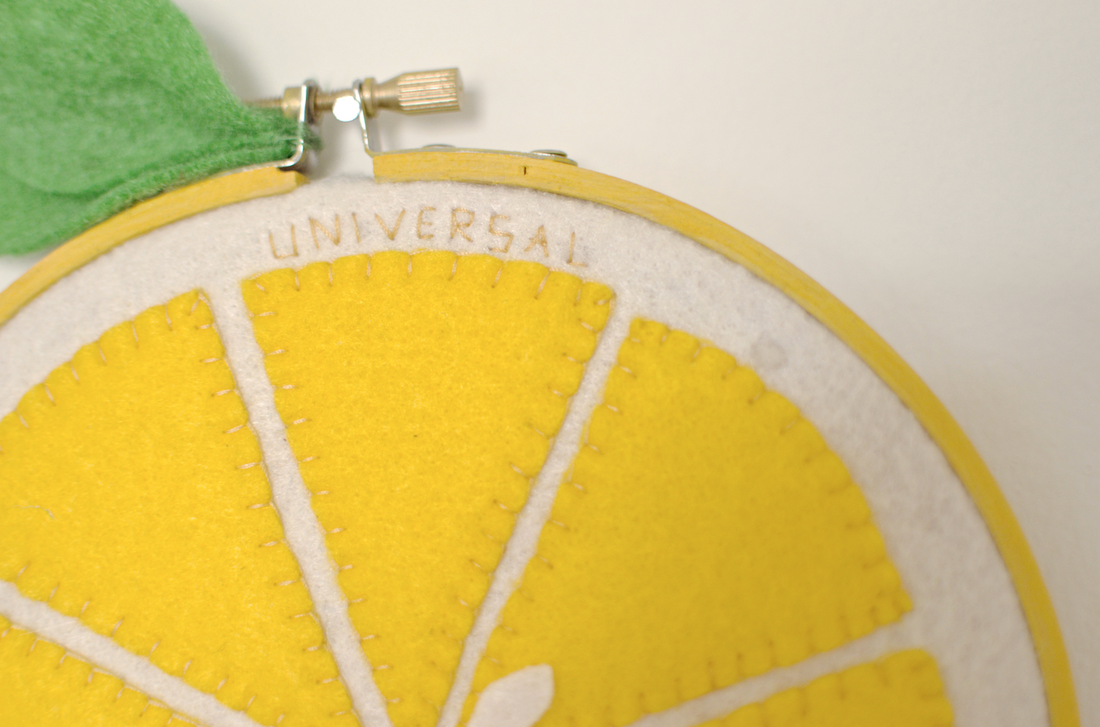
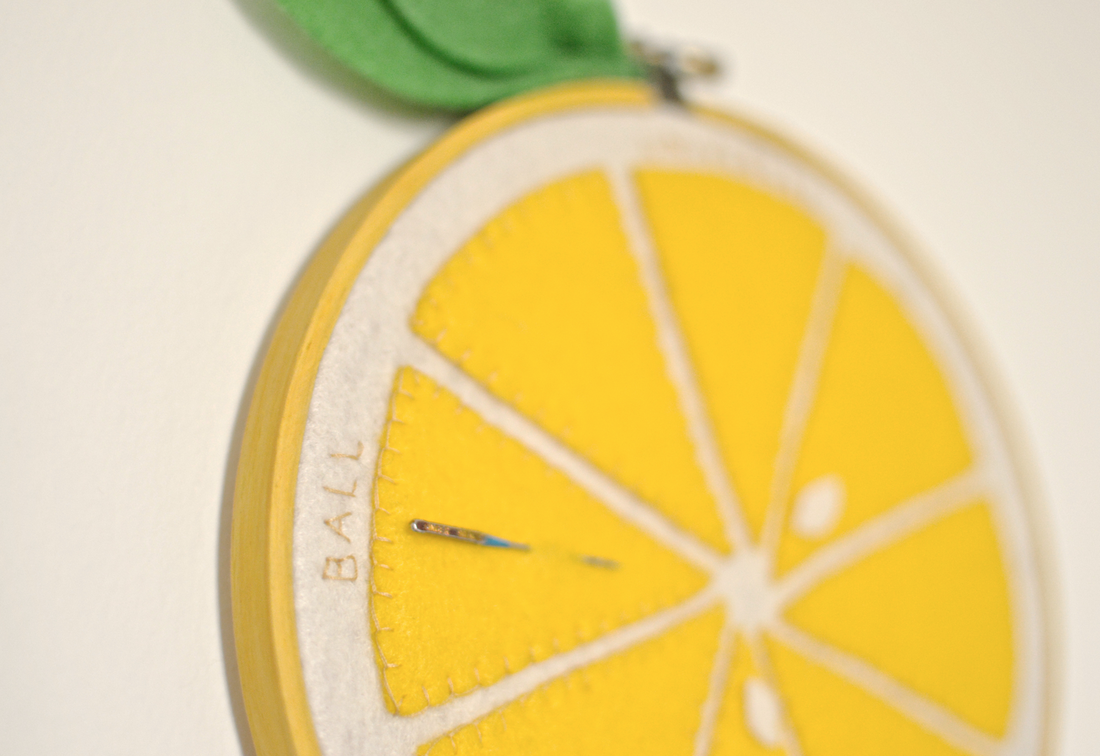
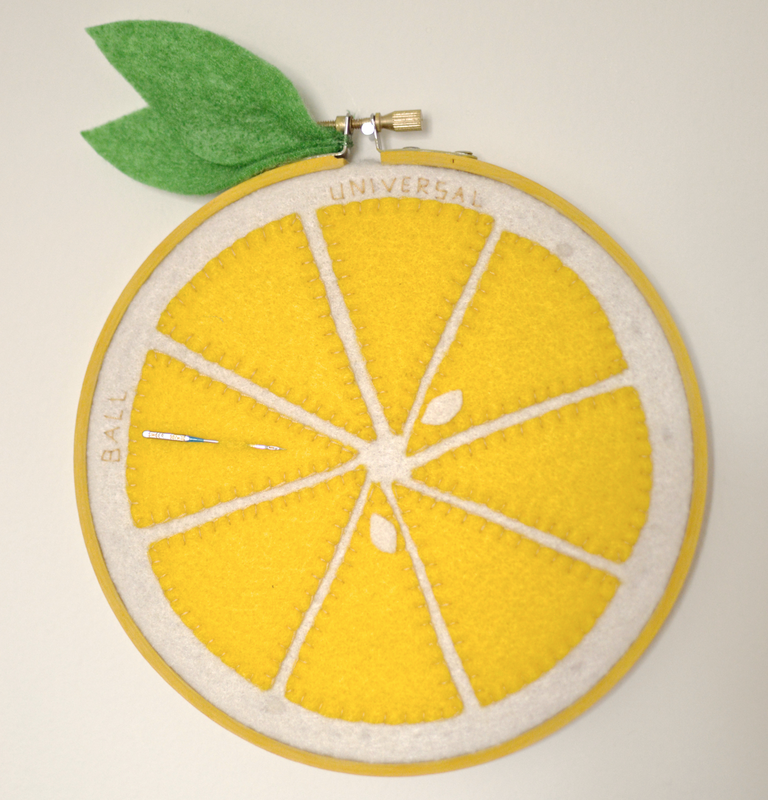
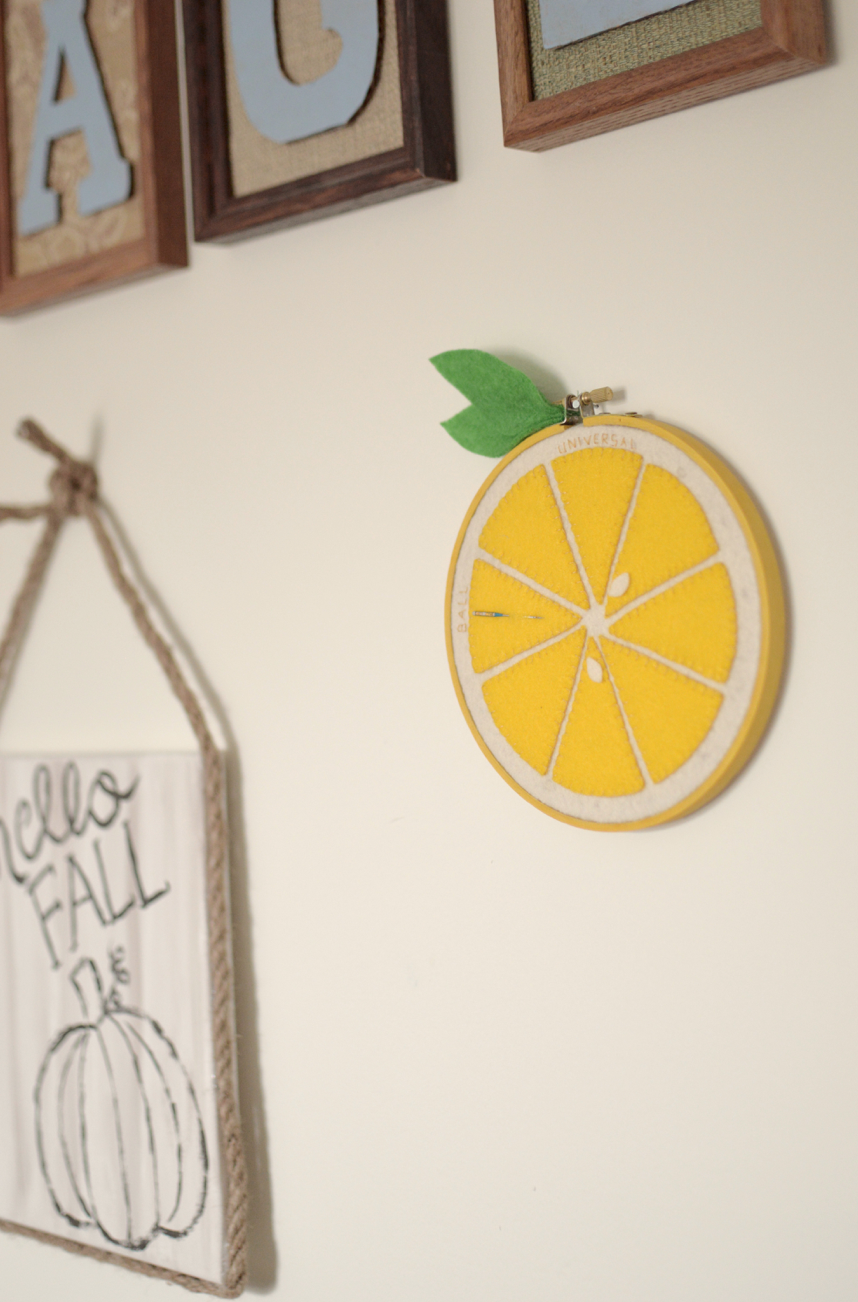
Sometimes I need a quick fun little project as a palate cleanser in between larger projects. And this needle organizer is a perfect little one! I've been calling it Needle Little Lemon because it makes me smile when I say it outloud..... do it!.... see what I mean?! Fun! For this quick craft, I used a 17cm (6.6") embroidery hoop, some thread, a little craft glue, a little yellow paint, and some yellow, green, and off white felt. If you want to make one the first thing to do is paint your embroidery hoop! Then, while the paint is drying, cut about an 8 Inch circle out of the cream colored felt, and cut 8 triangles (with rounded ends) out of the yellow felt. Once the paint is dry, put the cream felt in the embroidery hoop, stretching it taught, and then arrange the yellow felt on the cream background to resemble slices of lemon. I used some craft glue to keep all the pieces in place while I sewed them, and glued on a few seeds as well while I was at it. I used regular yellow thread and a simple blanket stitch to sew down all the edges of my lemon slices. Then I finished the back of the embroidery hoop. There are a few ways to do this, but here is what I did: I trimmed off the extra fabric on the back side, leaving about a half inch edge. Then I tucked that edge of felt to the inside of the hoop and secured it with some more craft glue. A hot glue gun would be much faster, but I was working with what I had, and with the use of a few clothes pins I got the fabric to stay in place long enough to dry. So now you have a little lemon. But for the needle part, you need make a few decisions. My plan is to label each of the slices of my lemon a different type and/or size of needle. I've chosen two so far: Ball point, and Universal. But there are several options! Leather, sharp, metallic, embroidery, twin needle, topstitching, stretch, quilting. And I'm sure there are more out there that I'm forgetting! And then within each of those categories are different sizes too. Theoretically, you could have a lemon for each type of needle and then divide the slices into the sizes! But that's a lot of needles.... I'm going to look through what I have most in my stash and figure out what 8 categories will work best for me. To do the actual labeling, I chose to stitch out the words with my same yellow thread. But if that is too tedious for you, you could also just write it in. The finishing touch is the little green leaves on top. I cut two of those, and sewed/glued those in place too. And Ta-da! You have a cute little decoration that can also be used to organize your needles! Now I actually have to go through all my stray needles and figure out which one is which...
0 Comments
Leave a Reply. |
madeline stage
creative business owner. designer. hoosier. crafter. runner. sewer. swing dancer. outdoor enthusiast. entrepreneur. wife. mom. material hoarder. Categories
All
Archives
June 2023
|
Contact Me
|
Weekly Mantra:Motivation doesn't last. That's why, just like bathing, we recommend it daily.
Click here for the Privacy Policy |
|

 RSS Feed