|
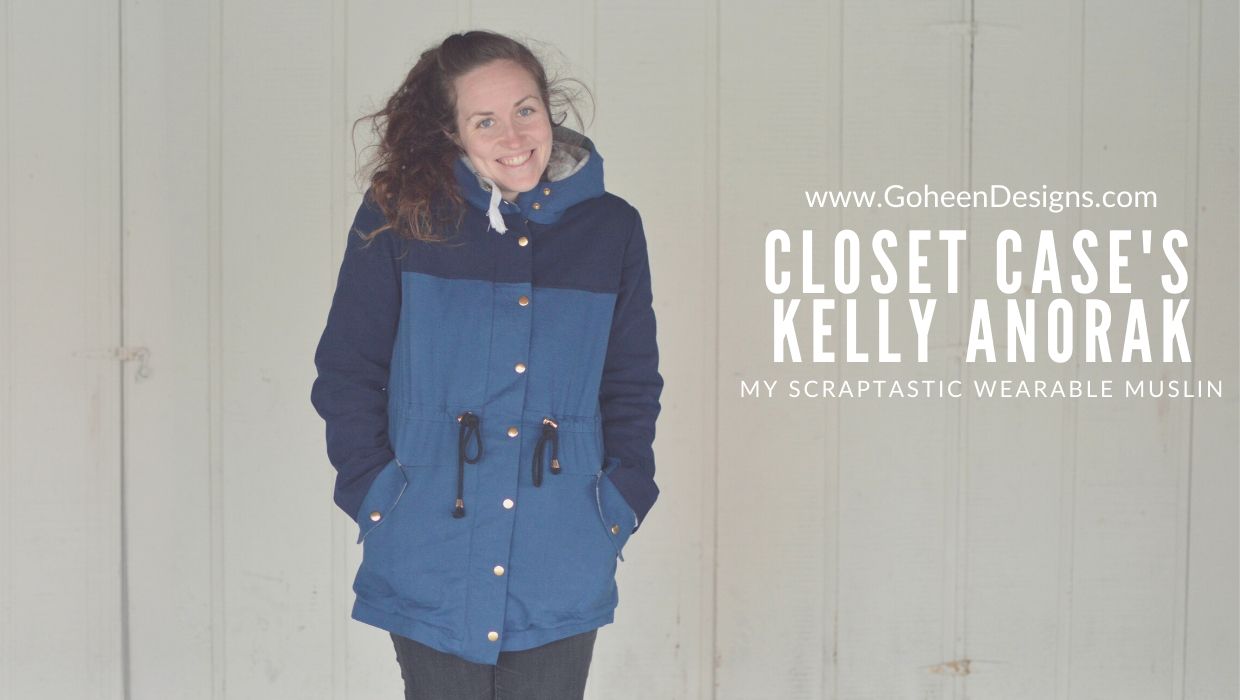
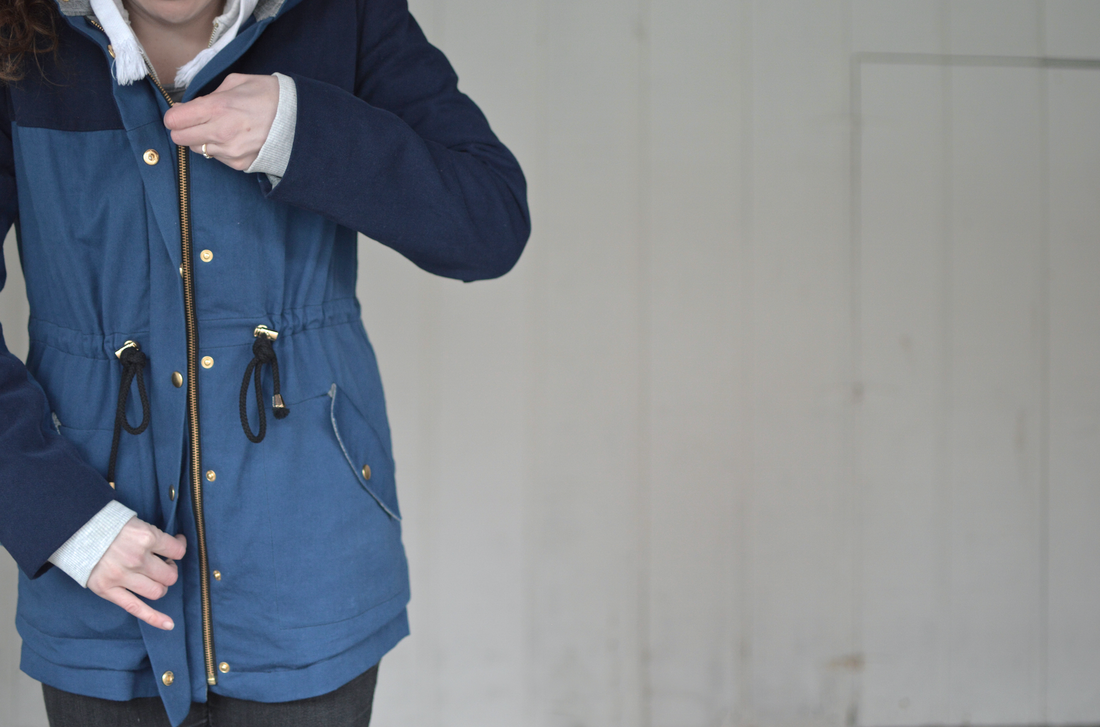
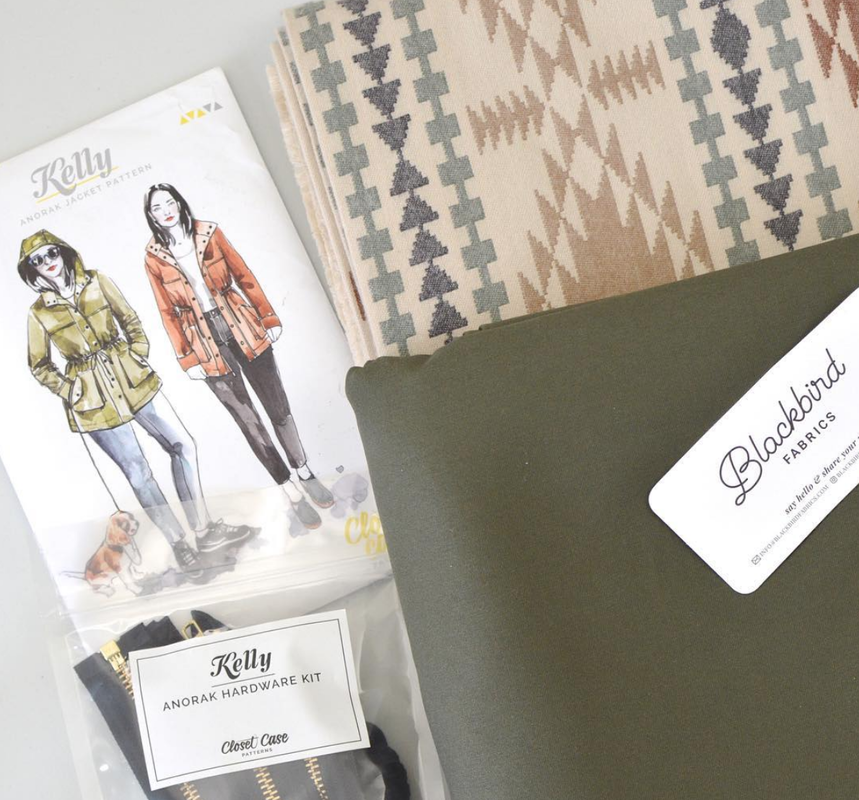
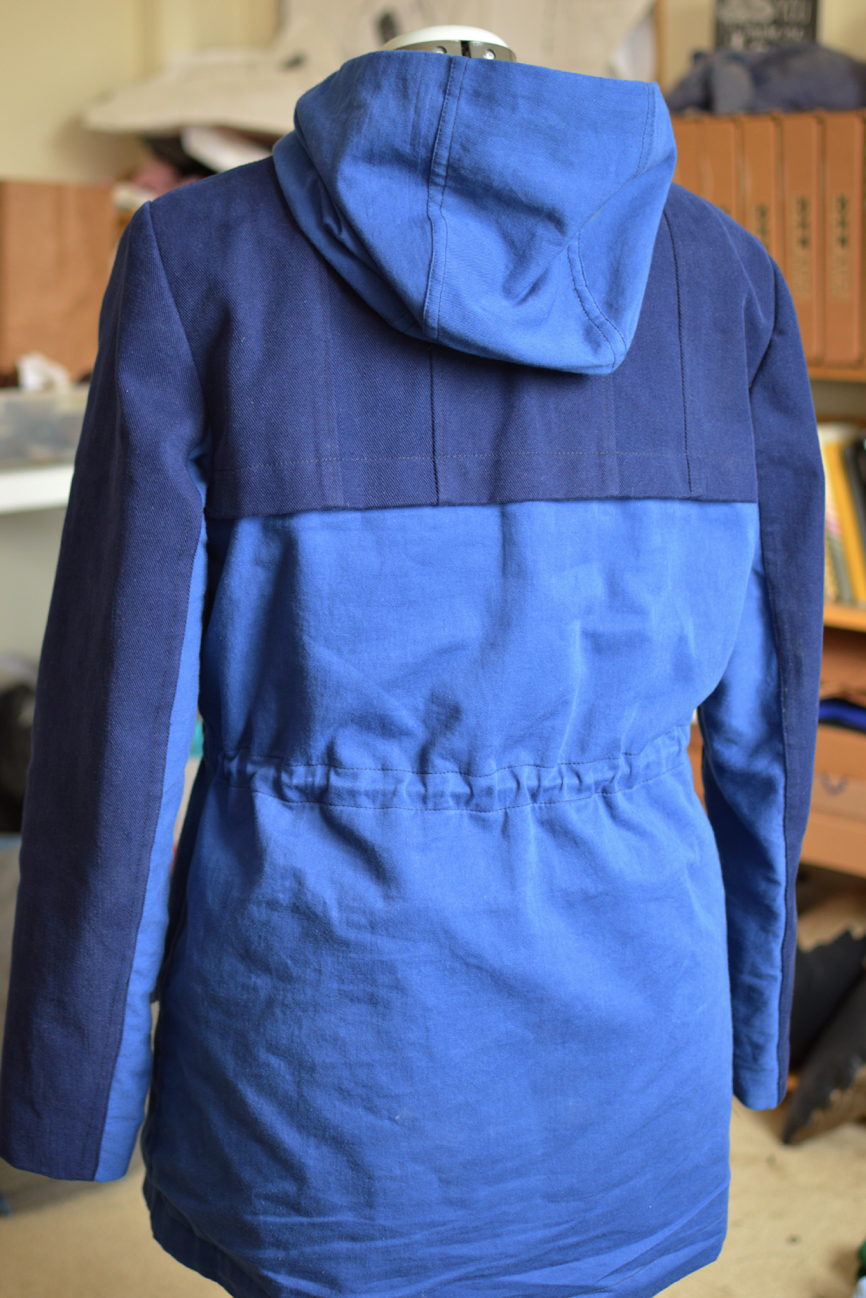
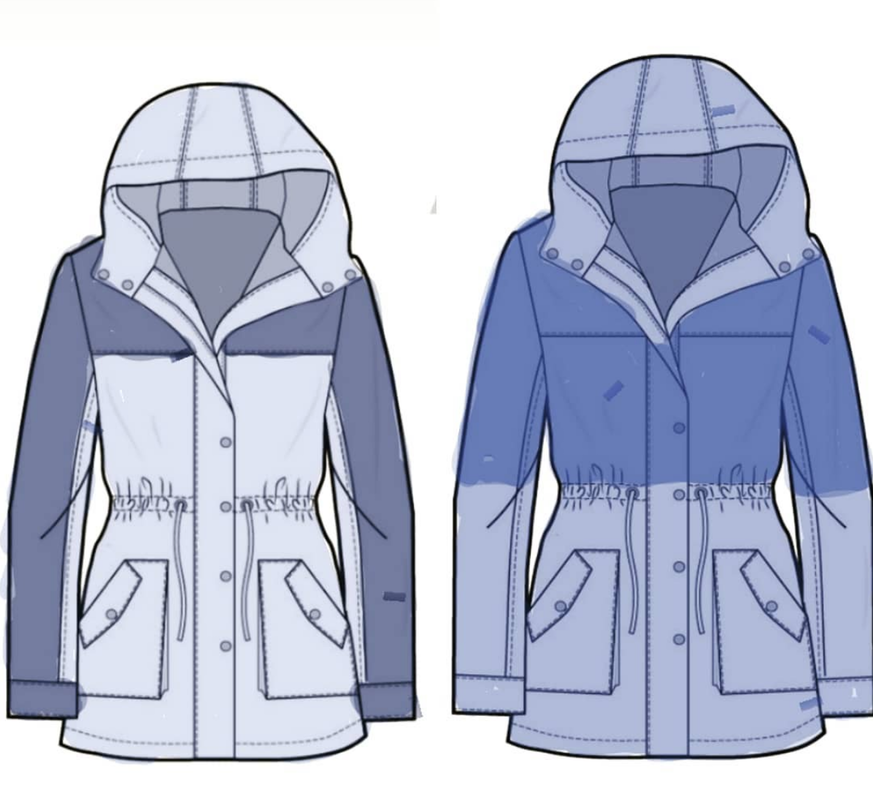
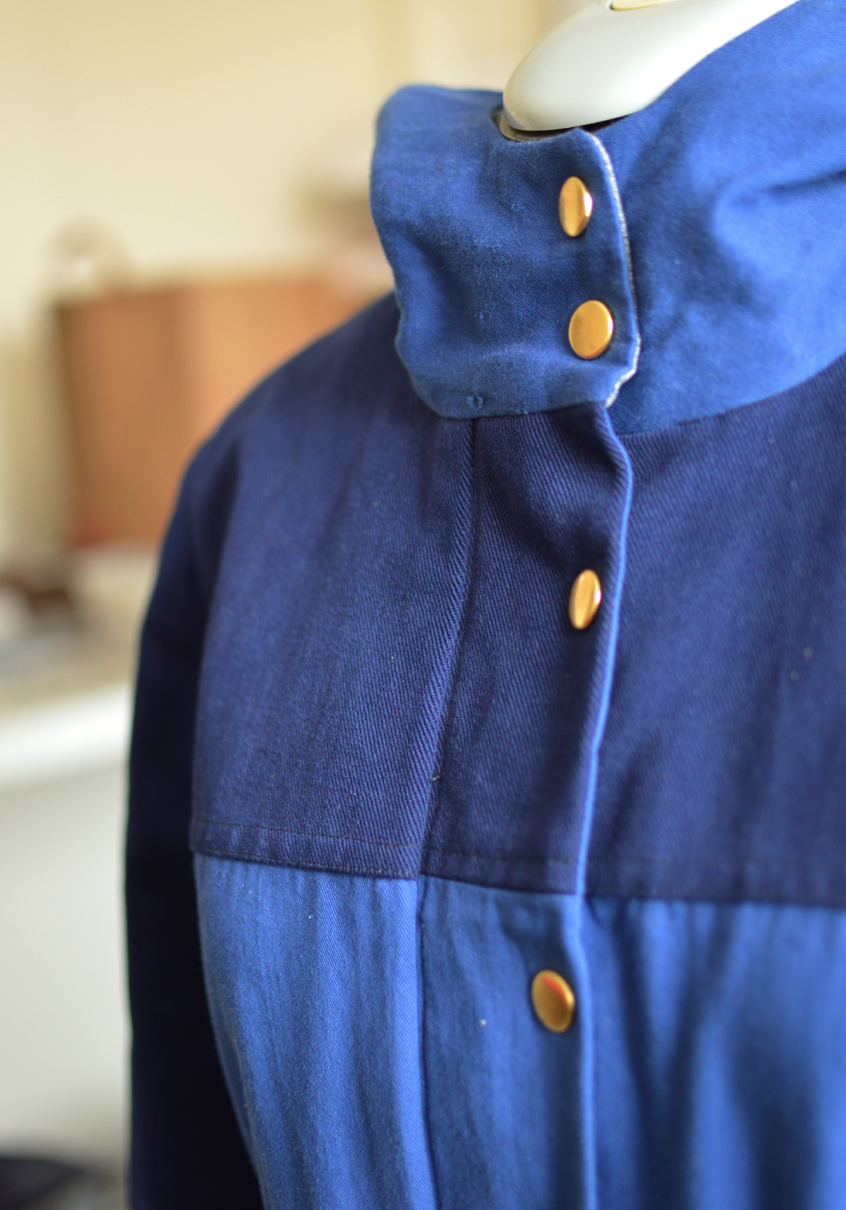
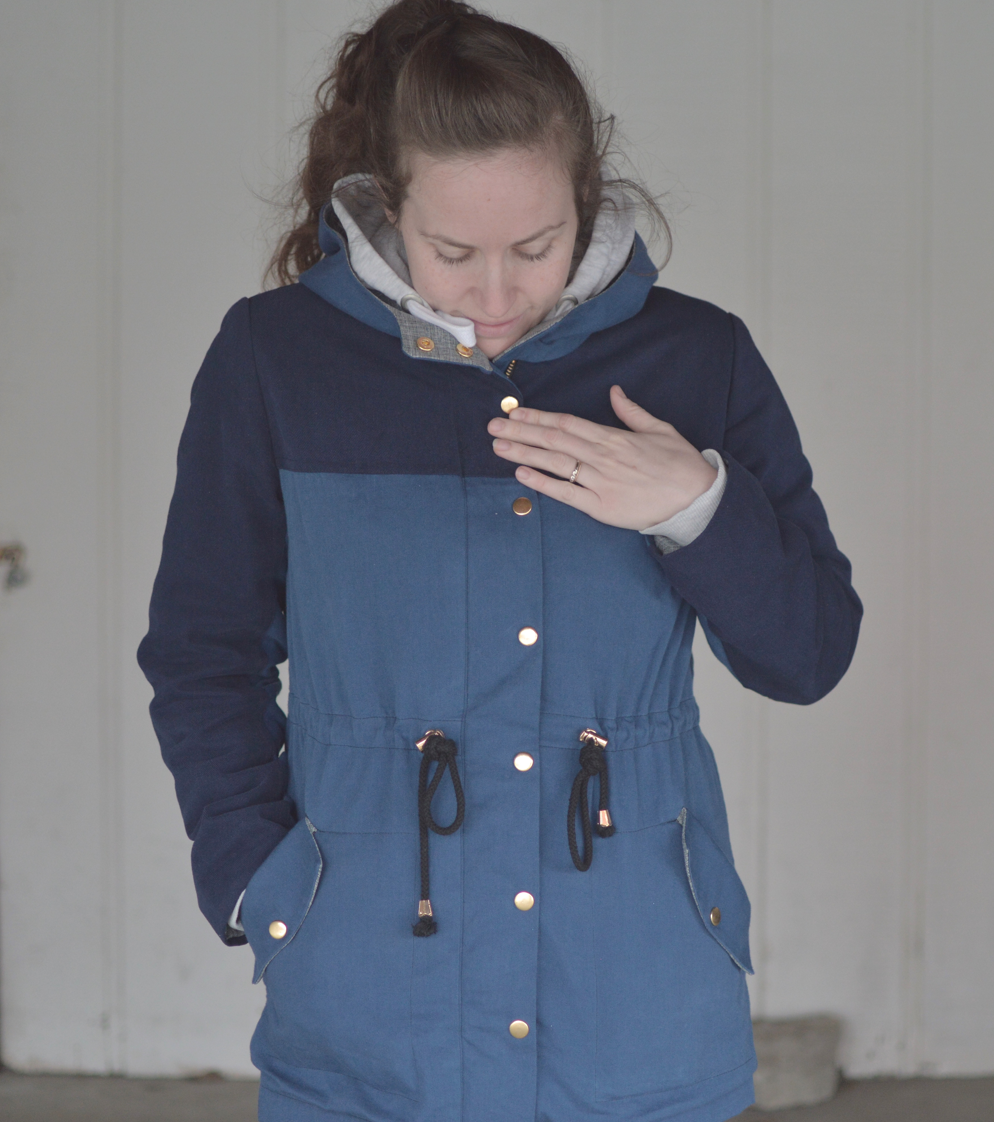
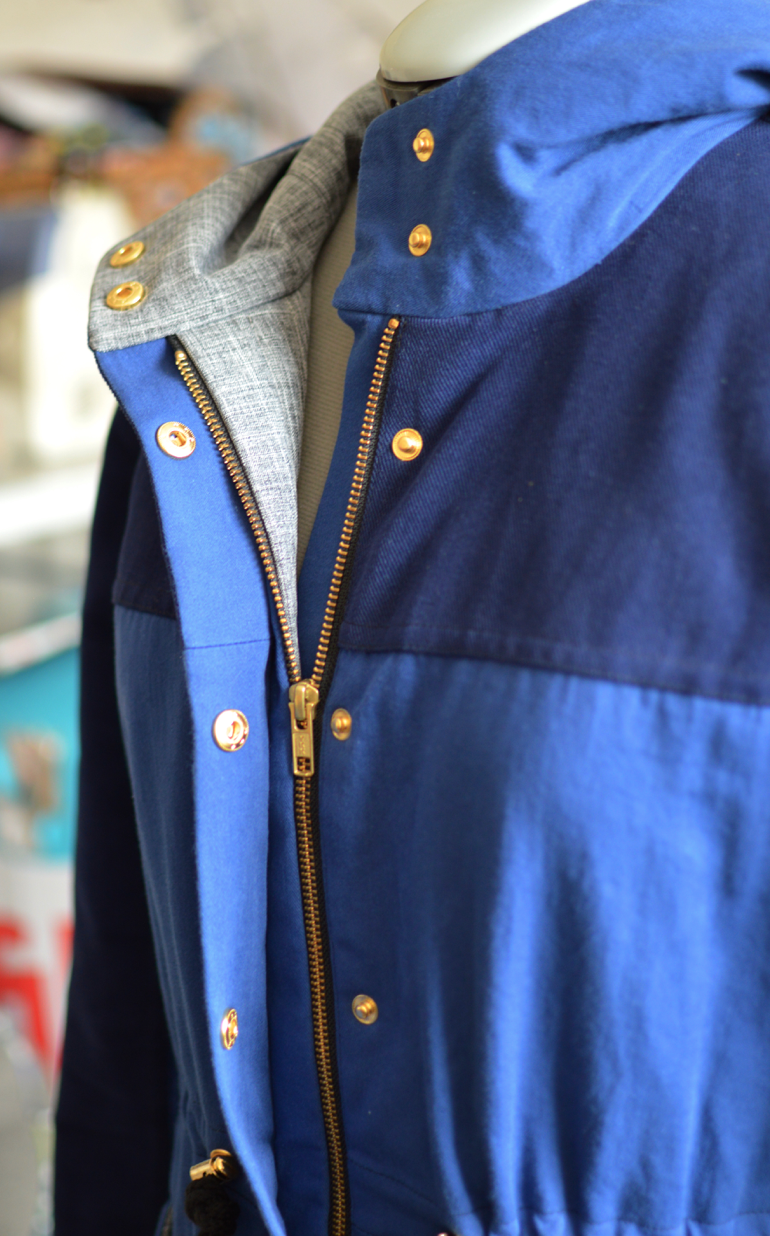
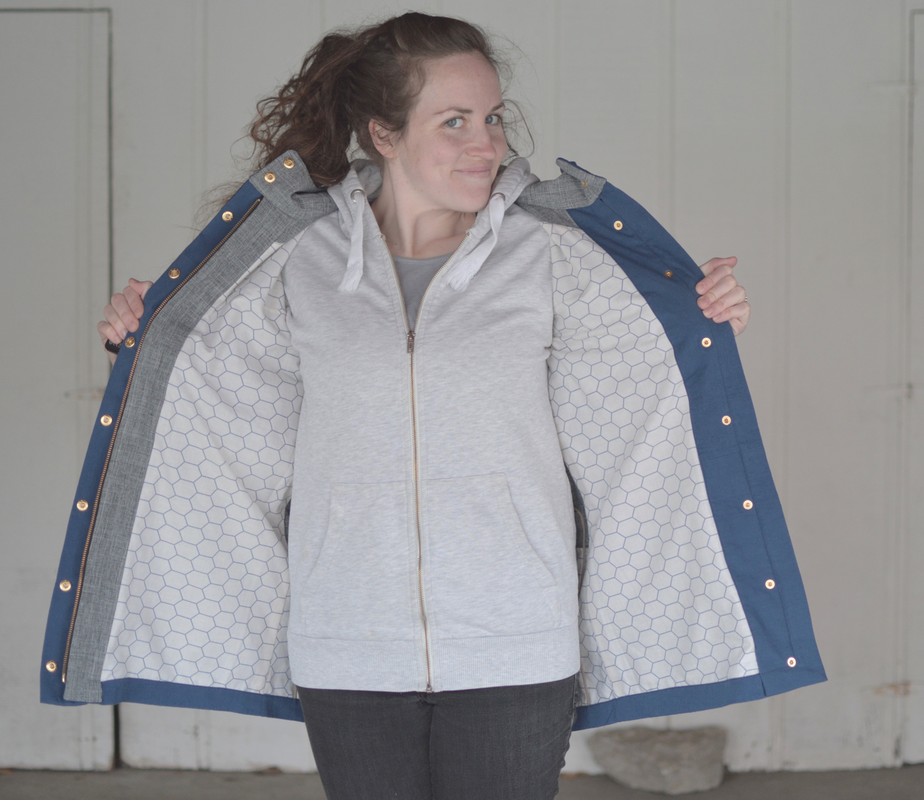
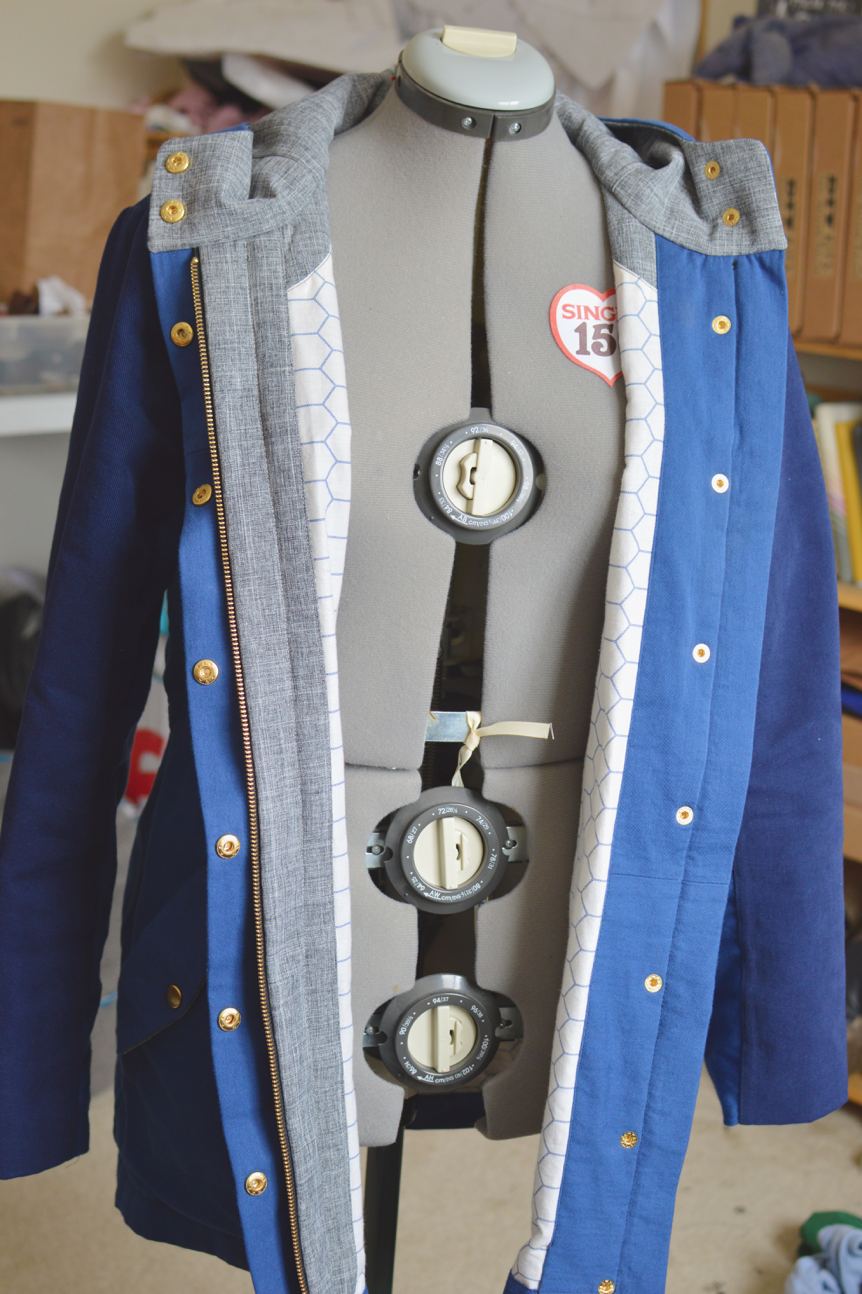
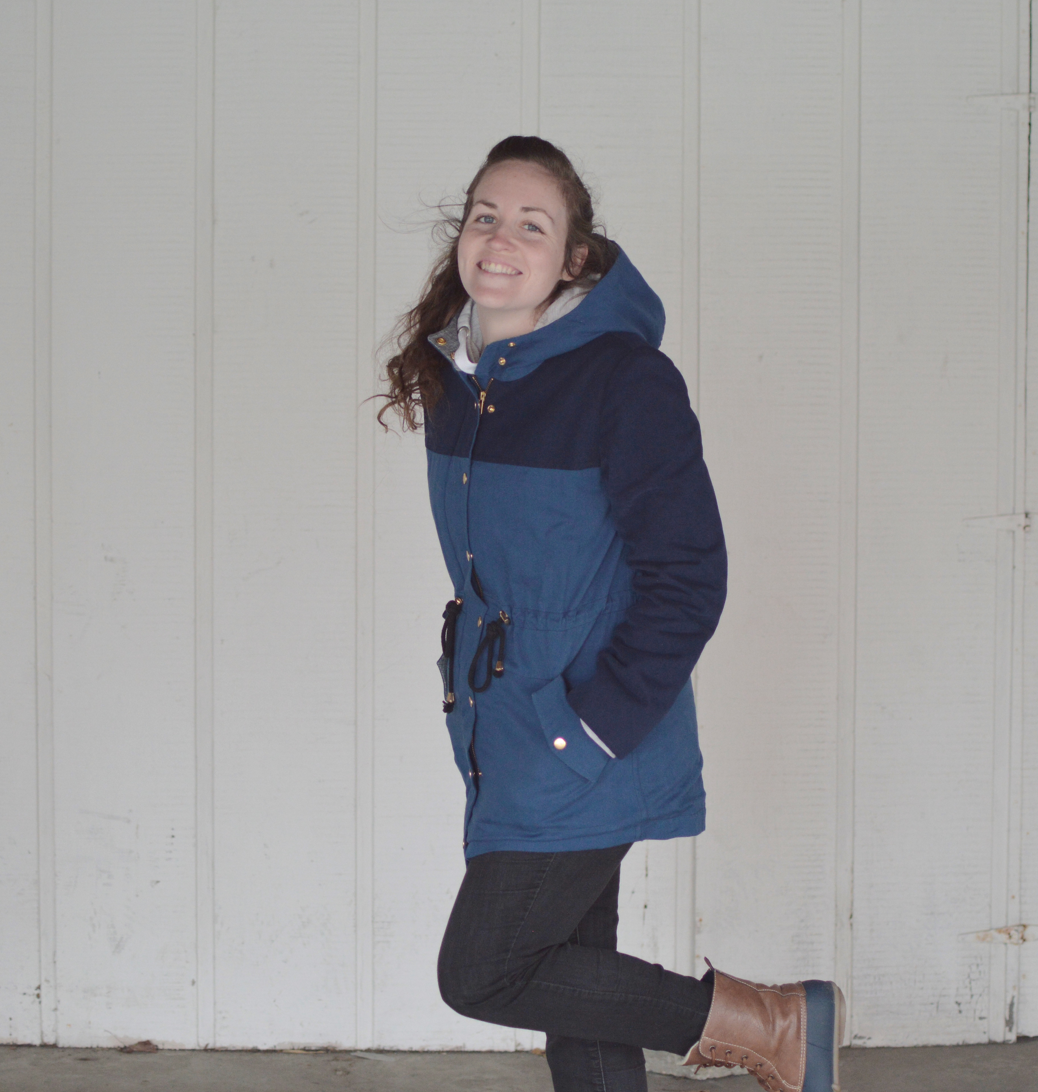
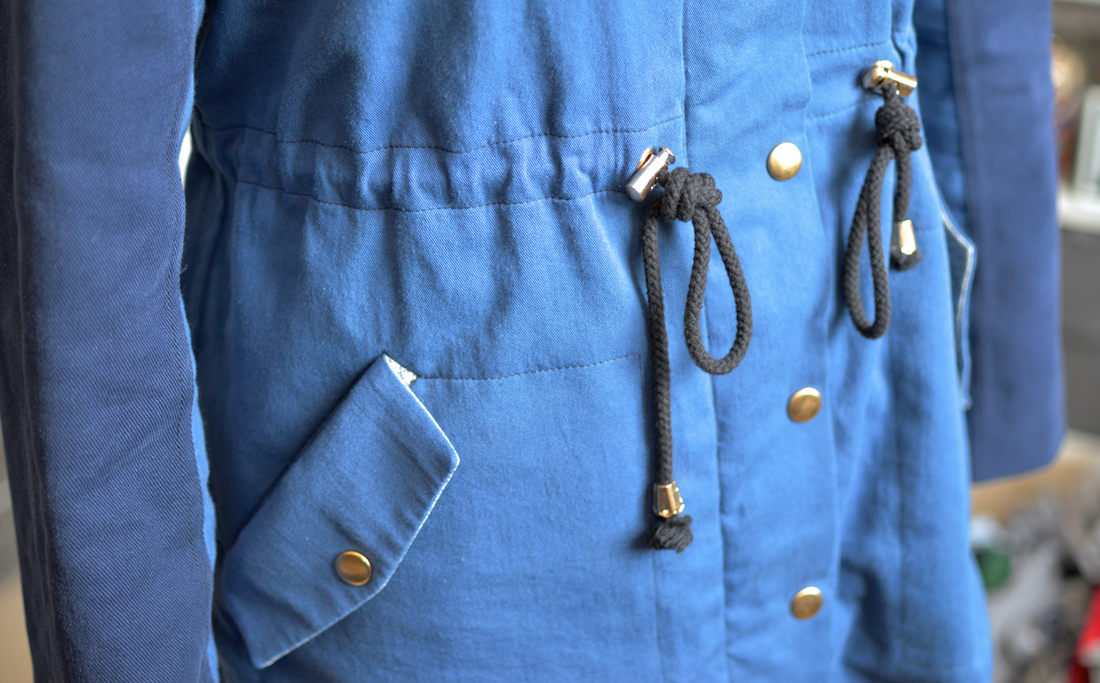
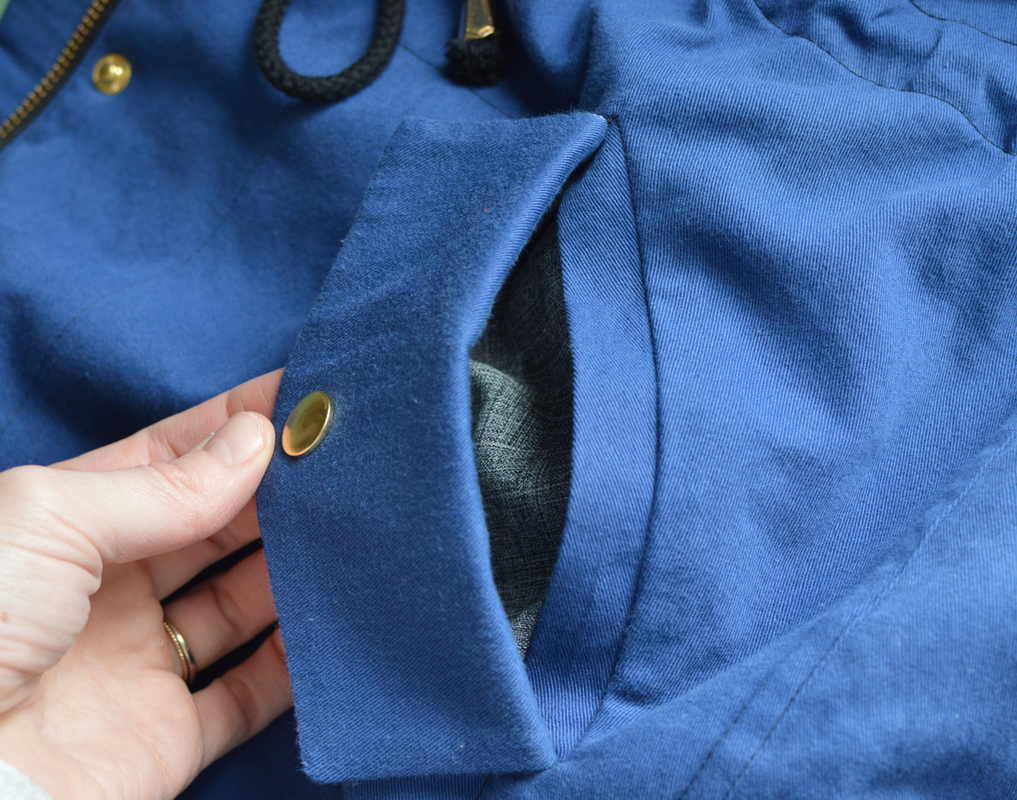
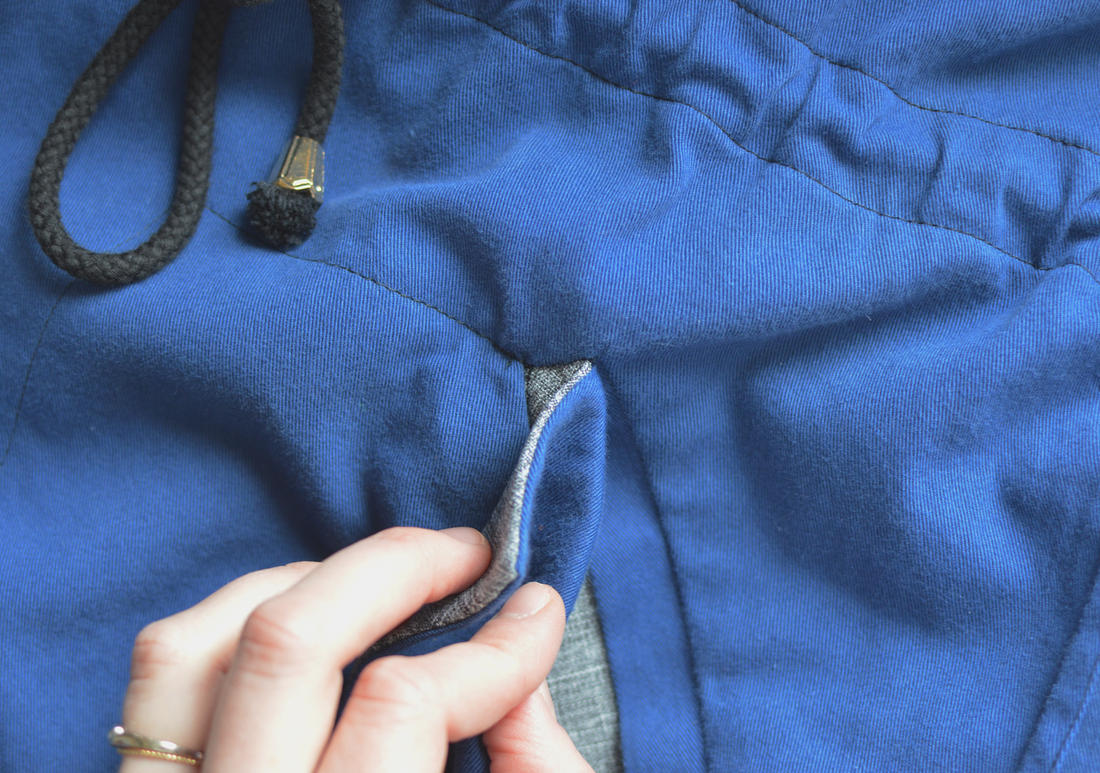
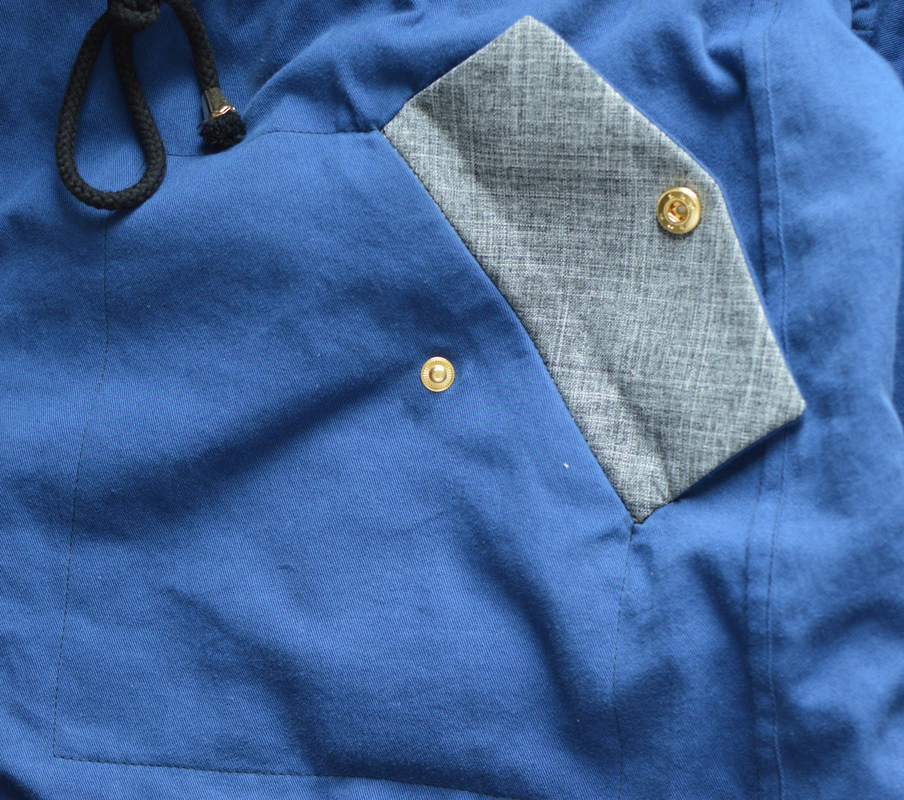
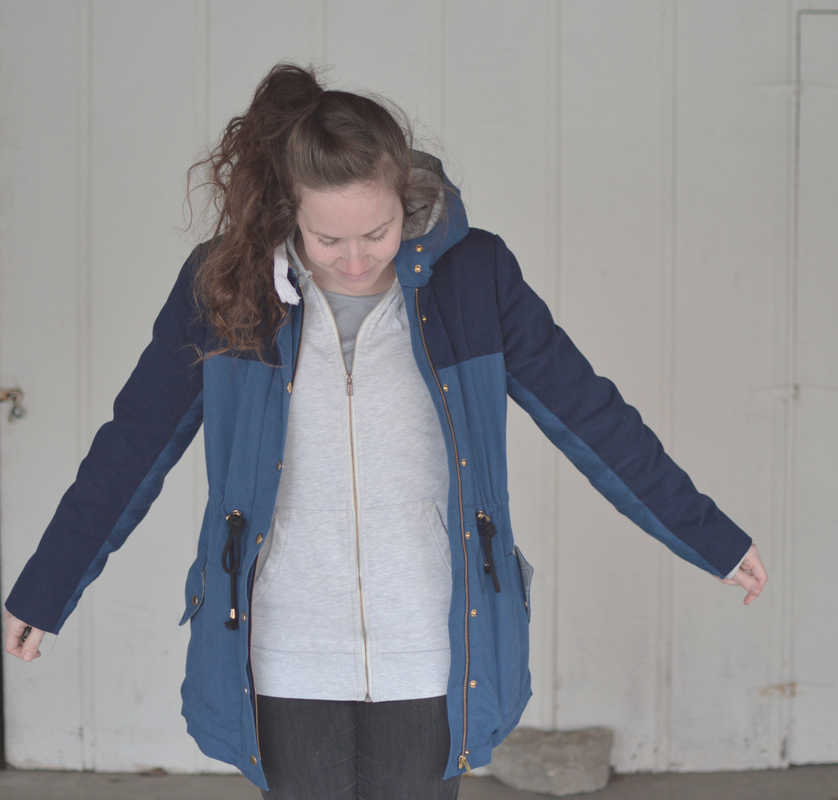
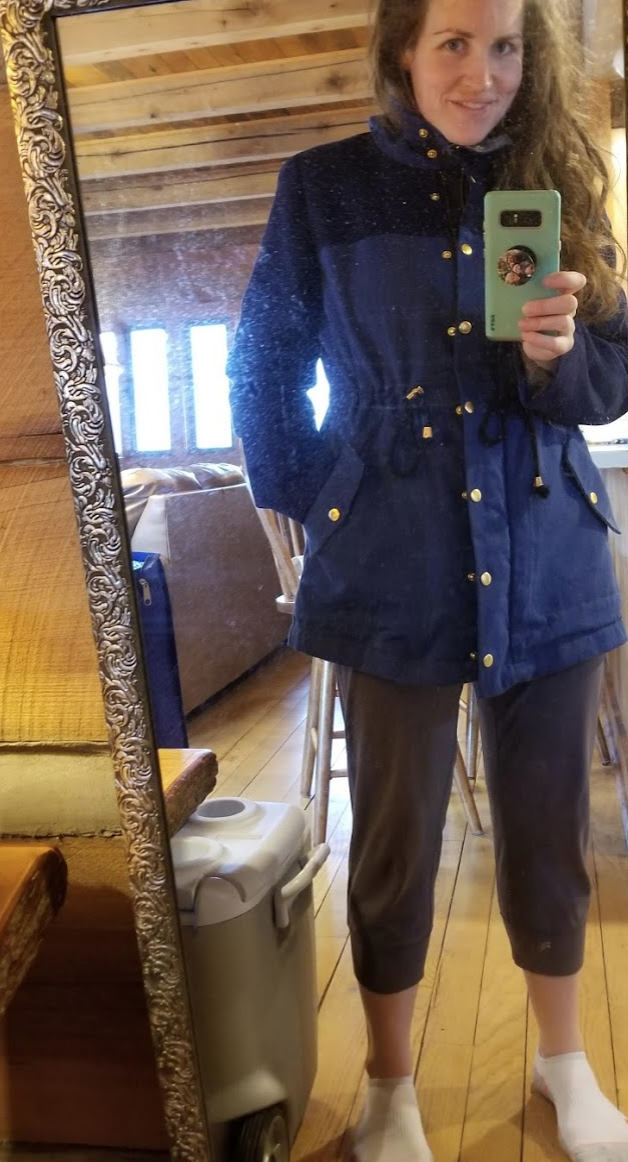
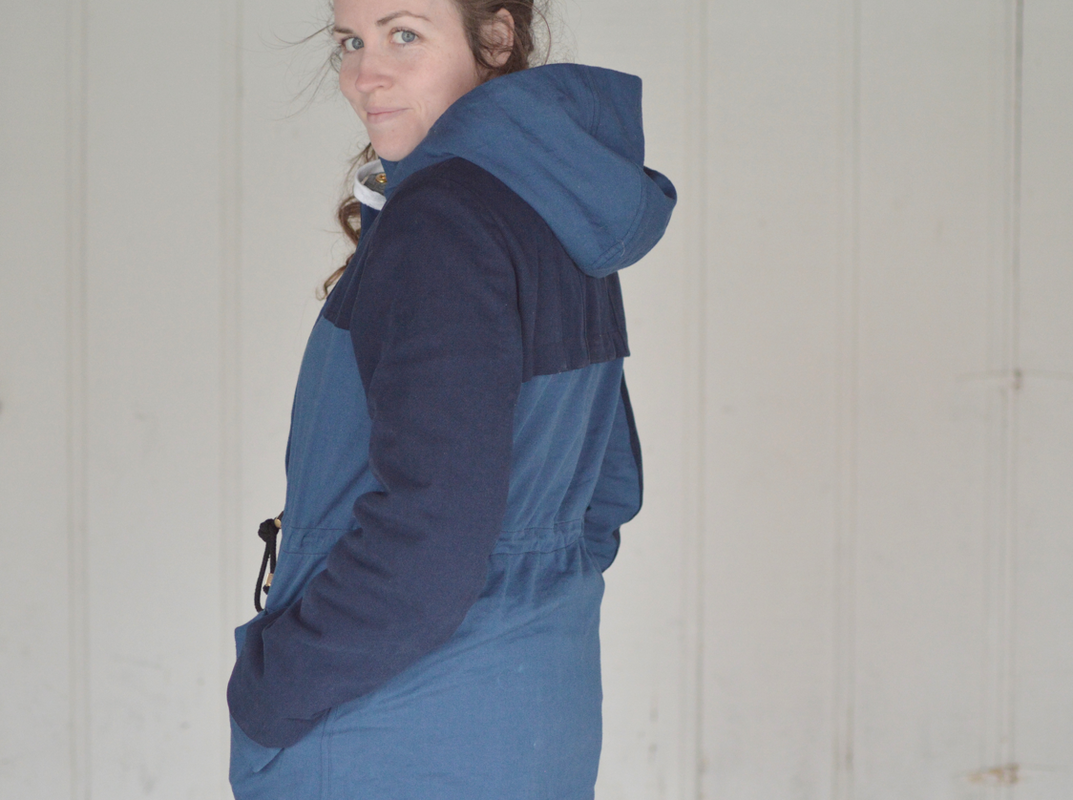
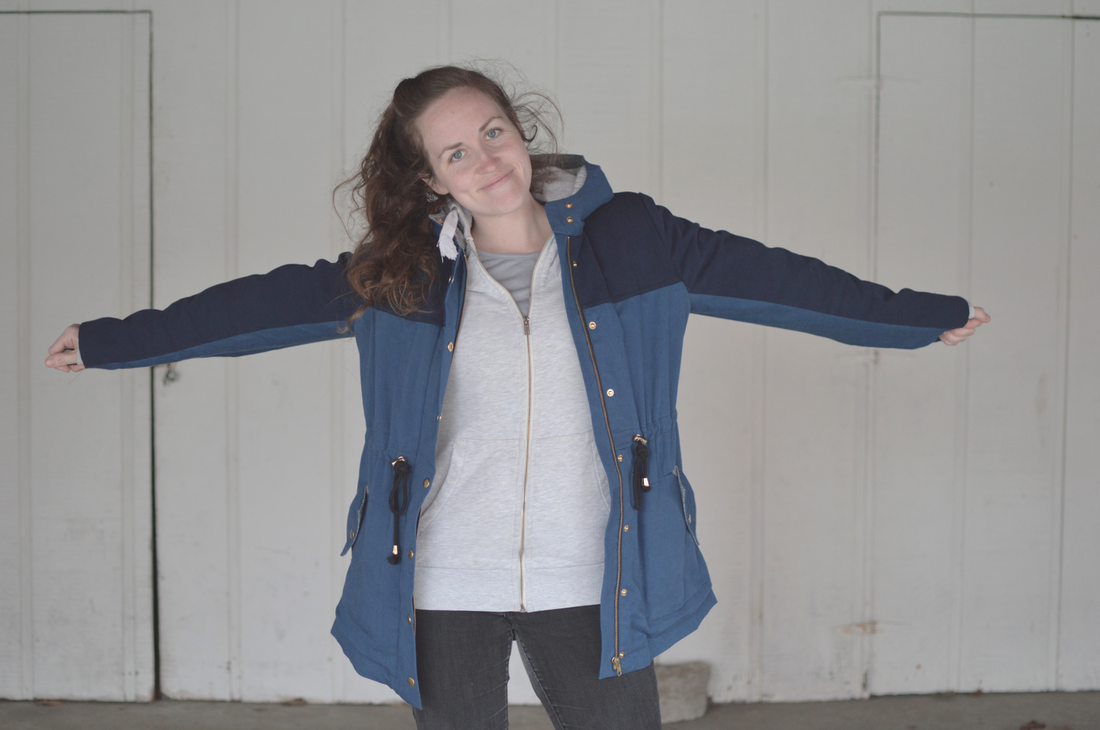
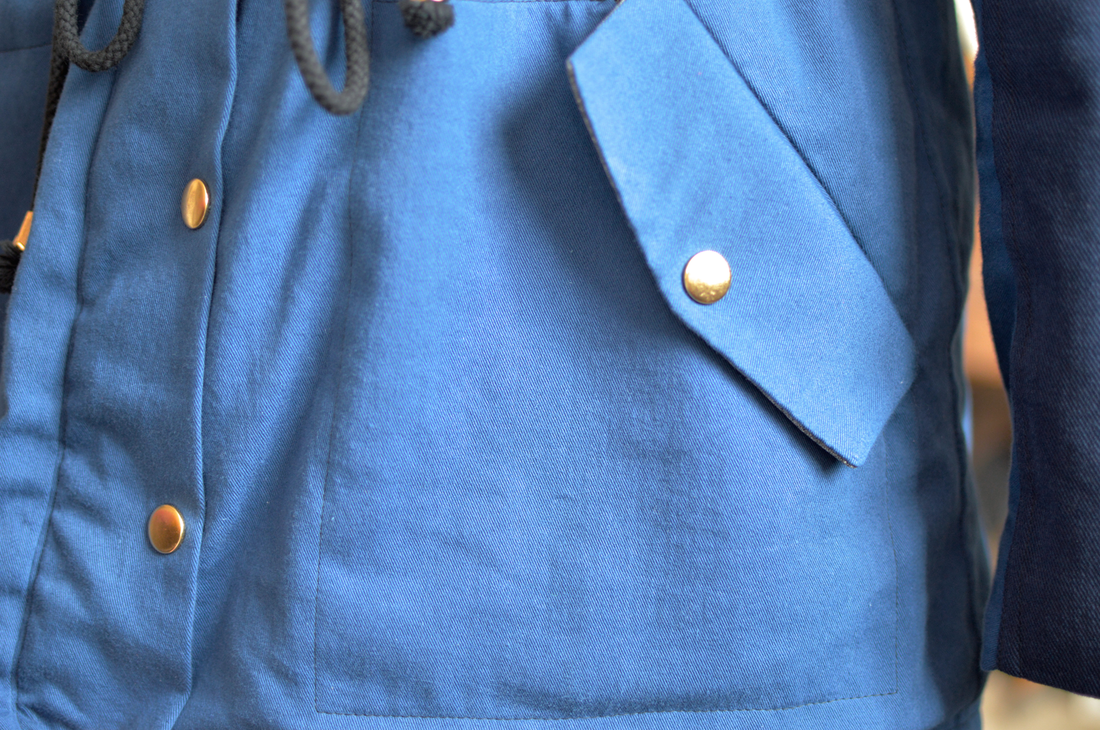
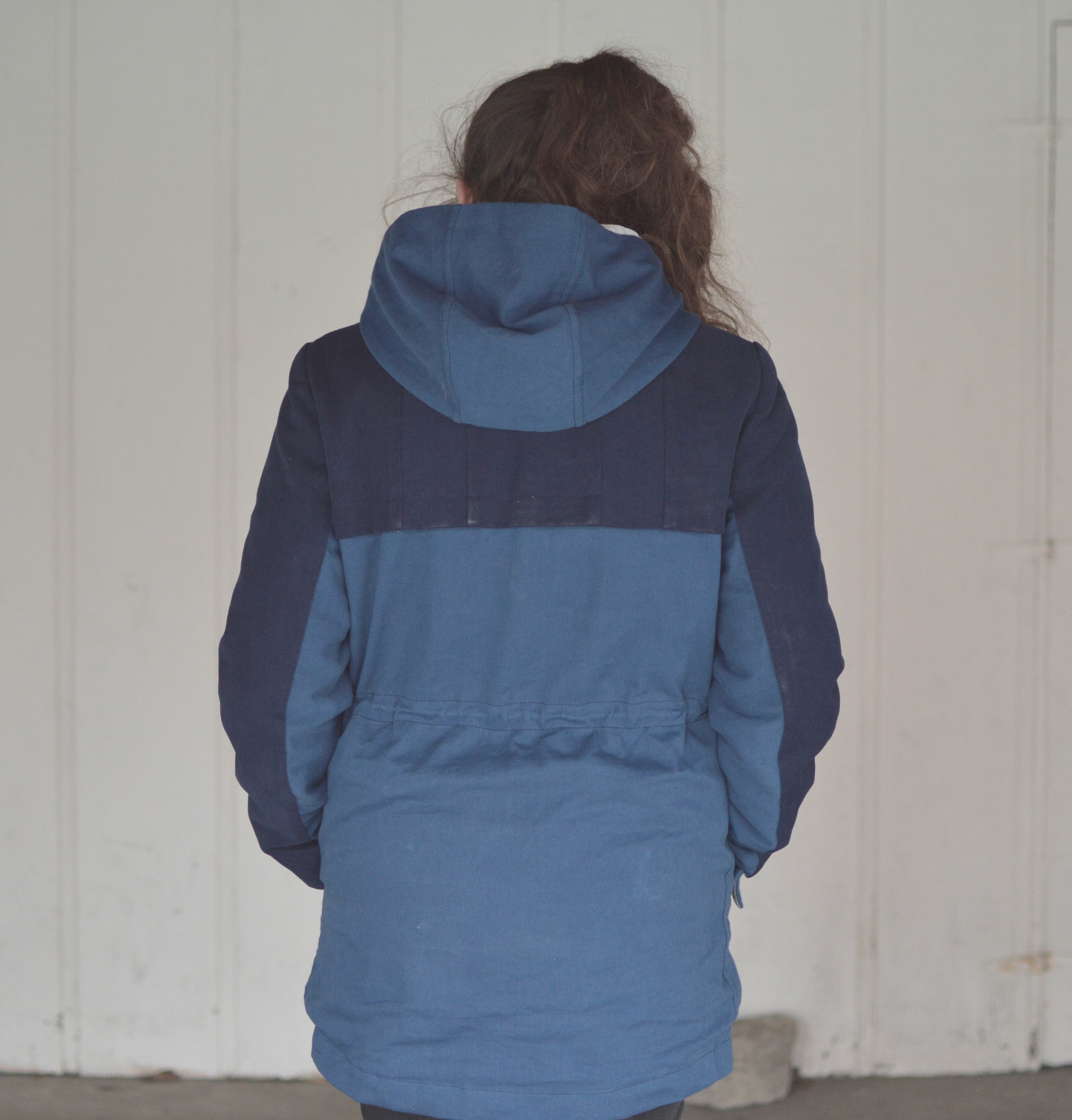
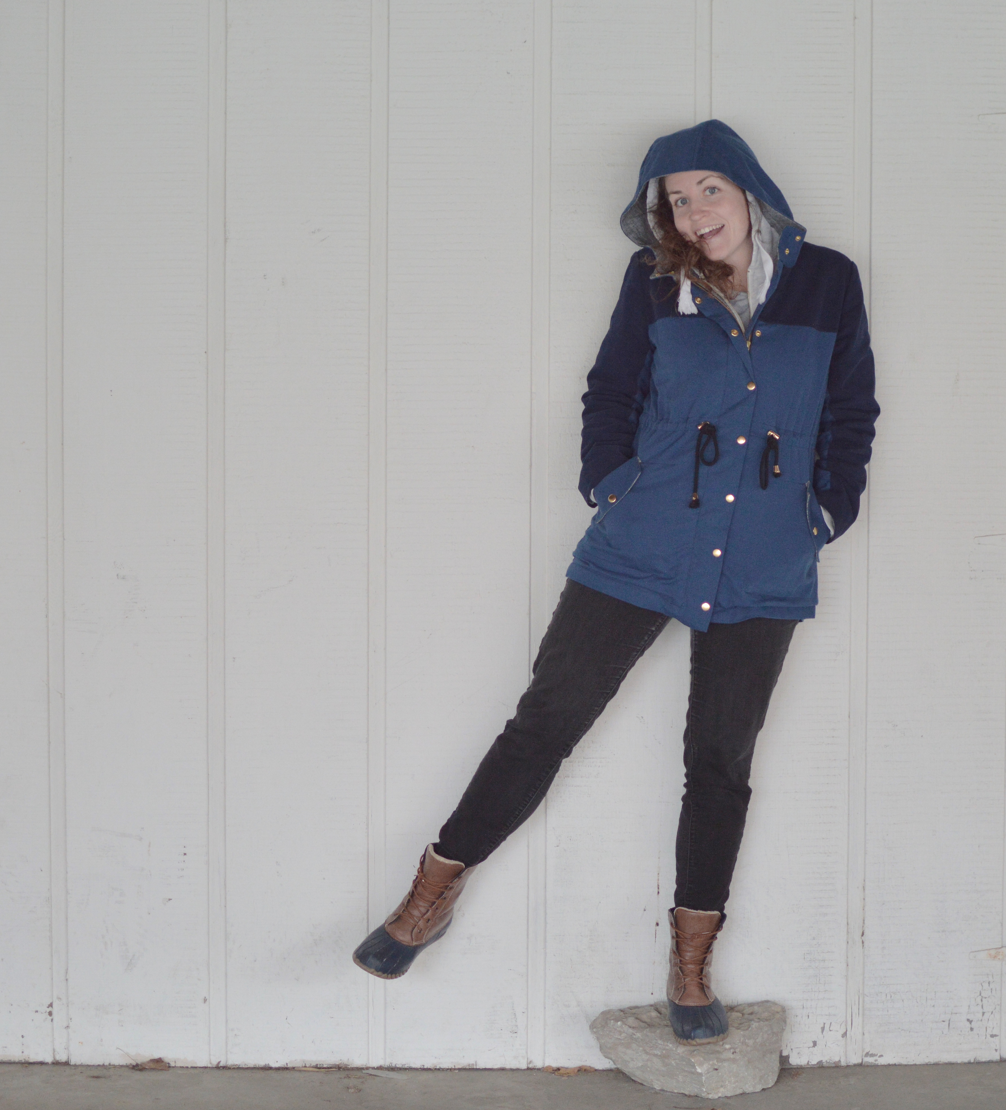
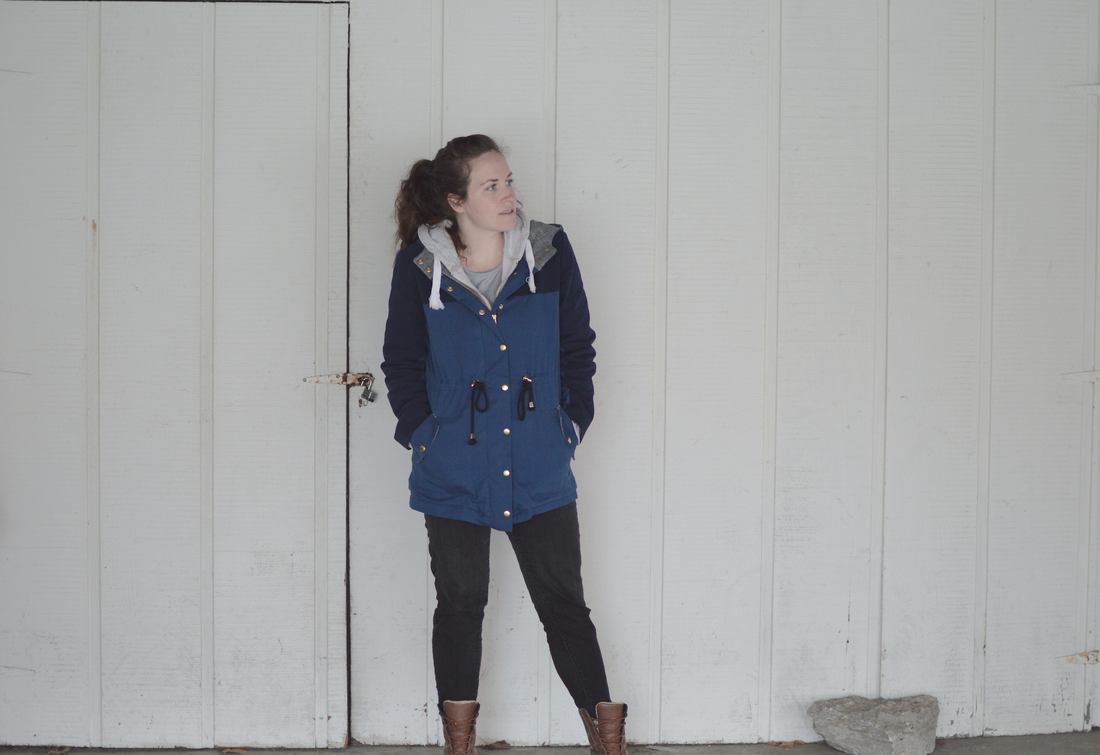
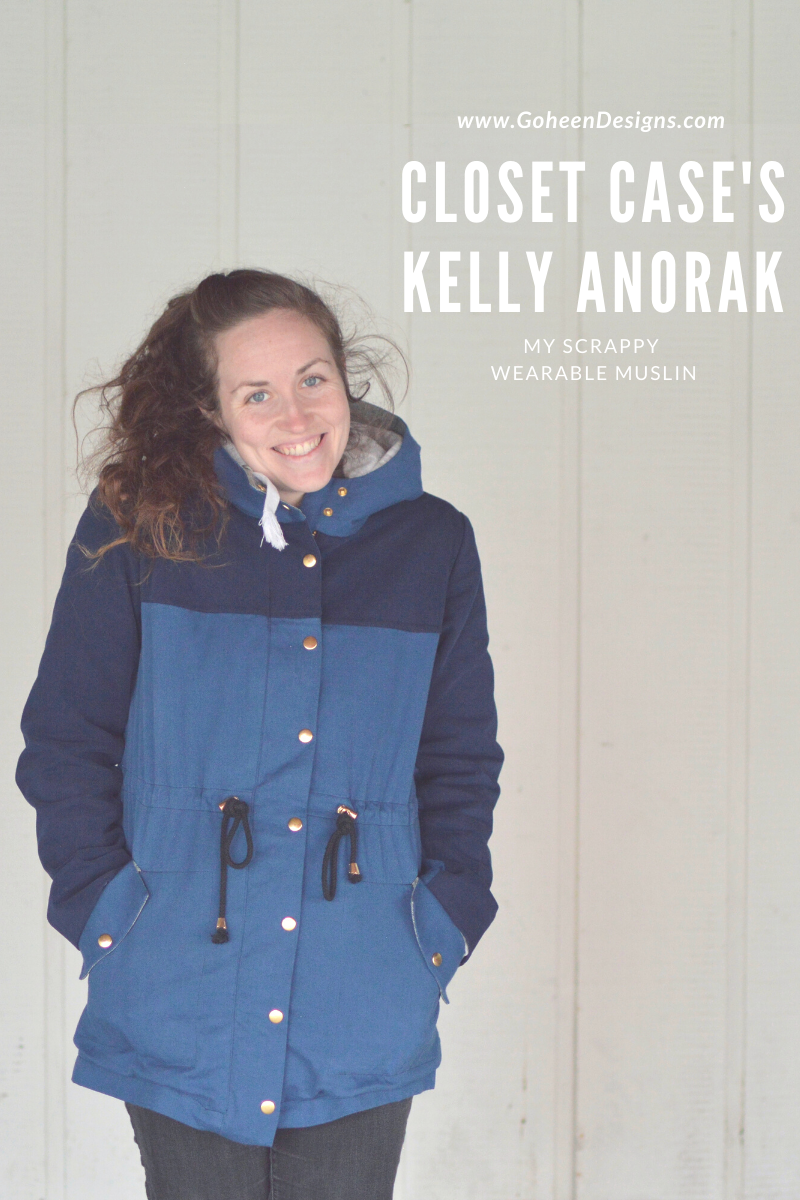
Let me preface this post by saying that this is a classic example of how I work on my projects. And it gives you a little insight as to why I take so long to get anything done. I've been eyeing everyone's Kelly Anoraks for years. And actually, I've been planning on making one for years. I received the printed pattern and the hardware kit as a Christmas gift in 2017. But, I got a little distracted what with being pregnant and having a baby and the project got pushed back. By the end of 2018 I was itching to get back to it, but my body still wasn't back to a normal shape. I wanted to wait until my boobs returned to a normal, non-breastfeeding size. But since I was eager to get started, I used the black friday sales of 2018 to buy the fabric I wanted for my new jacket. I scoured the #kellyanorak to see what colors and fabrics I liked for the jacket, and (after a ton of deliberation) settled on a beautiful 8.5oz Cotton Chino Twill in Olive from Blackbird Fabrics for the outside, and a fun Robert Kaufman Taos Flannel from Hancock's of Paducah for a warm lining. But here's the thing. I hardly ever buy nice new fabric for myself. I get so much fabric handed down to me, or I rescue it from being thrown away, or when I do buy it's for my customers. So I was (and still am) pretty nervous to cut into all this beautiful new yardage. So I decided to make a muslin. I often skip this step because I don't get a ton of time for selfish sewing, so I don't want to take the time. But I knew a muslin would help me feel more confident, so I decided to go for it. But, since I don't like "wasting" my sewing time and fabric (I know it's not really a waste!) I decided to make a wearable muslin. Basically, that means I make a whole one, in real fabric, with all the finishes, but it's one that I don't need to feel perfectionistic about. I decided to just make a straight size 12, without worrying about fit alterations for the muslin. I shopped my stash, found some scraps I could work with, and got to work! And I do mean scraps. I didn't have enough of any one fabric to use for the outer shell or for the lining, so this coat has a mishmash of 4 different fabrics. Because I knew that I would be using two different fabrics for the outside of the coat, I tried to be strategic with how I cut out my pieces, to give it an intentional color blocked look. I really like the result! This pattern lends itself really well to color blocking, since the sleeve is already two pieces, and the back and front shoulders are also separate pattern pieces already as well. The only piece I had to split to fit the colorblock was the front placket (piece J) since I wanted the dividing line to continue across the chest uninterrupted. There were a few more changes that had to happen due to my fabric shortage: - The upper back had to be pieced together (5 pieces!) But I rather like it. - I had to use lining instead of facings for the inside of the hood. - Same with some of the zipper facings - I have two different lining fabrics. It's a bit of a mess in there. Very Frankenstein-ish. But that's also because I was experimenting on the inside of the coat (more on that later). - The gusseted flap pockets turned into welt flap pockets. Completely due to lack of fabric. But really, I had a lot of fun with this change! It had been ages since I'd done welt pockets, and this was a good refresher. Actually, a bit of a mind bender. Redoing the pattern pieces to be an overlapping double welt pocket with one of those welts folding back on itself to be the flap.... it took some doing. I'm considering putting up a little tutorial on my blog, for anyone who wants to create a similar look. Let me know if you would be interested! I write all this as if it all happened at once, or at least relatively close together. But that is definitely not the case. It was more like: I put the tiled lining pattern together in January (of 2019), shopped my stash for test fabric in February, washed the fabric in March (note to self: wash cold tumble dry low), traced the pattern in April, cut the pattern in May, and began sewing in June. Then, I had the idea to combine this Kelly Anorak test with a test for my Threads competition piece pattern, to see if my transformation idea was on the right track. (I can't really share any more detail than that. I'm sworn to secrecy until the next issue of Threads comes out, at which point you will be buried in an avalanche of photos and posts about this top secret project) So, by the end of June, once I did that Threads test run, and my Kelly Anorak wearable muslin was 90% done, I dove straight into my competition piece, which took up all my extra sewing time right up until the competition in October. So my Kelly sat in my closet, waiting for snaps and a few final hand stitches from June all the way until 2020 rolled around. Then I finally took it out of the closet, to my January sewing retreat, and finished that puppy up in about a half hour. Part of me wants to be able to say that this long drawn out sewing saga is atypical. But really, it is pretty spot on. I'm always using what I have and just "making it work" and I'm always so excited about starting new projects that, inevitably, the ones I'm currently working on take 10x longer than necessary to finish. And let's be honest: this saga isn't even over. Since I still haven't started my "real" Kelly Anorak...... Overall, I love the pattern, the instructions were great, I love that they offer the hardware kits, and it was genuinely fun to sew. The back and sleeves are a little too tight when I try to drive or hug anyone, but even with 0 alterations, I'm going to get a lot of wear out of this jacket! Pattern changes to make for Kelly #2 (AKA the "Real" one):
Broad back adjustment Shift the armscye forward Raise the underarm Shorten the jacket by about 4" Move pockets up? and use the original gusseted pocket design Add pockets (or faux ones) to the chest? Keep sleeves unlined and use the cuff pieces? Make the hood detachable with snaps, or just do the collar. Cover the snap backs in the pockets (I read a review warning me about these snaps being uncomfortable, but I really didn't think they would bother me. Apparently the backs of our hands are more sensitive than I thought)
0 Comments
Leave a Reply. |
madeline stage
creative business owner. designer. hoosier. crafter. runner. sewer. swing dancer. outdoor enthusiast. entrepreneur. wife. mom. material hoarder. Categories
All
Archives
June 2023
|
Contact Me
|
Weekly Mantra:Motivation doesn't last. That's why, just like bathing, we recommend it daily.
Click here for the Privacy Policy |
|

 RSS Feed