|
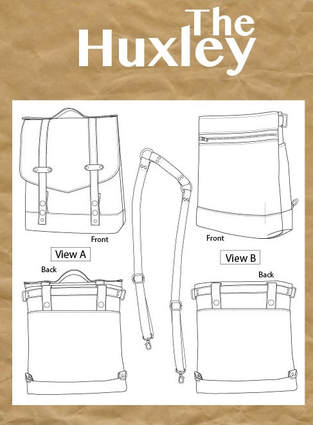
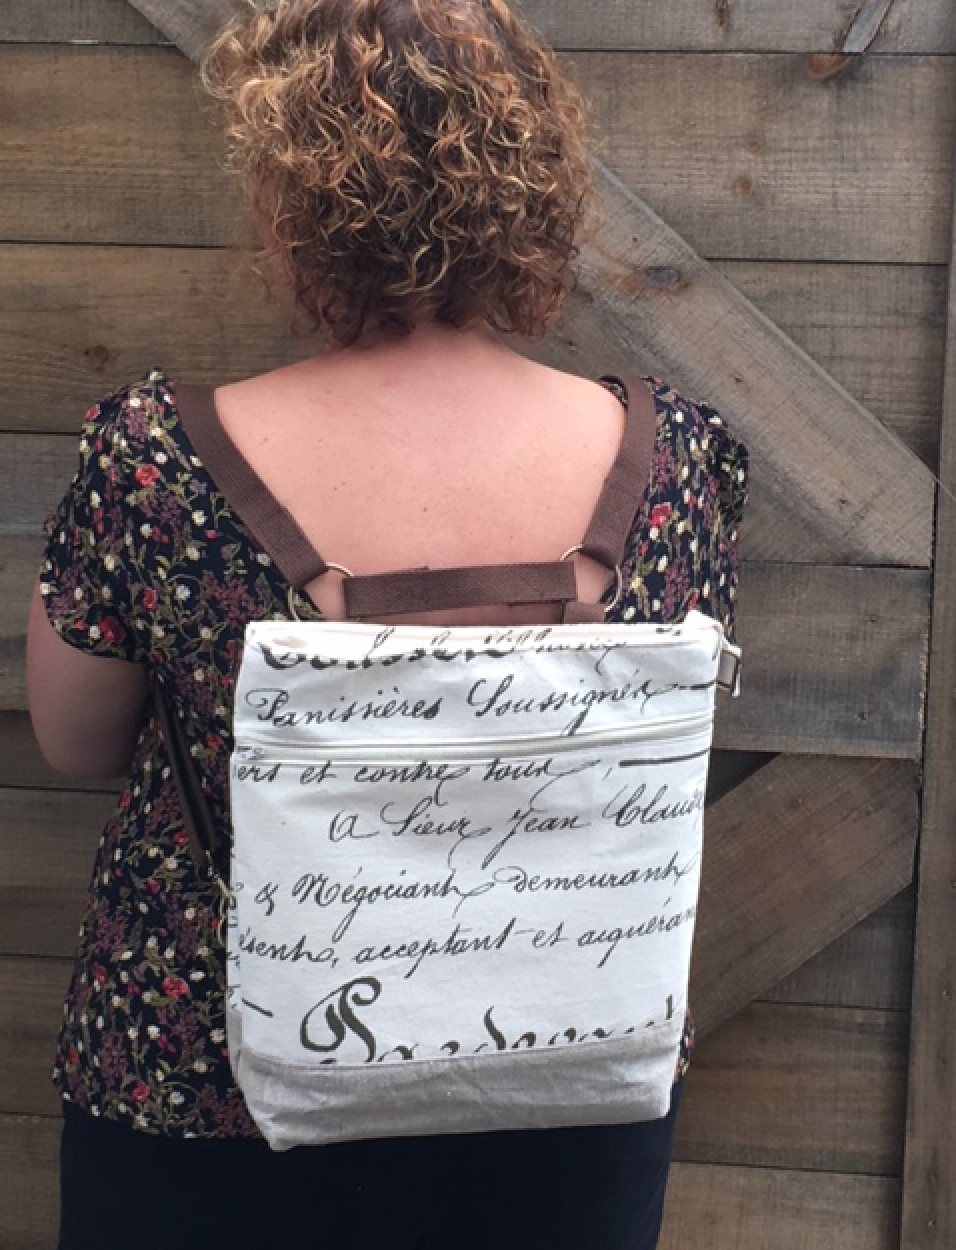
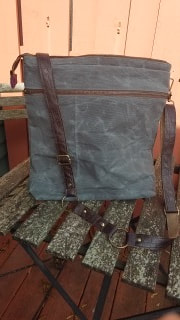
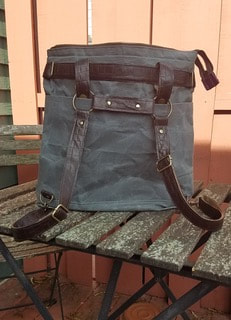
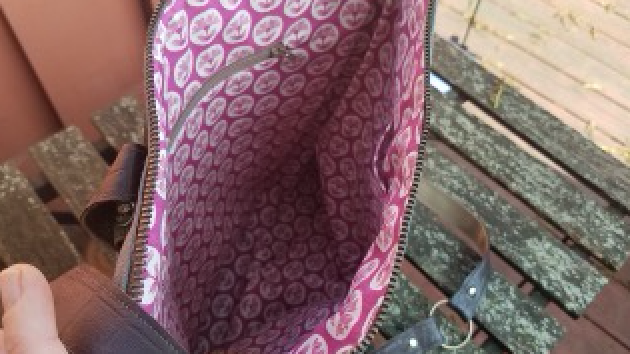
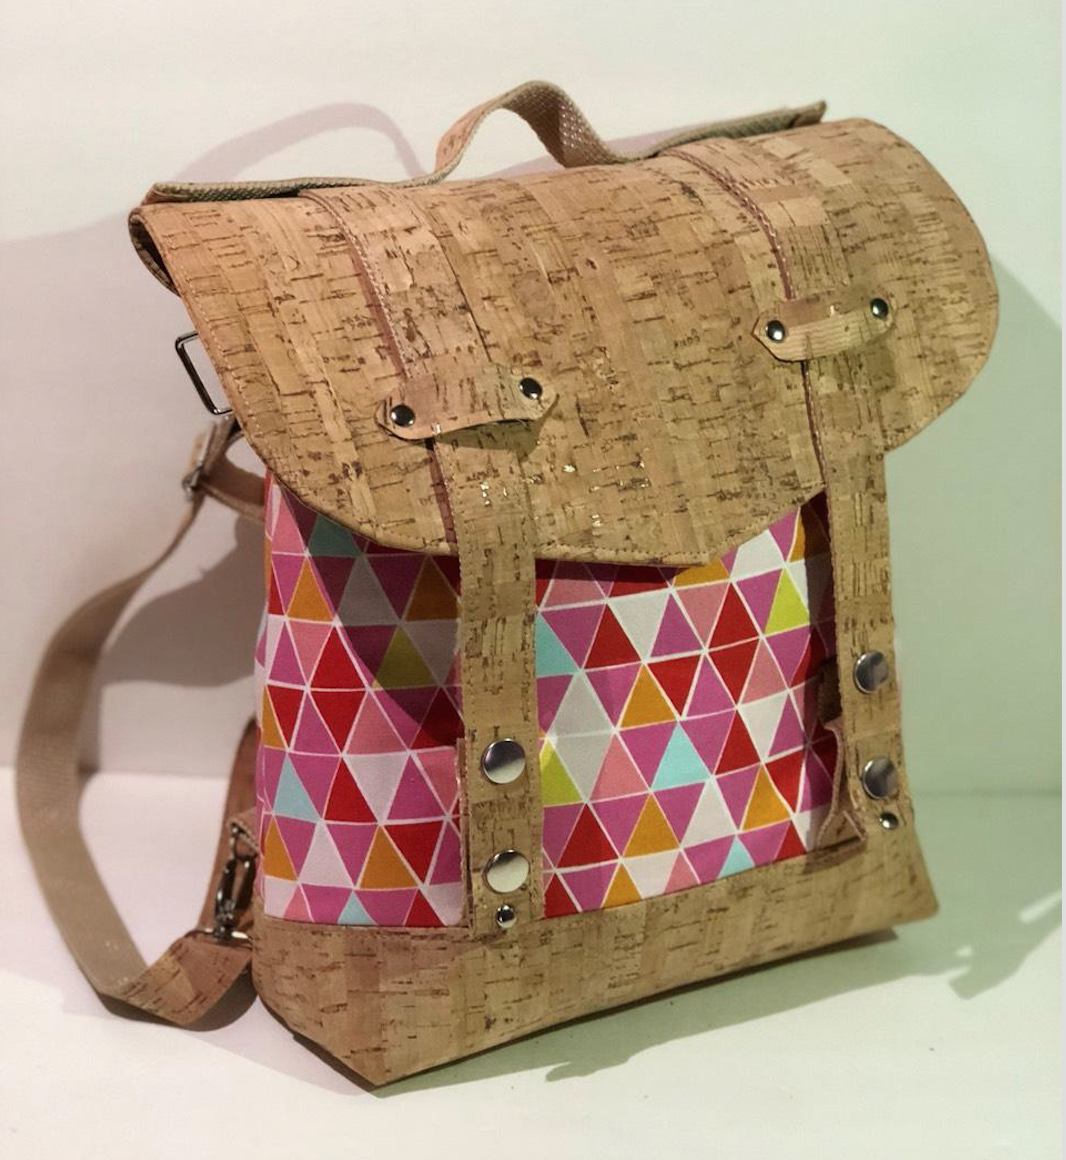
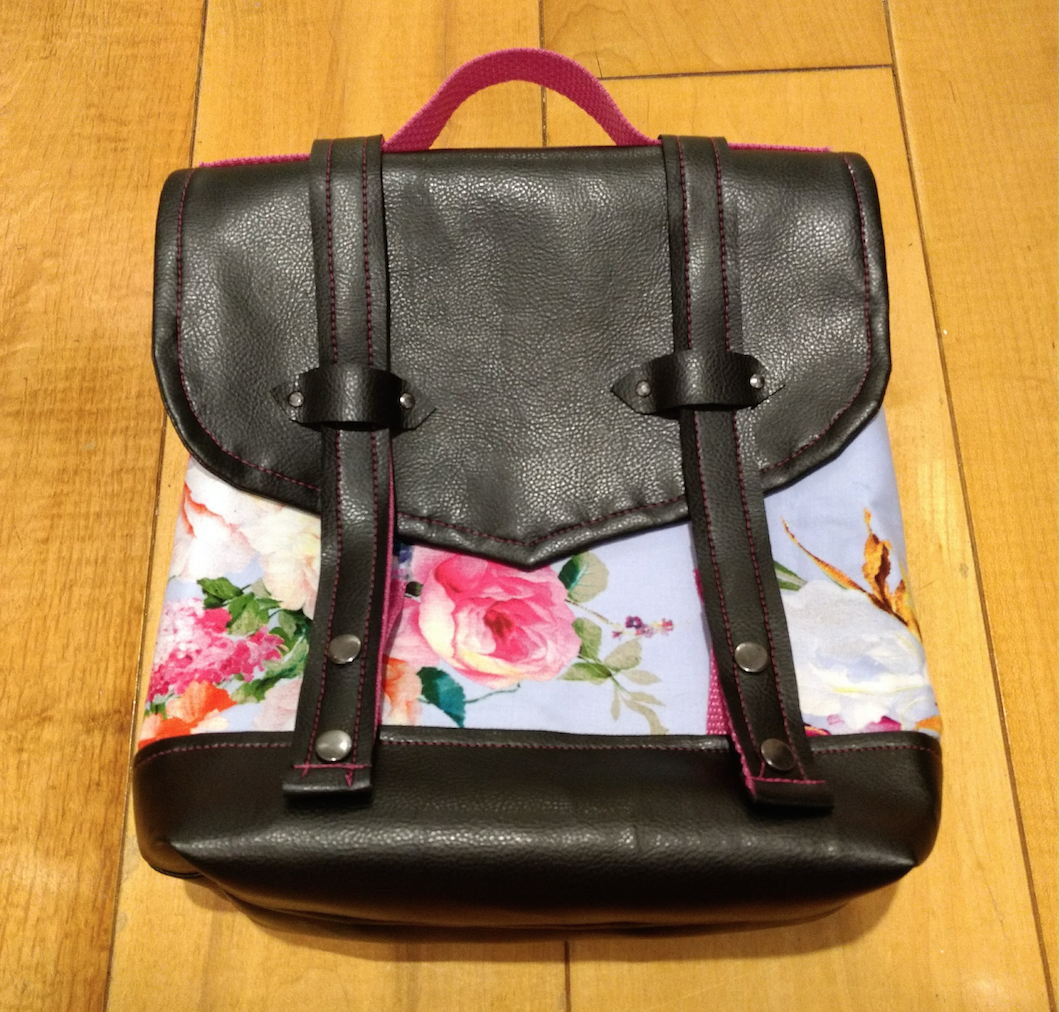
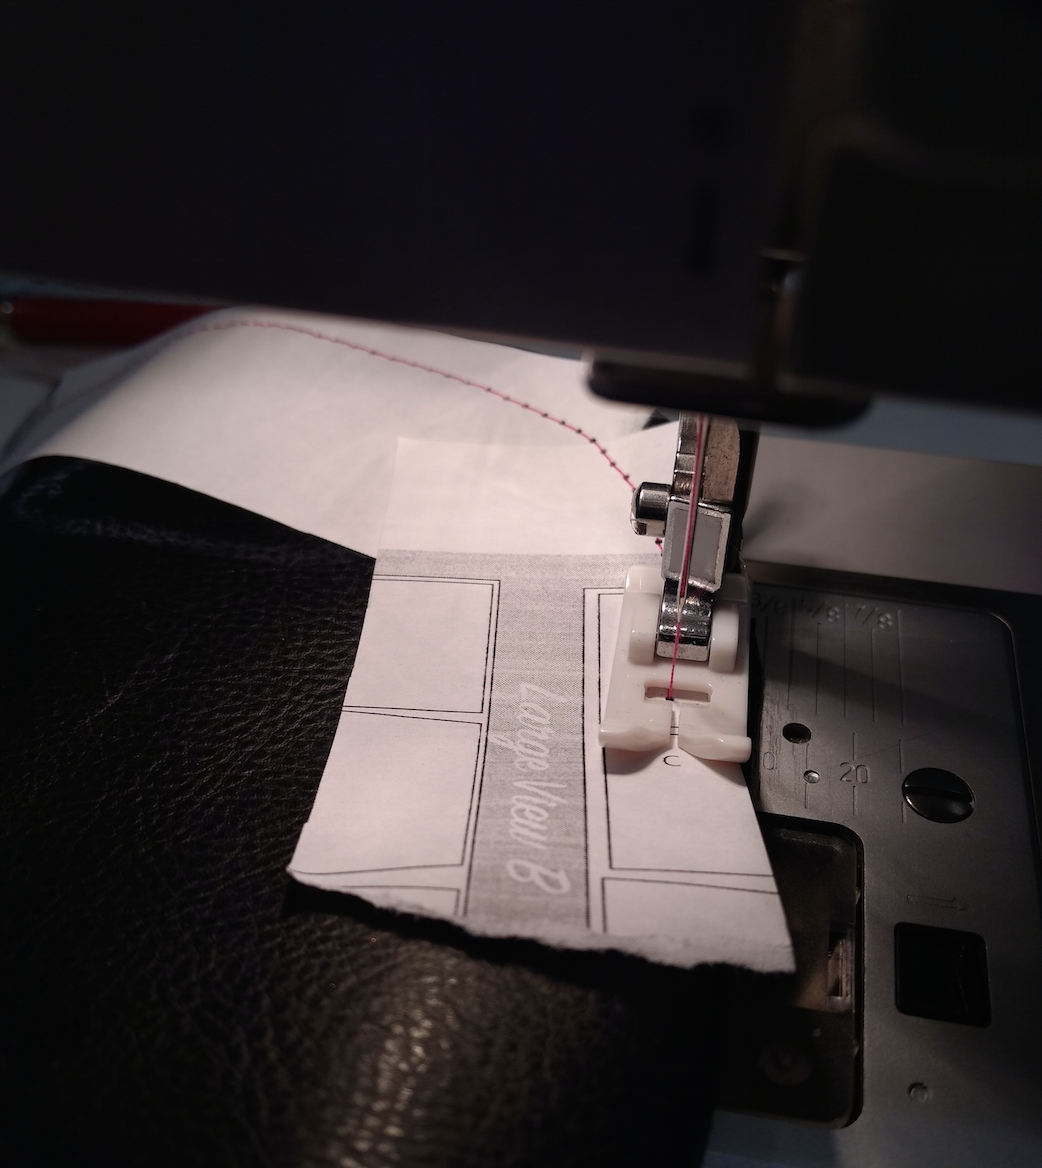
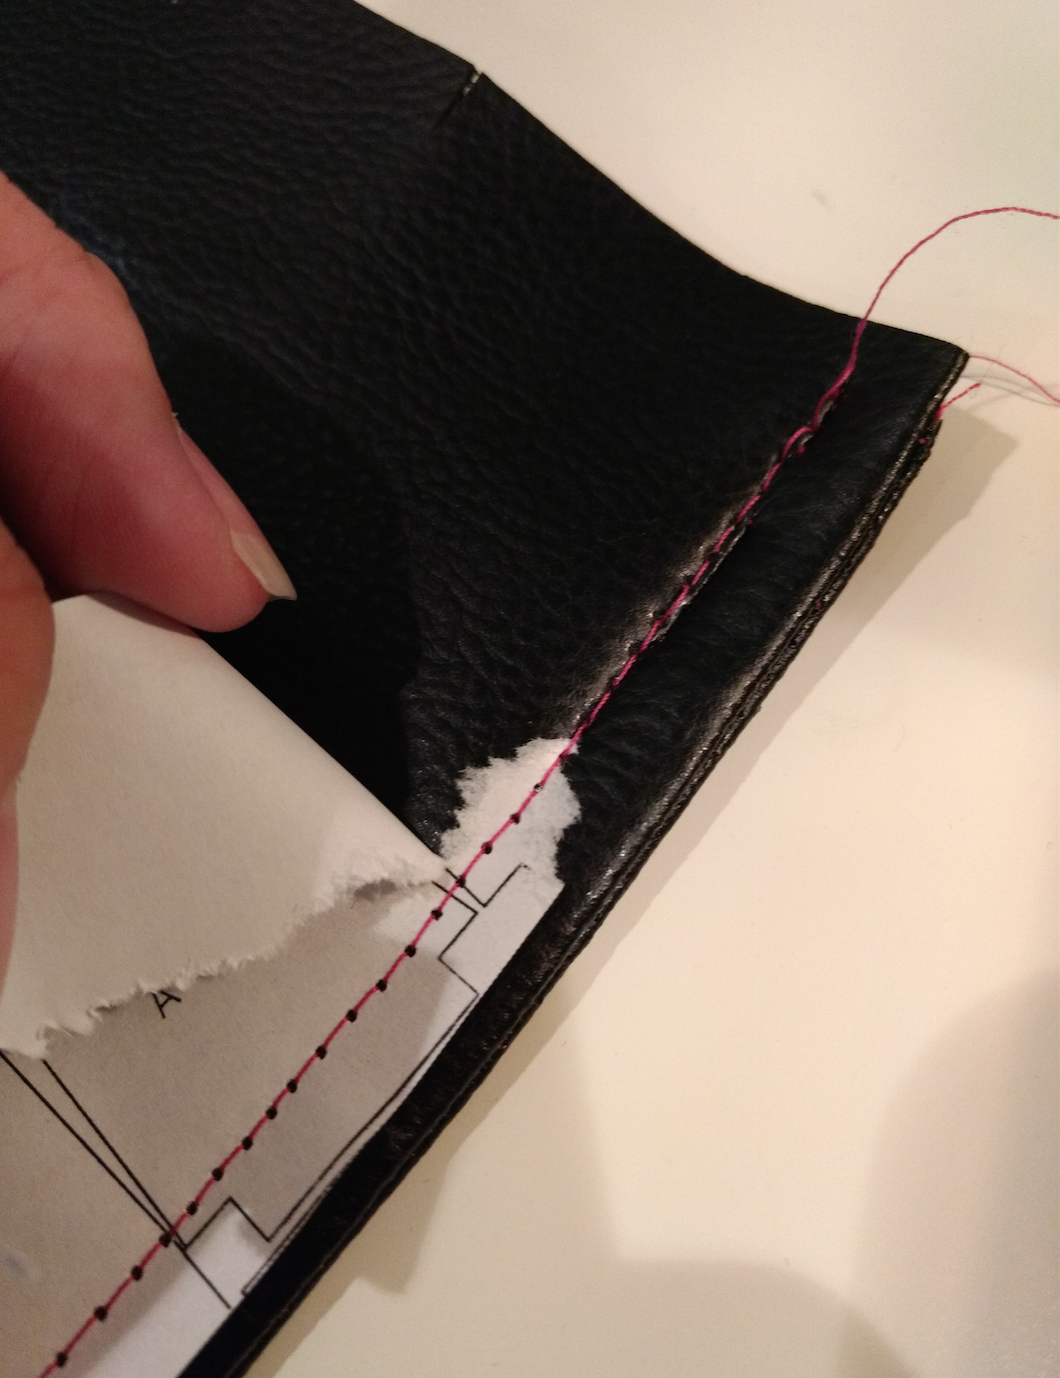
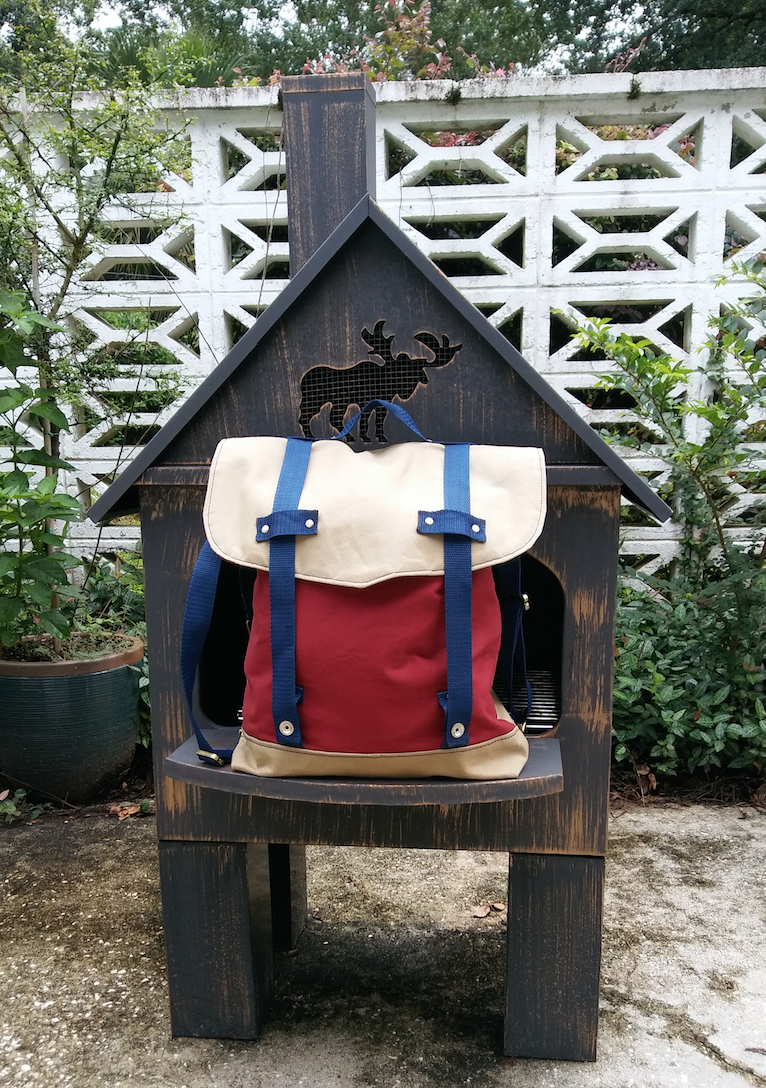
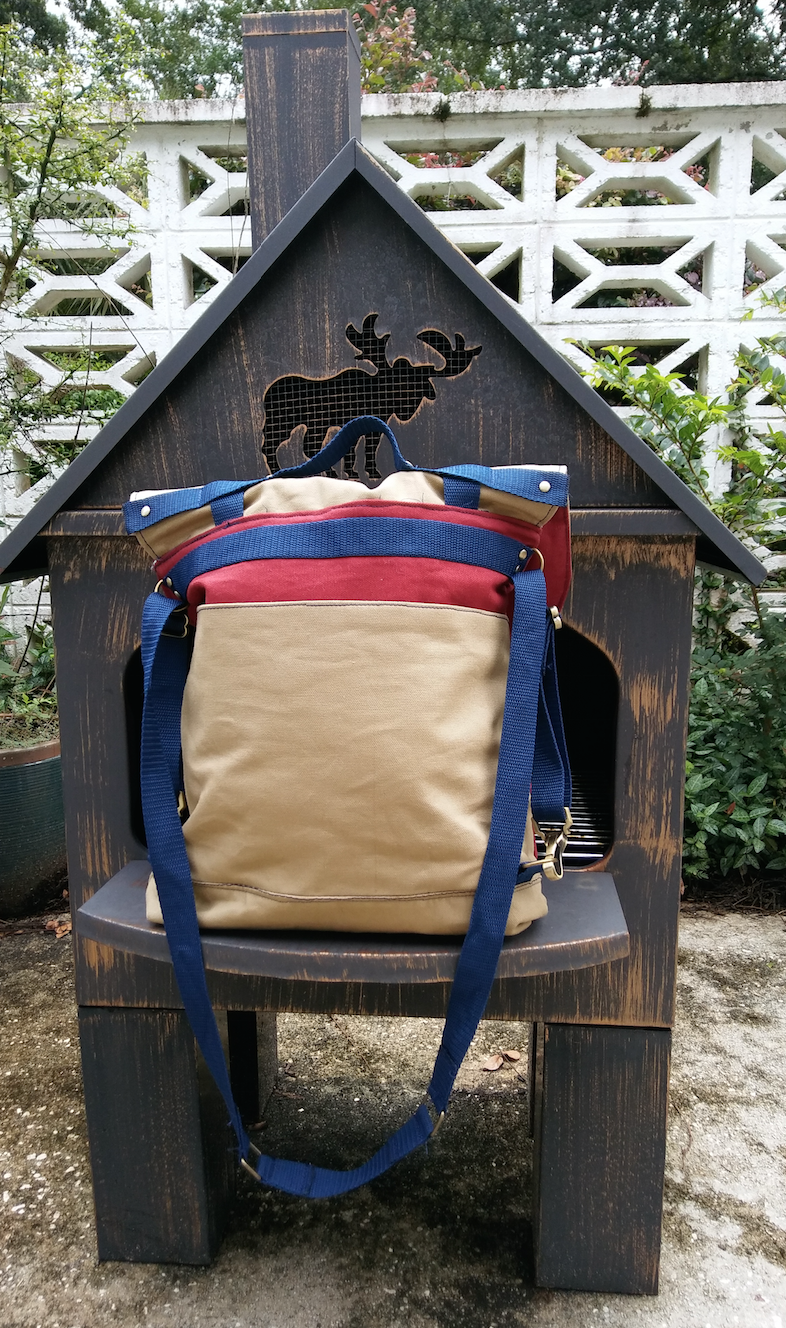
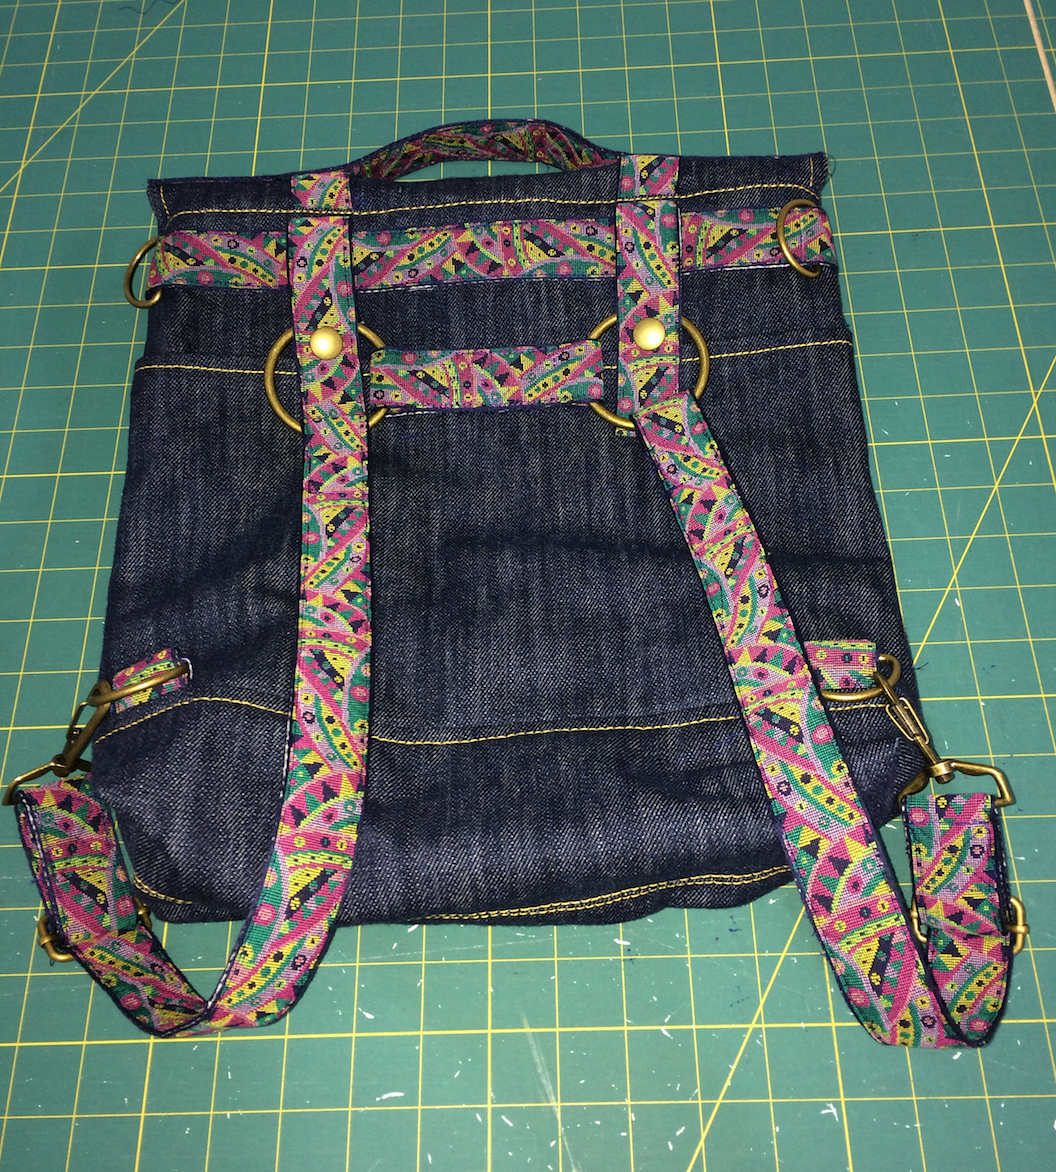
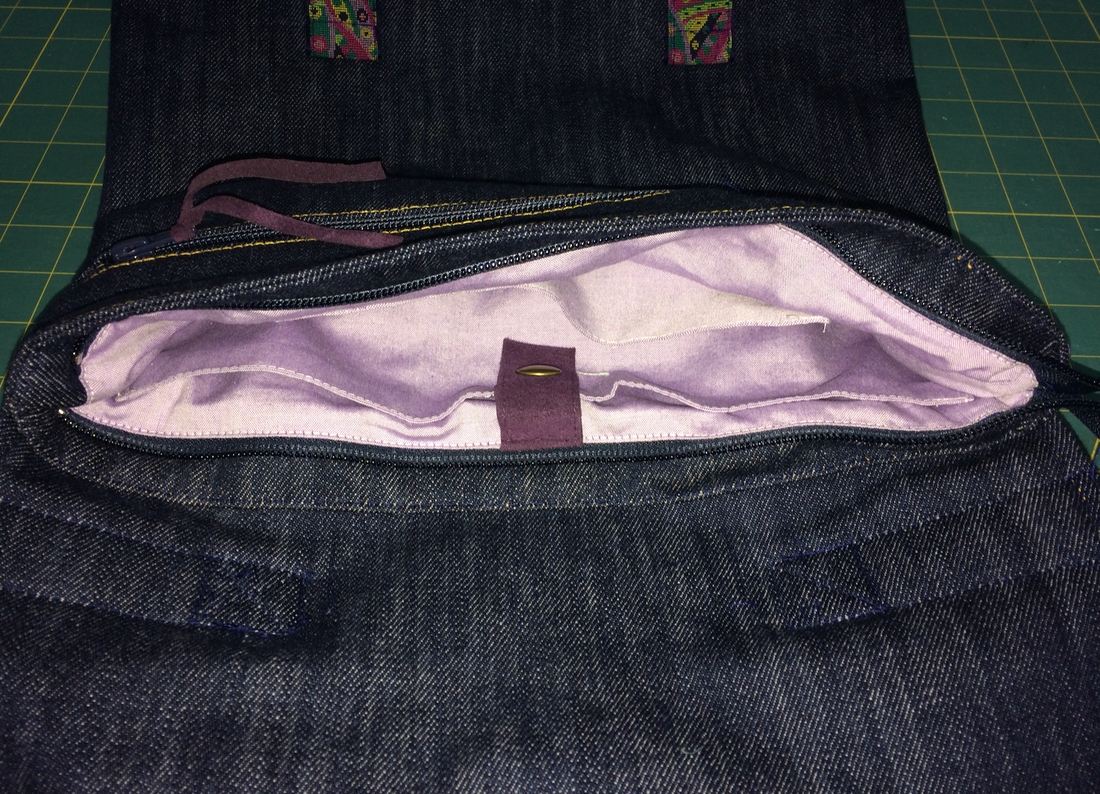
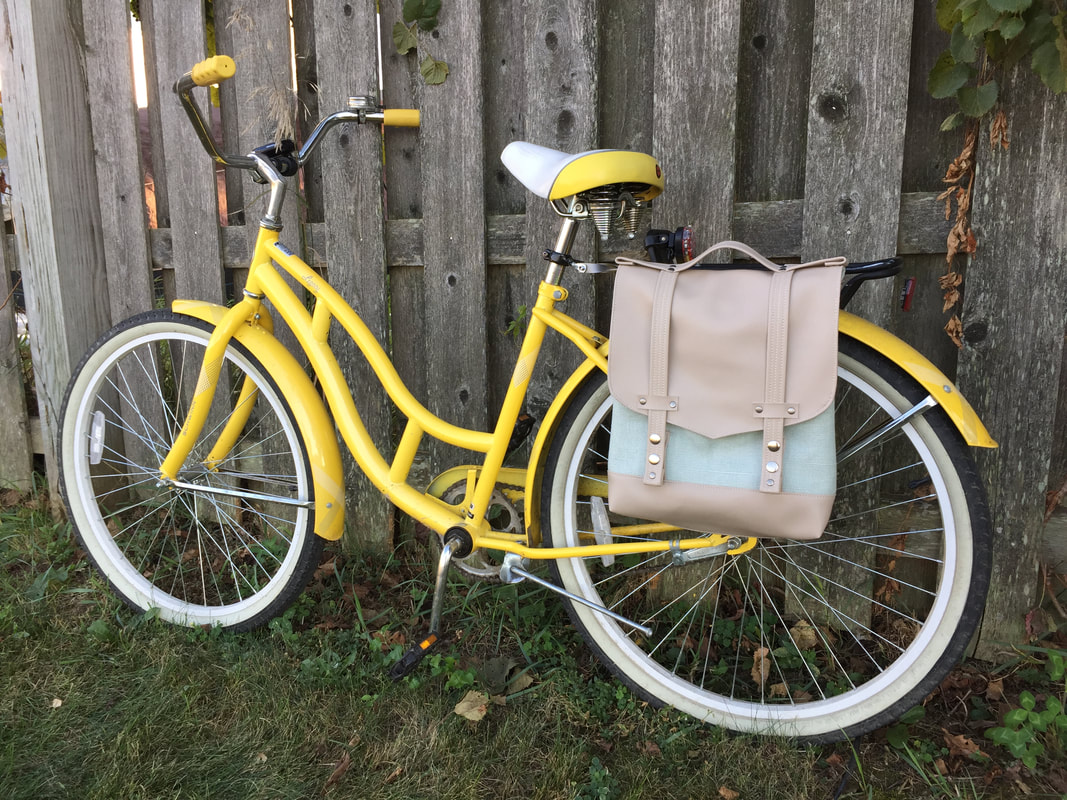
When I send out my patterns during the testing stage, I always make sure to tell my testers that they should go ahead and make any changes that they want to the pattern. I do this so that my testers can end up with a finished product that they actually love and will actually use! I also do this because I find it so inspiring to see all the different ways that people can take my patterns and make them their own. This blog post is going to highlight some of my testers, their bags, their thoughts on their bags, and some of the changes that you can make to The Huxley Bag! Emily: Make it your own: I didn’t use leather over the webbing, also no rivets, I sewed boxes with an x in the middle rather than rivets Thoughts: That pattern is amazing. I have gotten so many compliments on the bag this week. I make all my bags, but this one people have been surprised to know I made. I am happy to know that it worked using home dec and canvas fabrics in addition to leather. Mei: 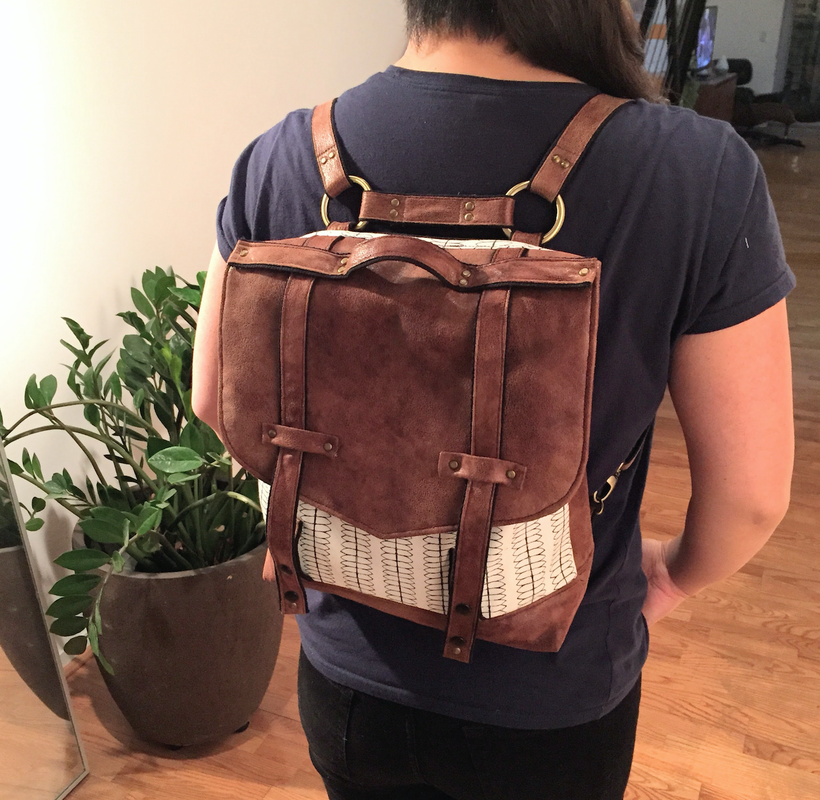 Thoughts: I posted a pic of it on my FB page and all my friends were so impressed and said the bag looked awesome! Great design is also what my husband said, so I'm so happy I was selected to try this pattern. Given how complex the bag looks, and the big package I printed for instructions, I thought the sewing was going to be super complex. To my surprise, it was much easier than I imagined. My husband keeps saying he's surprised I finished it as soon as I did. :) Make it your own: Use a contrasting fabric for the front. Wendy: Make it your own: Used one rivet instead of two on the straps, and added an inside zipper pocket to the lining. Tips: The waxed canvas is great and holds the bag shape perfectly Thoughts: I found the conversion great! Ingenious idea! Someone asked me if I was going to start producing them (I said NO!!) Patti: Tips: I would advise anyone making this to spend time cutting out this whole pattern before starting to sew. If you leave parts for later you really need motivation to go back and cut. Besides that, it brings you to a halt if you are being especially productive! I also recommend using a walking foot to sew cork. I changed to a regular foot at one point and actually curled one of the straps! I won't make that mistake again! Last, but not least, always put a thick board under your anvil when you are installing your rivets. Otherwise, you will hammer a hole in your nice Ikea tabletop! Don't ask how I know this! Thoughts: I was a bit intimidated by this pattern because it held a lot of new-to-me skills. I'd never used leather (or cork) before and I'd never used rivets or this type of snaps either. I've discovered that I LOVE rivets! I plan to use more cork in my bags because it makes everything look so professional! Thanks for making me try something new! Michelle: Make it Your own: Love the idea of converting the straps to have a multi functional bag. Plus, with it having detachable straps, you can also make different ones and interchange them. Thoughts: I think you did a great job with this pattern! It was fun and challenging but not too hard. I think with the leather/webbing parts, I overthought a lot of it but once I started to change a few things and make it my own, the project was a breeze! I was so happy seeing the final product at the end. Tips: My foot did not like the faux suede. For the topstitch on the flap, I actually had to put paper on top of the bag to sew it and then peel the paper off. It helped make for a smoother line. Nique: Make it Your own: I only used one snap on the front straps and I left off the bike straps and made the bag so it's just a cross body/backpack. Thoughts: I would say this pattern is the hardest I've ever completed; I found it to be harder than a button-up, but maybe that's my pregnancy brain. I really like the end product (it looks so professional and makes my awl wound acceptable lol) and can't wait to use it for school and as a small diaper bag. I'm happy to report that it fits my wallet, phone, changing pad, 2 pacifiers, 2 onesies, a swaddling blanket, 5 disposal diapers, a full pack of wipes, and an adult shirt. It also comfortably fits my husband (he's happy to wear it). Bonny: Make it your own: I did a fusion of the two styles (zippers plus flap). I used denim rather than leather. For the straps, I used a double layer of a decorative trim I had on hand (rather than covering with leather). The trim was 1 ¼”, so I needed to get wider hardware. I used a scrap of ultrasuede for the reinforcement and strap for the technology pocket, zipper pulls, and (double layer) for the guide for straps on the front. Thoughts: My tween daughter LOVES the sample that I am making. More: Here are some more modifications that I've thought of, or seen pop up on the #HuxleyBag on Instagram:
- Leave off the front straps and handle for a minimalist look - Print your own fabric with a site like Spoonflower - Use a fabric or article of clothing with special significance (like dad's leather jacket) - Use velcro for your closure - Add in more pockets - Get rid of pockets you don't want - Add in more rivets or studs as decoration - Use a contrasting topstitching I want to see what else you all can come up with for your own Huxley bags! Keep tagging me on instagram!
0 Comments
Leave a Reply. |
madeline stage
creative business owner. designer. hoosier. crafter. runner. sewer. swing dancer. outdoor enthusiast. entrepreneur. wife. mom. material hoarder. Categories
All
Archives
June 2023
|
Contact Me
|
Weekly Mantra:Motivation doesn't last. That's why, just like bathing, we recommend it daily.
Click here for the Privacy Policy |
|


 RSS Feed