|
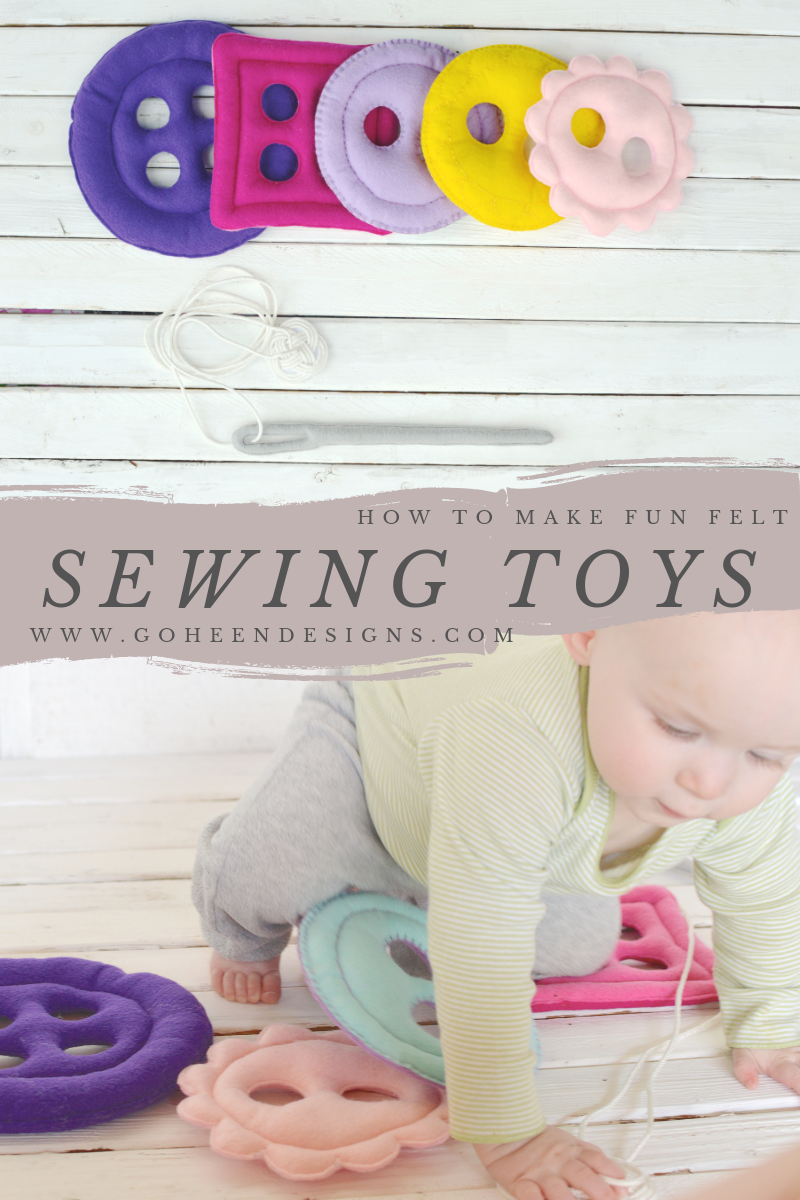
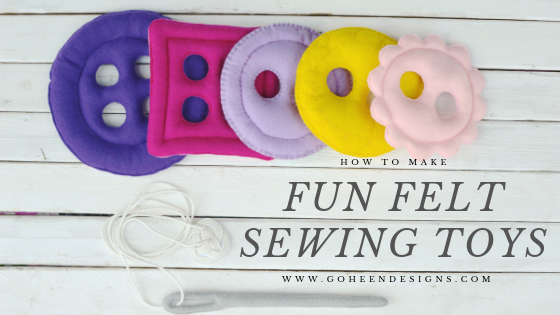
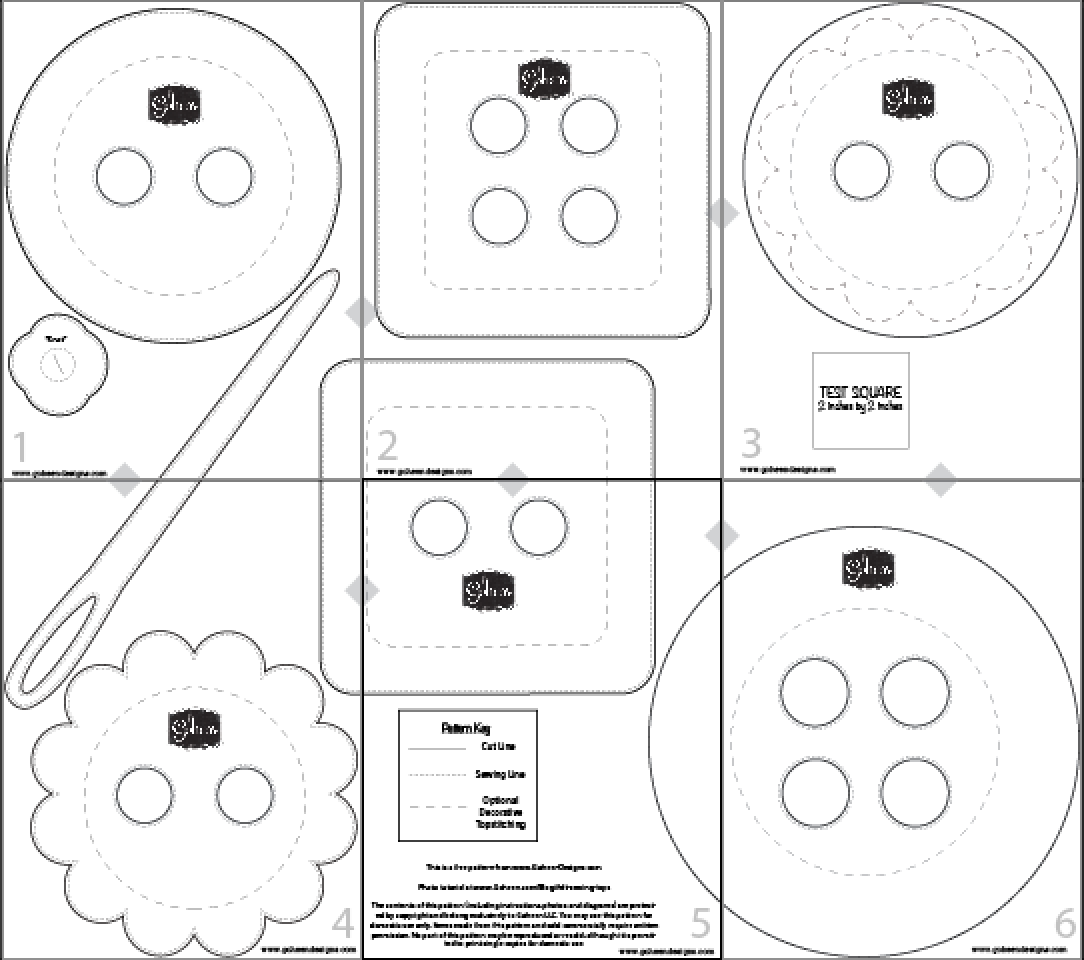
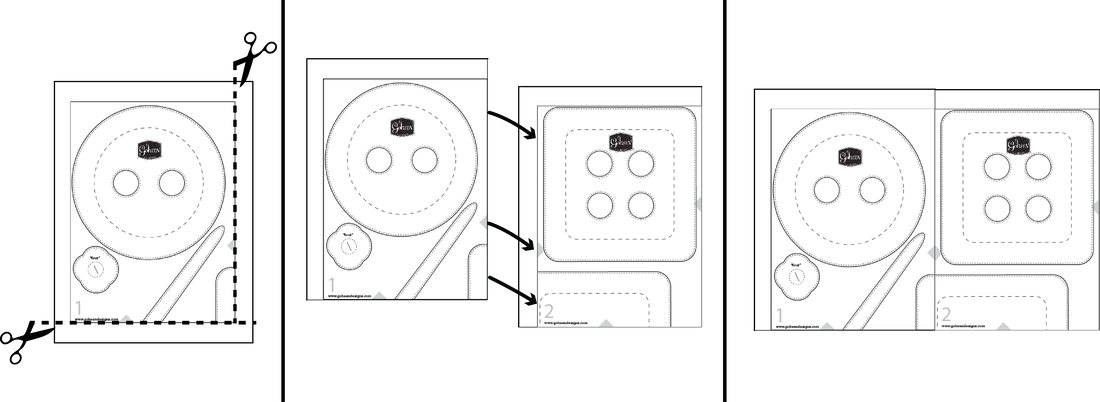
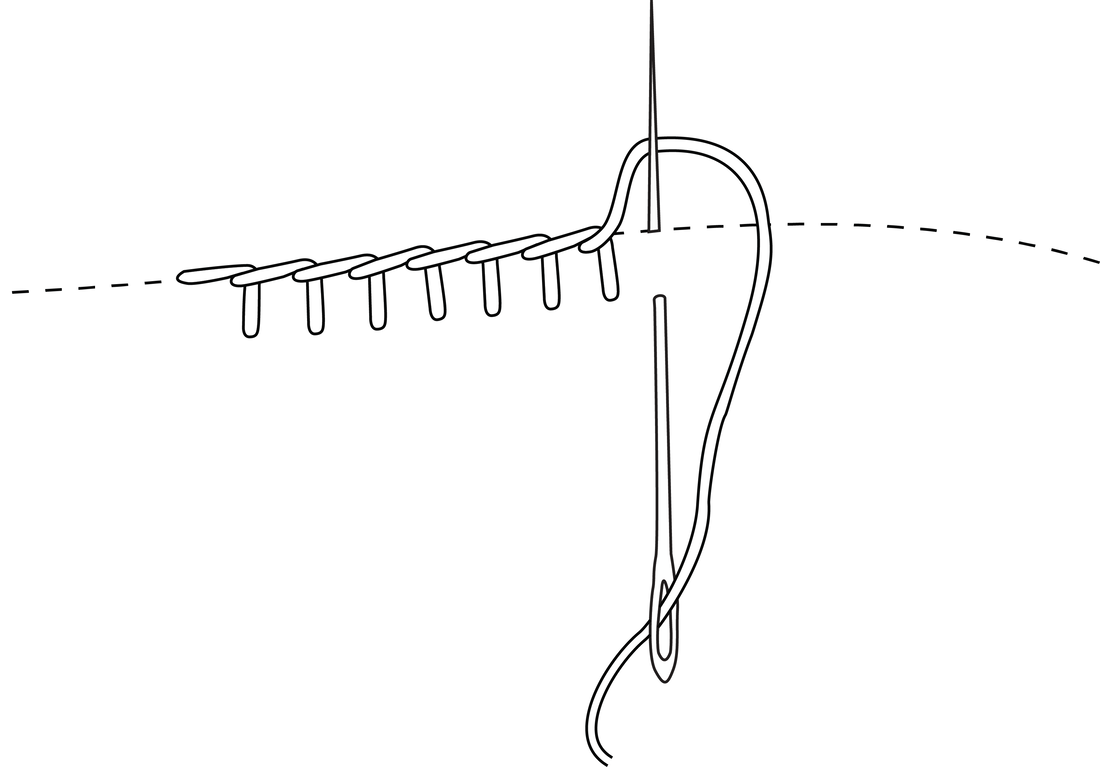
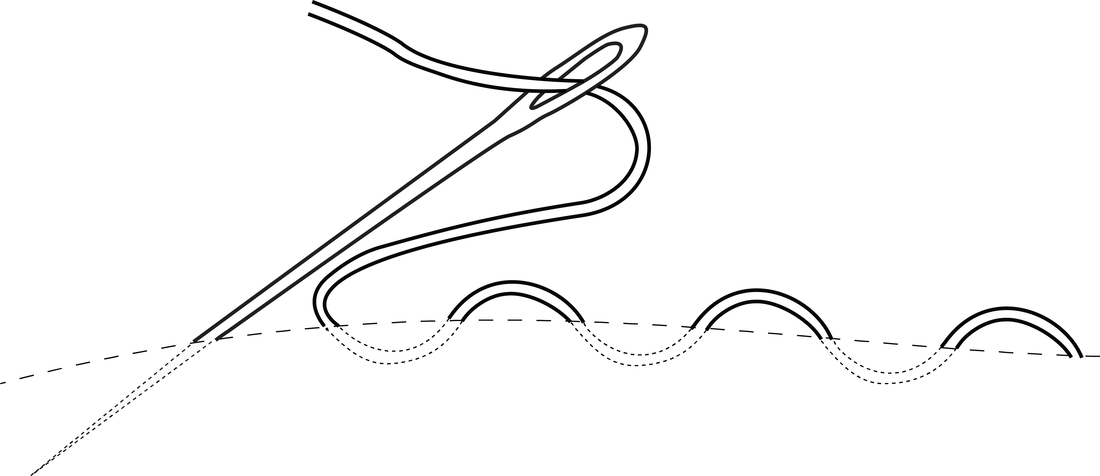
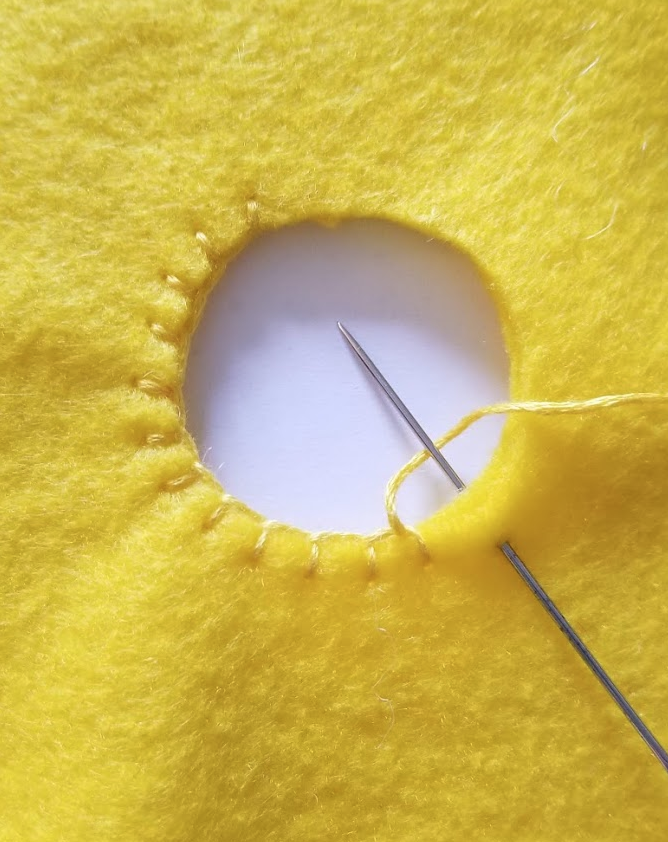
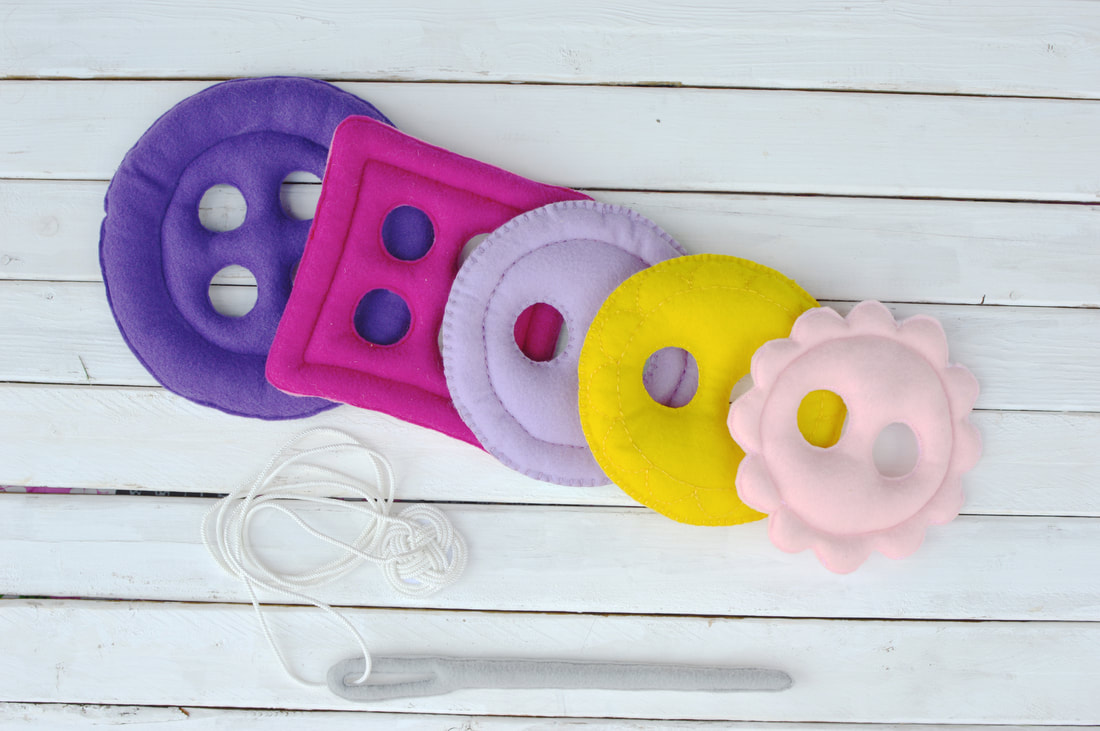
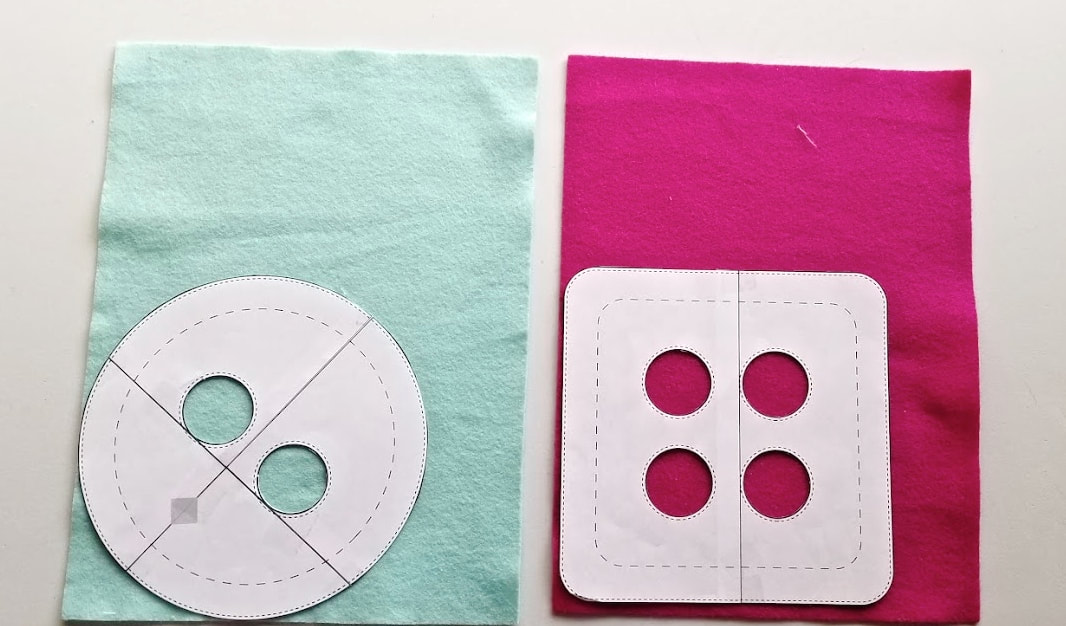
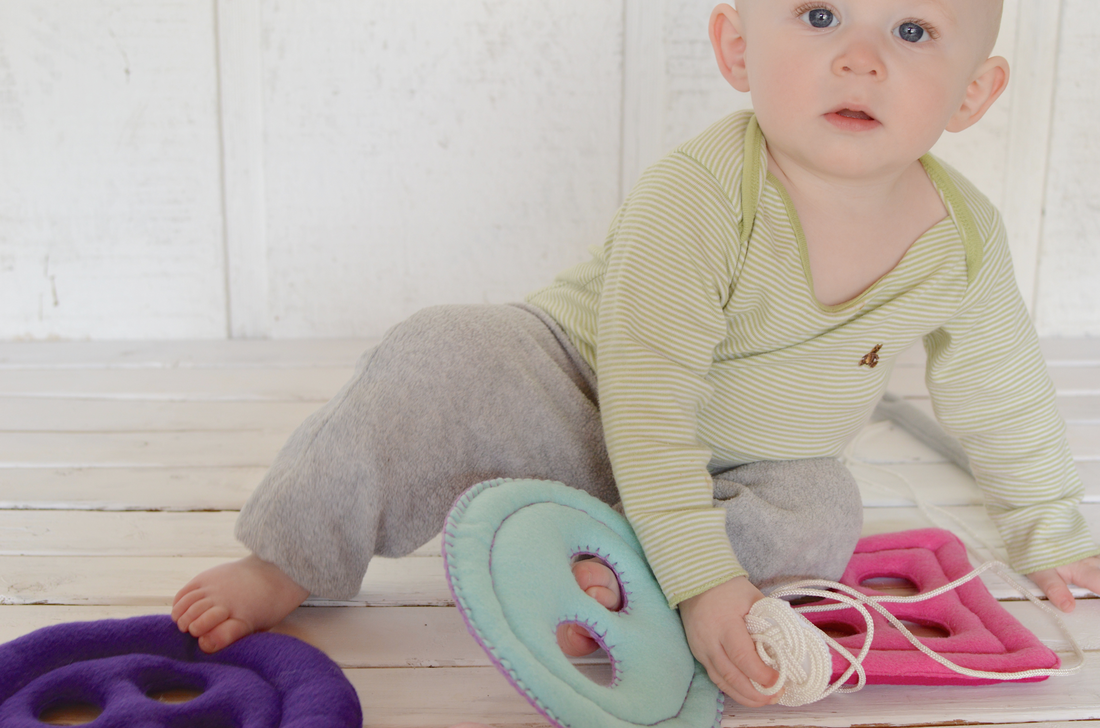
Hello everyone! Today I'm happy to inform you that my Felt Sewing Toys pattern is ready! And it is FREE to all my subscribers! Not a subscriber? No problem! You can click HERE to sign up, and get your code in the final welcome email. Already have your pattern? Then you are in the right place! This is a tutorial for how to put those sewing toys together! First things first, if you printed out the tiled version of the pattern you need to cut and tape the pages together. Below is a helpful picture of how your tiled pages will look when you lay them out correctly, as well as a quick graphic to show you how. If you need more help piecing it together, go ahead and check out this post on how to do that. I created my sewing toys with a mixture of machine and hand sewing. The stitches I used for the hand sewing where a combination of the running stitch, the backstitch, and the blanket stitch. Here are simplified diagrams of each stitch for you: Creating your Felt Sewing Toys:
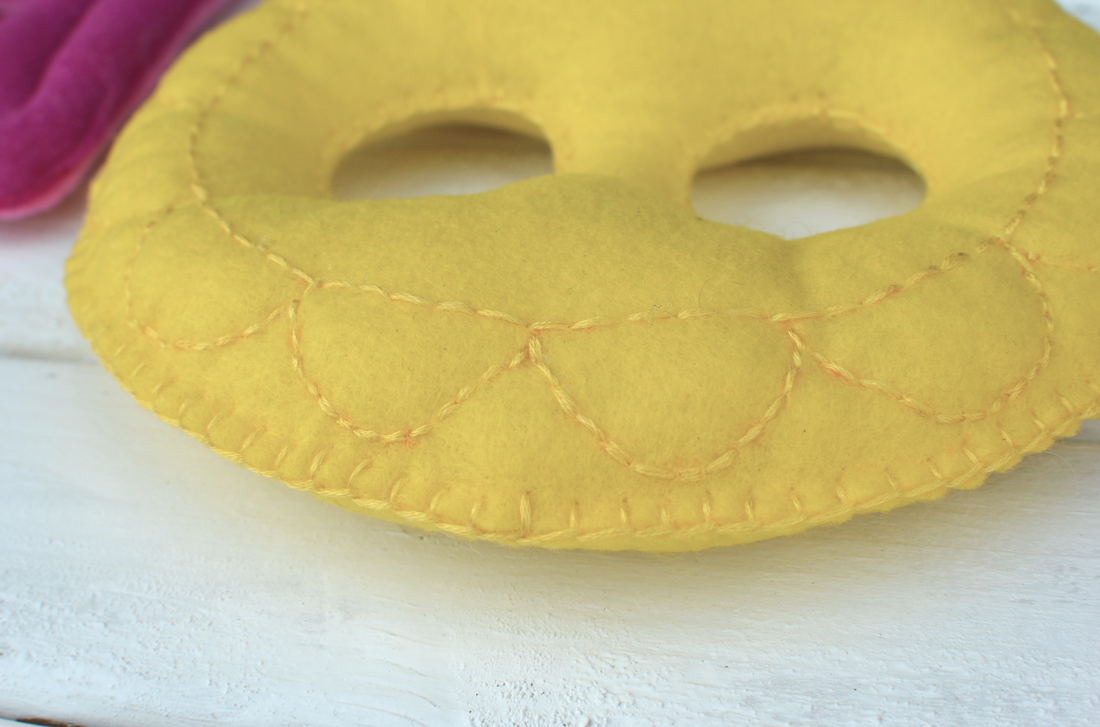
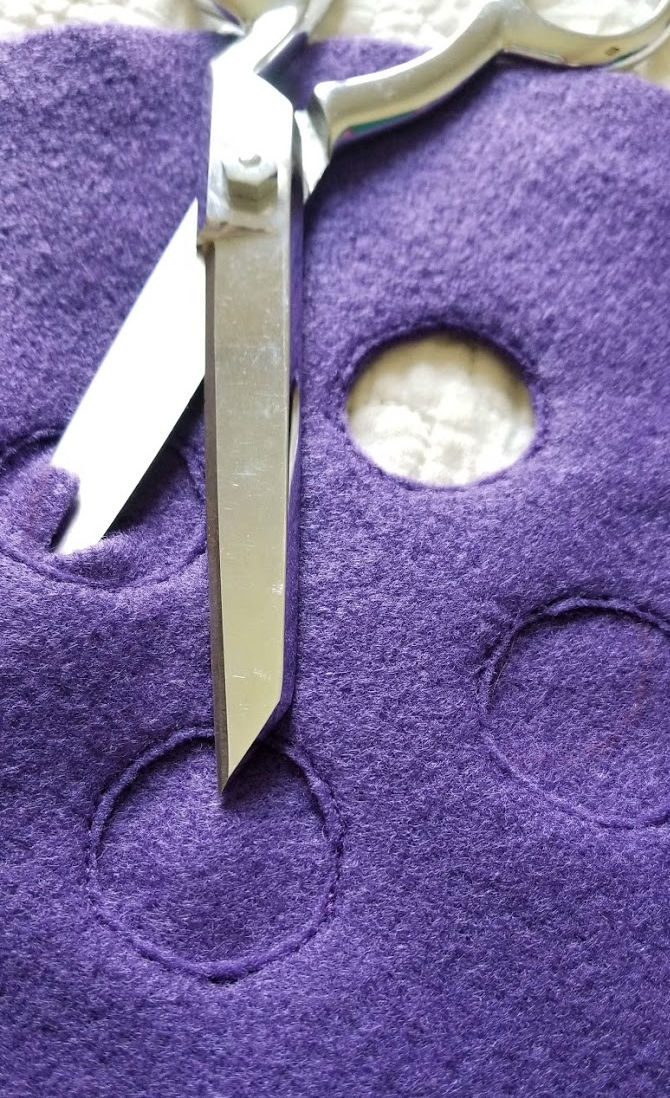
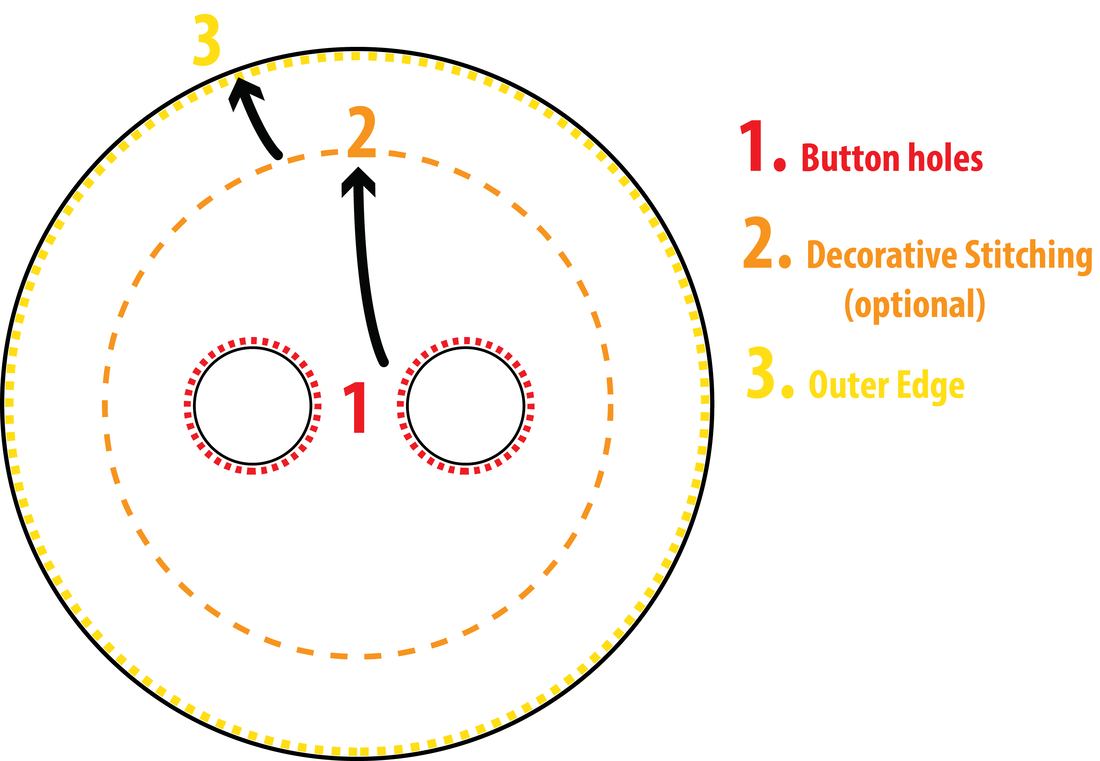
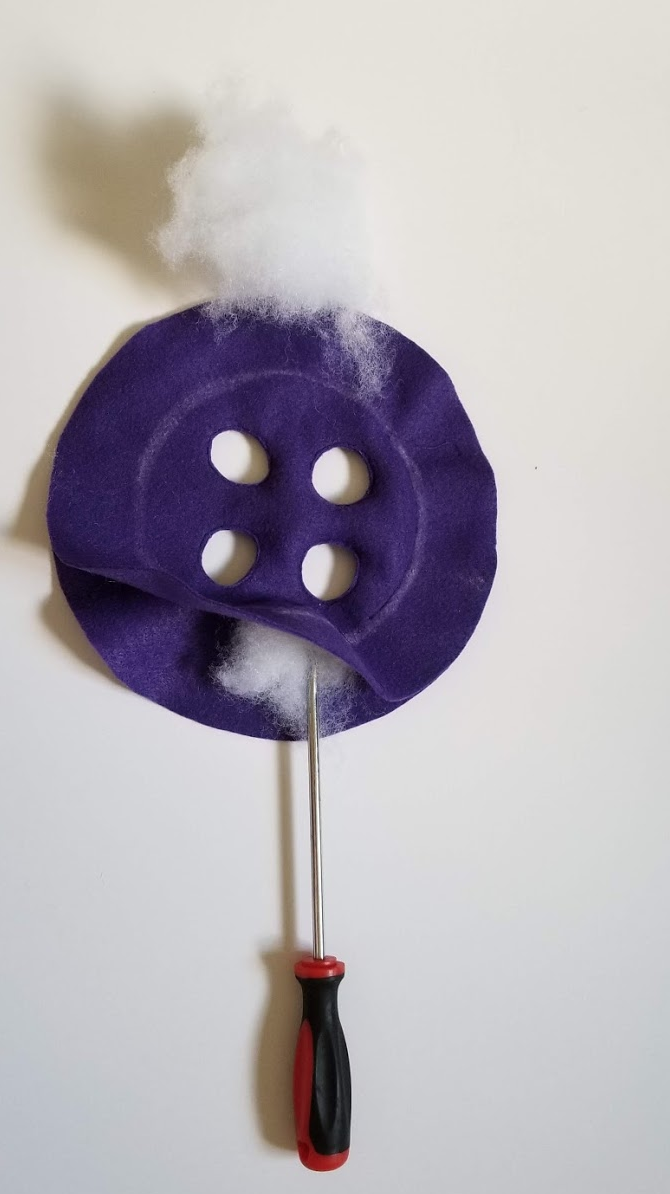
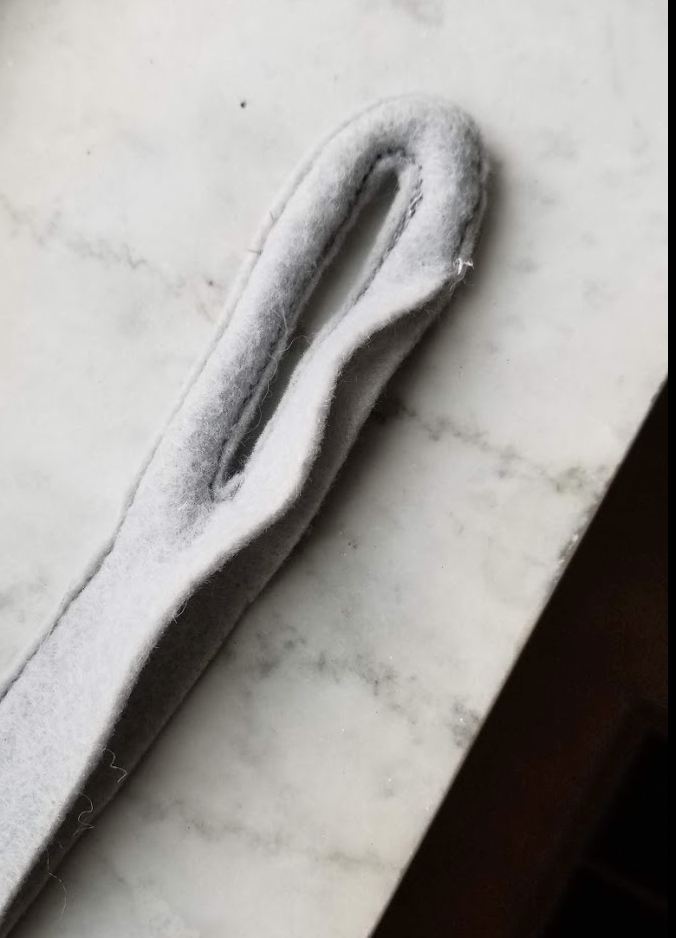
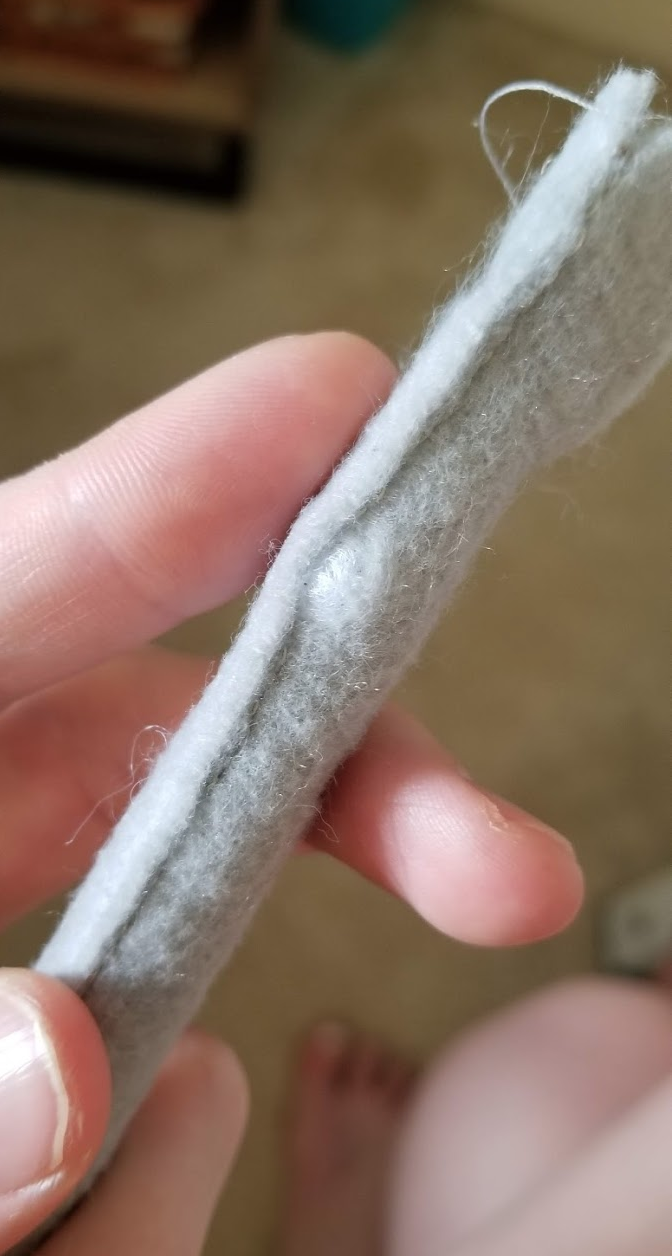
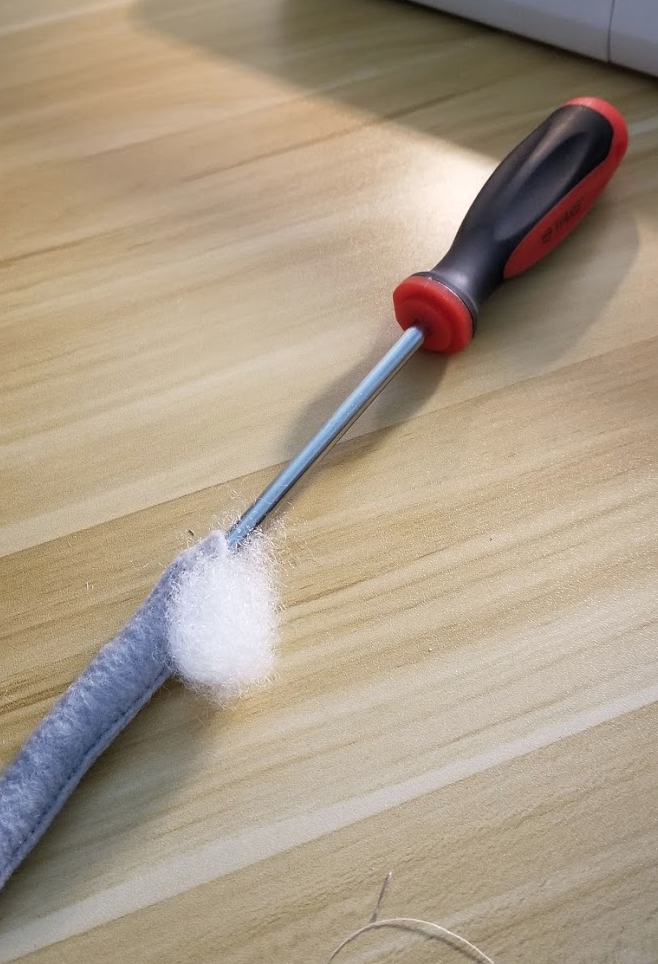
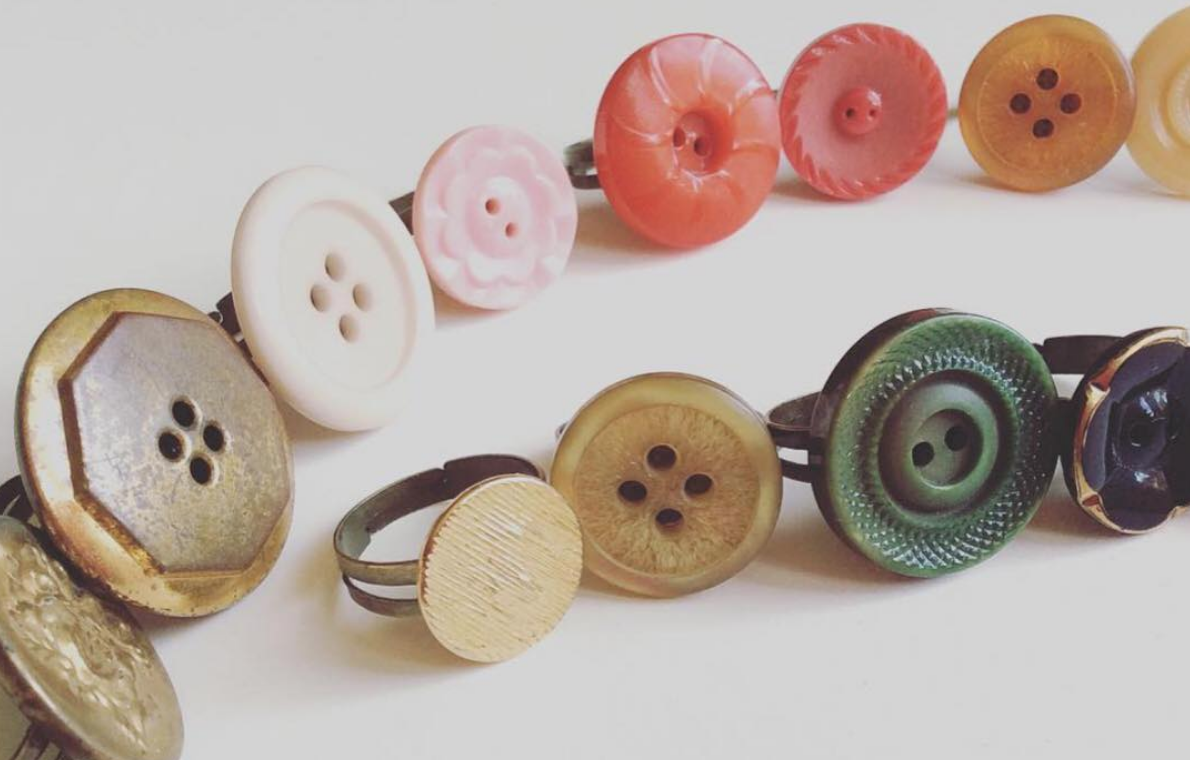
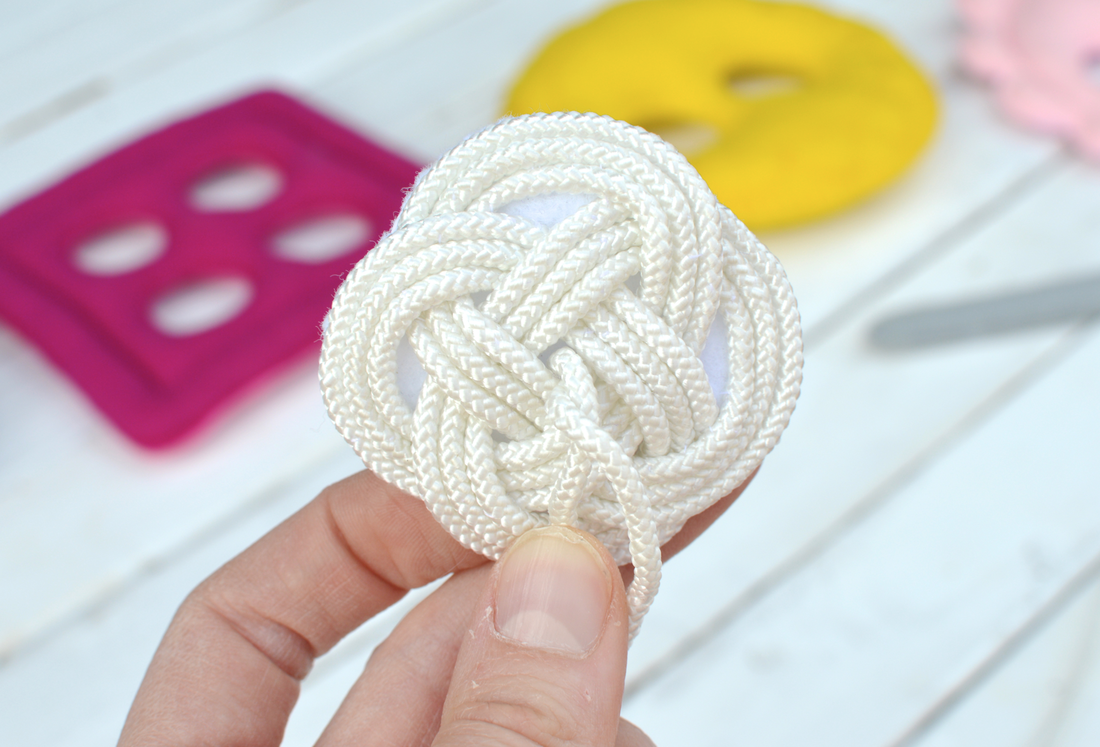
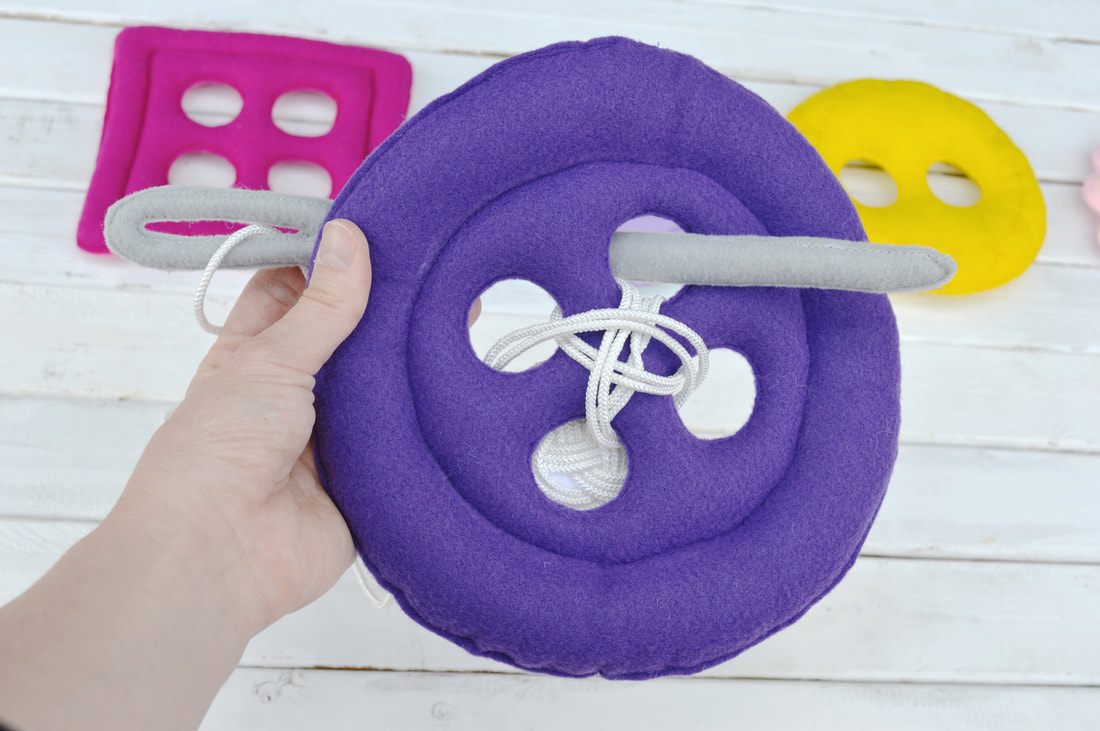
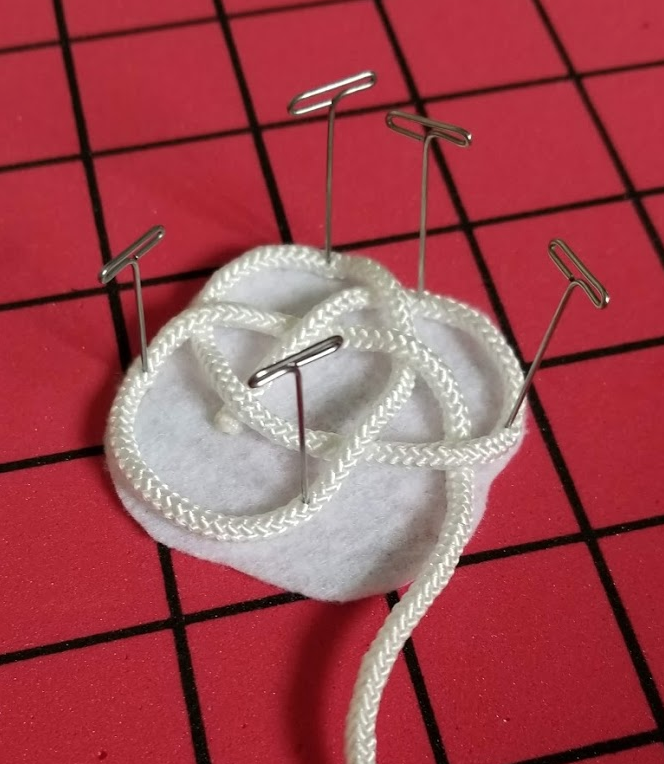
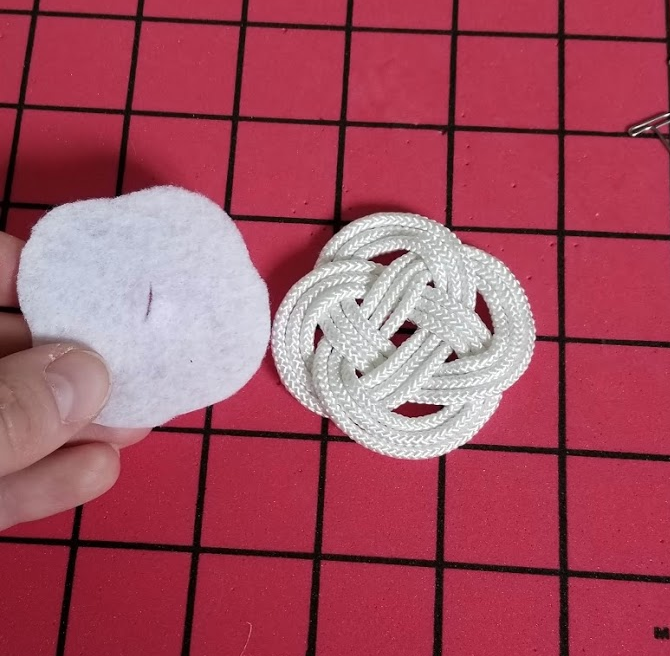
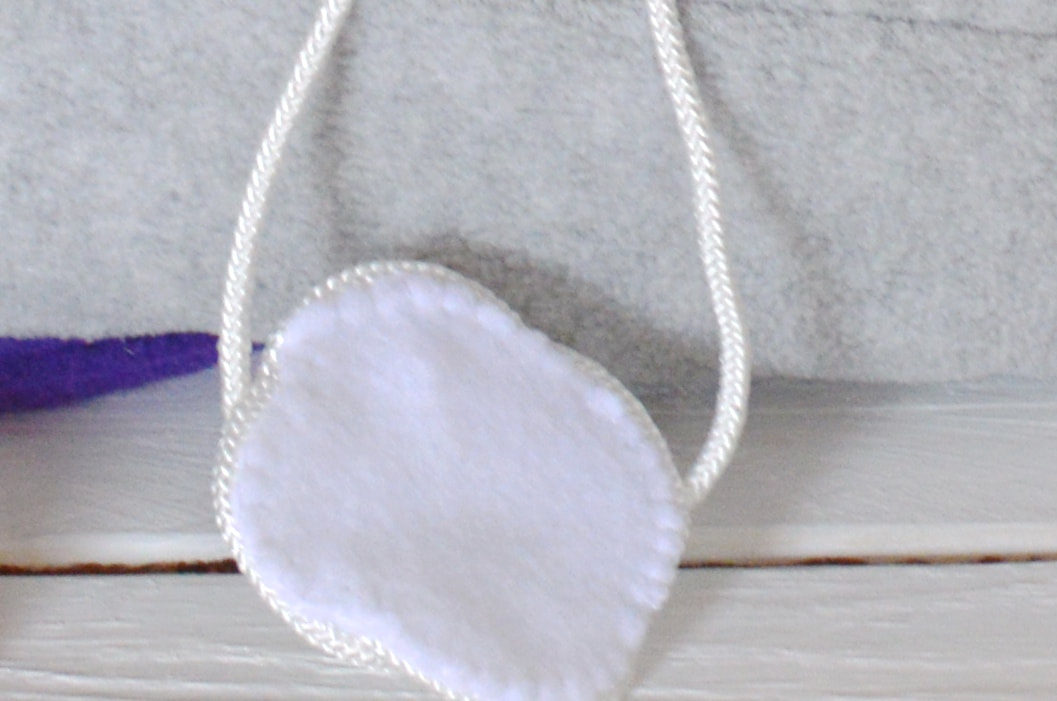
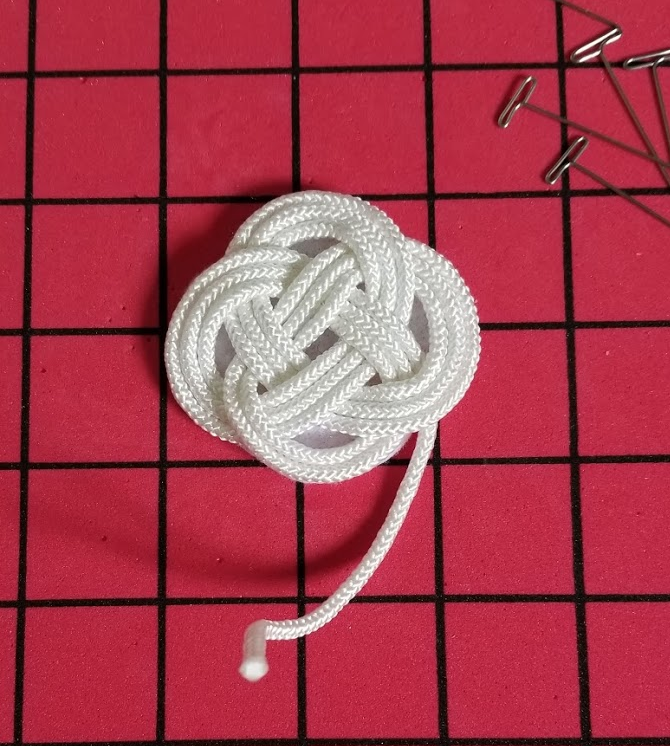
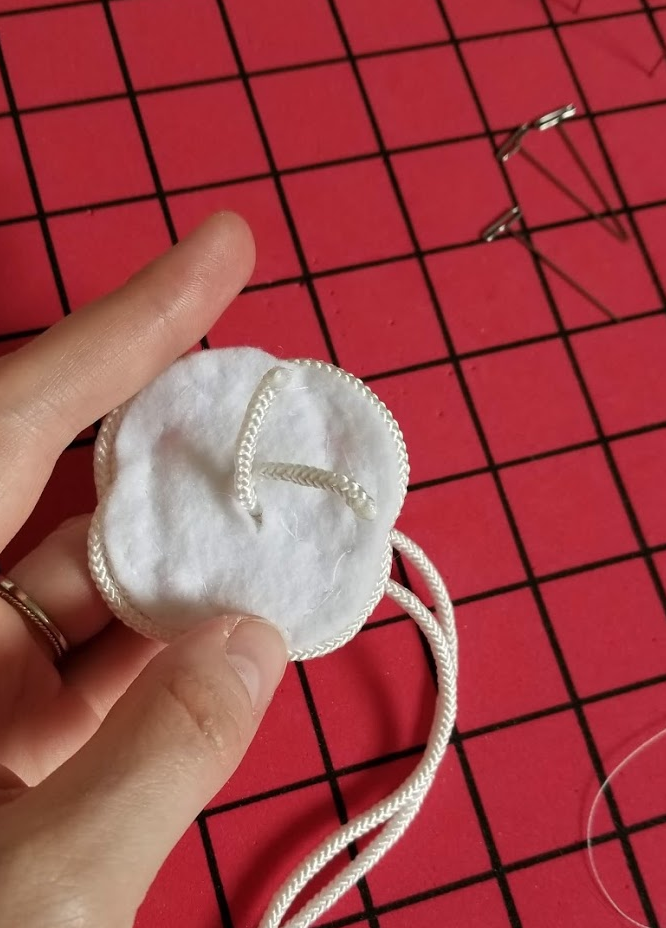
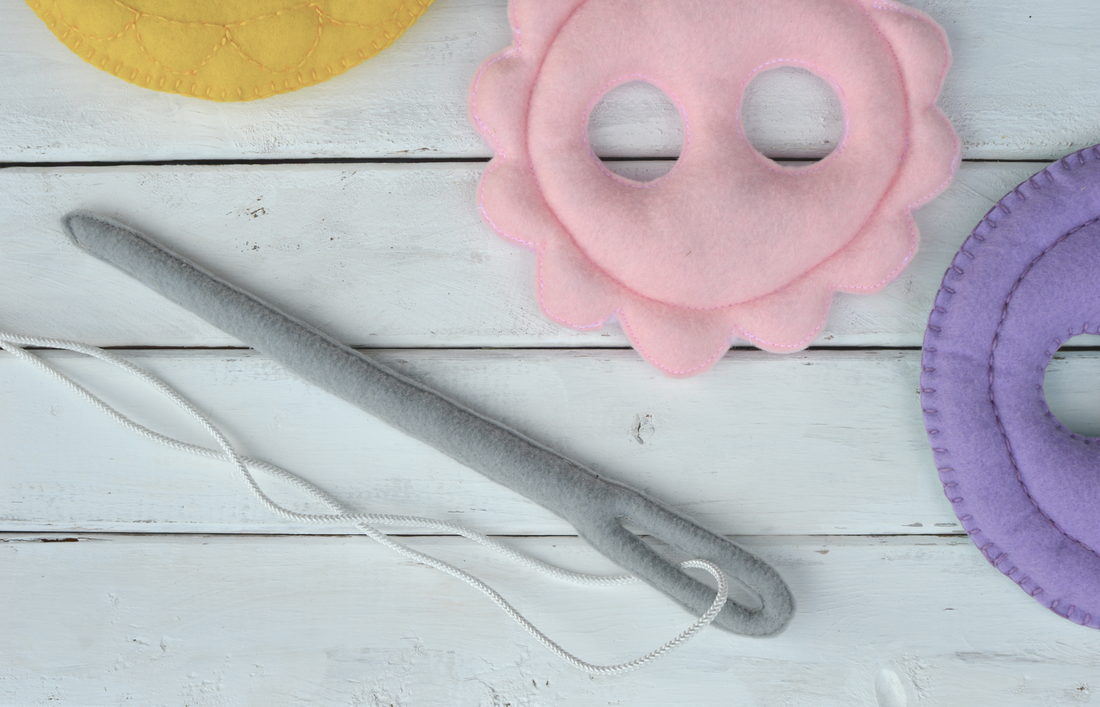
The easiest way to sew these toys is from the inside out. By that I mean you start with button holes (or needle eye) in the center, and then sew the middle ring if you want one, and then sew the outer edge last. As you sew each section, you add your stuffing as you go, before completely closing each ring. When you are hand stitching, this is a very easy back and forth. Sew a few stitches, then pause to stuff, then continue on without a break in your stitch line. On the machine, it can lead to lots of breaks in your topstitching. But personally I don't think my son is going to notice (let alone mind) that the topstitching isn't perfect, either way I do it. After the necessary stitching, you can add all sorts of decorative stitching. I've started taking a look through my vintage button stash to get inspiration! The final step is my favorite! The thread! Ok, more specifically the knot. You don't HAVE to make the decorative knot, but I had so much fun putting it together! And I love that it makes it possible to actually "sew" the buttons together, since the knot doesn't fit through the button holes. So you should have two of the "knot" pattern pieces already cut out of your felt. On ONE of the pieces, cut a slit in the center where the pattern indicates. This will be your top. Using this top piece as your base and your guideline, create a Carrick Bend Mat using this awesome Animated Knots website. I used about 44" inches of 1/8" cording to create a knot that went around 3 times (instead of the two in the animated instructions). I used my foam blocking mats and pinned the knot in place as I went. I'm not sure I'd have been able to do it without being able to pin it in place! I used the felt as a starting point, and then after finishing the knot I tightened it to be just large enough to cover the felt. Then I used a hand needle and thread to whip stitch it all in place, to the felt and to itself.
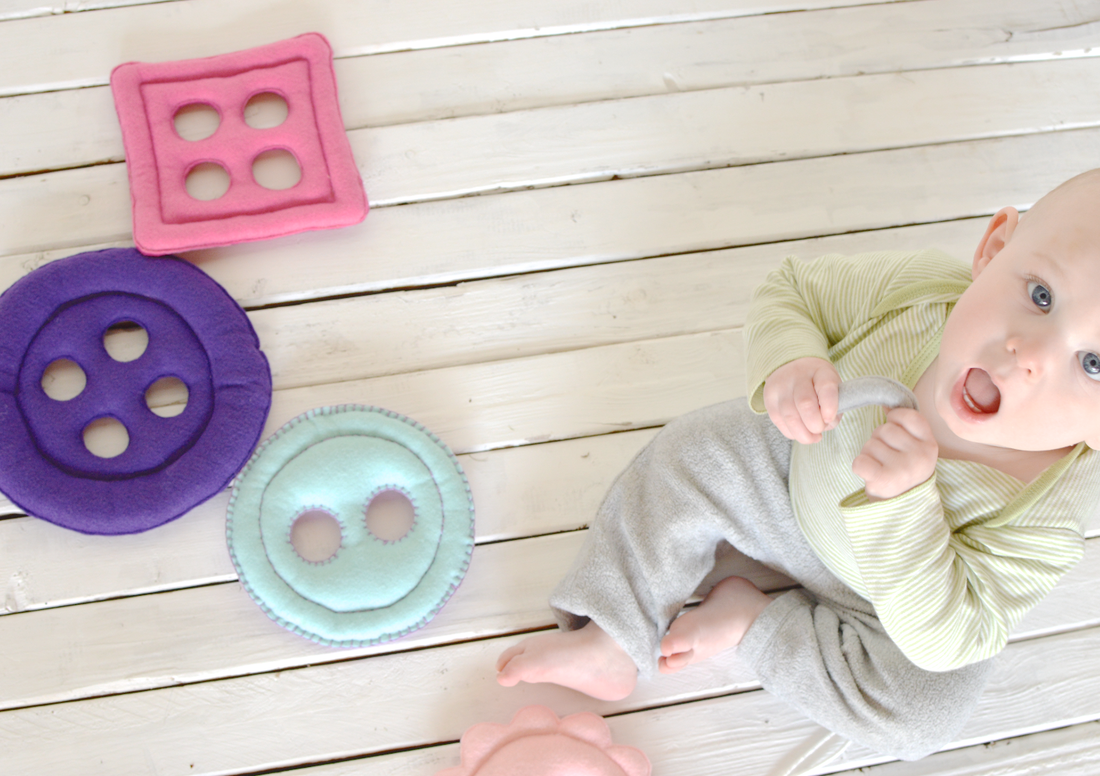
I love these little toys, and I think they would make a great gift for a little one who is around sewing, but too young to use the real tools. They can learn the very basics of what it means to sew something.
But, I feel obligated to say that I am NOT suggesting that you let your little ones play with this unattended. If you are worried that your child is too young to be safe playing with a cord, simply leave the "thread" off or wait til your child is older. Also, be extra sure that you didn't accidentally leave any pins or needles in the toys before you hand them off!
4 Comments
Laura
12/25/2019 02:00:12 am
I love this felt toy!! Please keep creating more of them.
Reply
12/27/2021 04:45:56 am
K2babycare was founded in 2021 by K2 Group of Companies with a vision of providing ease to busy parents for the selection of the best baby products. We are one of the best baby stores that offer you to select from a wide range of high-quality baby items, including strollers, car seats, feeding products, baths, baby clothes, and much more at affordable prices.
Reply
3/5/2022 02:24:42 am
How many of you have found yourself in the frustrating position of trying to get your tired and cranky baby to sleep during a late-night feeding? You know how hard it is to find a comfortable spot for them, and then they won’t stay put. Enter the Baby Lounger! This innovative product allows parents with babies up to 10 pounds (4.5 kg) an easy way to keep their little one close by while getting some much-needed rest.
Reply
Leave a Reply. |
madeline stage
creative business owner. designer. hoosier. crafter. runner. sewer. swing dancer. outdoor enthusiast. entrepreneur. wife. mom. material hoarder. Categories
All
Archives
June 2023
|
Contact Me
|
Weekly Mantra:Motivation doesn't last. That's why, just like bathing, we recommend it daily.
Click here for the Privacy Policy |
|


 RSS Feed