
 After a chaotic holiday season of sewing like mad to keep all my stores in stock, I needed a little selfish sewing break before getting started on all my tax paperwork. Sometimes I need to do a quick project that is easily done in one sitting. And headbands make a great quick sew! Of course, when you are wrangling a 6 month old who is constantly getting in to everything, nothing is ever really done in one sitting. But headbands are pretty straight forward, even if you keep getting interrupted by your kid trying to bang his head into all the furniture.
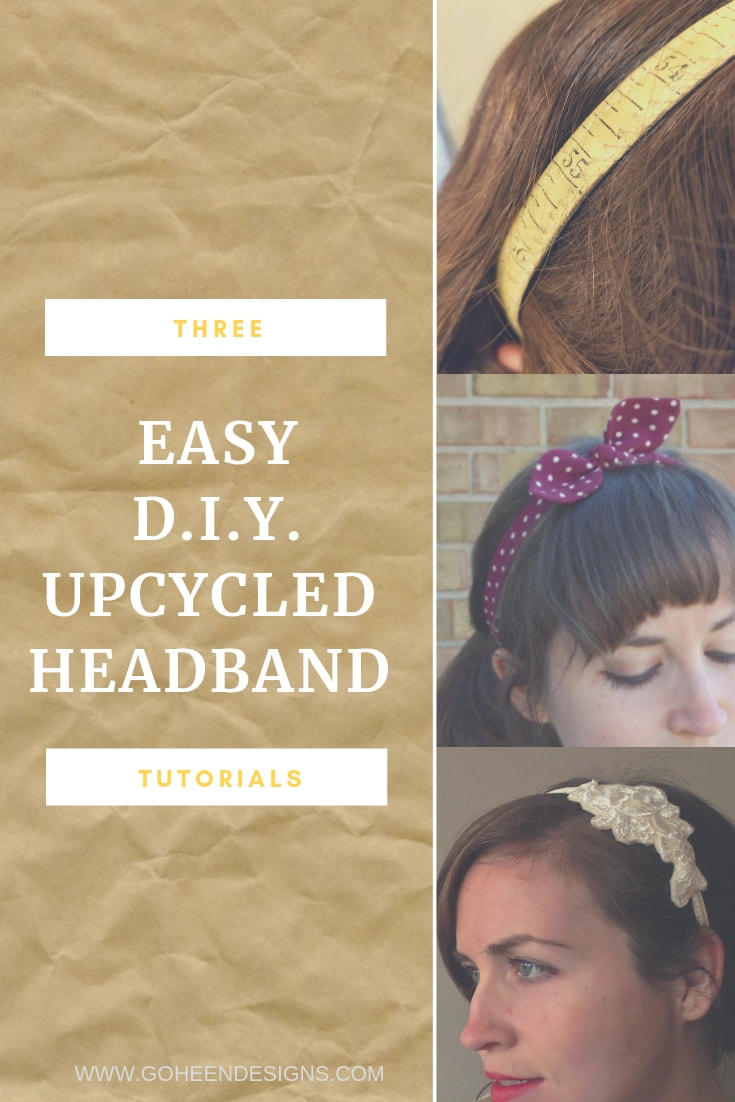
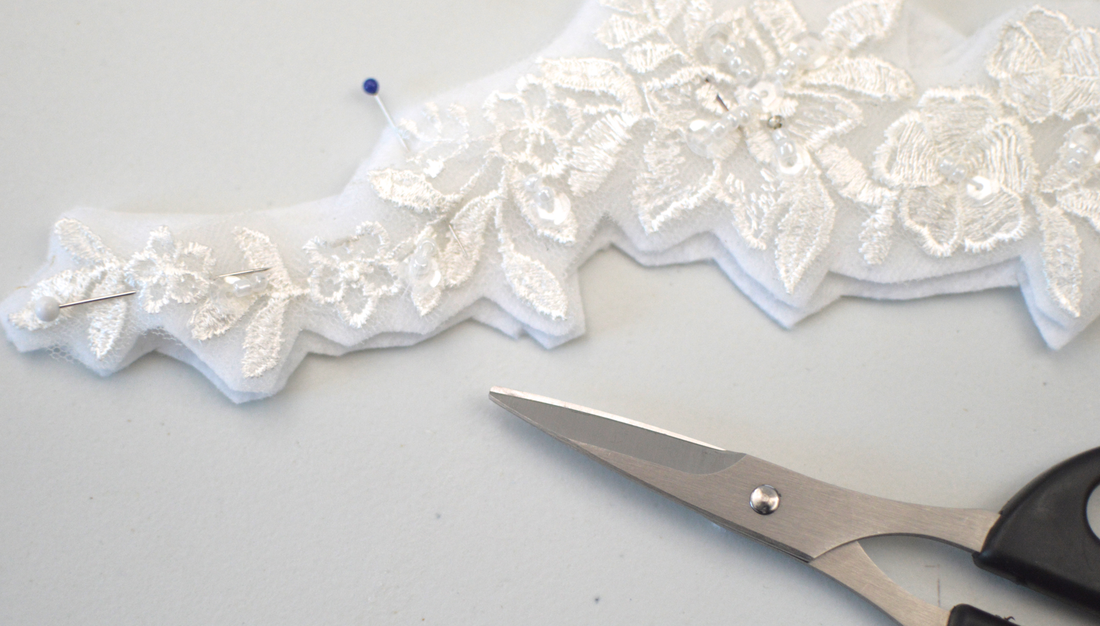
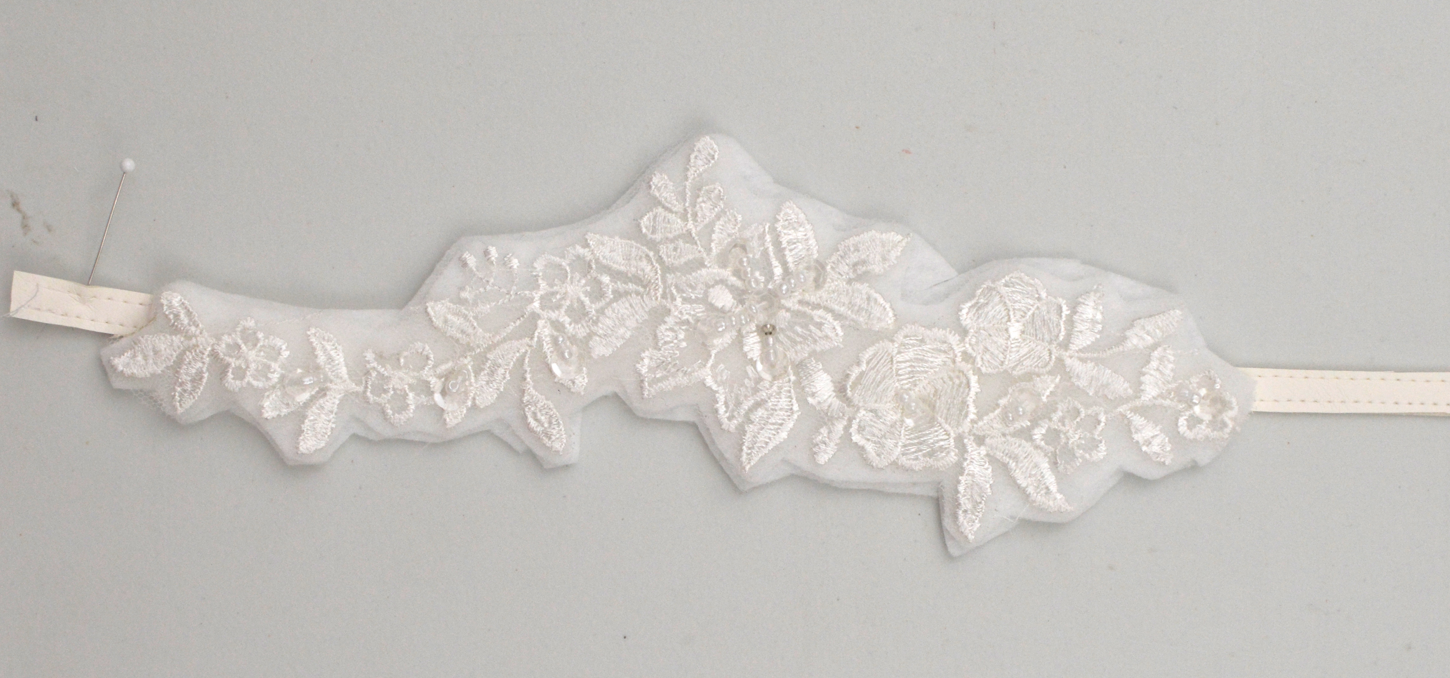
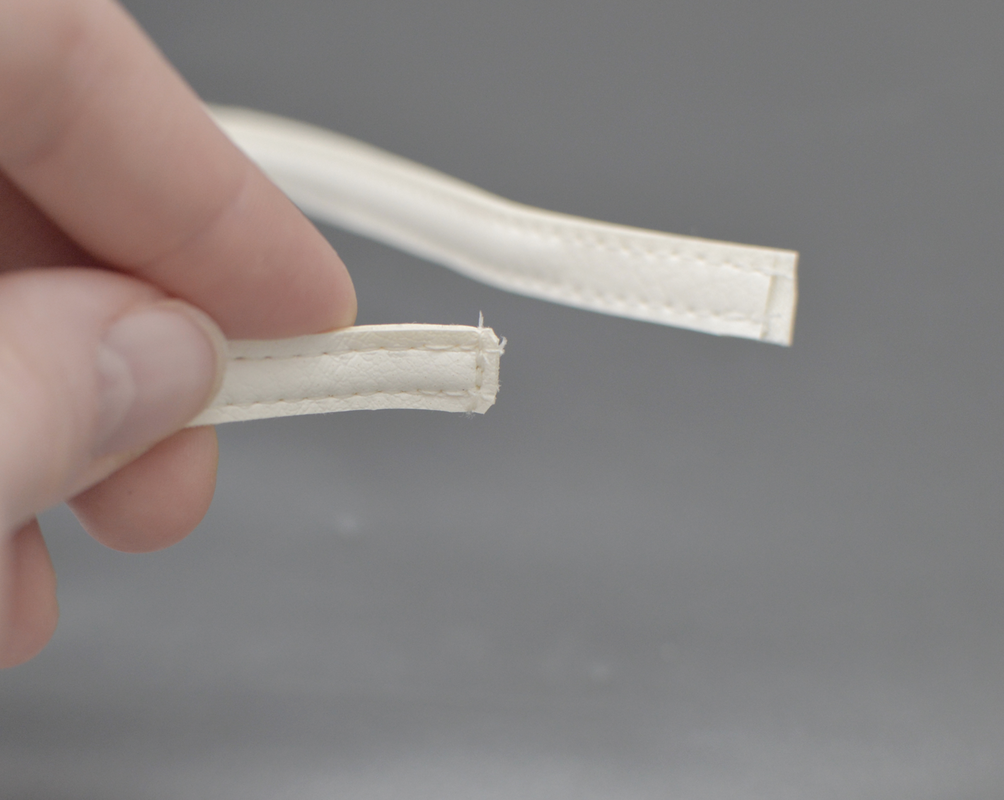
Here are the three headbands that I cranked out: the white lace headband, the modified retro top knot headband, and (my favorite:) the vintage measuring tape headband! Upcycled Headband #1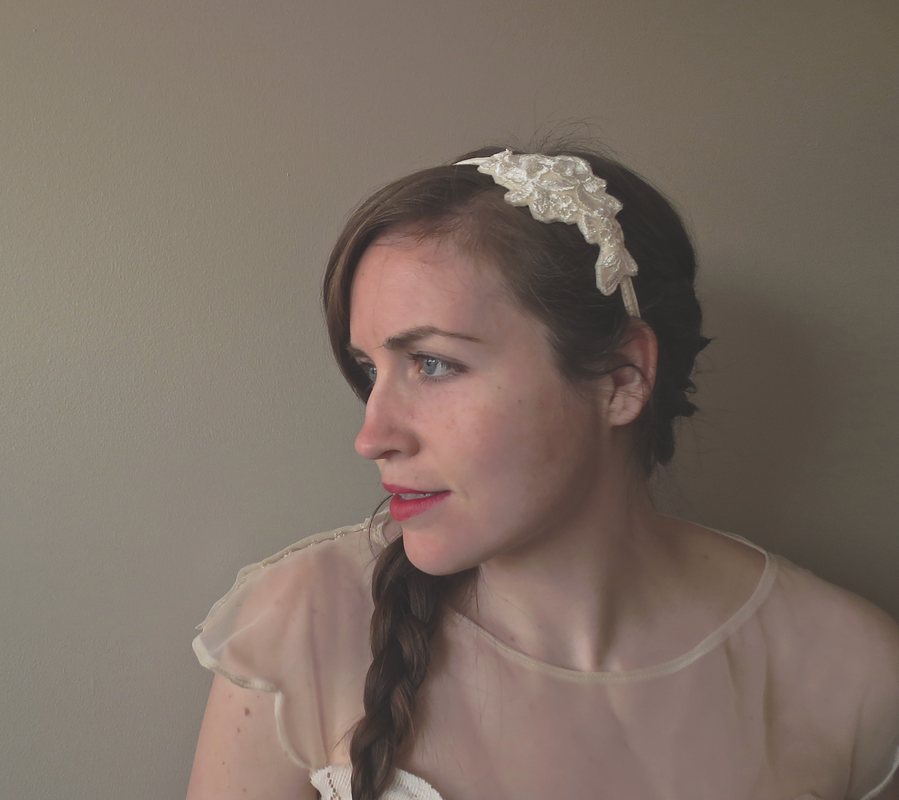 The first headband I made is the white lace one. I've made this headband a few times for my Etsy shop, and I had one more piece of this lace from altering my friends wedding dress so I thought I'd go ahead and use it up. 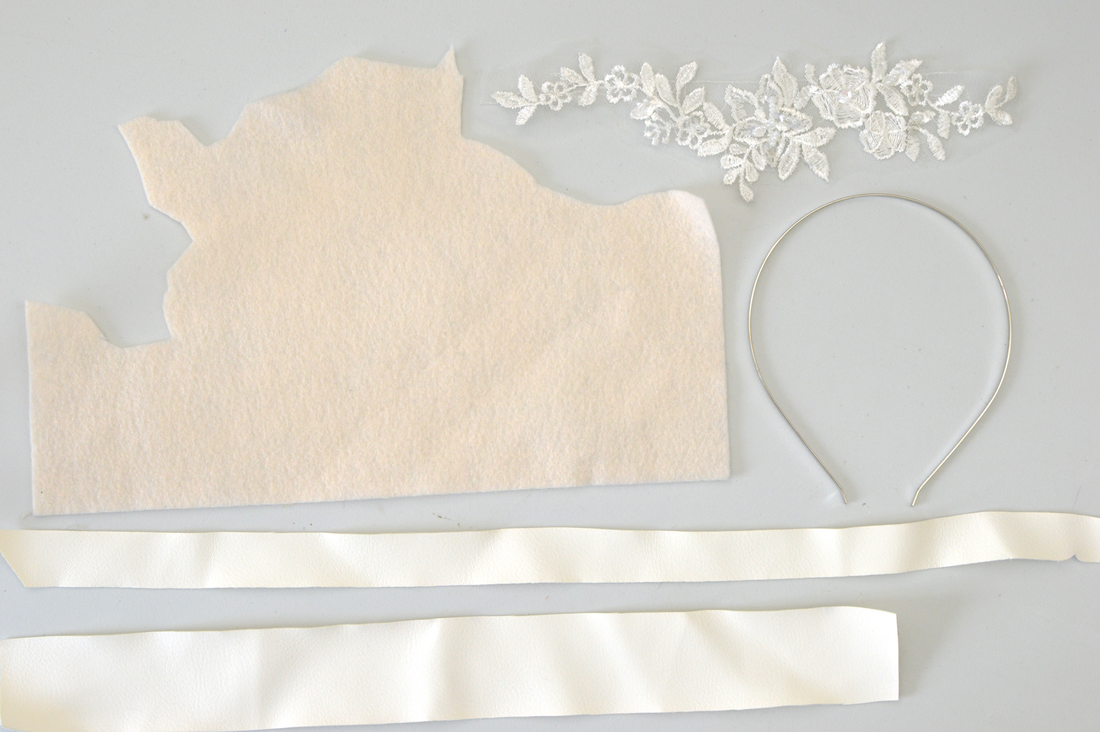 This headband starts with a simple band: two pieces of vinyl sewn together and a blank metal band slid inside. But in addition to that, you also have the piece of lace, and two pieces of felt.
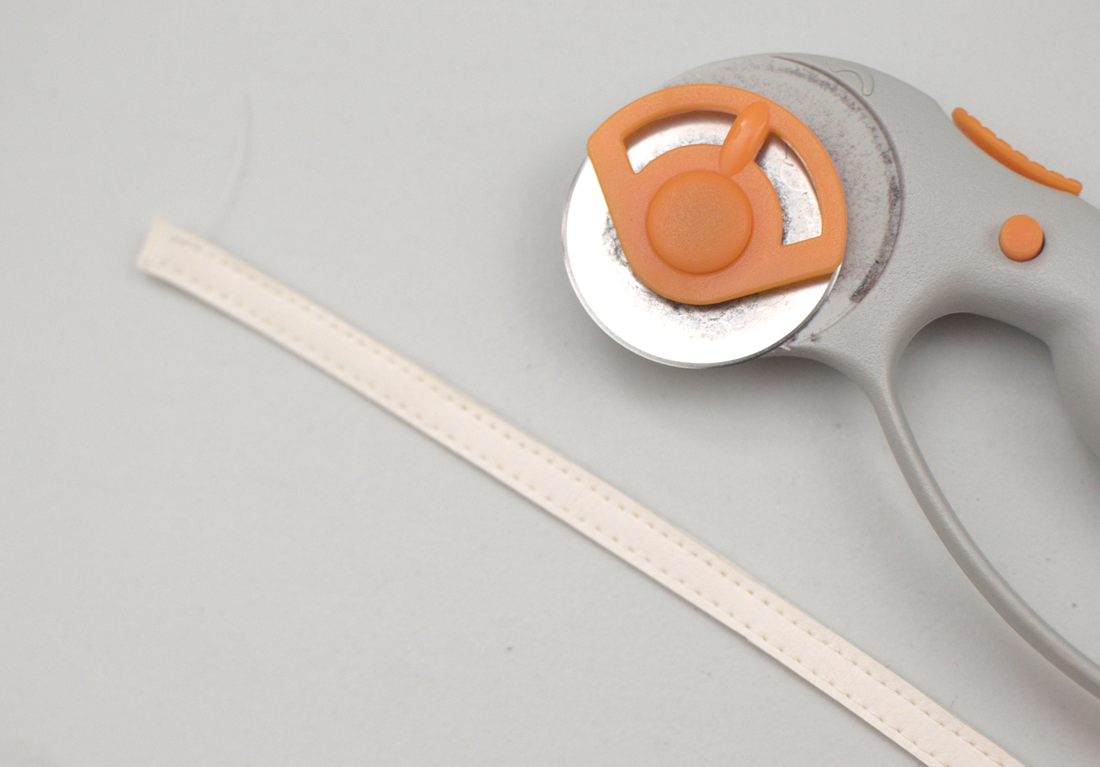
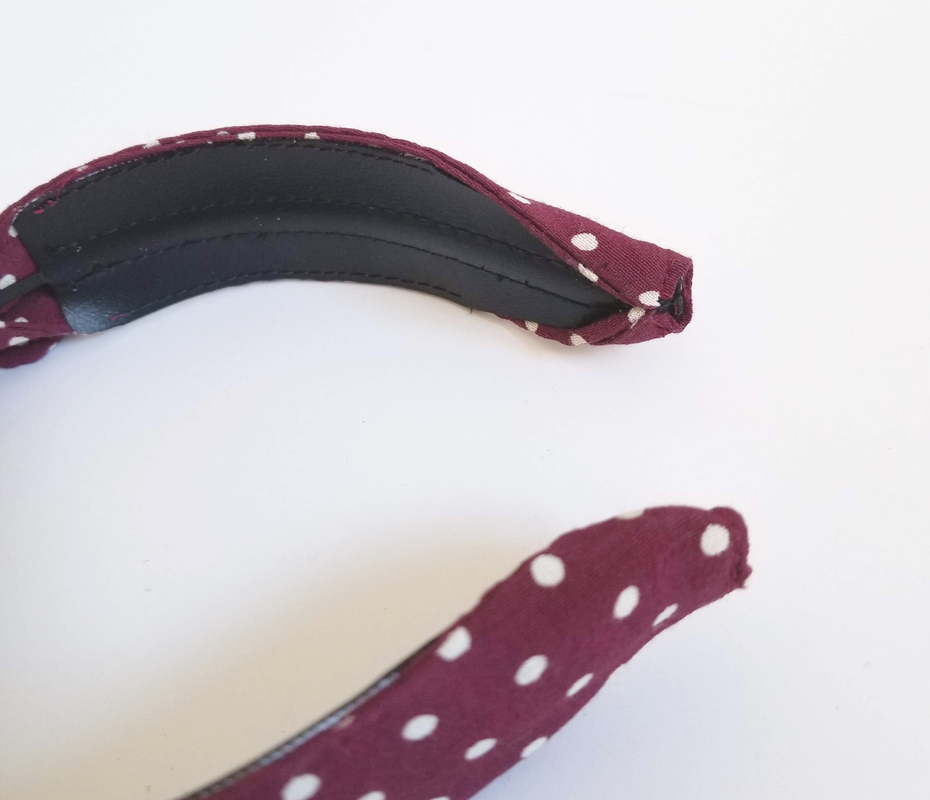
Make sure your vinyl band is topstitched on both edges, with enough room in between for your metal blank. Also, using a rotary blade makes sure that your edges are nice and clean.
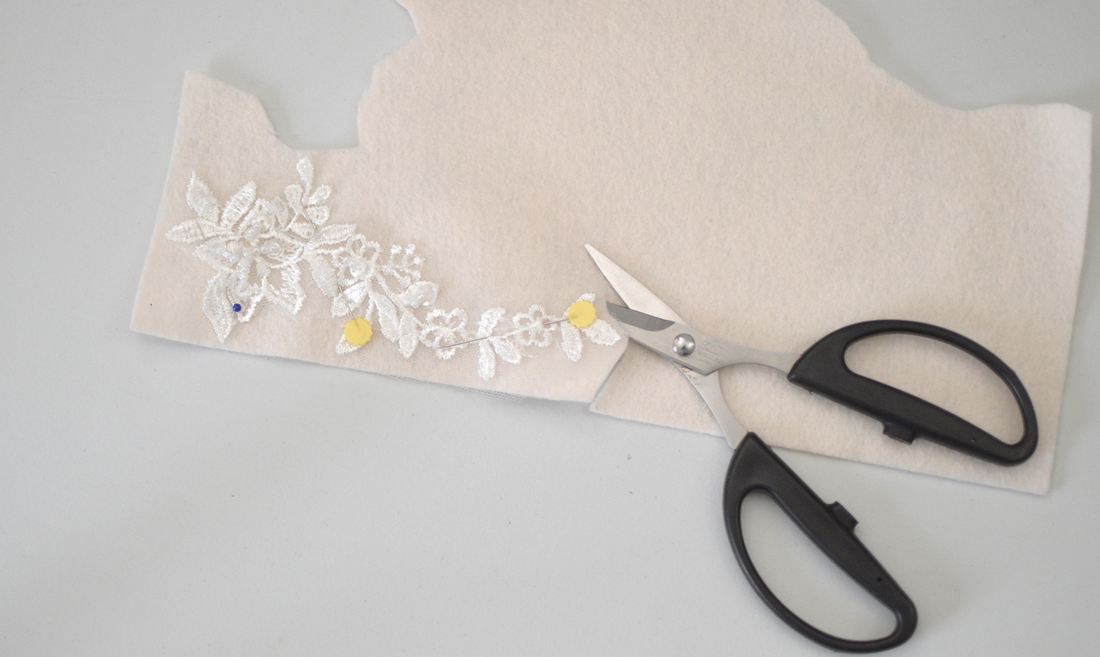
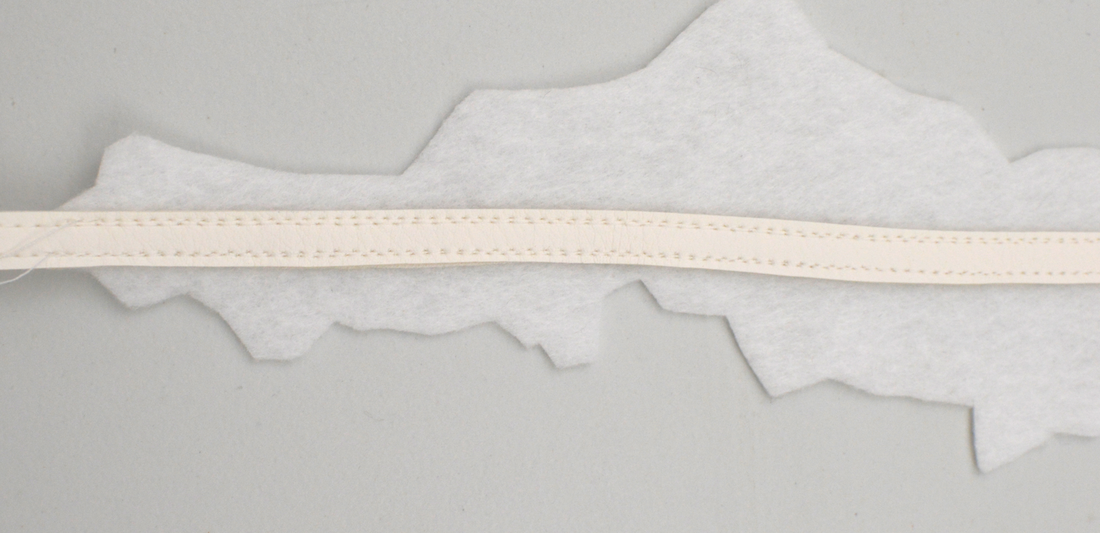
Cut your felt pieces to be just slightly larger than your piece of lace. You can trim them down later. These felt pieces will be sandwiched on either side of the vinyl band.
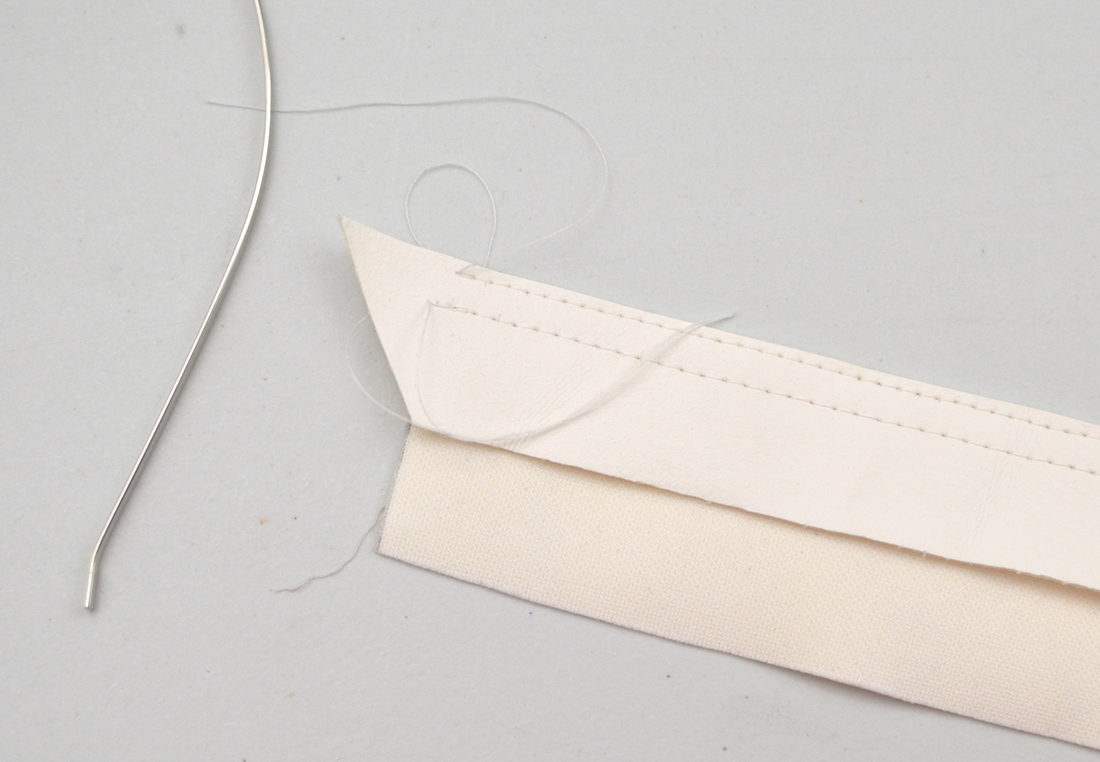
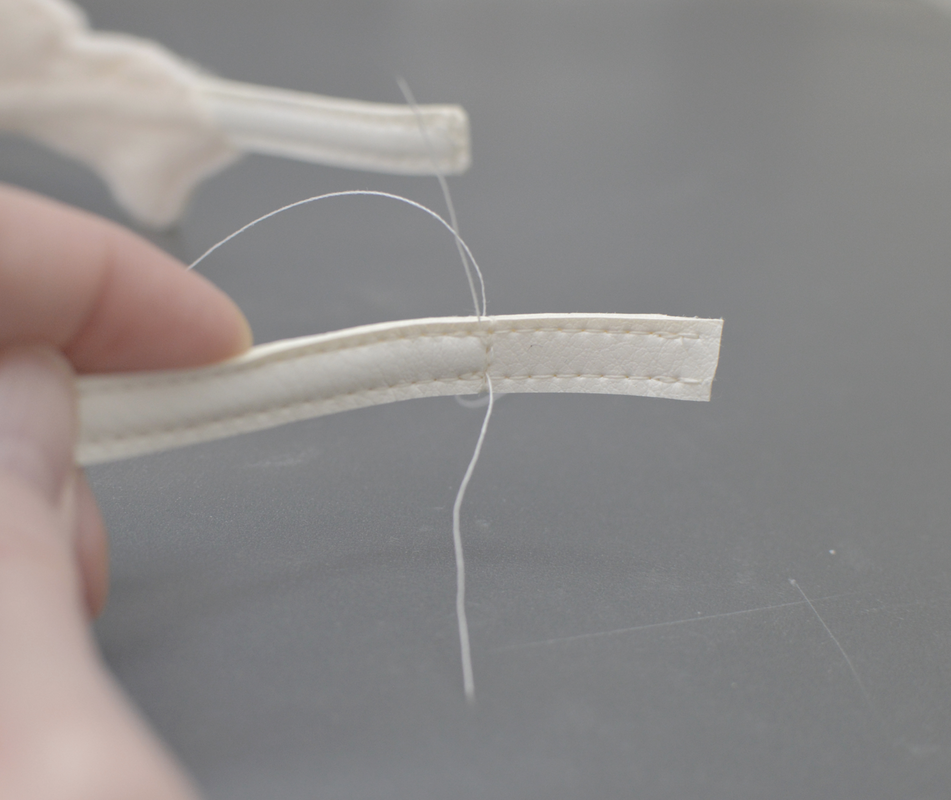
Take the bottom felt piece and sew it onto the bottom side of the vinyl band in the position that you want your lace. Sew along the same lines that you initially made on the band. Then, sandwiching the band, put your other piece of felt on top, along with the lace, and topstitch around the edges of the lace. But DO NOT sew across the band. If you do, you won't be able to slip the blank headband inside the band. Then trim off any extra felt, slip your blank headband in, and finish off the ends. I can actually fit my headband ends into my machine, and do a few stitches back and forth across to close the ends. 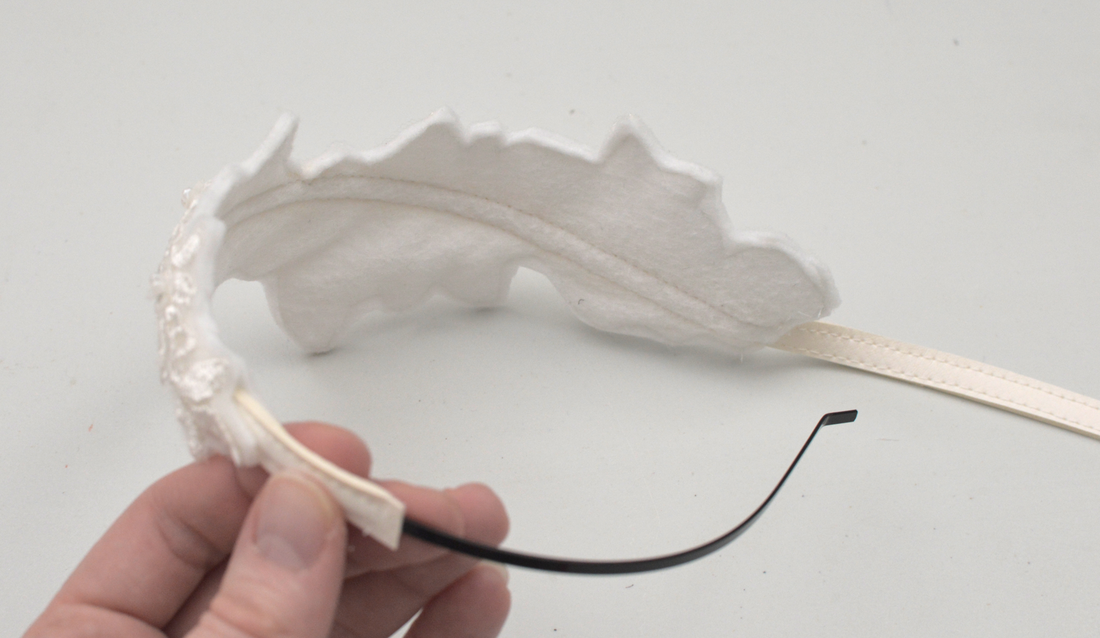 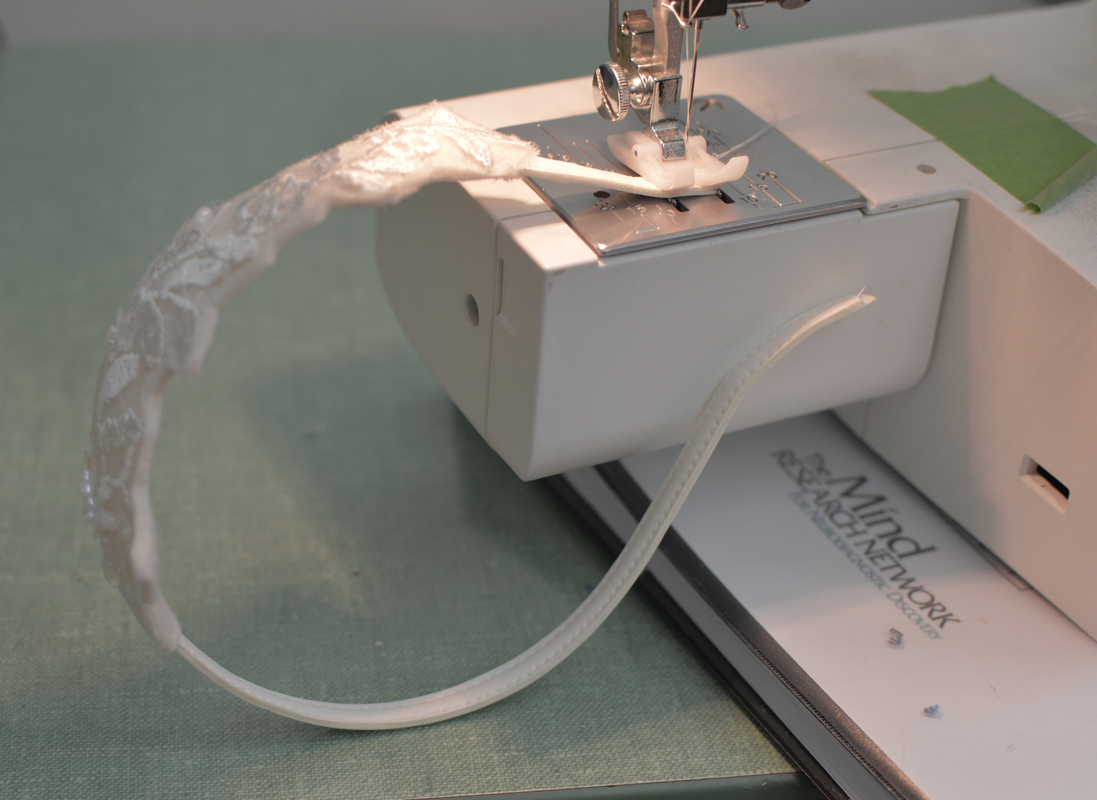
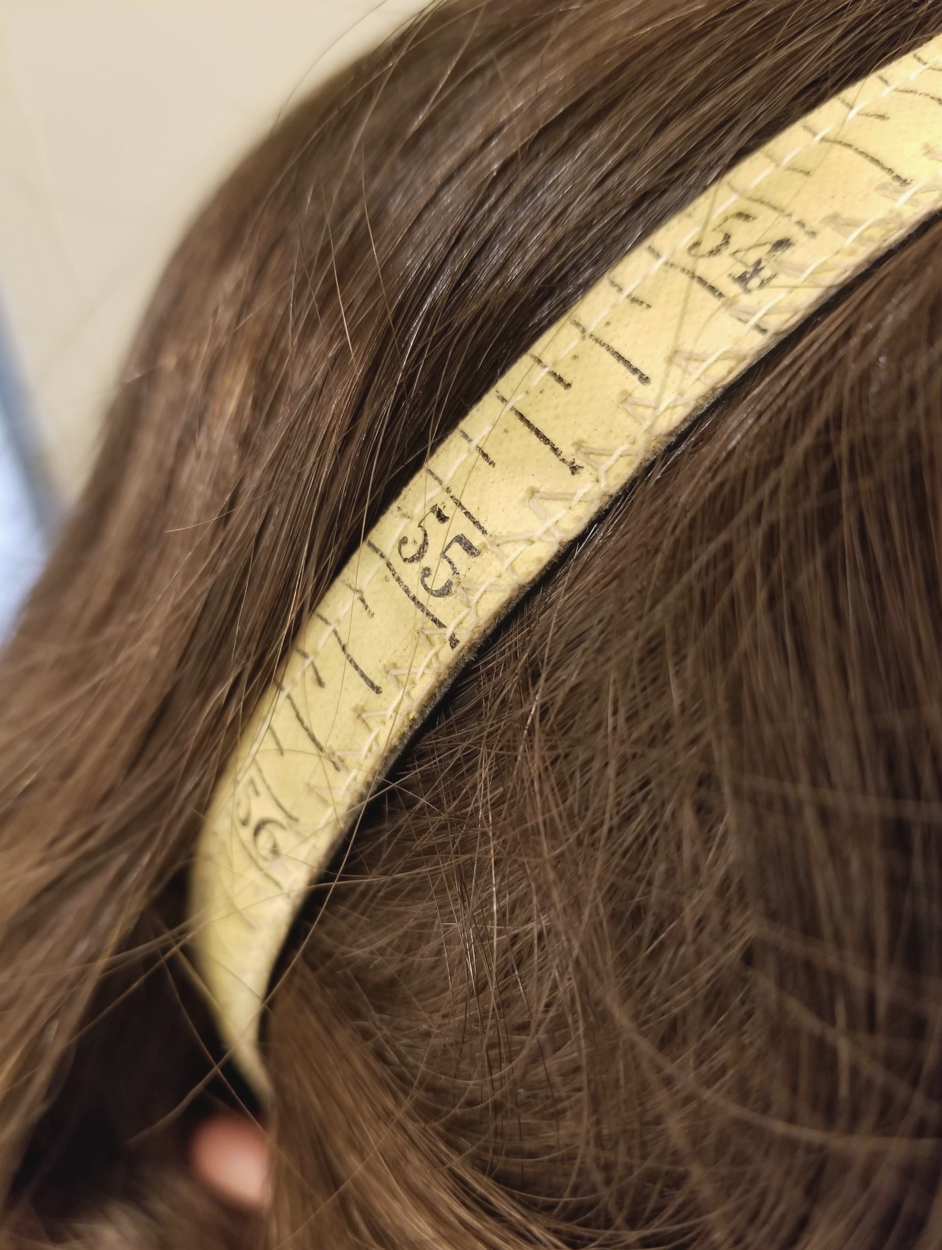
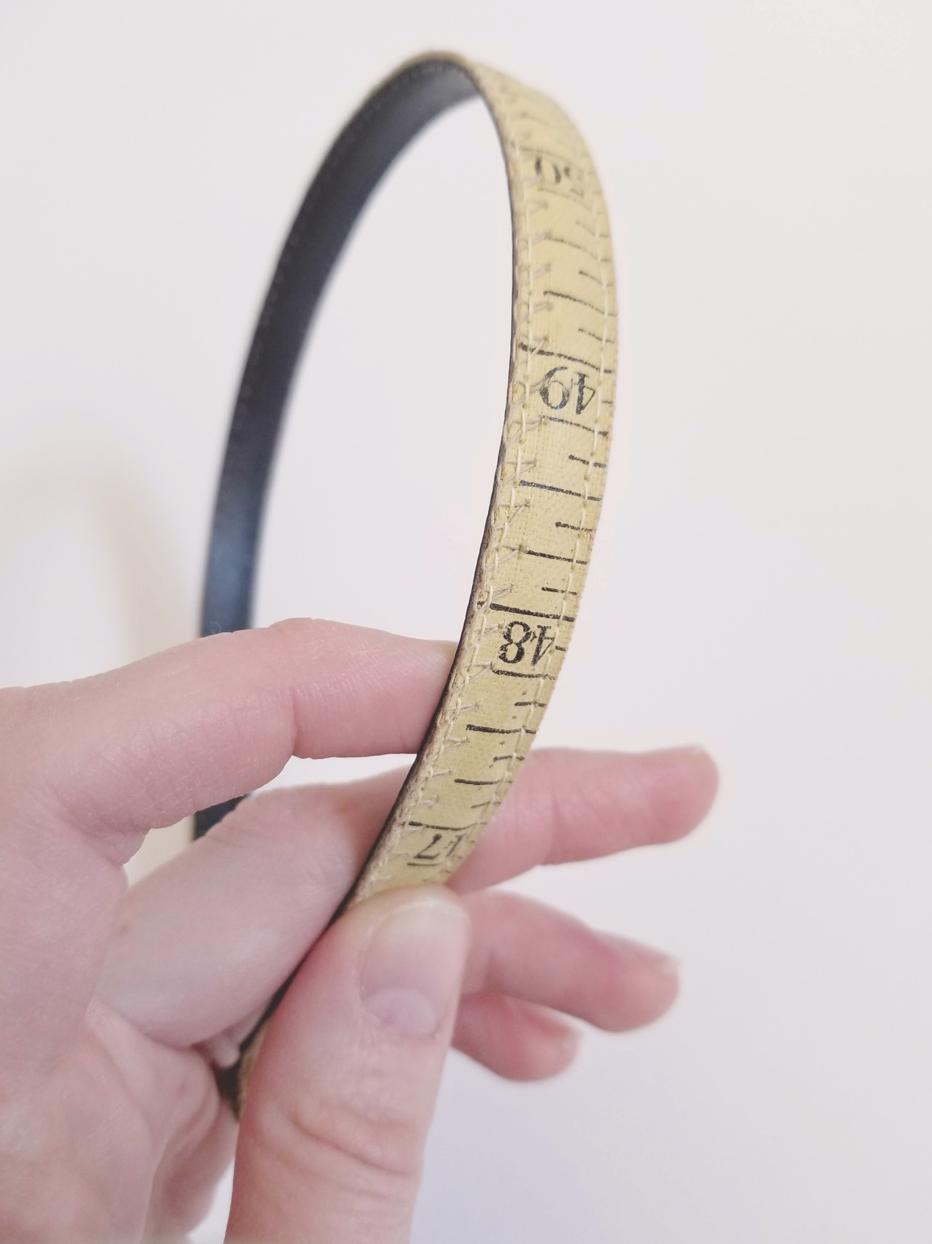
Upcycled Headband #2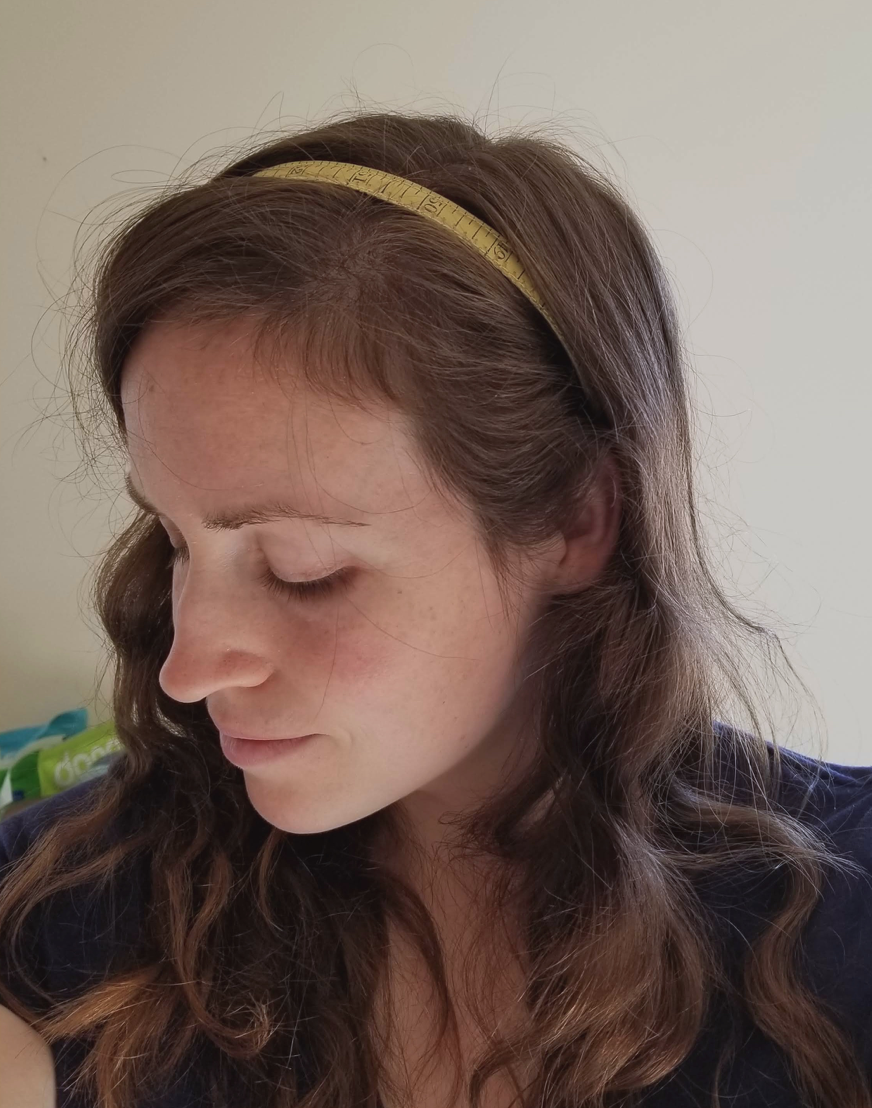 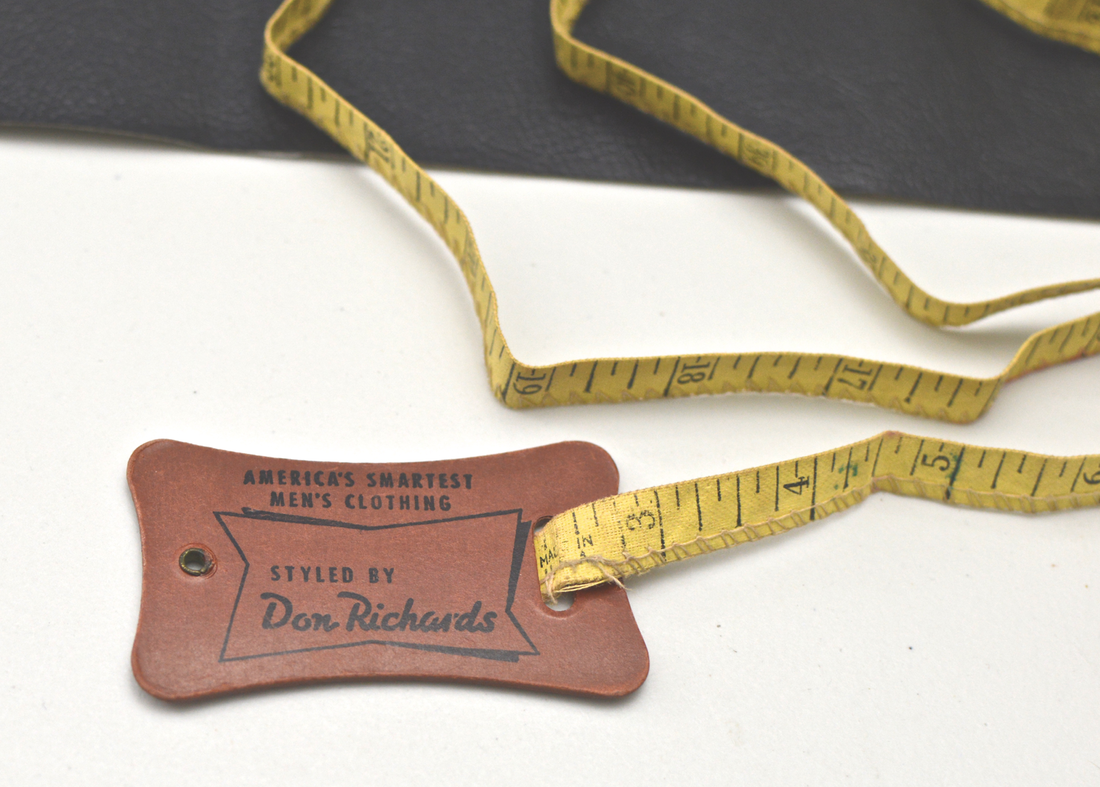 The second, and the easiest headband, is the measuring tape one! I don't remember where I picked up this measuring tape, but I've hung on to it knowing that I wanted to repurpose it somehow. The other day I realised that it would make the perfect headband! All you have to do is find a strup of vinyl for the bottom side of the headband, and topstitch the two together along either side, making sure your blank headband will fit between the two rows of stitching. Then slip the blank inside, sew the ends, and trim off the extra! Voila! I even tucked a little bit of the measuring tape under on either end for a cleaner finish, and reinforced the ends by stitching up the sides a bit.
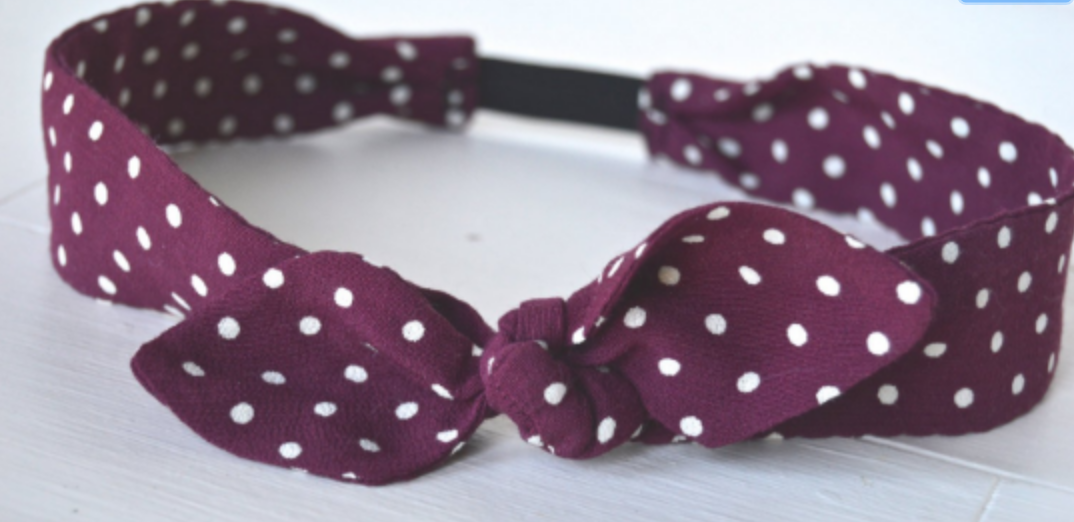
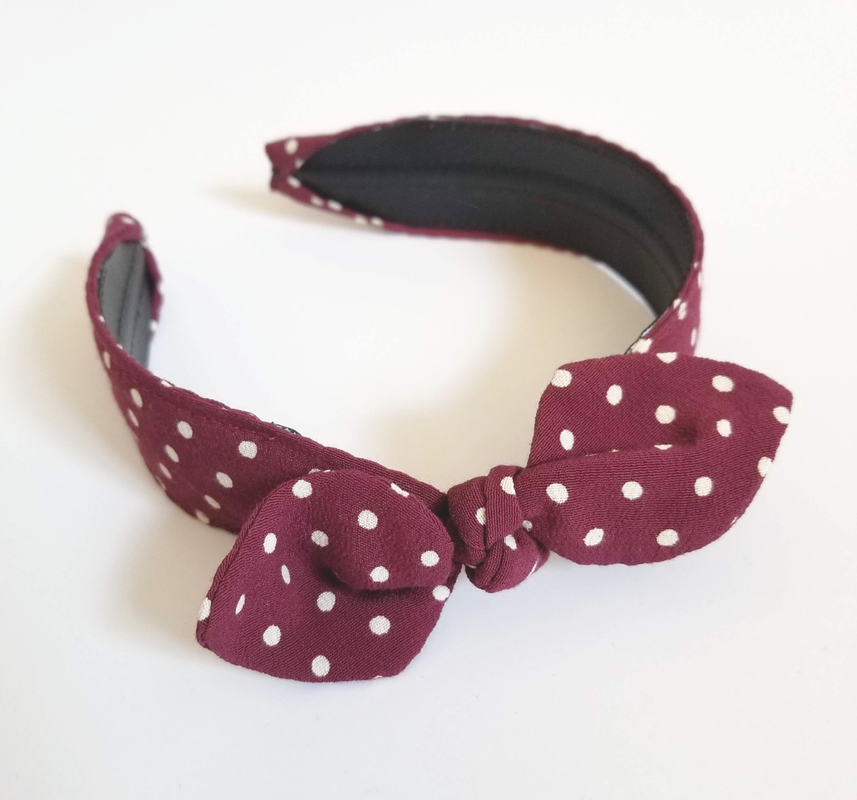
Sew easy and sew cute! I'd love to hear other ideas you might have for repurposing old measuring tapes! Upcycled Headband #3 My final quick headband make is actually a remake. I have this quick PDF pattern for a retro top knot headband that I love! But I've realized that when I pick out a headband to wear, this one doesn't usually make it into the rotation. Not because I don't like the look, but because I don't actually wear elastic headbands. I forever feel as if they are falling off my head, even if they aren't. So I decided to change my elastic top knot headband into one with a metal band inside it to keep its shape.
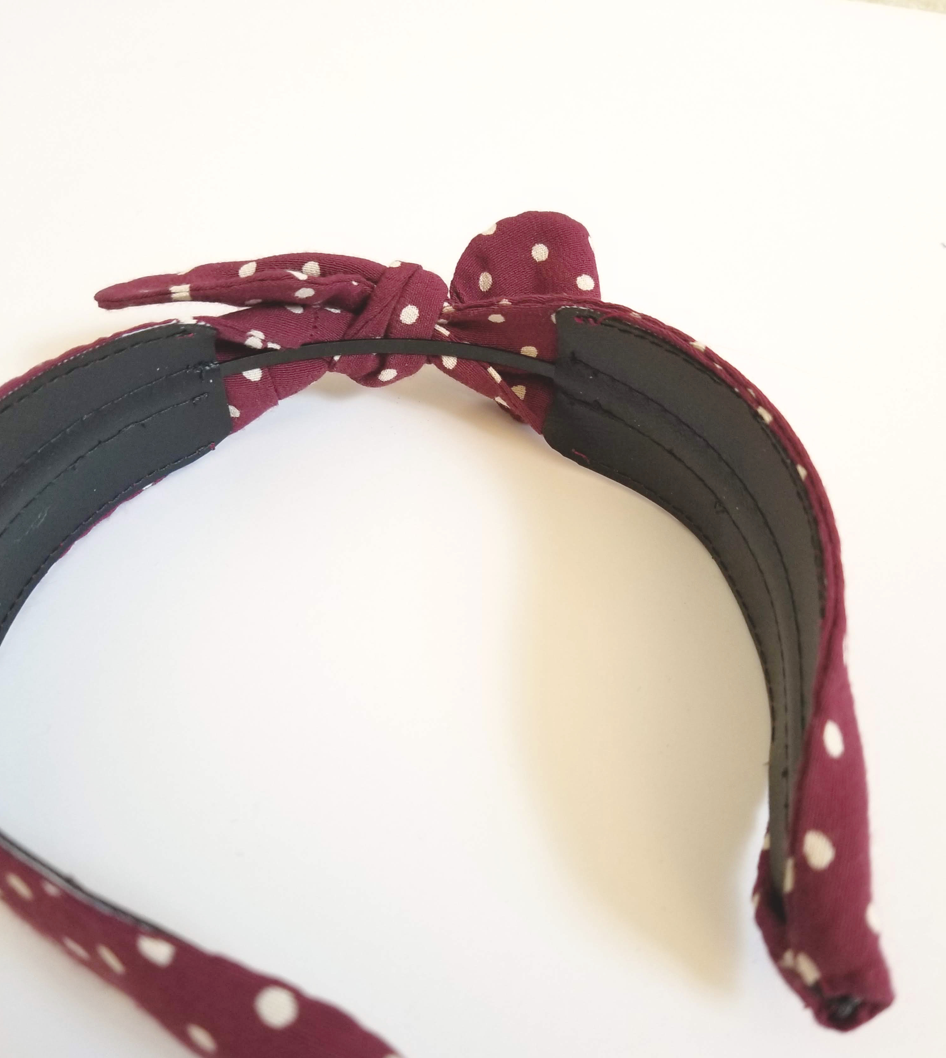
I feel like this headband was simple to make, but kind of hard to explain. So stick with me, and definitely refer to the photos. ok. So because this headband is wider, I needed a wider base piece. But because I didn't want the metal band to be able to shift around at all, I used a narrow strip of vinyl on top and centered it on the larger bottom. I also made the base narrower as it went towards my ears, so as to be more comfortable to wear. The other tricky part was the knot. I knew that i wouldn't be able to topstitch that part, so I decided to split the vinyl base piece in two, with one on either side of it. 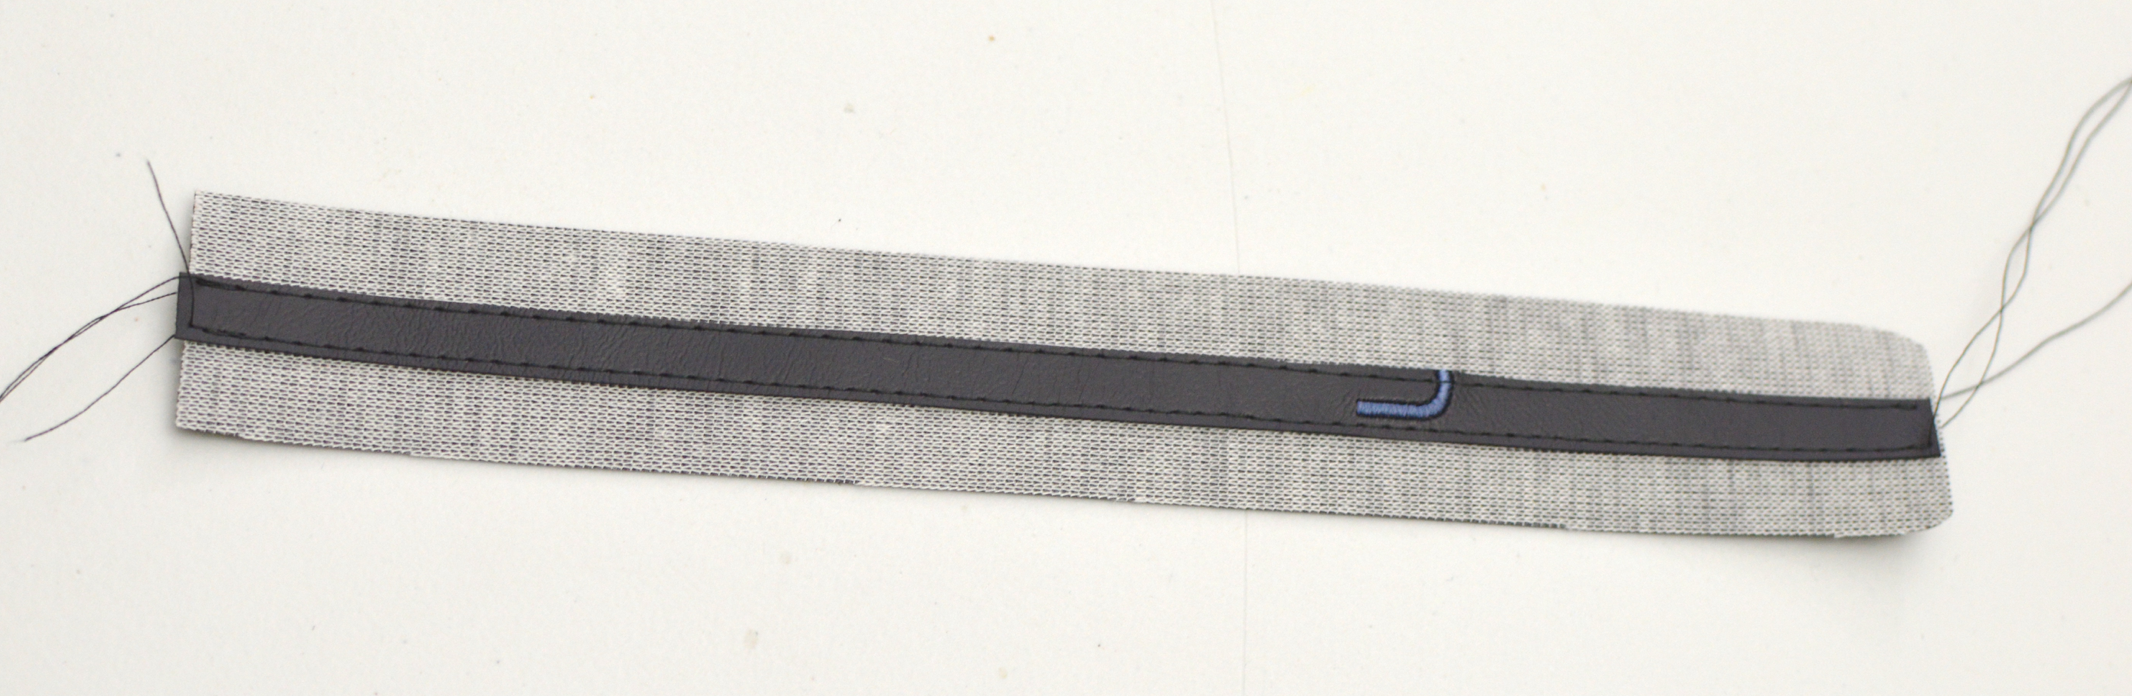 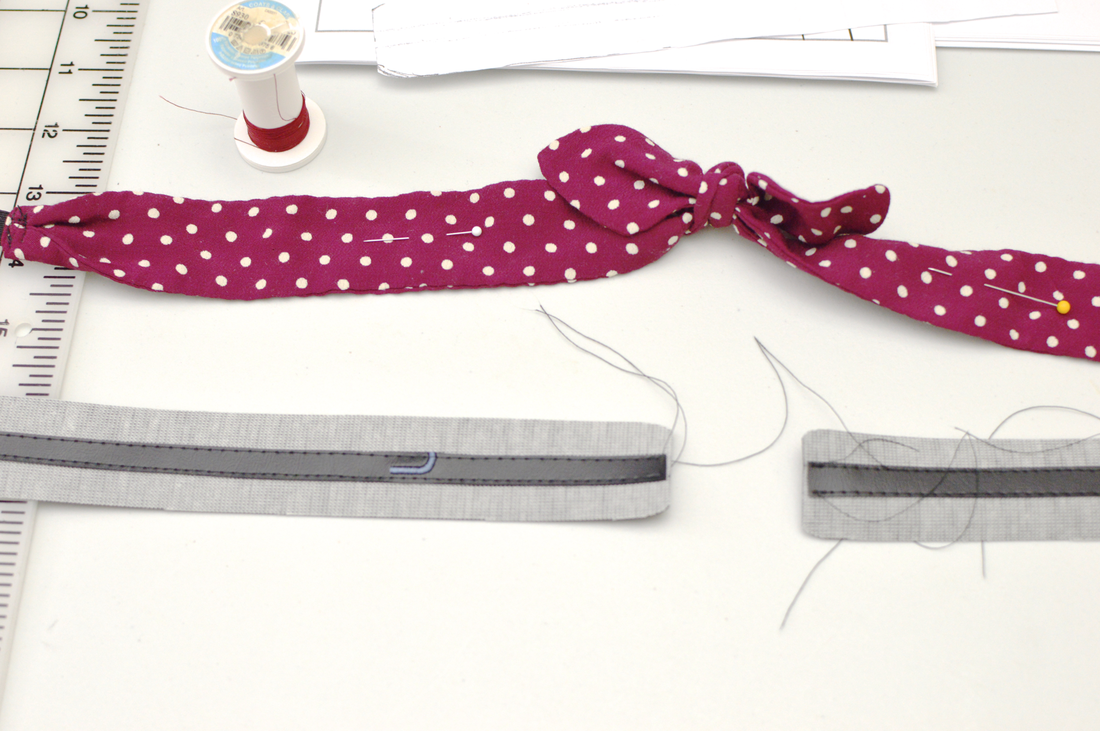 Then I topstitched the original headband onto the base. Well, bases. I slipped the blank into the new headband, and determined where I wanted the knot to sit on my head (I like it slightly to the side instead of right on top of my head). Then I trimmed off the excess fabric except for enough to turn to the inside, closed the ends up, and put a little pleat in the original headband fabric to make it fit the narrower end, and hand tacked it in place.
Let me know if you try any of these headbands out! Or if you have any suggestions for what else to do with my cool vintage measuring tape.
1 Comment
|
madeline stage
creative business owner. designer. hoosier. crafter. runner. sewer. swing dancer. outdoor enthusiast. entrepreneur. wife. mom. material hoarder. Categories
All
Archives
June 2023
My Instagram Feed:
@GoheenDesigns |


 RSS Feed