
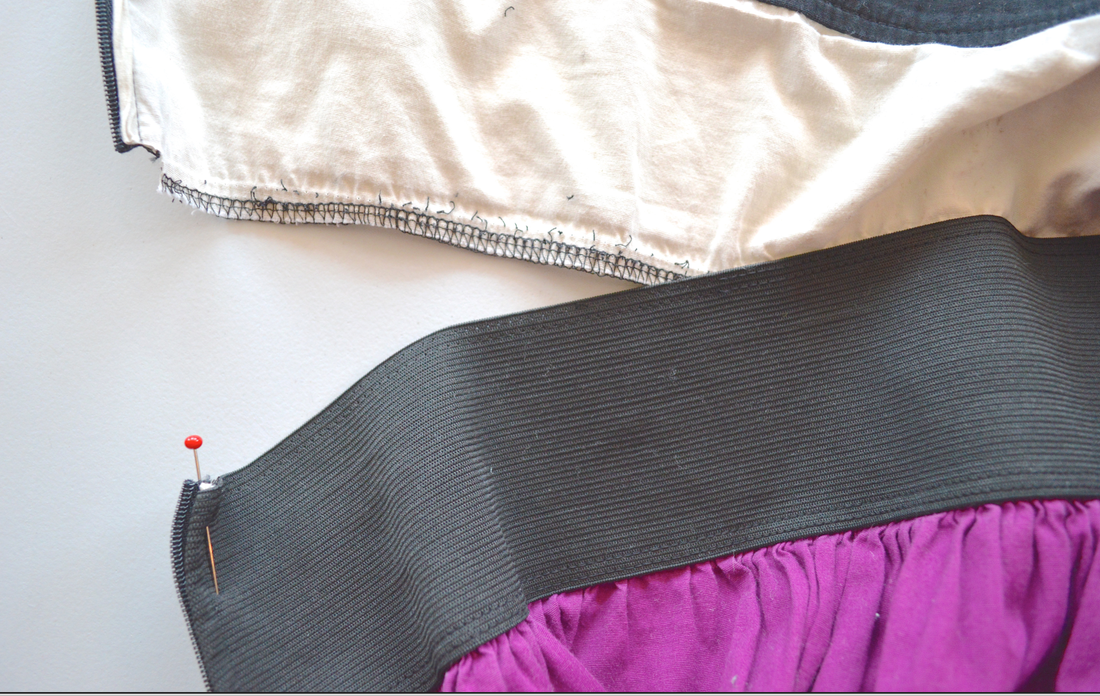
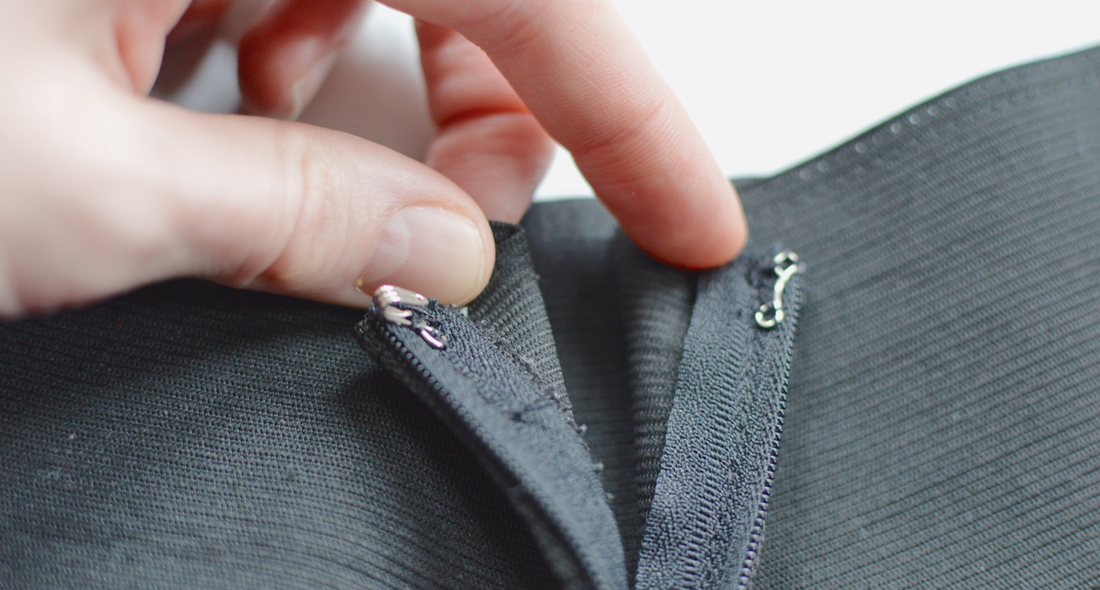
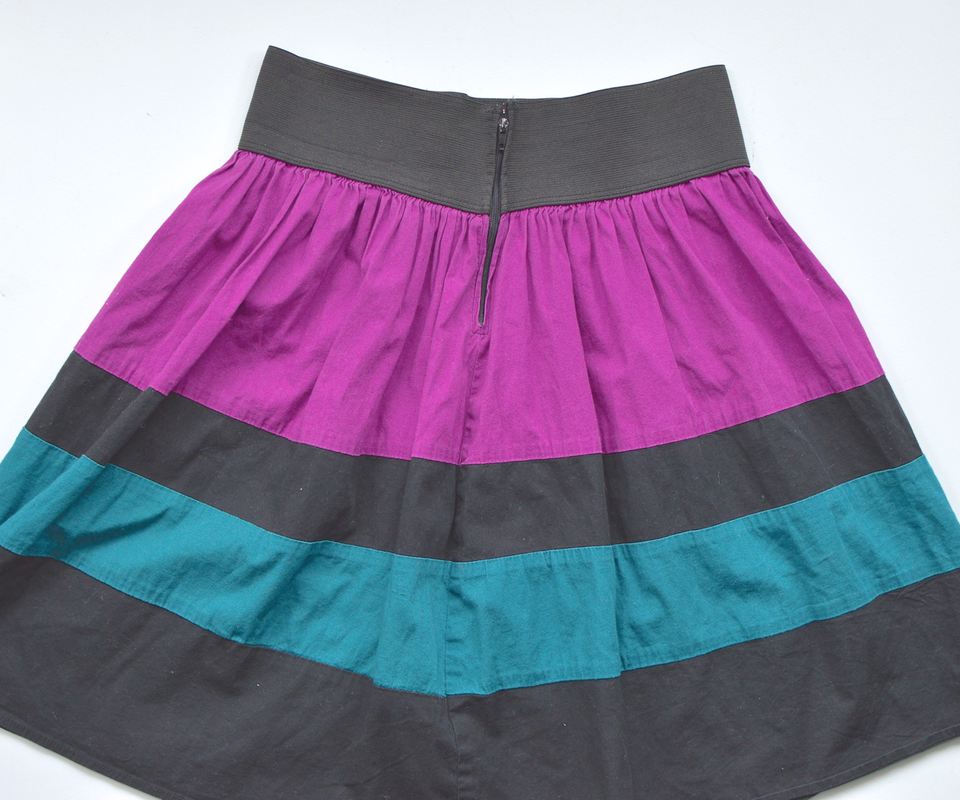
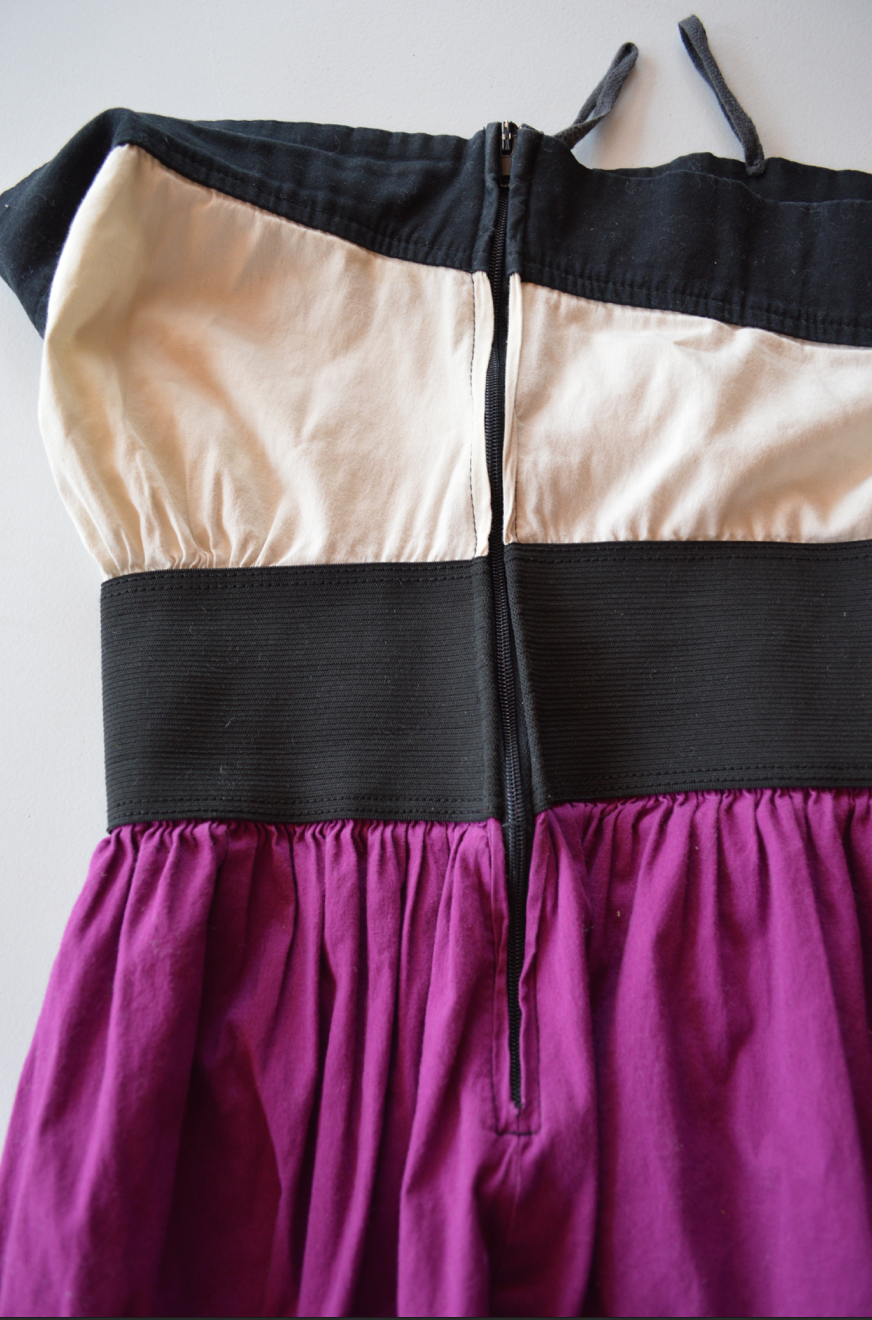
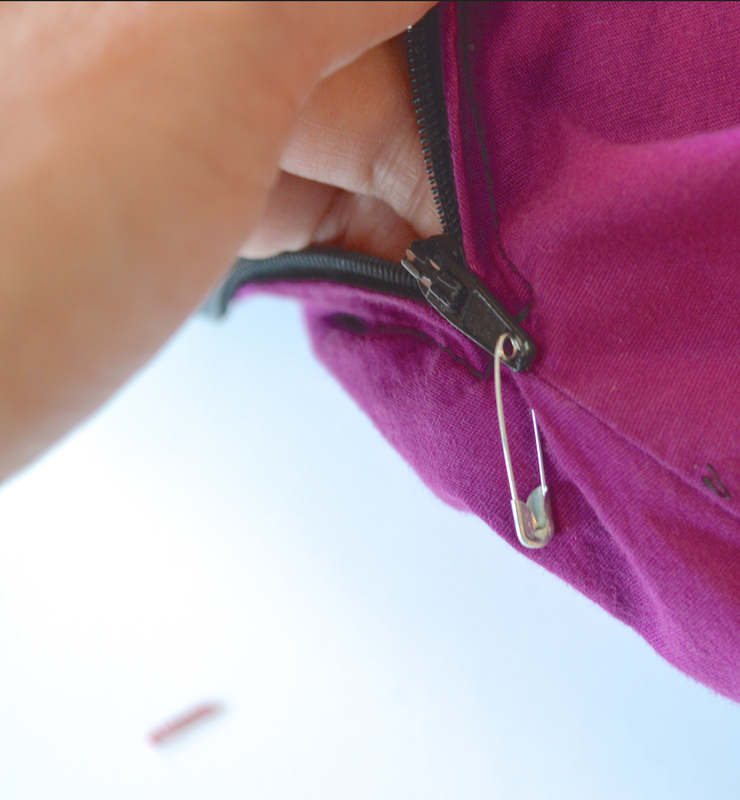
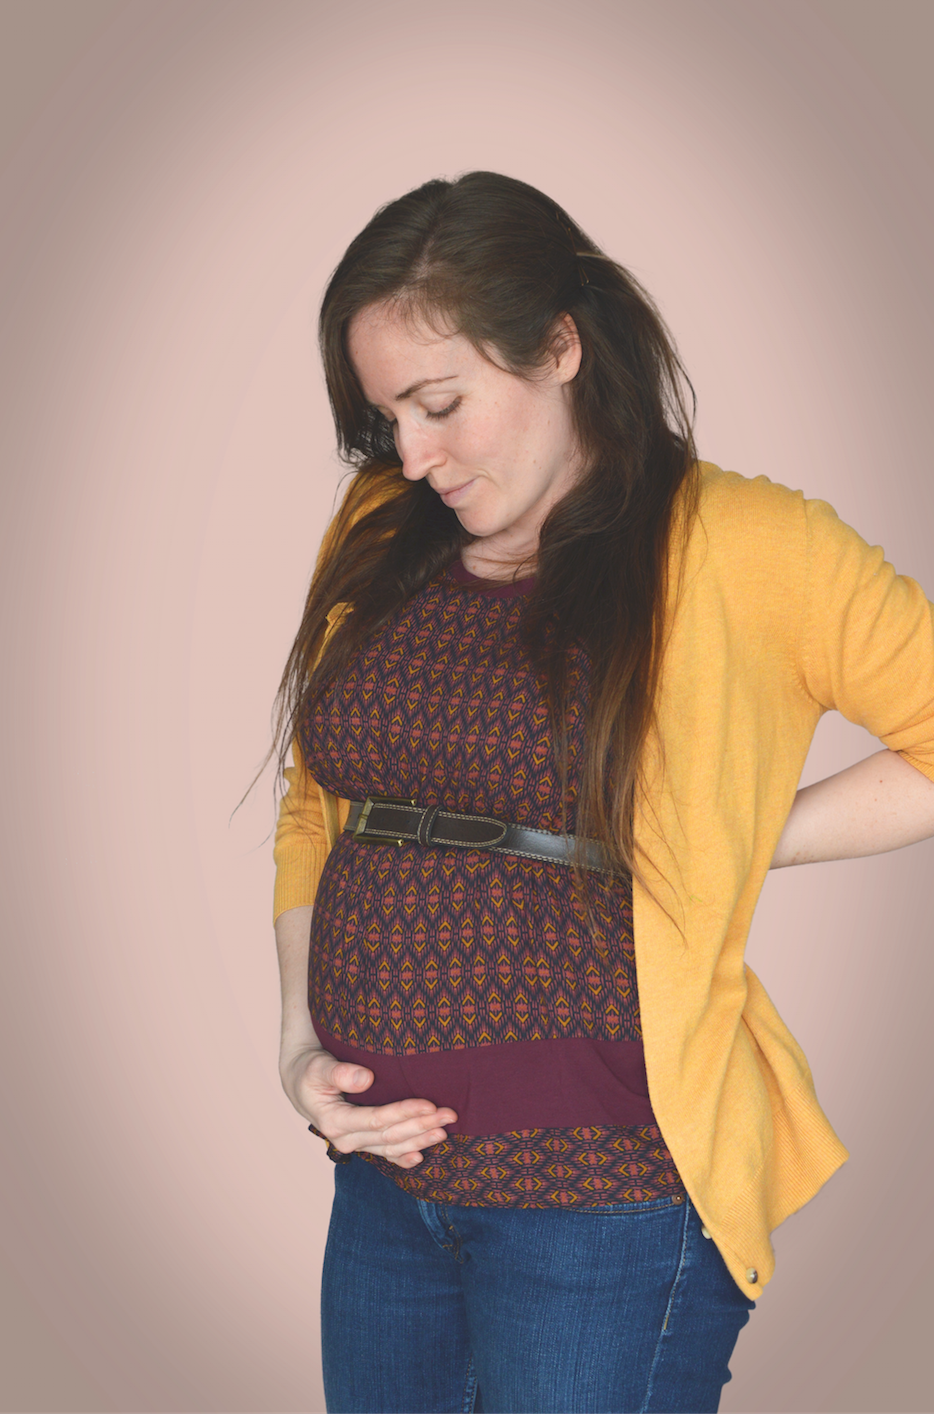
 Sometimes it is so exciting to create a totally new me-made garment! That excitement can get other things pushed to the bottom of the list, like repairing the clothing I already have. I'm pretty good at repairing anything me-made, I think because I really appreciate those pieces more. But I've been trying to get better at repairing, altering, and refashioning not just the things I've made, but the rest of the clothing in my closet as well. I've been doing better (see my invisible jeans mending post) but there is still a lot of room for improvement. I would say that about 80% of my closet is second hand clothing, which I love, but they often come with little things wrong with them that, if I fixed them, would make me love them even more. A lot of them are easy fixes too! But my intentions to fix them often end up leaving me with a pile of mending that sits there for months at a time.  Me Made May has been very inspiring for me in terms of finally getting these things mended and altered. I decided that since my me-made wardrobe is pretty limited while I'm pregnant, that I would include wearing things that I've mended and altered as well as the completely self made pieces. And I'm loving it! It has really motivated me to do those alterations, and to appreciate those pieces more! Here are a few examples of my alterations: The polka dot top: 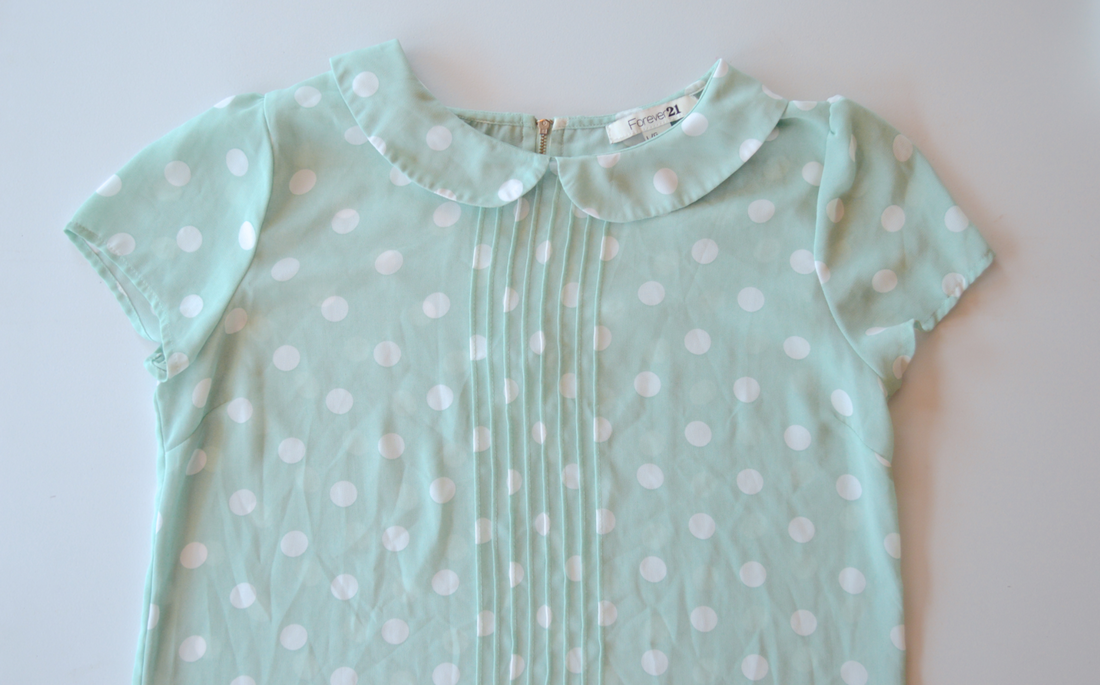 I got this shirt at a second and shop, and I love the color and pattern, and the style of the shirt! Whenever I go swing dancing, it always pops into my head as a perfect little retro looking top to wear. The problem is, with swing dancing (as with many things in life) you have to be able to raise your arms with ease. And this shirt did not allow for that. What an easy fix! I just had to take off the sleeves, and turn under the raw edges. And yet... it sat in my mend pile for about a year before I touched it. 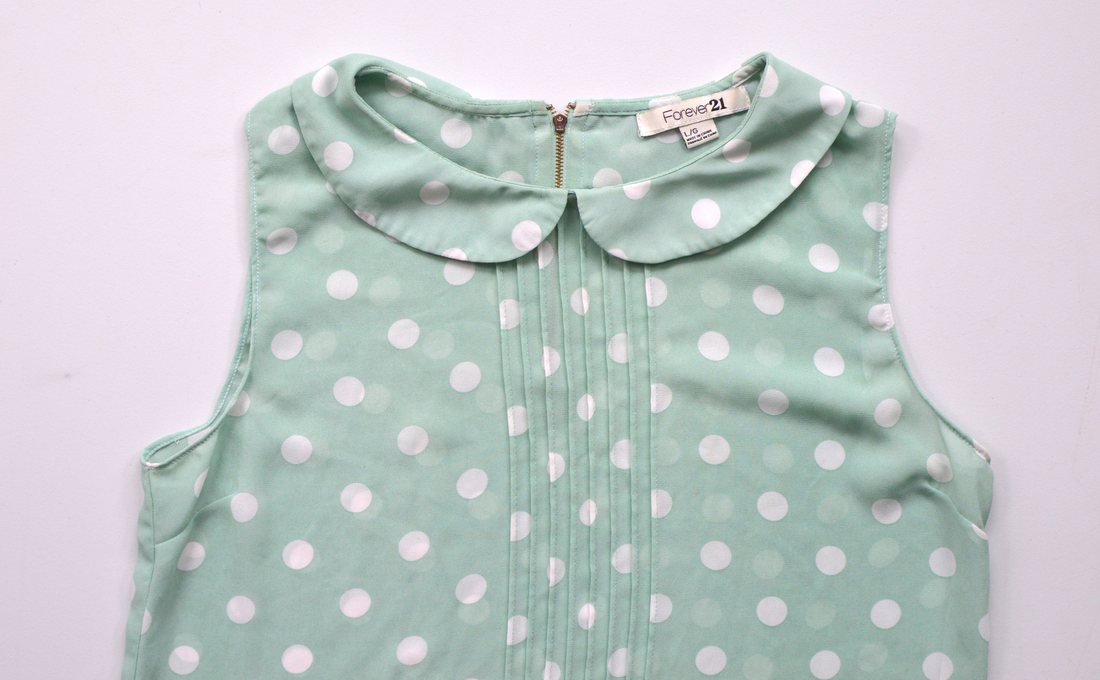 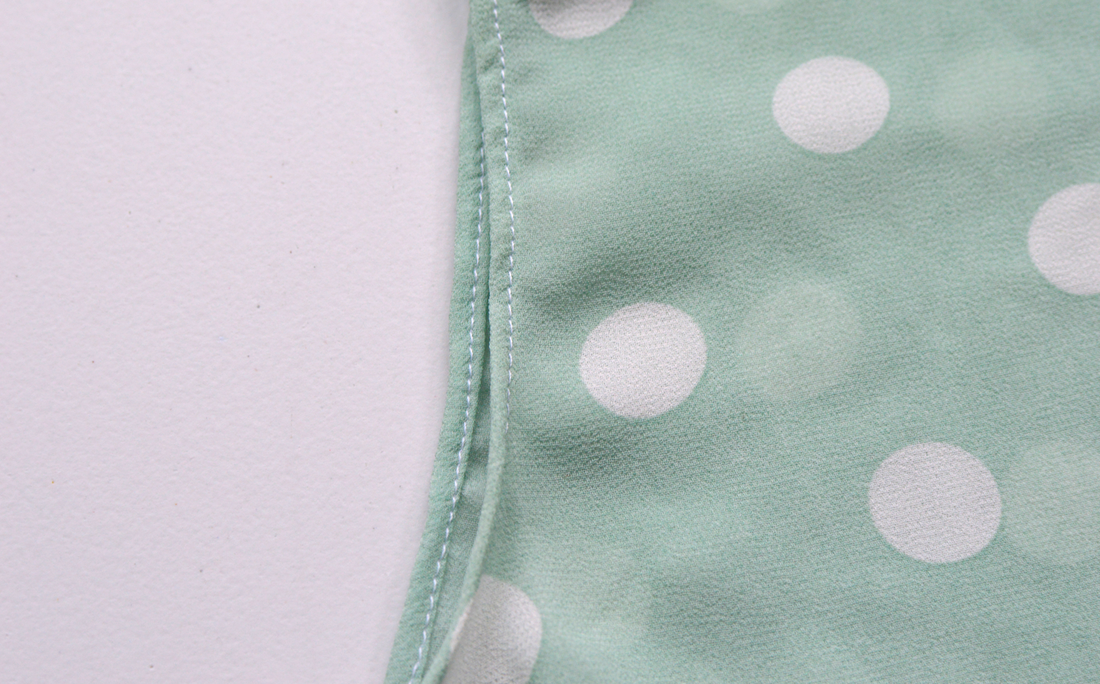 The Striped Dress: 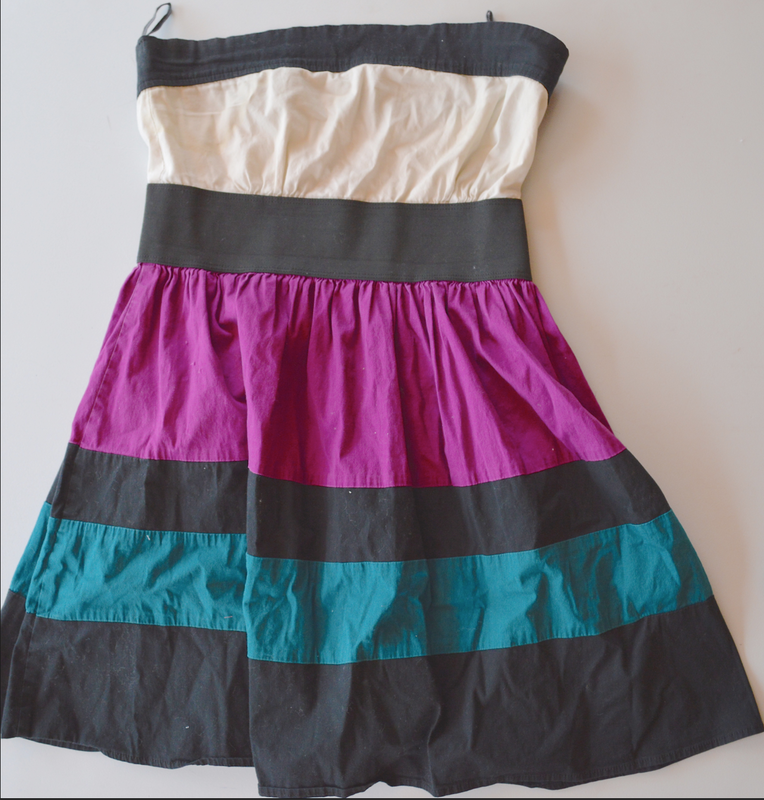 This dress is another second hand piece of clothing that just wasn't quite right. It was a strapless dress, but had absolutely no support on top, which led to a lot of yanking up to make sure everything was covered. On top of that, the white of the bust area was not only slightly see through, but also had some staining in the pits. Solution: take off the top! This was another really simple fix. I seam ripped the top from the bottom, cut the zipper down, (safety pinned the zipper down so I wouldn't accidentally pull it off during alterations) and then hand tacked the zipper in place and a hook and eye at the top of the elastic. Voila! Skirt.
   Altering the ready to wear clothing that I already have is such a quick easy sewing project. Sometimes it's nice to sit down and be able to accomplish an entire project in a half hour. I also feel like RTW clothing often gets the short end of the stick. I know the quality isn't always great, but that doesn't mean we shouldn't be using all the discarded second hand clothing that already exists. Wear it out. And then repair it! RTW deserves to be repaired too! I just need to make it more of a priority.... 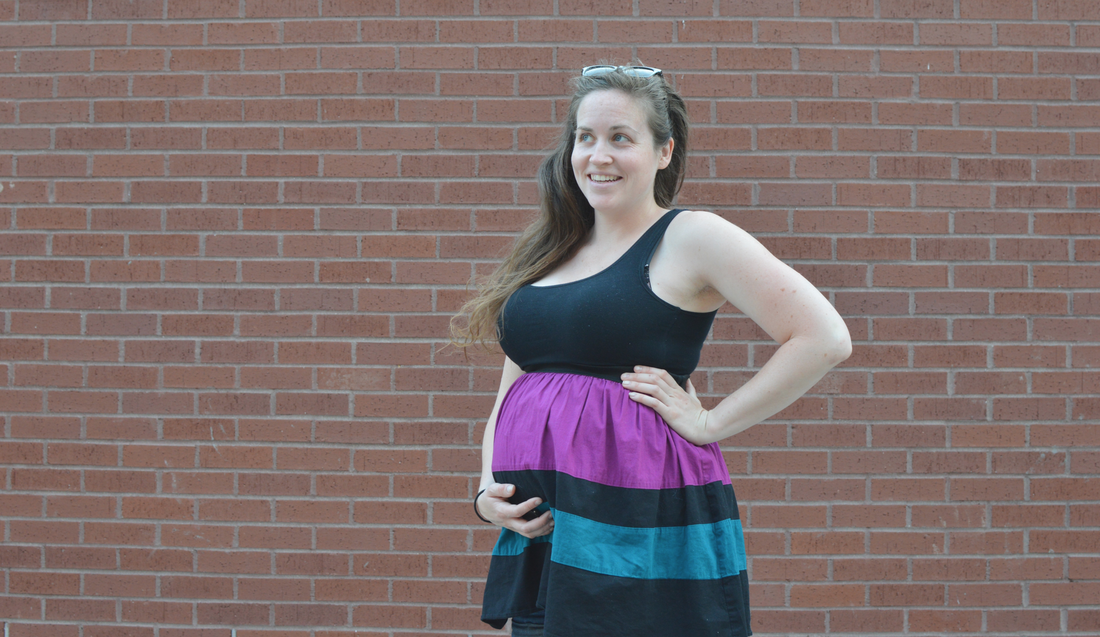
1 Comment
 I can't tell you how this pattern fits on a baby, if it is easy to take on and off a baby, or show you a picture of what the options look like on a baby. Because my baby won't be here for another 4.5 months. But I can tell you how easy the pattern was to use, how quick it was, and how much fun I had! 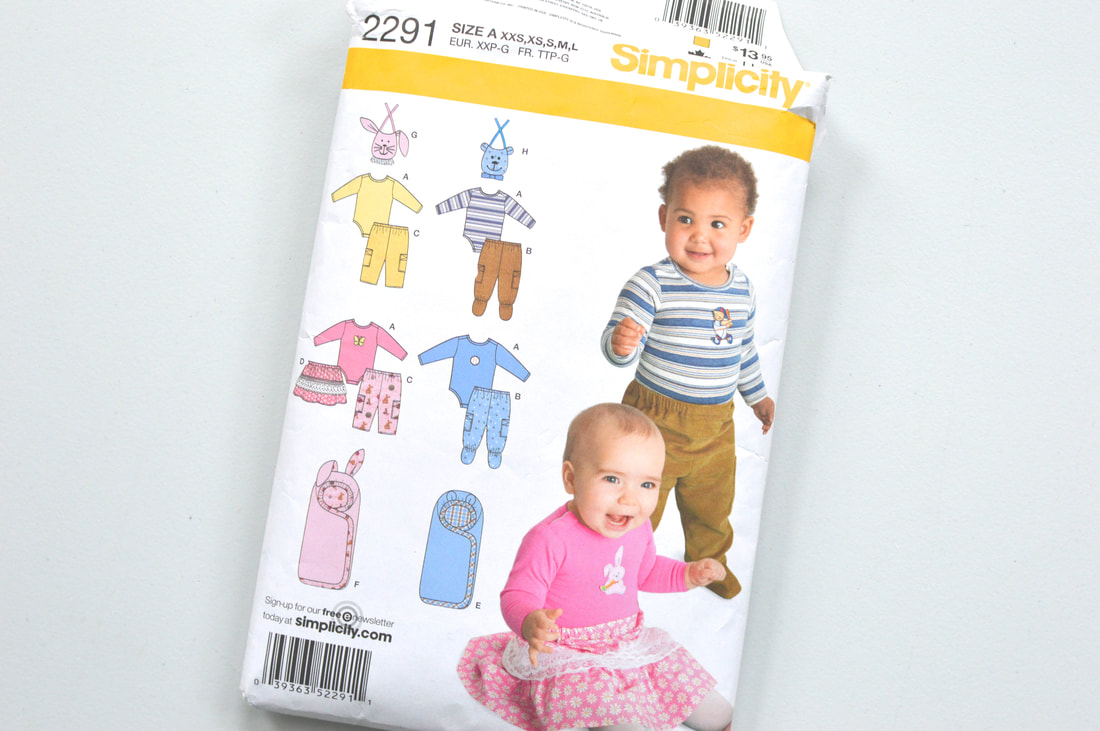 Simplicity 2291 came into my hands because a friend of mine was getting rid of some of her pattern stash. I immediately snatched up all her baby patterns. Ever since I found out I was pregnant, I knew I'd want to make at least one outfit for when little Stage arrives. This pattern was perfect because it offers great unisex options and we aren't going to find out what gender our baby is! I ended up making a unisex onesie, little unisex sweatpants, and a skirt (just in case!). It took so little time to cut and sew them all, and SO little fabric! I think I've discovered the perfect scrap busters! Now it's going to be even harder to part with my scraps... 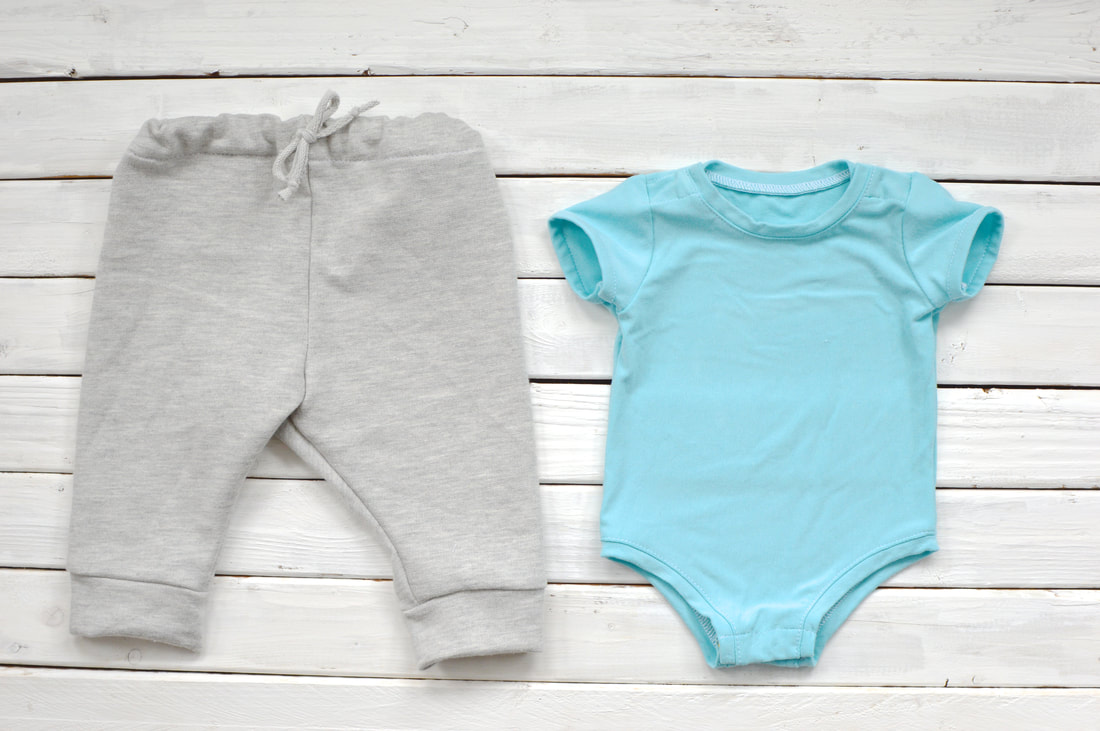 I made a few adjustments to my little memades. First, I made the onesie short sleeved instead of long sleeved (since baby stage is going to arrive in the summer). Second, I adjusted the sweat pants to accommodate my lack of fabric. I made the legs a bit narrower at the bottom, and left off the pockets. I also cut them shorter than the pattern called for, but used extra scraps to create cuffs on the bottom. An extra little strip of fabric became a fake drawstring bow. I love the result even more than the pictured pants on the envelope. I didn't have any lace for the skirt, so I just left that out as well. 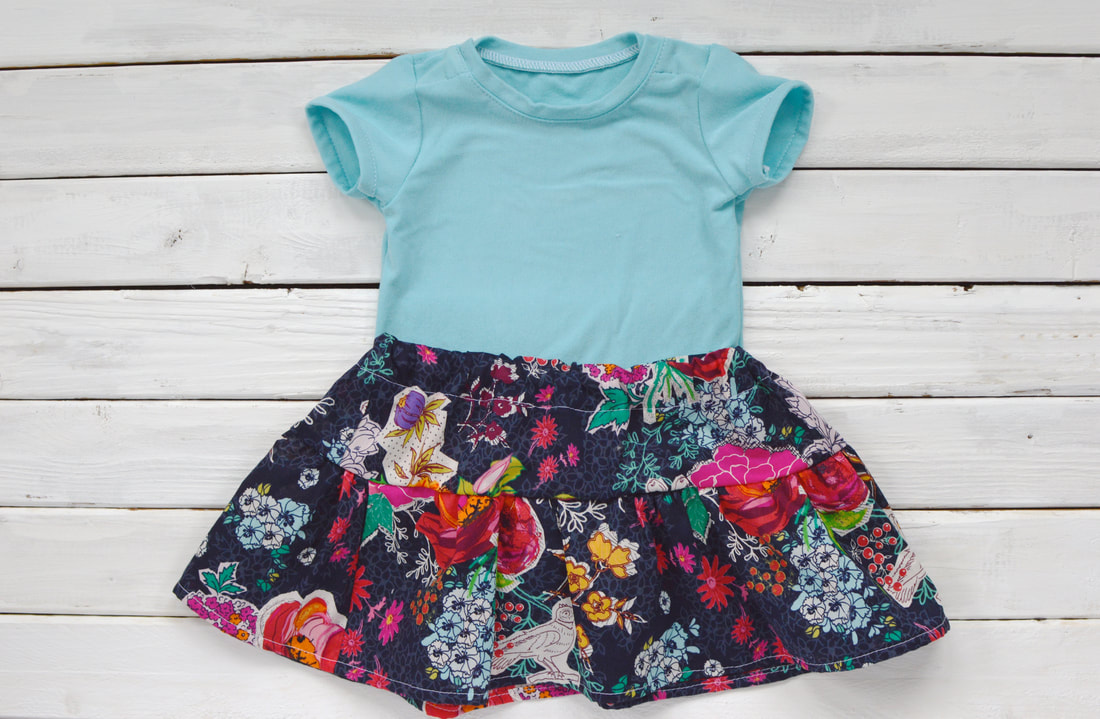 Now I just hope that these adorable little makes will fit well enough to be worn at least once!
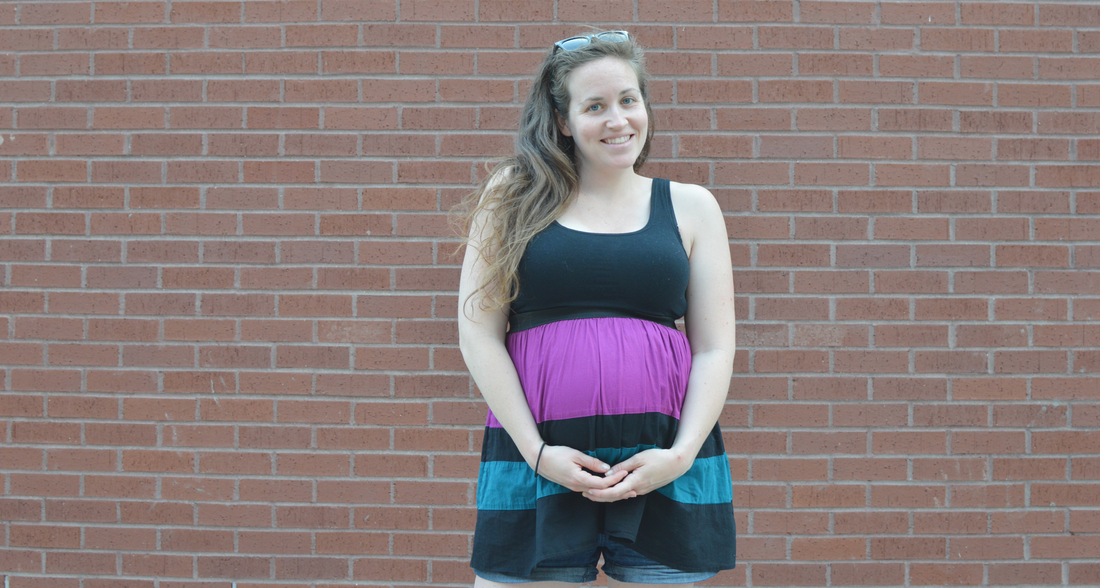
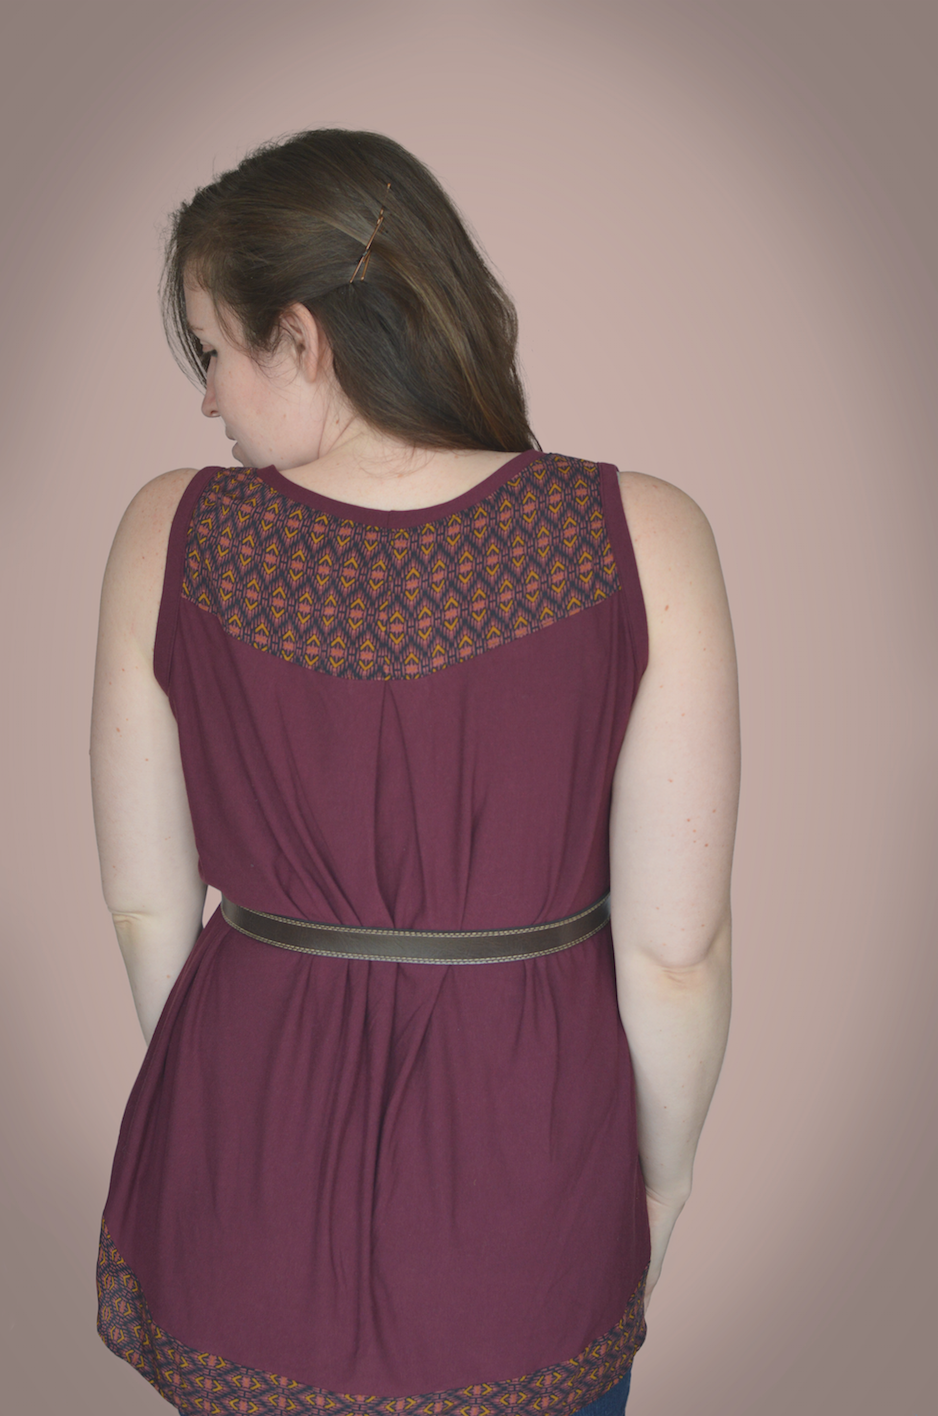
 While at my selfish sewing retreat, I ended up making myself a top from Simplicity pattern 1113. It's a tank top with a high-low hem, and a very flowy silhouette. I figured it could be a good maternity top for me!  Not intending to sew this top, I hadn't brought any fabric for it. Which meant that I ended up using fabric scraps from another retreater. But Whitney's fabric scraps are beautiful and relatively sizable. I found two coordinating fabrics (although one was woven and one was knit) and managed to cut just about all the pattern pieces out. I only ended up missing one of the back hem stripes. So I decided to just go with it, and adjusted the seams at the sides to make sure that at least the bottom stripe lined up correctly. I also had to piece together the banding for the neck and armholes. I really like how the color blocking ended up looking on this top! I also ended up with armhole banding that was significantly wider than the neck banding. I'm not sure if this was a pattern detail or a mistake on my part, but I wasn't digging it. I ended up turning the banding onto the right side of the tank and top stitching in place to make the banding look smaller. 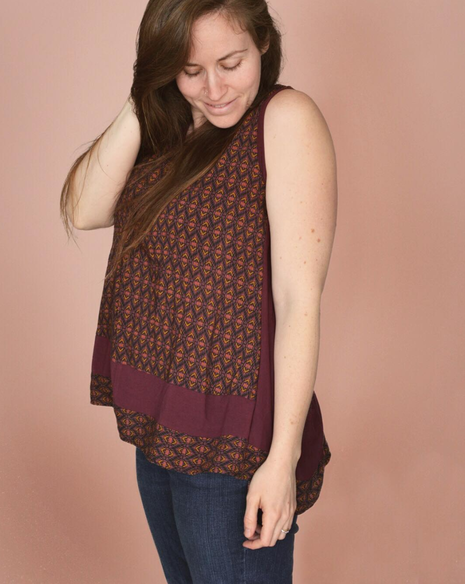 If I made it again, I would make the arm holes a little larger, and make it narrower across the shoulders and upper bust area, and also fix the arm banding issue from the start. I would also skip my length alteration, assuming I had enough fabric this time. I think my alteration caused the top to lose some of the beautiful drape that was meant to be in the top. Or maybe I would lengthen the entire top, seeing as my growing belly will need more fabric in the front. But overall, it was a quick easy make, and a very forgiving pattern because of the cut and fit! 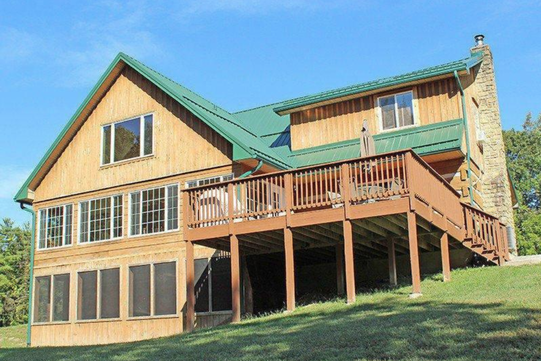 A cabin in the woods, complete with sewing machines, hot tub, and more delicious food than you could ever eat in a week. If that sounds like a hot slice of heaven to you, that's because it is. Once a year, in January, when the rush of the christmas season is over and the rush of prom season hasn't yet begun, my ASDP group (Association of Sewing and Design Professionals) spends 4 days at a selfish sewing retreat. There are around 8-12 of us, and we each bring our machines, and projects, and we each take a meal to be in charge of. That way we only have to cook once in the four days. Just going four days with fantastic home cooking that I don't have to do myself is heaven enough. We set up the ping pong table as a cutting station, and set up our machines in the beautiful sunroom, which got cozy enough that we ended up cracking open the windows even during an Indiana January! I call this the Selfish Sewing Retreat because the one rule is that you cannot sew anything for clients. Which is pretty much the best rule I've ever heard. Because despite what you may think, owning a sewing business does not mean that I make all my own clothes. Ever heard the saying "The cobbler's children go unshod"? that pretty much sums up my wardrobe. I spend so much time sewing for my business that extra sewing is rarely on the list of things that I want to do after my work day. Even when I want to, my back sometimes has other ideas. You can only take so long sitting a sewing machine or leaning over a cutting table!
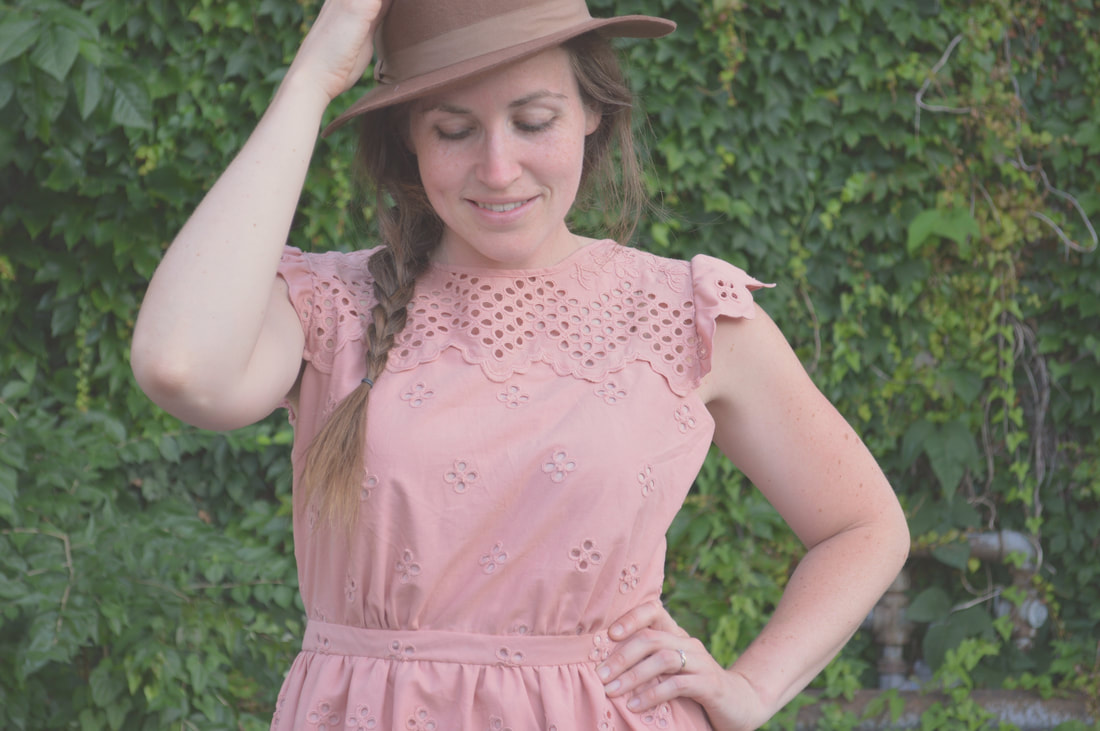
But once a year, I let myself off the work-sewing hook and become a completely selfish sewer. Honestly, I need to just start implementing this into my monthly schedule. Because it feels so good! And that way I won't be bringing the same project back to the retreat year after year because I still haven't found time to finish it (I think most of us ended up bring back a project from the last retreat haha). 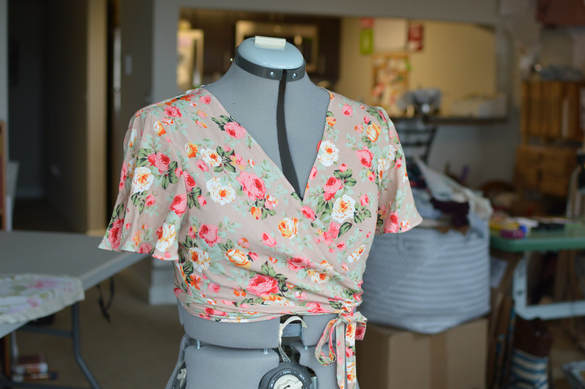 I went this year with every intention of finishing up my wedding quilt (just like last year). Because it has been over 4 years now. Come on! So I only brought supplies for that one project. To keep myself from getting distracted. Fat chance!  Between the fabric scraps that Whitney brought me, and the patterns Diane and Cathy shared with me, I ended up coming home with two new maternity tops and three little baby garments. All out of scraps! The baby clothes are especially satisfying because they take up such a small amount of fabric that it is so easy to use up scraps this way! I have a feeling there are going to be a lot of baby clothes in my future. And there will be some blog posts soon about these makes :) 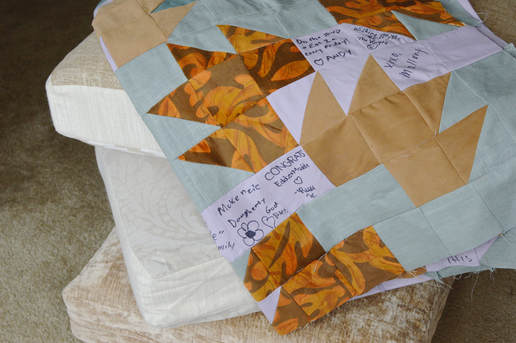 I did actually get some good work done on my wedding quilt... just not as much as I'd hoped. I'll just have to finish my quilt on my own this year. Or bring it back next January....we'll see. 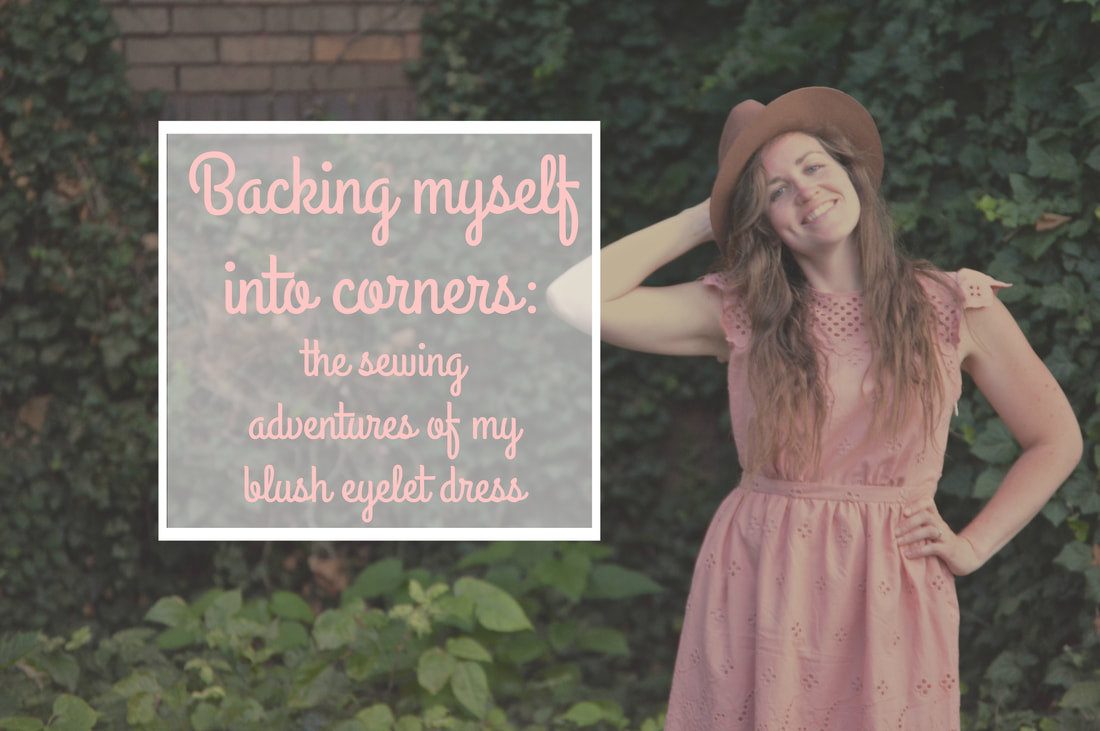 You know when you just see a fabric and you absolutely fall in love with it? Yeah. That’s what happened to me at Let’s Sew. I was there on a trip with my ASDP group this past spring, visiting one of our members’ sewing workrooms, and we decided to check out the local fabric store while we were there. Let’s Sew is a great store full of beautiful garment fabrics and quilting fabrics (that are good enough quality to also be used for garment making!) I had intended to just go to look, and not to buy anything. Ha. You know how that goes. I spotted a beautiful blush eyelet fabric on a roll against the wall, and that was it. I didn’t know what I would make with it, but it was coming home with me! 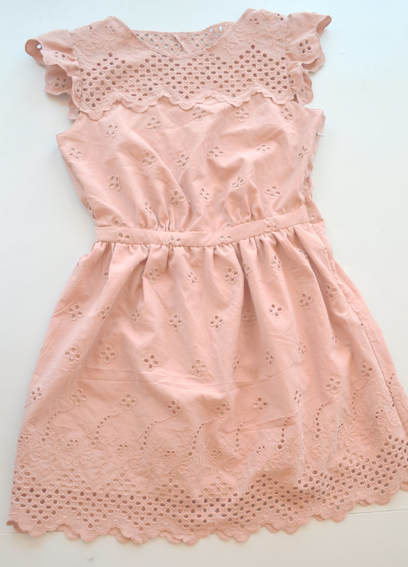 I started sketching in the car ride home, and by the time we made it back, I had a plan. ….That I worked on intermittently for the next 4 months…. The downside to working a day job where I sew, and owning a side business that also involves me sewing for hours, is that you end up having very little time and energy for getting sewing done for yourself. This is actually the first whole project I’ve taken on just for me in years. 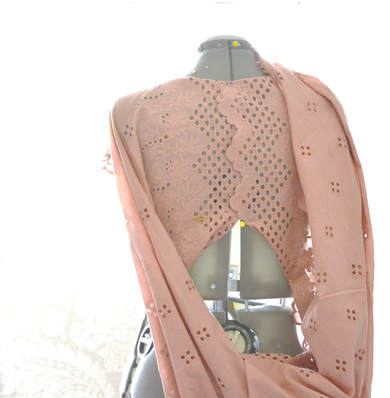 I started out by playing around with the fabric on my dress form, and then drafting the pattern for my new dress. I actually drafted it specifically for the fabric that I had bought. I hadn’t known what I wanted to make with the fabric in the store, and I was trying not to overbuy, so I really had a very limited amount to work with. I started with 1.5 yds of the face fabric, and 1 yard of the lighter pink lining fabric. I also wanted to draft the pattern very specifically for fabric use because as an eyelet fabric, it had the most beautiful border on the edges! There were certain parts of the dress that I wanted to make sure that I used that border for. The bottom hem, the front yoke, and the center back for certain were going to be out of the border pattern. I would have used more for the sleeves, but I didn’t have any more even for that. Instead, I ended up tracing around the scallops of the edging in order to create the sleeve edge, mimicking the look. 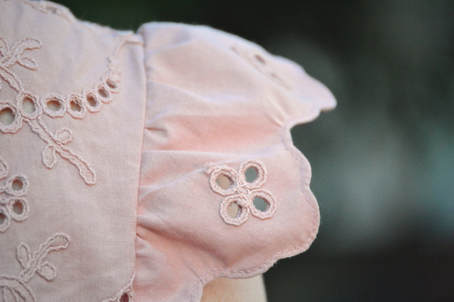 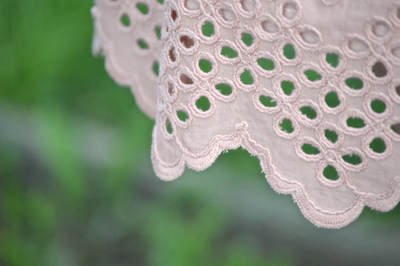 So after pattering a new dress, the logical next step is to make a muslin, to test the pattern out. But I have this bad habit of not making a muslin before diving in to a project, and true to form, I didn’t make one for this dress. I don’t make a lot of time for sewing for myself, and when I do, I never want to lose that precious time to a test run, even when I know I’m risking the entire project by choosing not to do one. I cut all my pieces out with a 1” seam allowance to give me some wiggle room, but I definitely had some “Oh shit” moments during the process, when I thought I’d completely screwed it up. Although if I’m honest, every new project I do goes through a moment or two (or five) when I feel like I’ve completely messed it up and I can’t stand looking at it. Luckily I usually get passed this feeling, and I did with my pink dress too. 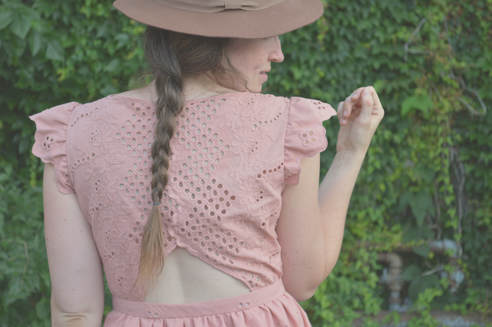 Originally, I had drafted this pattern to have an elastic waist. But once I tried it on, I did NOT like the way it looked. It bunched in all the wrong places, and I wasn’t satisfied with the look of the elastic on the open back of the waist. It just didn’t look finished to me. So I decided to pivot, and add a waistband in place of the elastic. I scrounged up enough fabric to create the band, and gathered the skirt and top into the band and it looked much better! But by adding a waistband, I had backed myself into a corner. I had gone all out with this dress in terms of finishing the seam allowances. I had decided to make the insides just as pretty as the outsides, and went with french seams, along with all sorts of bound edges and Hong Kong seam finishes. But my late-in-the-game pivot meant that in order to be able to put the dress on (kind of important…) without the elastic waist I now needed a zipper opening in the side seam. The side seam that was already perfectly frenched. (definitely an "oh shit" moment) This lead to a lot of procrastinating, in the form of googling tips for how to put an invisible zipper into a French seam. But in the end, I just had to wing it. It was pretty much hand sewing to the rescue. My bright white zipper did end up taking away from the sophisticated look of my dress innards, but a lot of hand sewing at least made it look cleaned up and presentable. 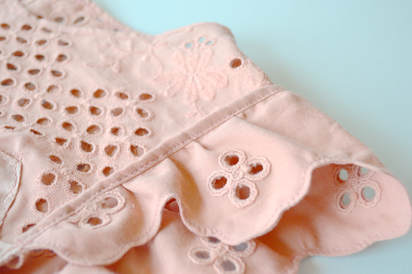 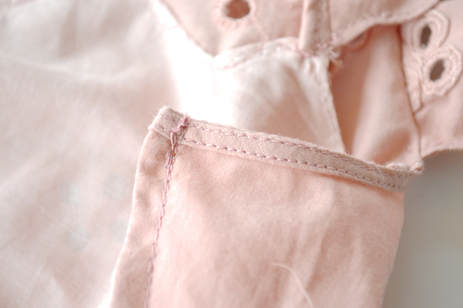 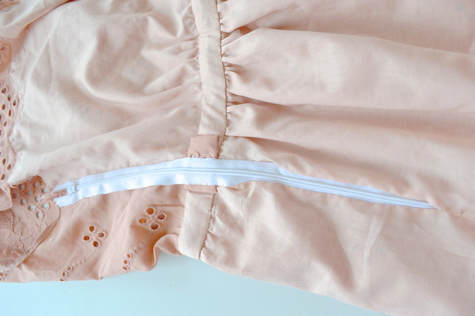 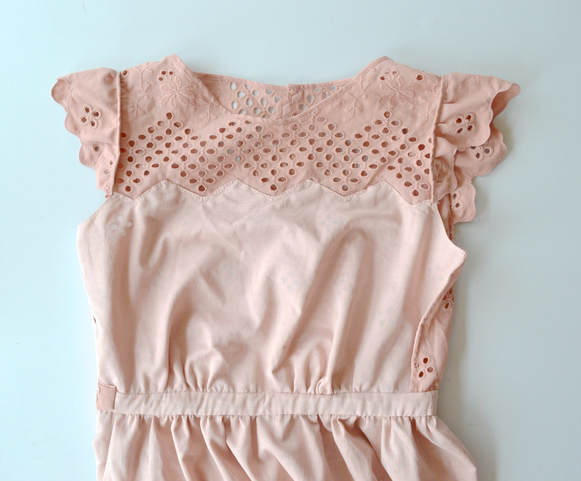 As with any project (especially one that I don’t make a muslin for...), I already have improvements in mind for my next go with this pattern. But overall I’m pretty happy with the way it turned out! I definitely had fun trying to take some pictures of it! I’ve been eyeing this ivy wall down the street from me for a while, and I got Eddie to come with me to cut out the awkward selfie shenanigans. He said he would only come with if he could pretend he was a real photographer and dress the part. Apparently this is how Eddie thinks photographers dress: hat, glasses, and cut off jean shorts. He is so adorable. 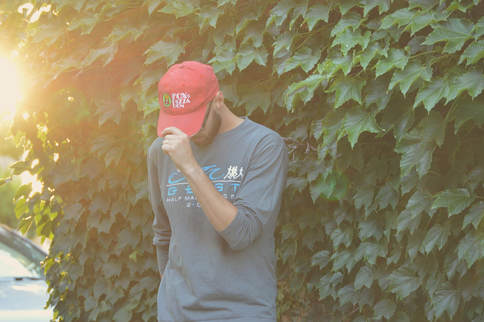 
  |
madeline stage
creative business owner. designer. hoosier. crafter. runner. sewer. swing dancer. outdoor enthusiast. entrepreneur. wife. mom. material hoarder. Categories
All
Archives
June 2023
My Instagram Feed:
@GoheenDesigns |


 RSS Feed