|
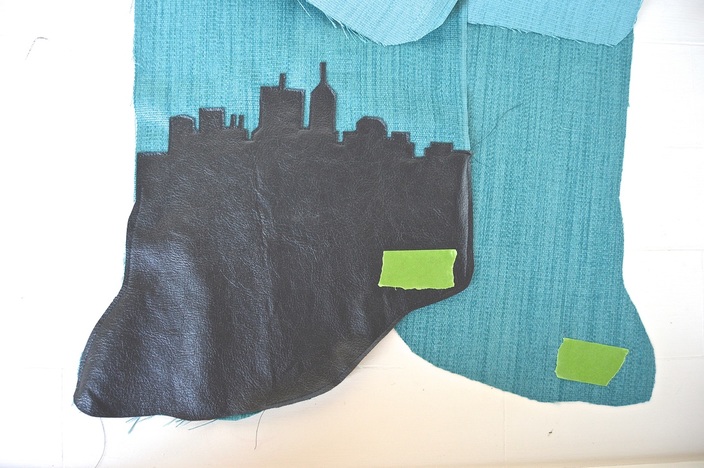
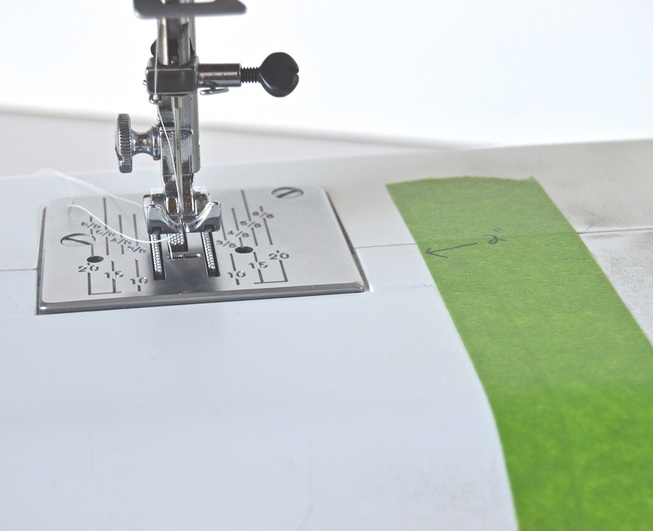
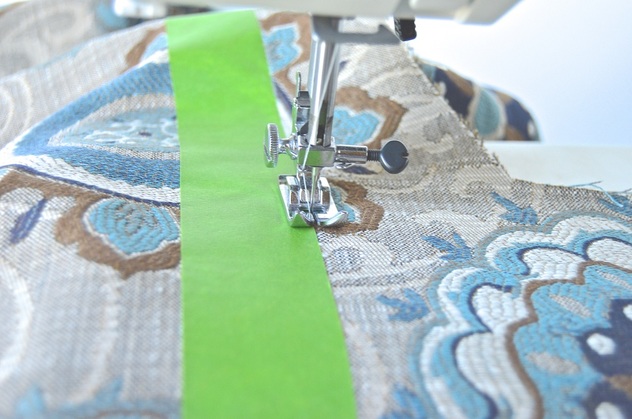
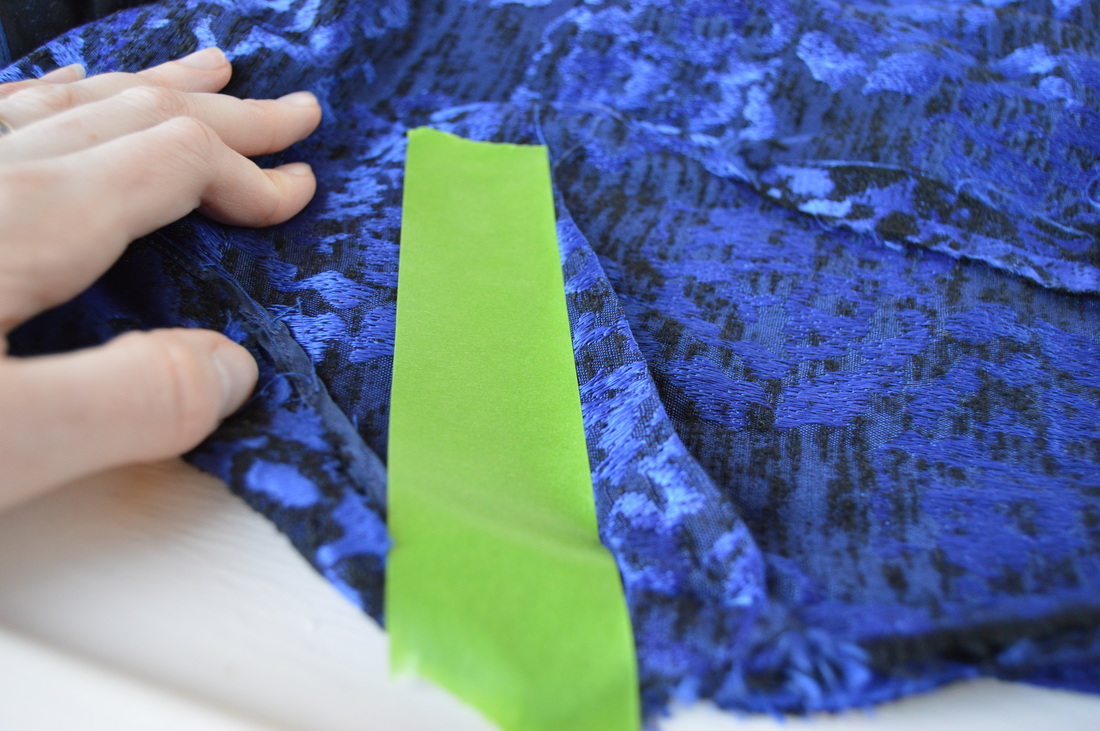
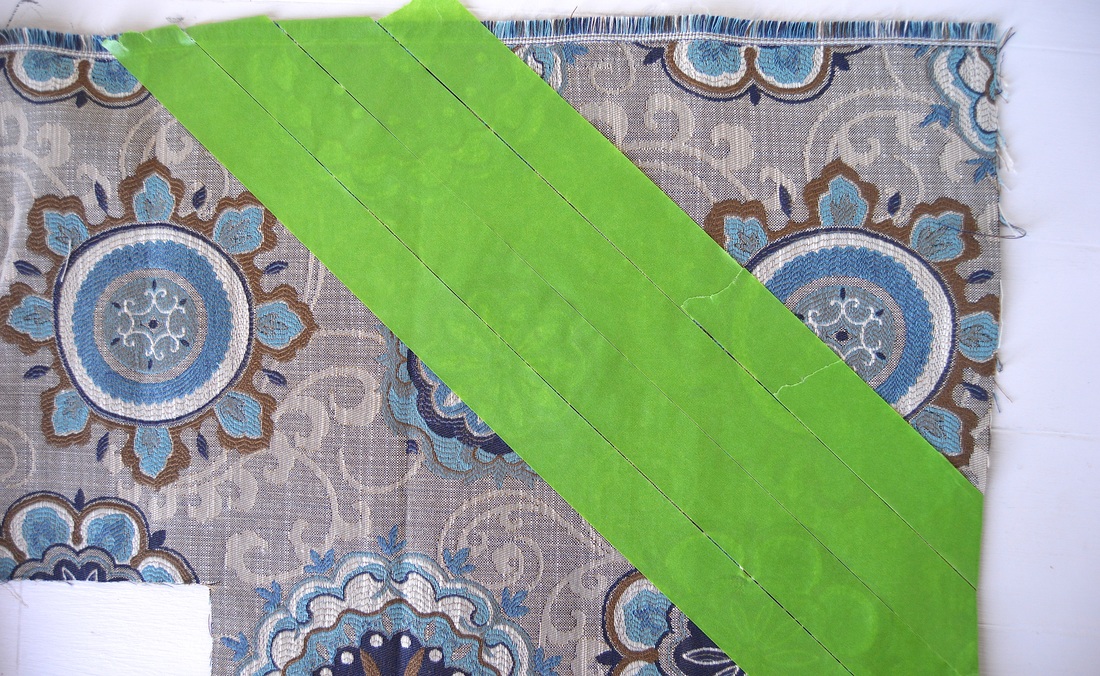
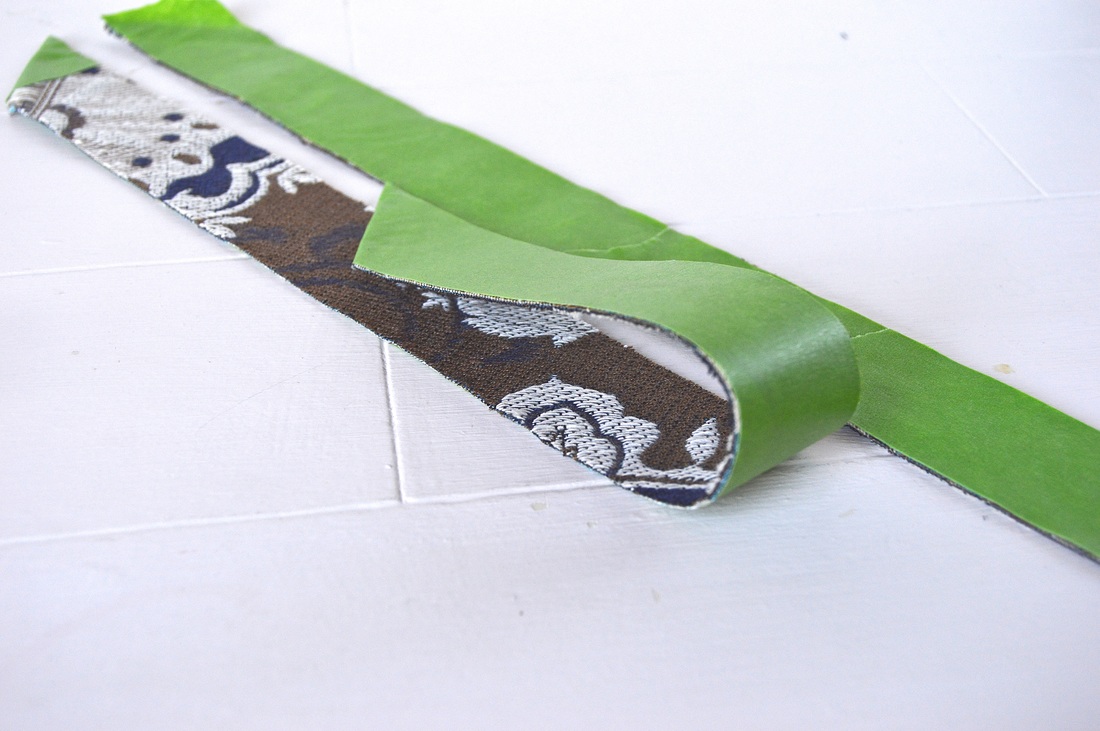
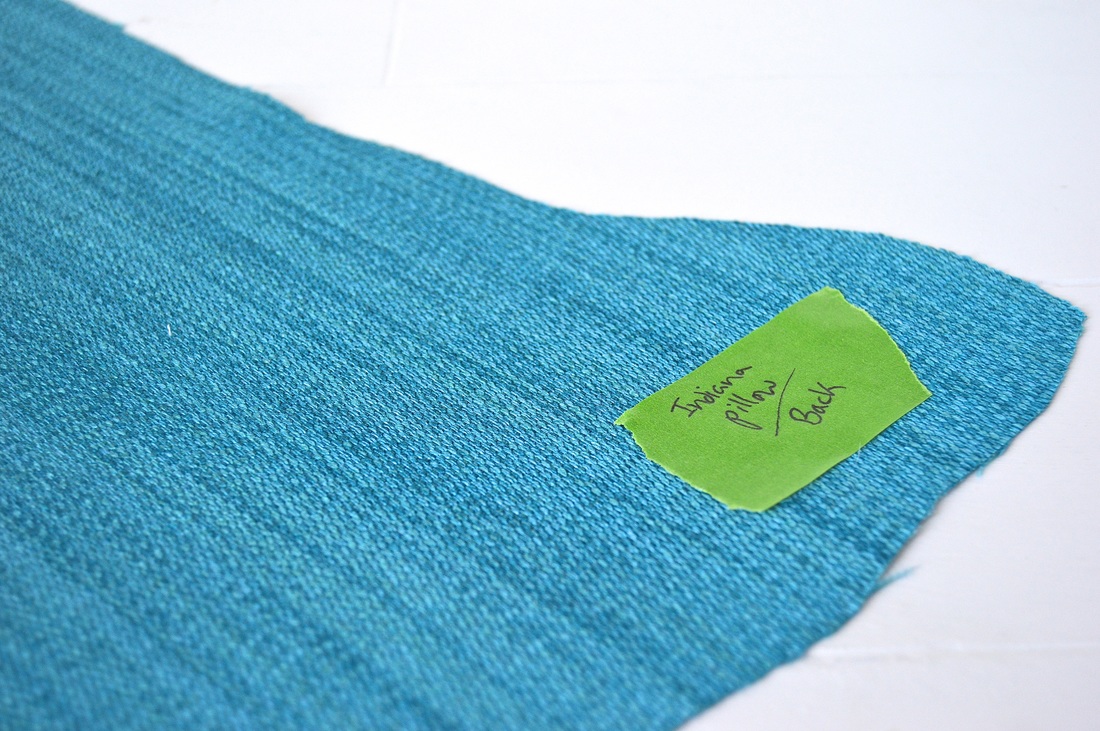
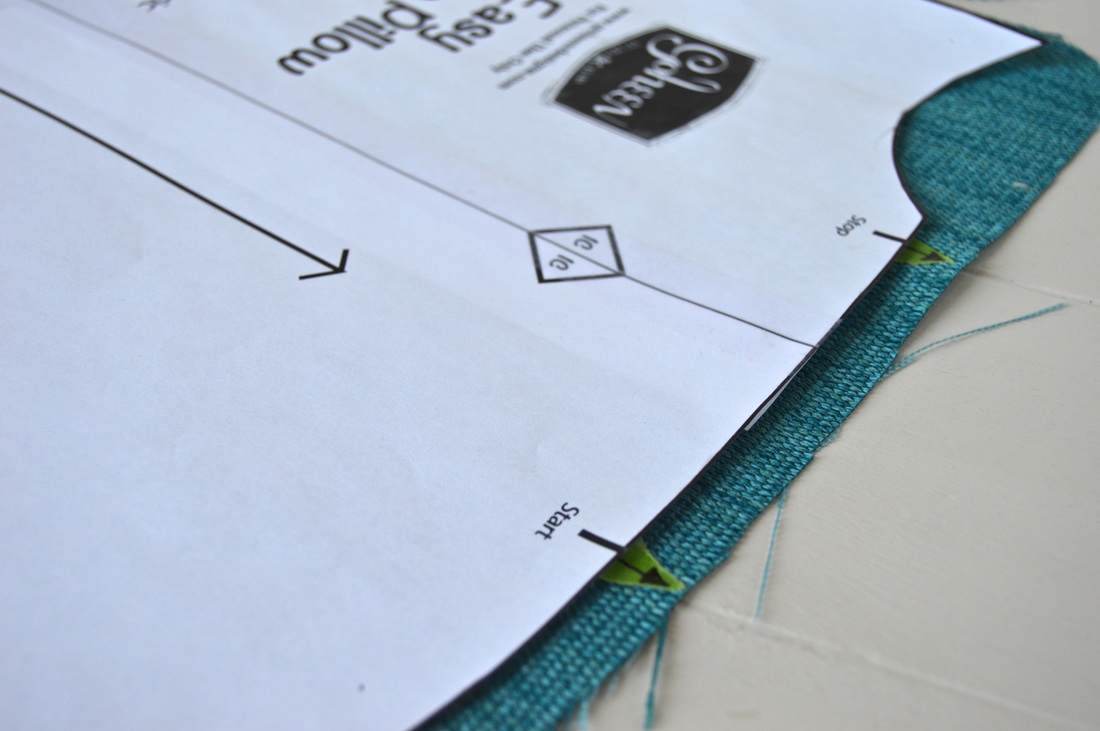
Tape?? Really? Yes! More specifically, masking tape or painter's tape! Painter's tape is my personal choice, because it is sticky enough to stay put on most fabrics, but it doesn't leave any sticky residue on fabric or sewing machine, and it doesn't pill your fabric! Now I'm sure you are wondering why in the world you would be putting tape on your fabrics, right? Well here are 5 reasons to raid your painting supplies for your sewing! 1. Mark the bottom right side of your fabric: Sometimes, I pick out fabrics that are verrrry similar on the right and wrong sides, or it is hard to tell which way the grain is after I have cut out a square for a pillow cover. Close inspection can usually solve this dilemma, but sometimes I forget to closely inspect my piece, and I end up with two pieces of the same fabric, sewn together, that look like two different colors because one is upside down! Putting a piece of tape in the bottom right corner, on the right side of the fabric when you cut it makes it easy to see the proper orientation at a glance. 2. Create a custom seam gauge: Most sewing machines have handy little guides on the right side of the needle plate to help you keep a consistent seam allowance. But if your machine doesn't have these, or if you are sewing with a seam width that isn't marked (5/8" anyone?) you can lay a piece of tape along the width that you do need! This is also great for beginner sewers and kids who find it easier to follow a bright green line than an indent in the needle plate. 3. Sew in a straight line! How many times have a tried to sew a straight line only to have the fabric shift, or my attention shift? Too many. But using a long piece of tape is the perfect way to ensure that you are staying on the straight and narrow, even in the middle of your fabric. This is especially great for quilting straight lines! 4. Sew darts: Get perfectly straight darts every time when you use a piece of tape to create a straight path to sew between the notch and the point. I used to draw a line in chalk, but tape is so much easier to remove! 5. Make Bias Tape: Tape is a great way to cut out perfect bias strips even on slippery fabrics! The key is the have the same size tape width as the bias strips that you want to cut. Simply lay your tape in diagonal stripes, and then cut them apart and voila! you have perfectly straight strips on the bias, and you can keep the tape on until you are ready to use it, which has the added benefit of keeping the fabric from fraying! 6. Label your pattern pieces: Is that the left sleeve or the right....? Question no more! I like to label those tricky pattern pieces that are hard to tell apart after cutting them out. A great way to label without risking your magic marker disappearing, or your chalk smearing. 7. Mark your fabric: I like to have a variety of ways to creating the sewing pattern marks on my fabric. So along with disappearing ink, and tailors chalk, and thread basting, I also have tape in my arsenal. So if I need my markings to last a long time, or if the fabric doesn't respond well to chalk, I can use tape!
3 Comments
2/6/2023 01:48:10 pm
I loved how you said that you can stay in a straight line when using tape! My sister plans on getting her first sewing machine in a couple of weeks, and she talked about how she wants to make sure she gets all of the right supplies. I'll pass these tips along to her once she does get her sewing machine!
Reply
1/22/2024 03:00:16 am
Amazing blog post. Thanks for explaining about tapes. we are suppliers of Cello Tape Making Machine. For more details, contact accurate engineers. Keep sharing, waiting for more details.
Reply
Leave a Reply. |
madeline stage
creative business owner. designer. hoosier. crafter. runner. sewer. swing dancer. outdoor enthusiast. entrepreneur. wife. mom. material hoarder. Categories
All
Archives
June 2023
|
Contact Me
|
Weekly Mantra:Motivation doesn't last. That's why, just like bathing, we recommend it daily.
Click here for the Privacy Policy |
|

 RSS Feed